
Backyard Landscaping on a Budget That Still Looks Designer
Designer-looking landscaping isn’t about pricey materials—it’s about a clear plan, repeatable shapes, and a few high-impact upgrades placed where the eye naturally lands. With smart prep and intentional edits, you can make a backyard feel polished without blowing your budget.
Use the tips below to prioritize structure first, then layer in texture, lighting, and plants that look lush (not fussy) and are easy to maintain.
1) Start with a Simple “Zones + Path” Layout

Before buying anything, sketch your backyard into 2–4 zones: a lounge area, a dining/grill area, a planting zone, and (optional) a play or utility area. Connect zones with one clear path so the yard feels intentional. A practical guideline: keep primary paths 36–48 inches wide (48 inches is more comfortable for two people passing), and leave at least 36 inches of clearance around seating and grills for easy movement. A simple plan prevents random purchases and makes even budget materials look deliberate.
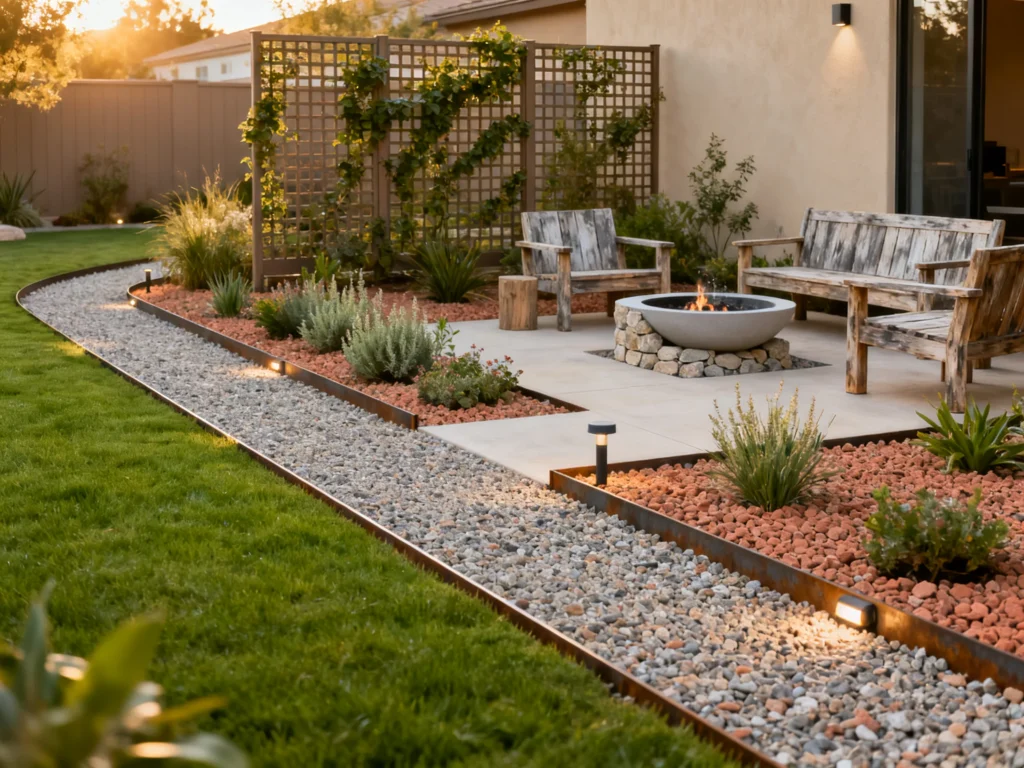
2) Define Edges for Instant “Designer” Crispness
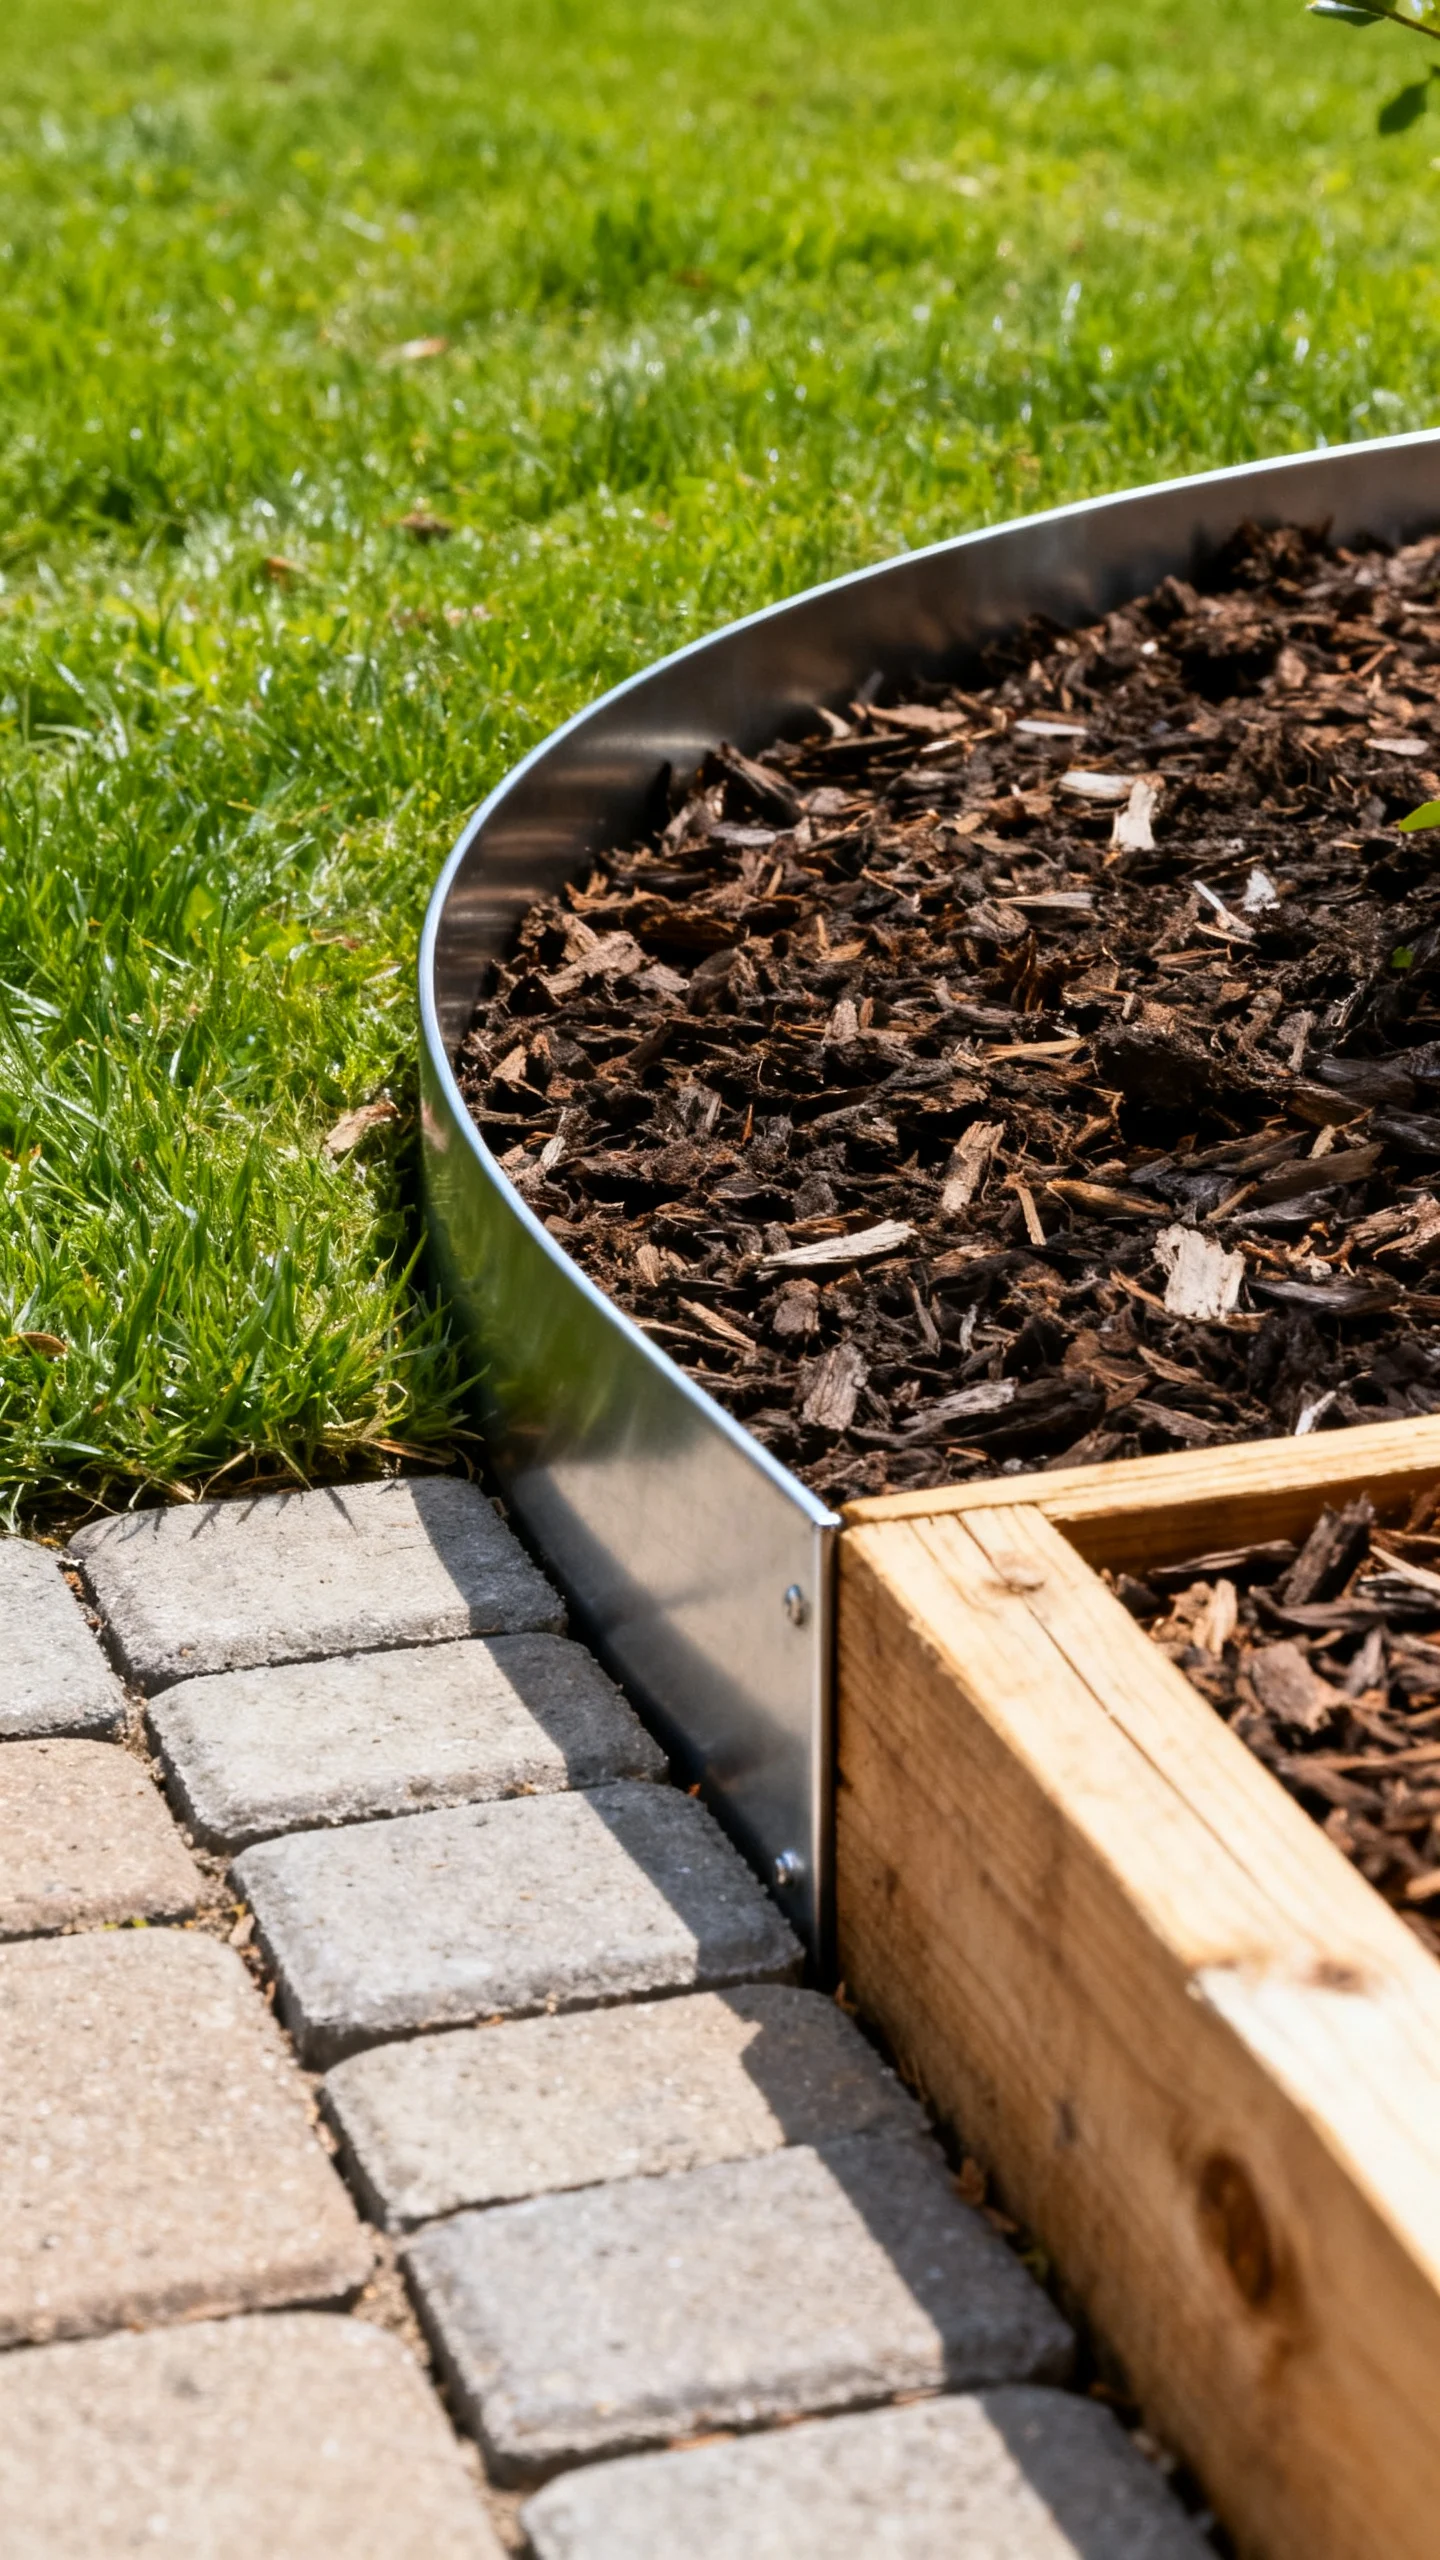
Sharp edges read expensive. Add clean borders between lawn, beds, and gravel using steel edging (sleek, modern), pavers laid as a soldier course (classic), or pressure-treated landscape timbers (budget-friendly). Aim for a bed edge depth of at least 4–6 inches so mulch and gravel stay contained. If you’re keeping existing beds, re-cut the edge with a flat spade in a smooth curve or straight line—no zigzags. Repeat the same edging style throughout for a cohesive look.
3) Choose One Affordable Ground Cover and Use It Everywhere
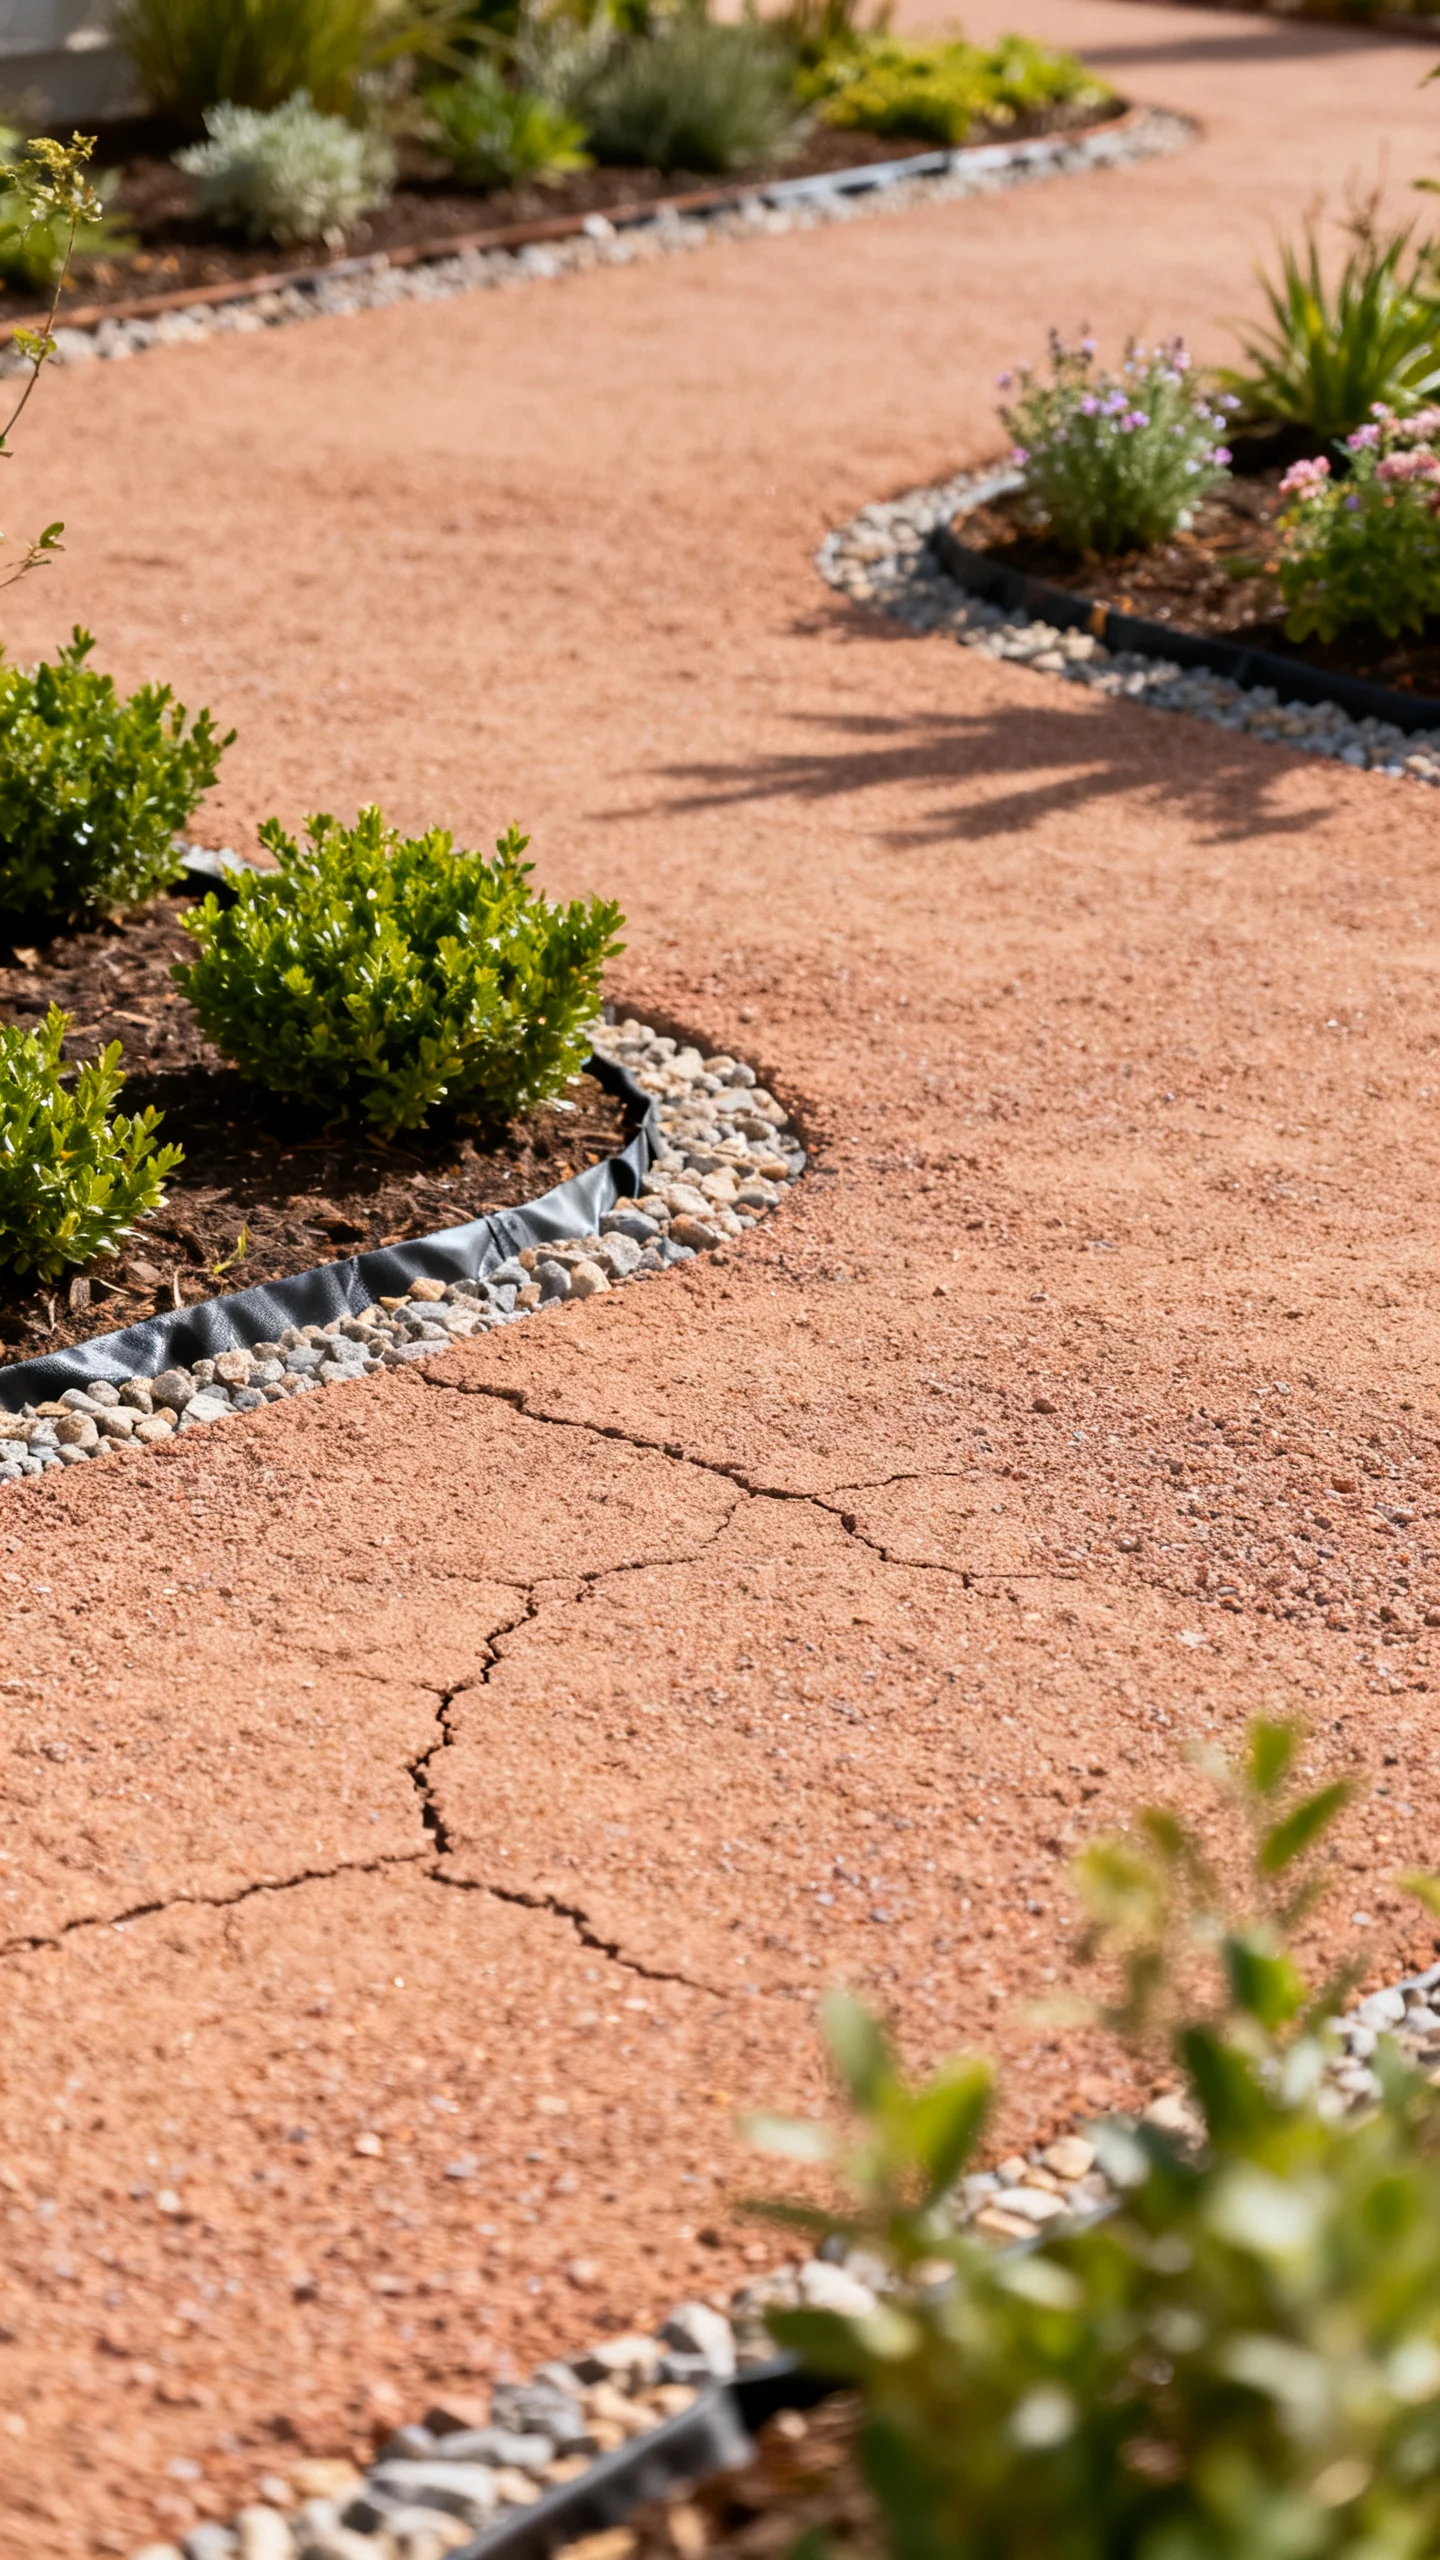
A designer yard feels calm, not busy. Pick one primary ground surface—mulch, decomposed granite (DG), pea gravel, or wood chips—and repeat it across planting beds and secondary paths. For gravel/DG, lay down landscape fabric to reduce weeds, then add 2–3 inches of material (closer to 3 inches for better coverage). Add simple metal or paver edging so the surface looks tailored rather than temporary. Repetition is what makes budget choices feel elevated.
4) Refresh the Patio on a Budget with a “Rug” Effect
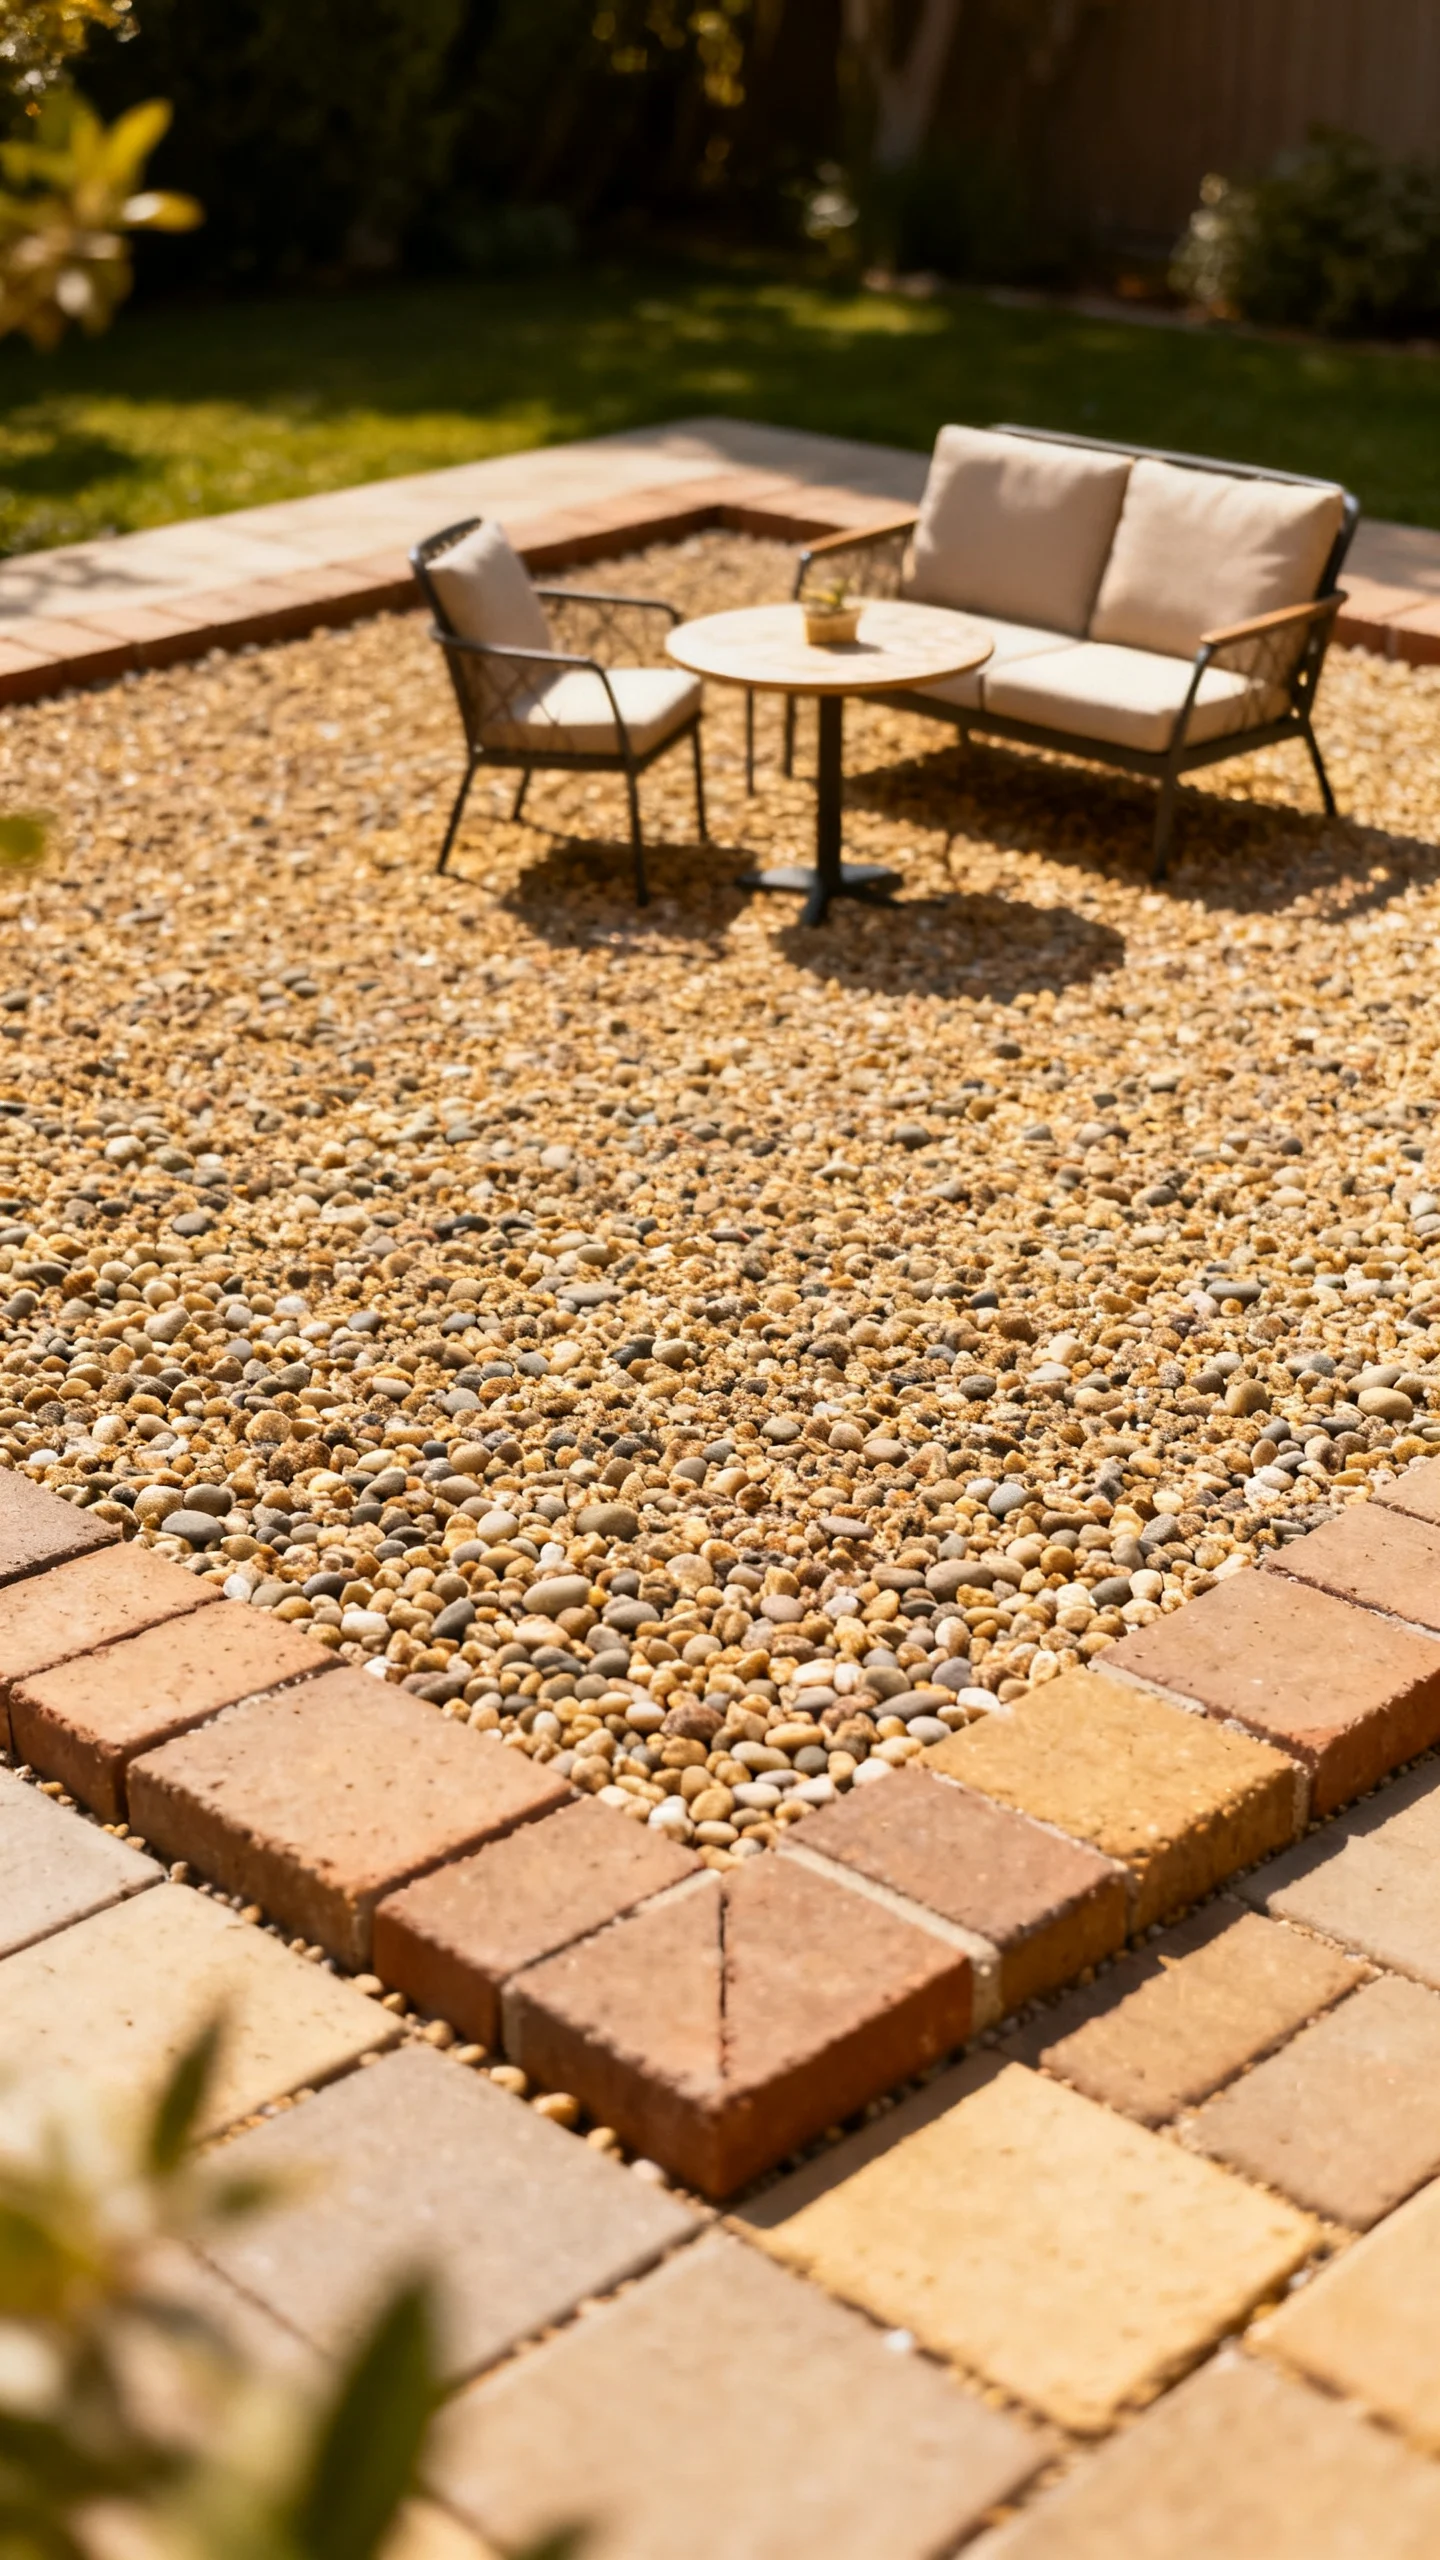
If replacing hardscape isn’t in the budget, create a focal “outdoor rug” zone using pea gravel or DG framed with pavers, bricks, or edging. A common, furniture-friendly size is about 8′ x 10′ for a small seating set, or 10′ x 12′ for a larger conversation layout. Compact DG well (a plate compactor rental can be worth it) so chairs don’t wobble. This trick gives you that finished, designed anchor without pouring new concrete.
5) Plant in Repeating Drifts (Not One-of-Everything)
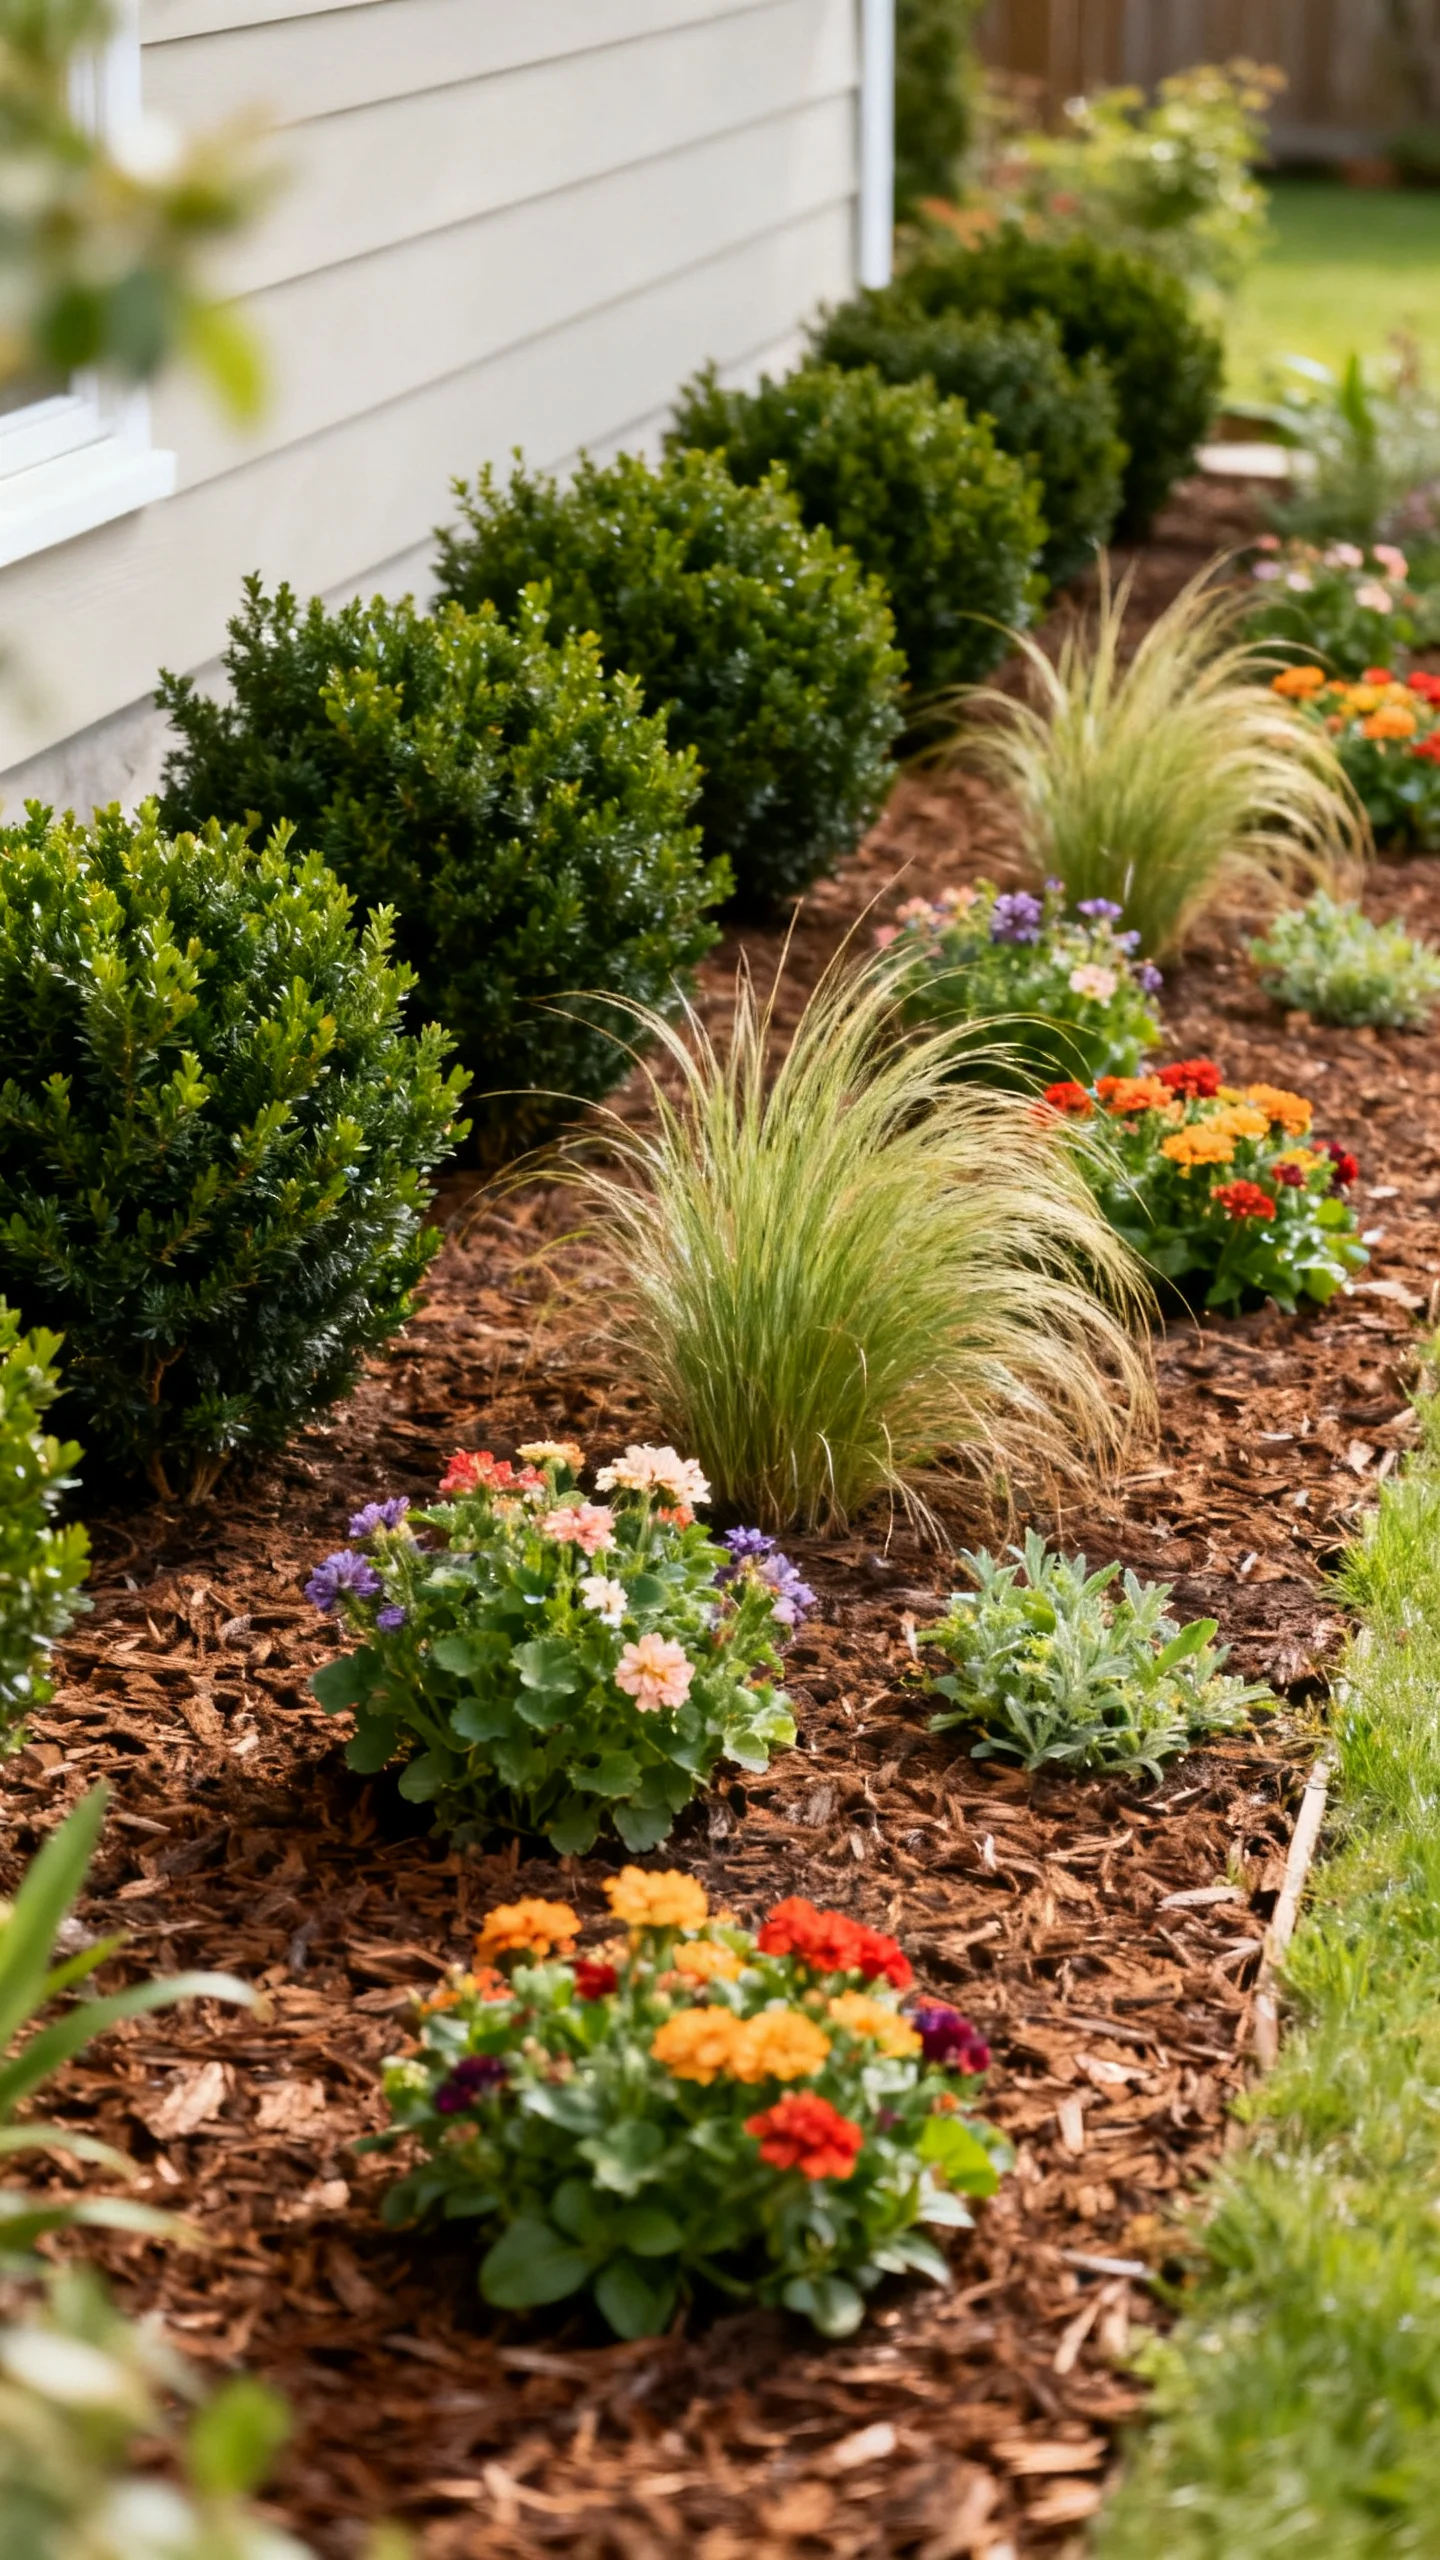
Designer planting is about rhythm. Choose 3–5 plant types and repeat them in groups of 3, 5, or 7 for a layered look. Use a simple structure: one evergreen “backbone” shrub type, one flowering shrub or perennial, one grass for movement, and a groundcover. Spacing matters: check mature widths and plant so they’ll touch slightly at maturity—this reduces mulch visibility and looks lush. Budget move: buy smaller sizes (1-gallon instead of 3-gallon) and plant more of the same variety for a fuller look faster.
6) Add Vertical Interest with Budget Screens and Trellises

Vertical elements make a backyard feel designed because they create “walls” and privacy. Add a simple trellis panel, lattice, or a row of posts with wire for climbing vines. Place screens where you want to block a view or define a zone, like behind a seating area. For comfort, leave at least 24–36 inches between a screen and plantings for airflow and maintenance. Budget-friendly climbers (depending on your climate) can quickly soften the structure—just confirm they’re not invasive in your area.
7) Upgrade Lighting with a Layered, Low-Voltage Plan
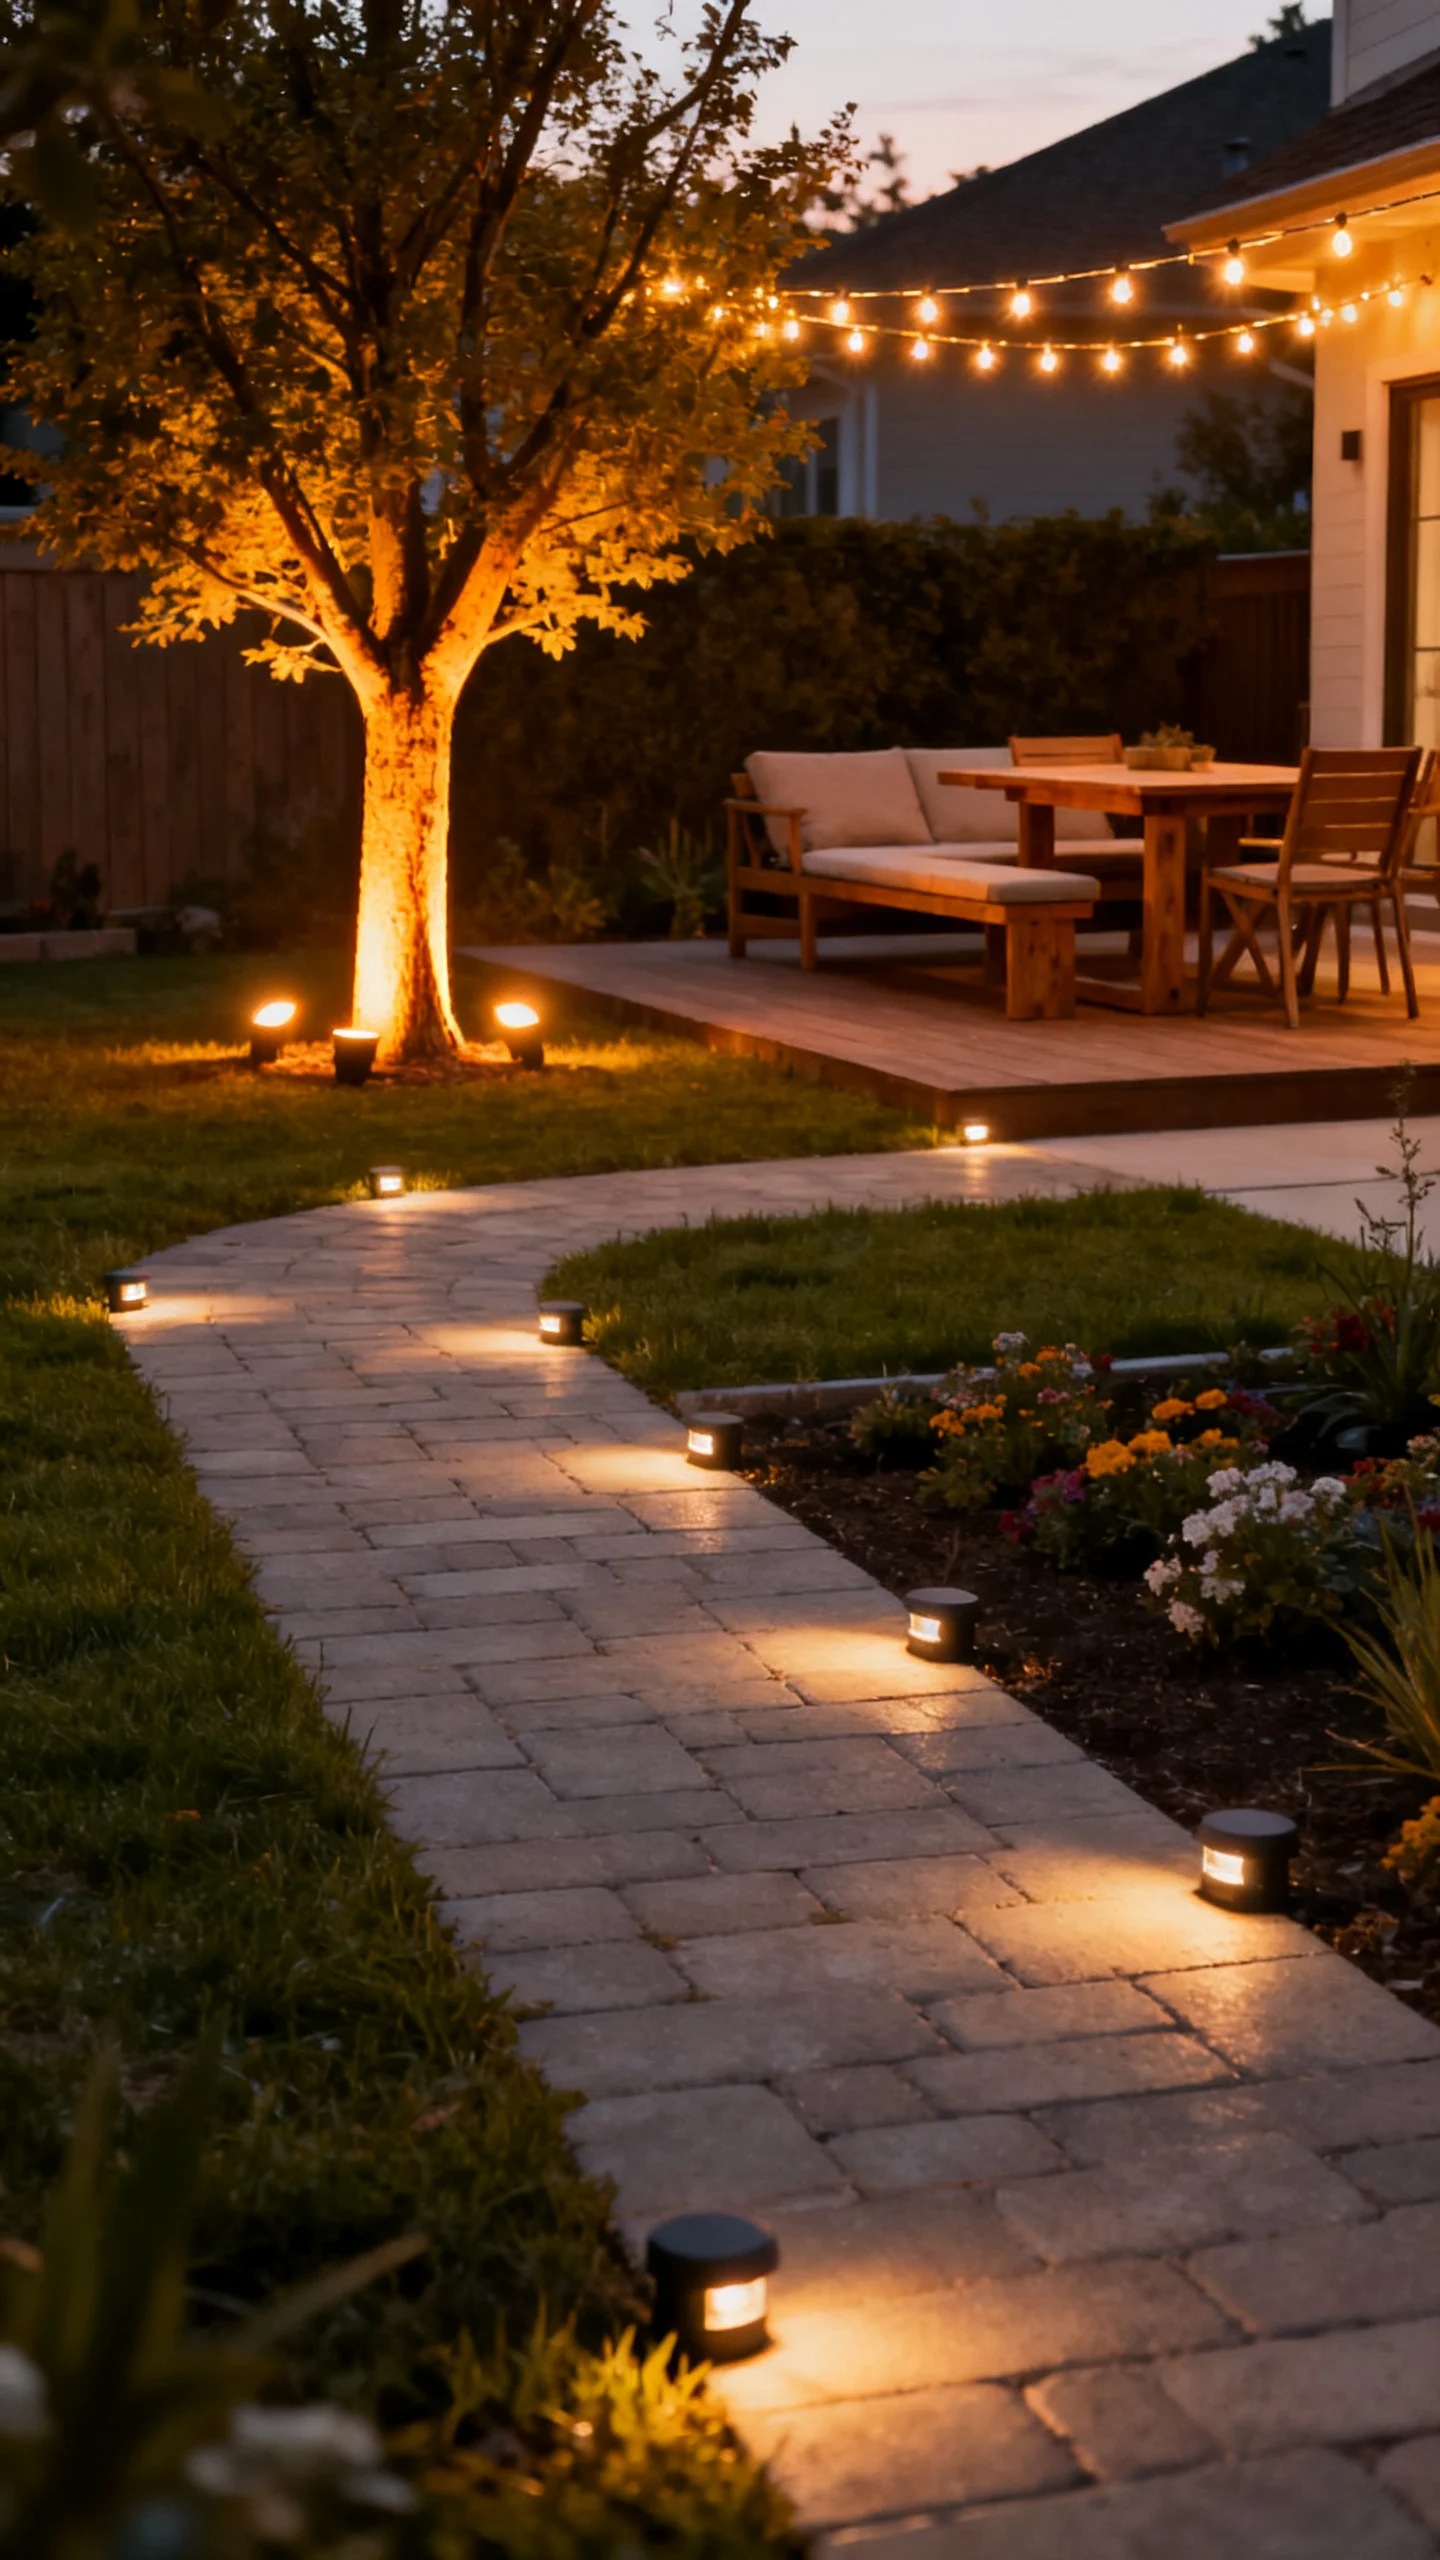
Lighting is one of the fastest ways to make a yard look high-end after dark. Use three layers: path lights for safety, uplights for focal plants/trees, and soft string lights for ambiance. Space path lights about 6–8 feet apart, staggering sides for a more natural look. Low-voltage kits are approachable for DIY; solar can work for accent spots but often looks uneven. Aim lights downward to reduce glare, and highlight only a few key features for that designer “editorial” mood.
8) Create a Focal Point with One Statement Feature
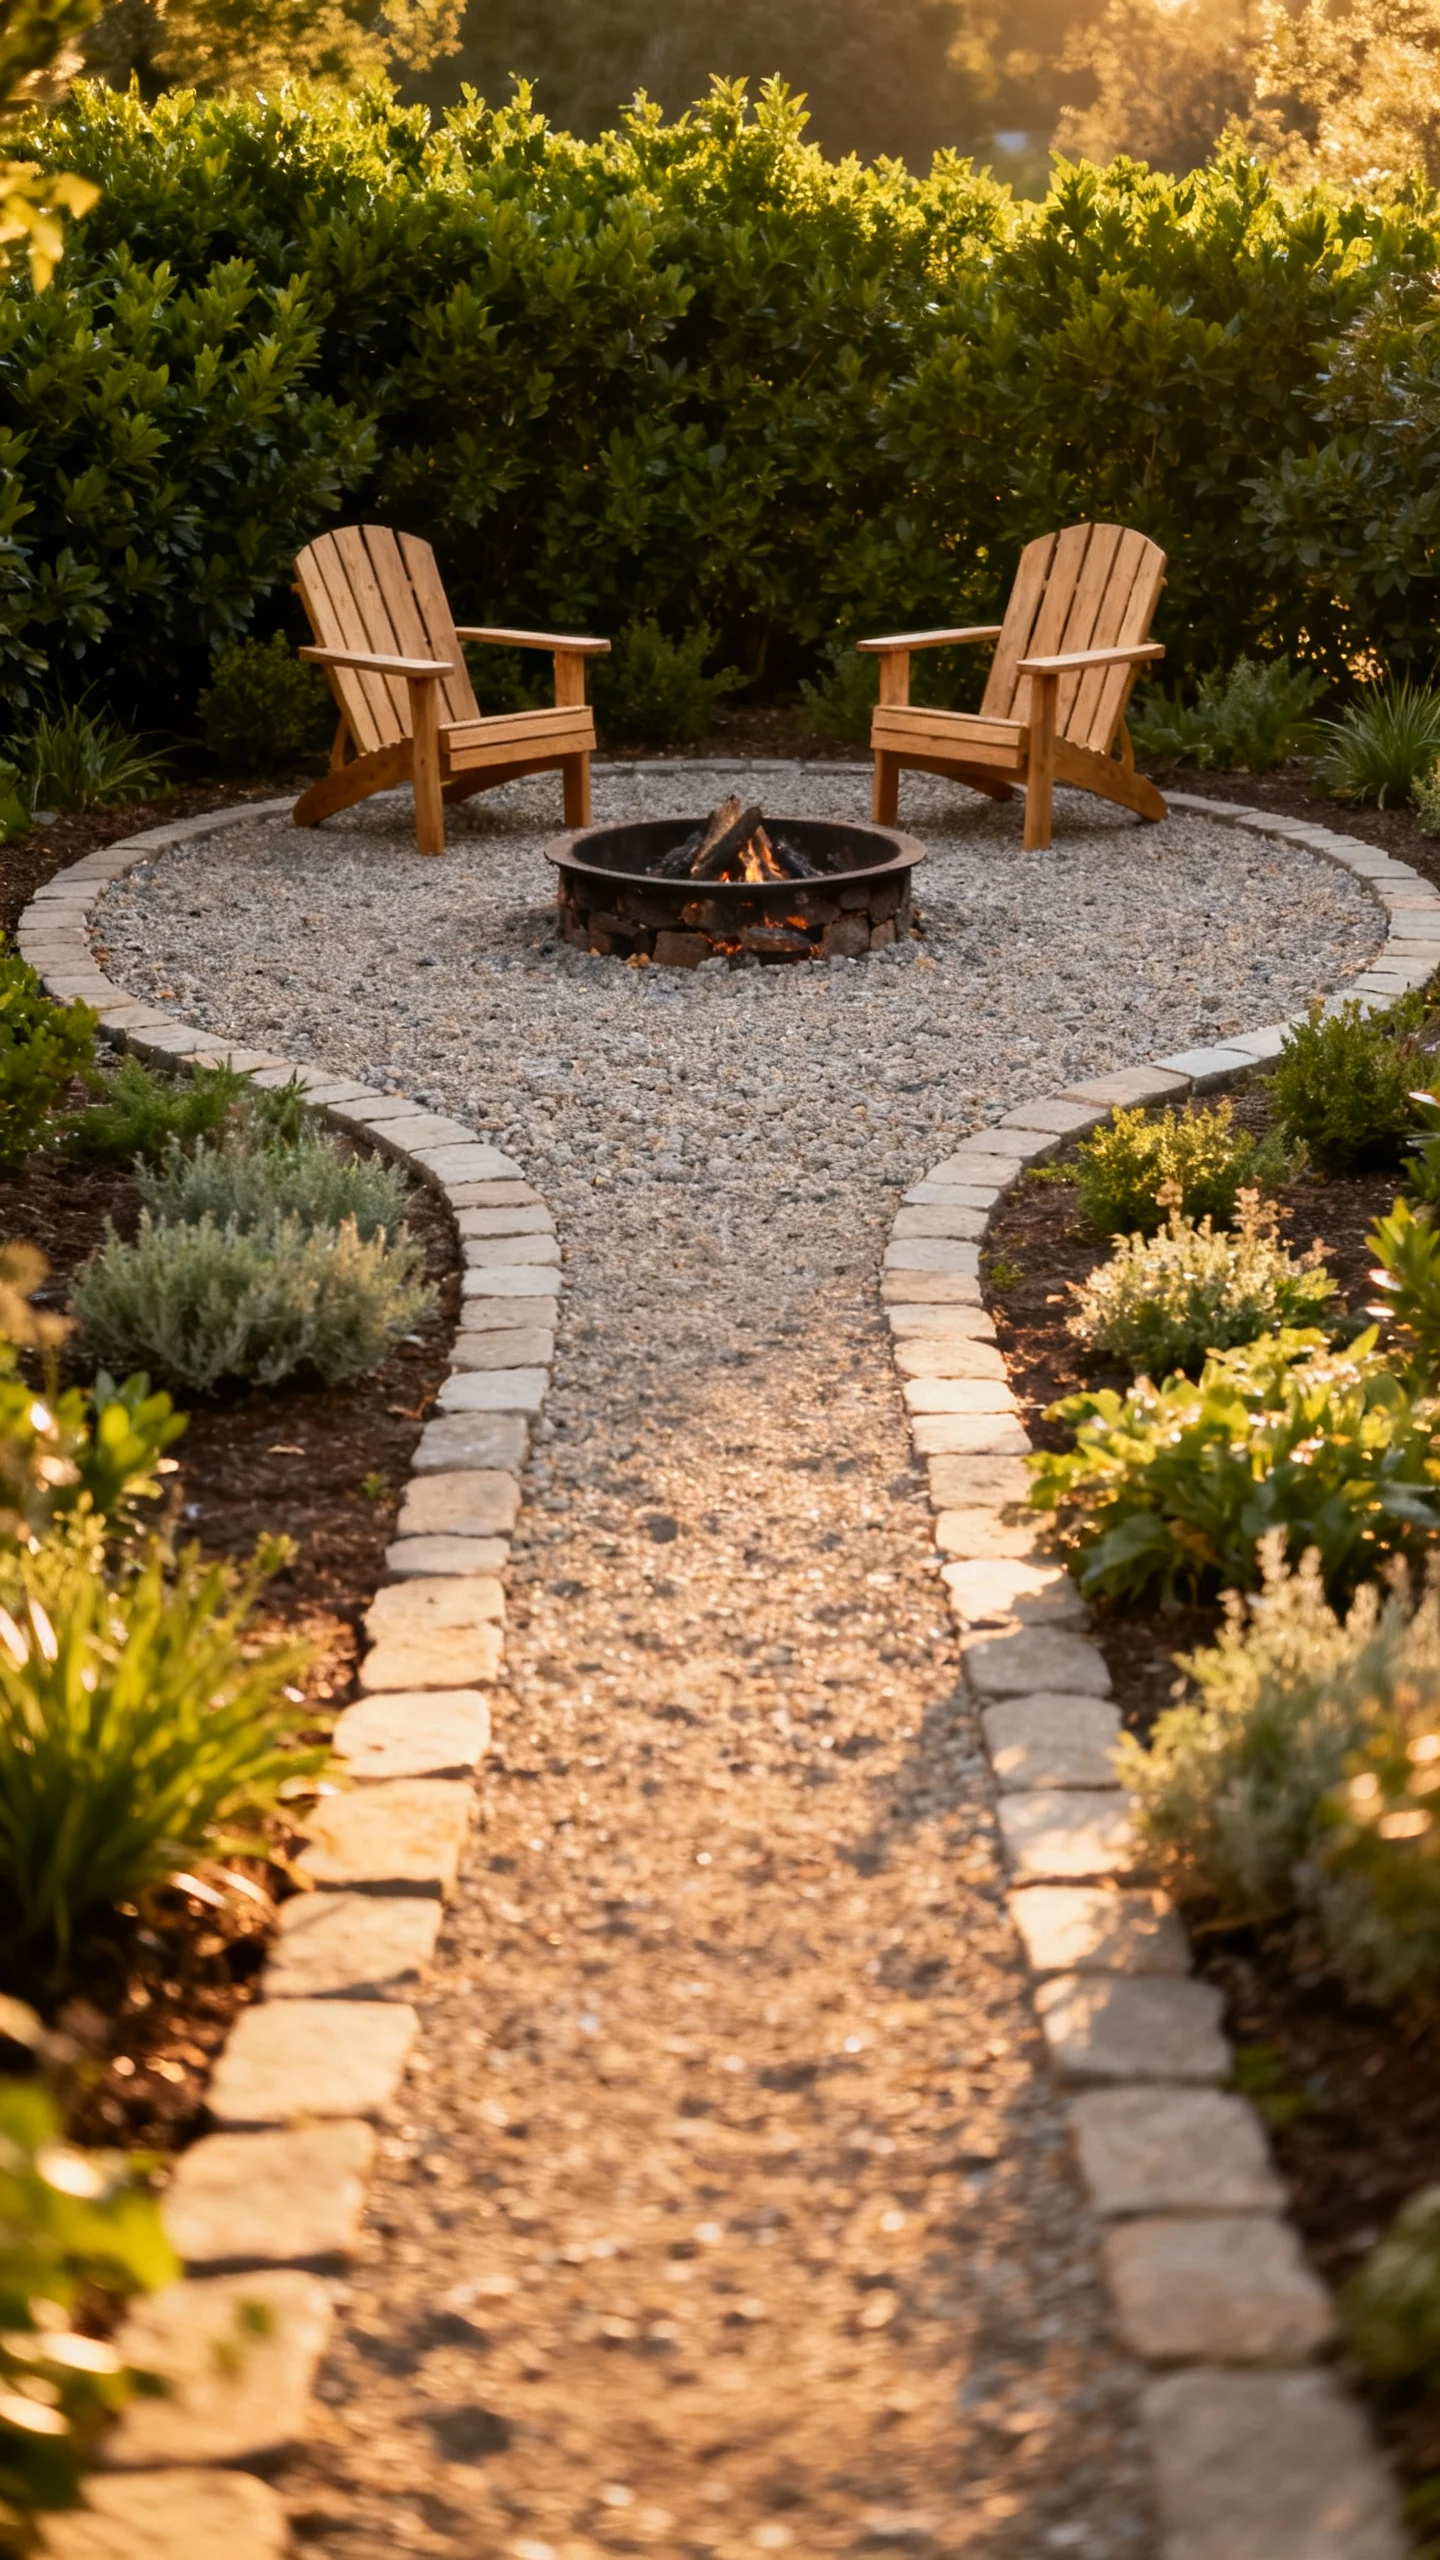
Choose one hero moment: a simple fire pit circle, a small fountain, a sculptural boulder, or a raised planter with a standout tree. The trick is scale and placement—put it where it ends a view, like the end of a path or centered beyond the patio. Keep a fire feature at least 10–20 feet from structures depending on local code and manufacturer guidance, and use non-combustible surround materials. One strong focal point beats five small “extras” and reads far more designer.
9) Use Mulch Strategically for a Fresh, Finished Look
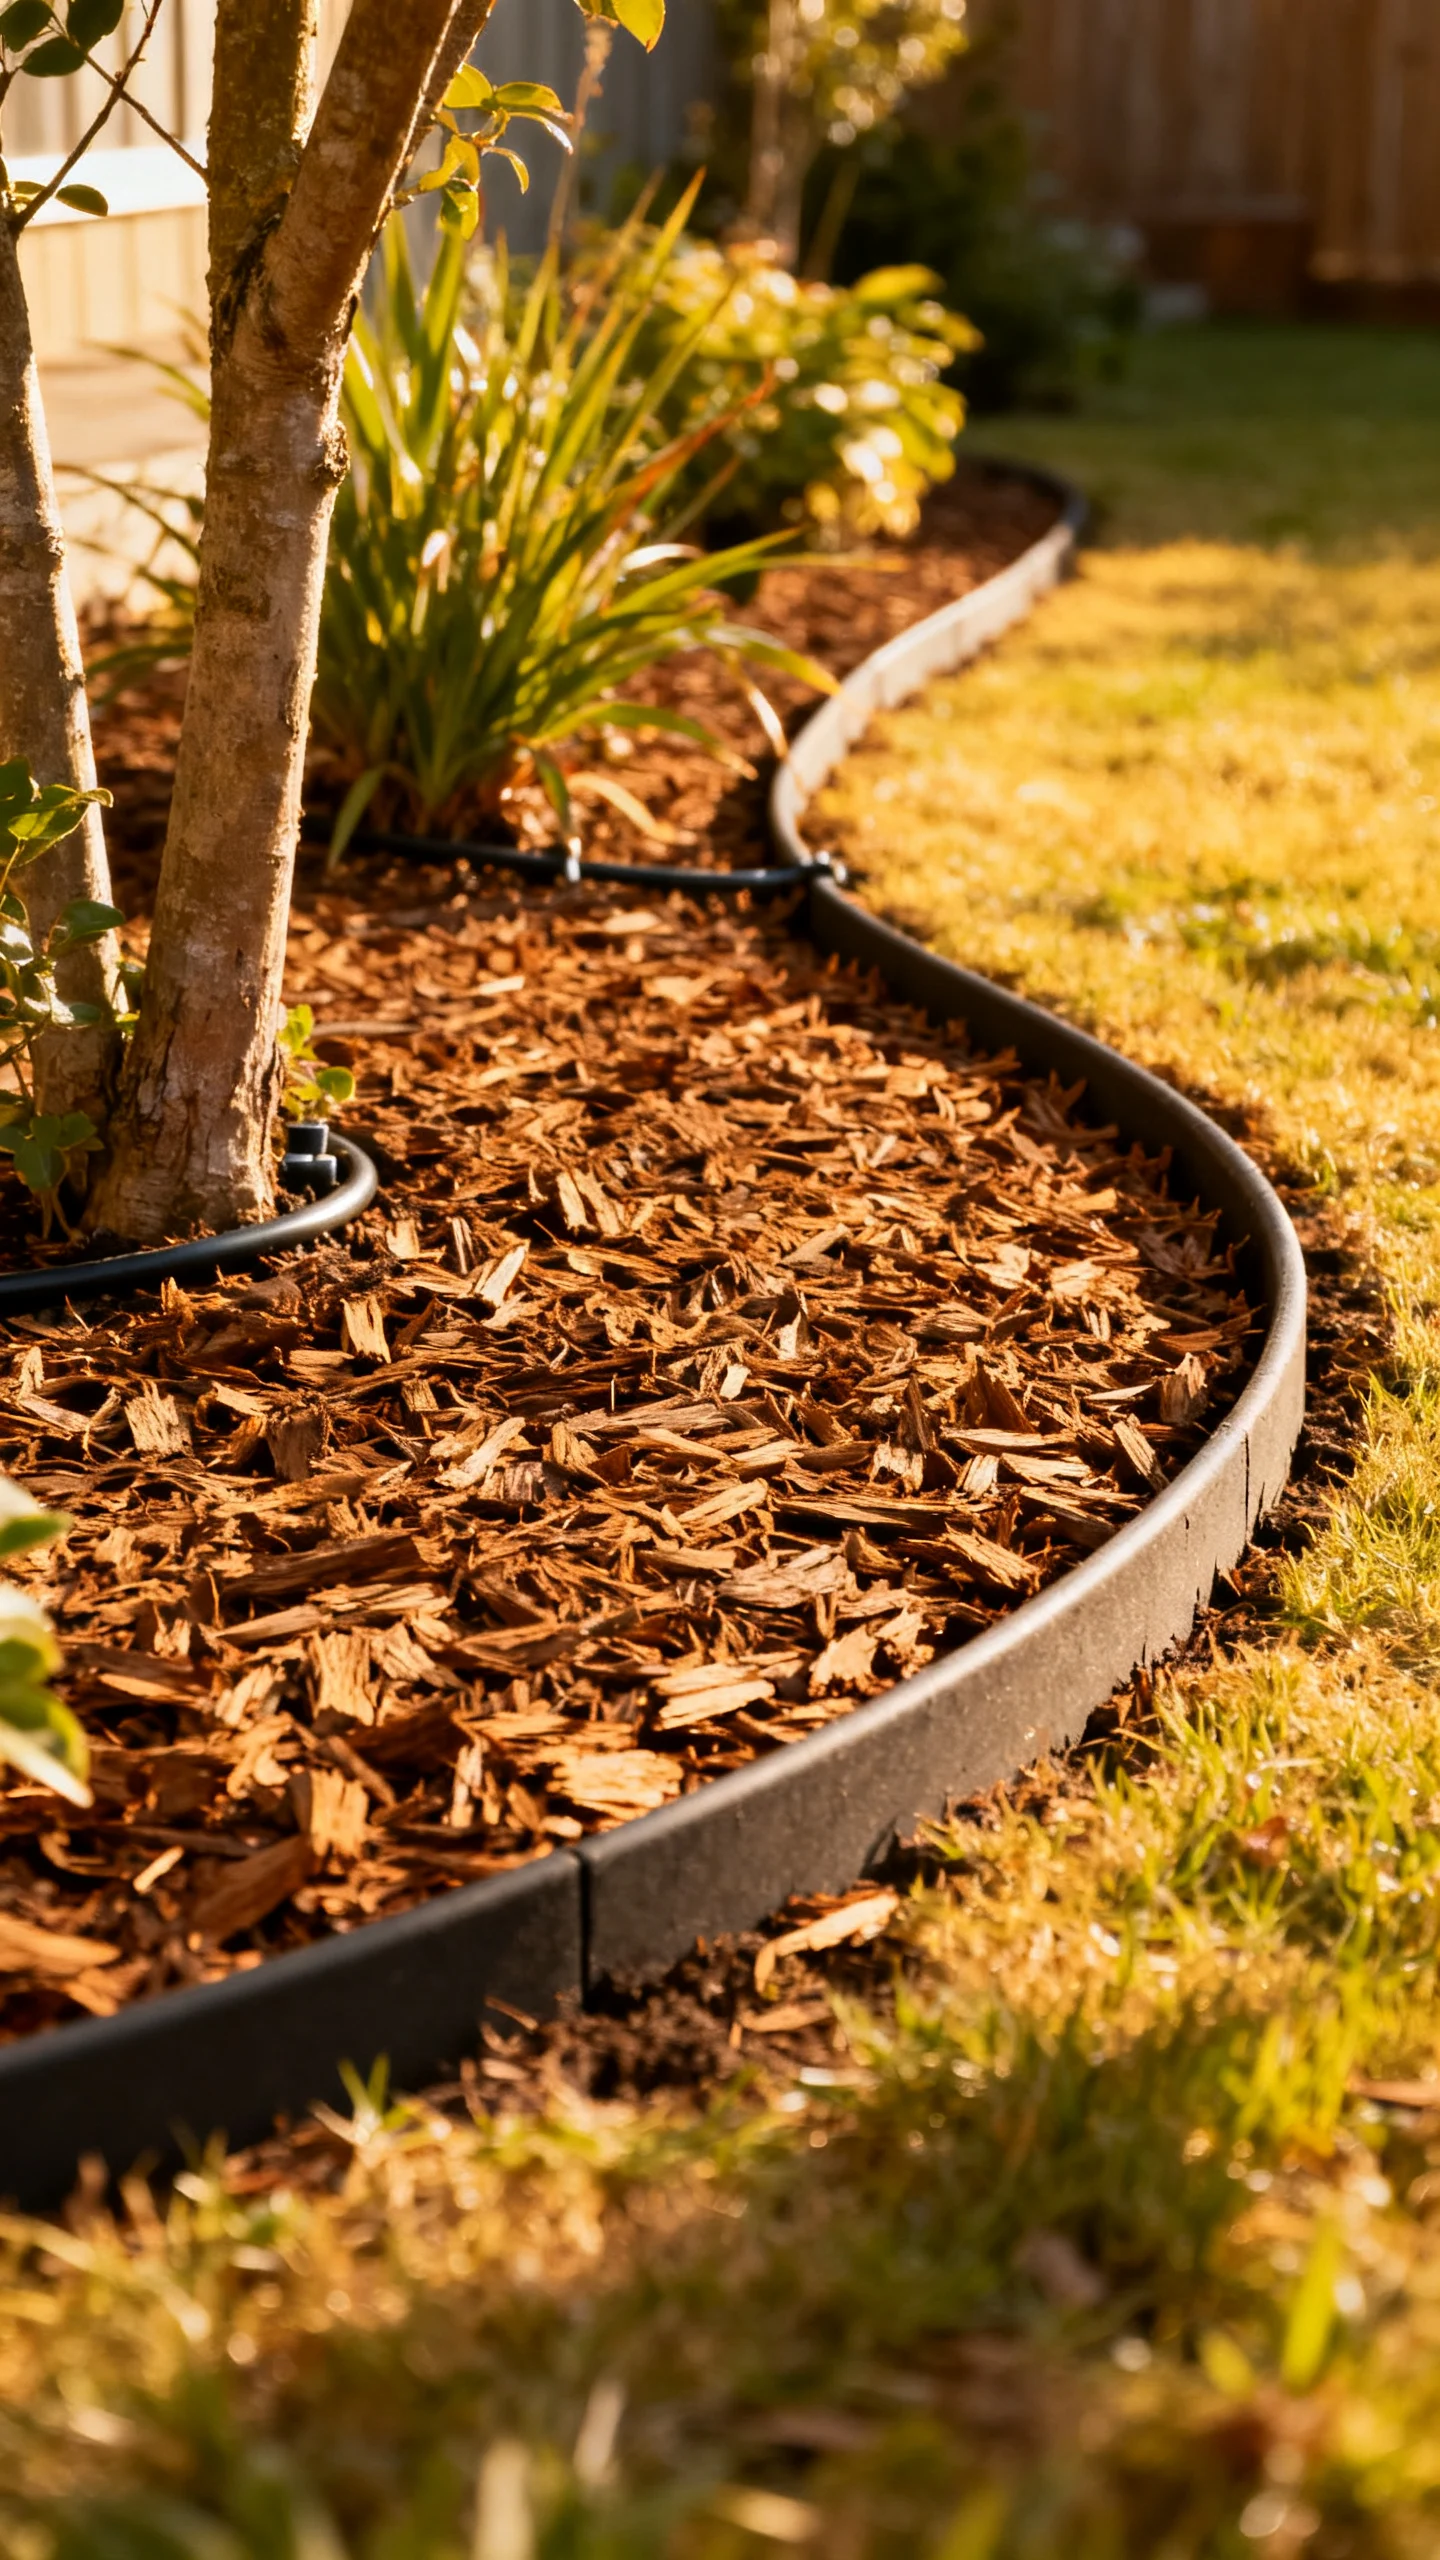
Mulch is the budget hero—when done neatly. Choose one color and texture (shredded bark looks refined; wood chips feel casual). Apply 2–3 inches deep, keeping mulch 3–6 inches away from the base of plants and tree trunks to prevent rot. Rake it smooth, then re-define the bed edge for a crisp outline. Bonus designer move: leave small “planting donuts” around specimens so each plant looks intentionally placed, not buried.
10) Shop Smart: Salvage, Divide, and Phase the Project
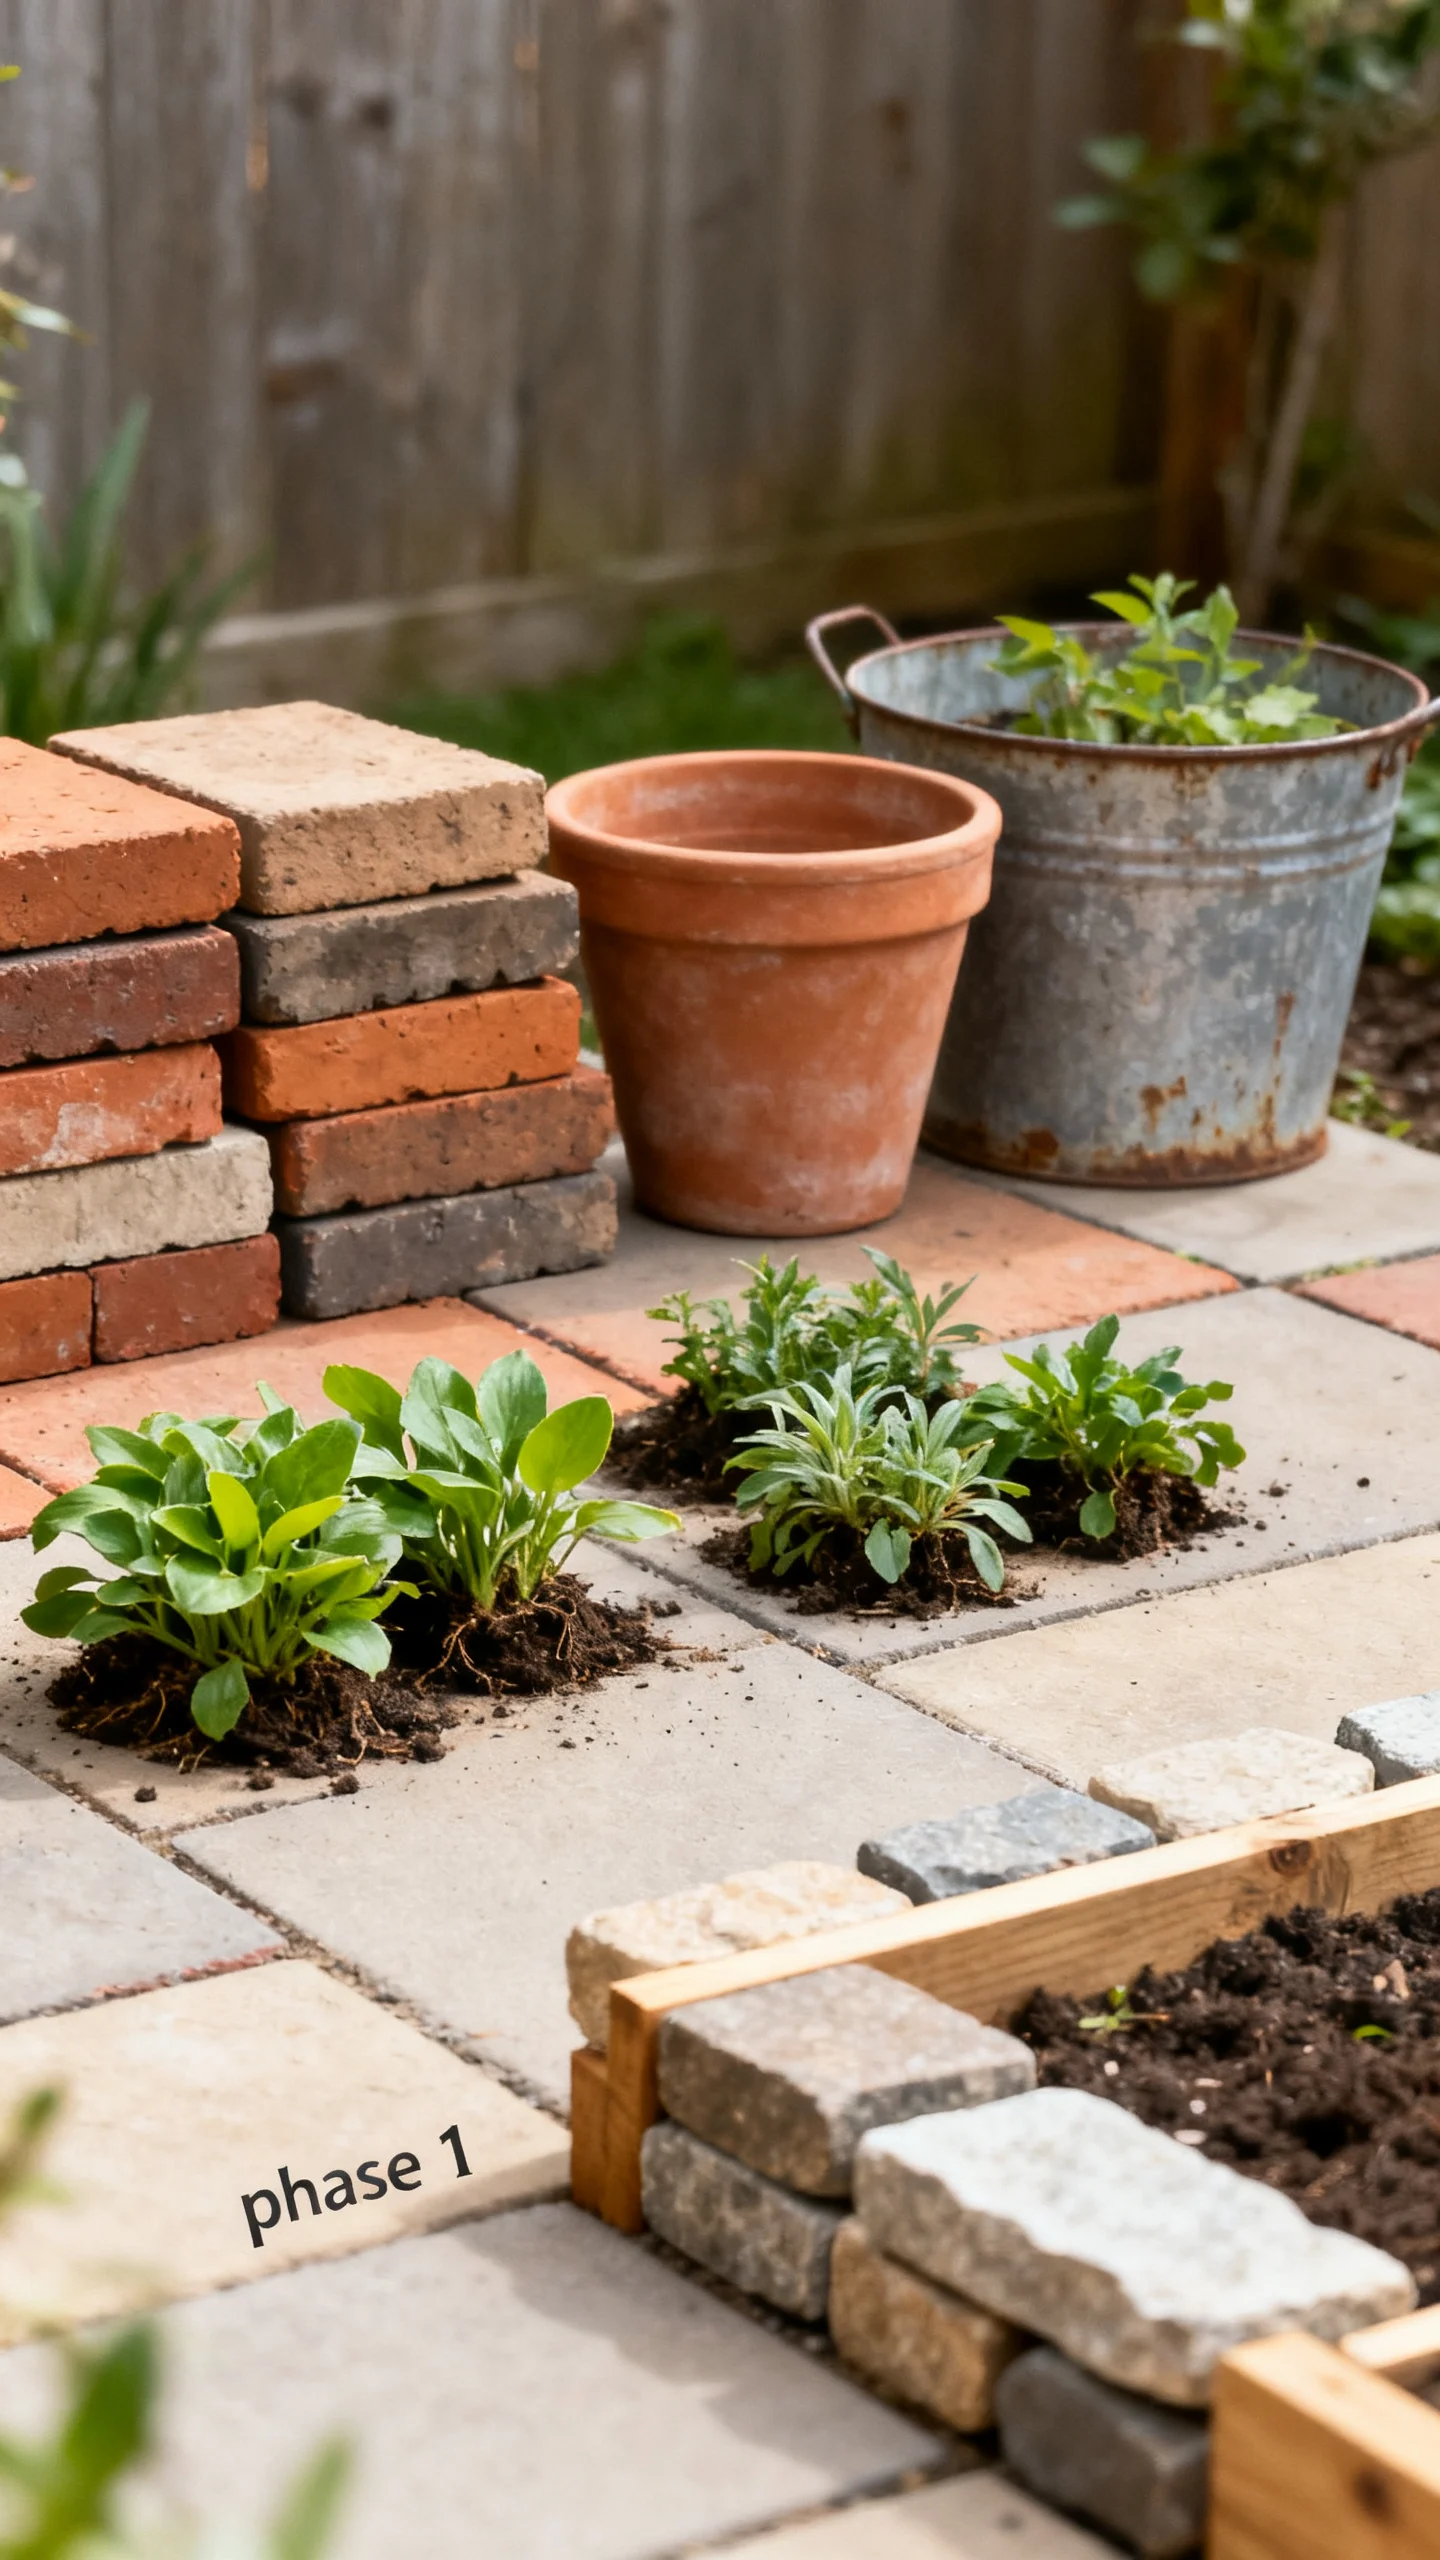
Designer results on a budget come from timing and sourcing. Look for pavers, stone, and planters on local resale marketplaces, salvage yards, and end-of-season garden center sales. Ask neighbors for plant divisions (many perennials and grasses divide beautifully), and prioritize long-term elements first: layout, edging, and ground surfaces. Then phase plants and decor in waves. A practical order: edge + weed barrier, then gravel/mulch, then backbone shrubs, then perennials/ornamental grasses, and finally lighting.
FAQ
What’s the cheapest landscaping change that looks the most “designer”?
Crisp edging plus fresh mulch (or a single repeated gravel/DG surface) delivers the biggest visual upgrade for the lowest cost. Clean lines and repetition instantly make the yard look planned.
Is decomposed granite or gravel better for a budget patio area?
Decomposed granite compacts for a smoother, more patio-like surface, while pea gravel is often cheaper and easier to refresh but can shift under furniture. For seating, DG typically feels more stable; both need solid edging and 2–3 inches of material depth.
How do I keep a budget backyard from looking messy or random?
Limit your materials and plant palette. Repeat the same edging, the same ground cover, and 3–5 plant varieties in drifts. A cohesive “one look” reads designer even with inexpensive components.
What are good budget plants that still look high-end?
Look for plants with strong structure and repeatable form: evergreen shrubs for backbone, ornamental grasses for movement, and reliable perennials for seasonal color. Choose varieties suited to your climate so they fill in without constant replacement.
How can I landscape cheaply if I have weeds everywhere?
Start with a reset: remove existing weeds, then install landscape fabric (for gravel/DG areas) or cardboard sheet-mulching under mulch in beds. Finish with proper edging and a 2–3 inch top layer to suppress new growth and make maintenance easier.