
Let’s be real: a chic backyard can cost as much as a kitchen remodel if you’re not careful. But you don’t need a contractor (or a second mortgage) to pull off a backyard that looks designer. With a few smart moves and some budget-friendly swaps, you can turn your outdoor space into a place your friends will casually invite themselves to every weekend.
Ready to get the look for less? Here are ten high-impact, low-cost ideas that make your yard look way more expensive than it actually is.
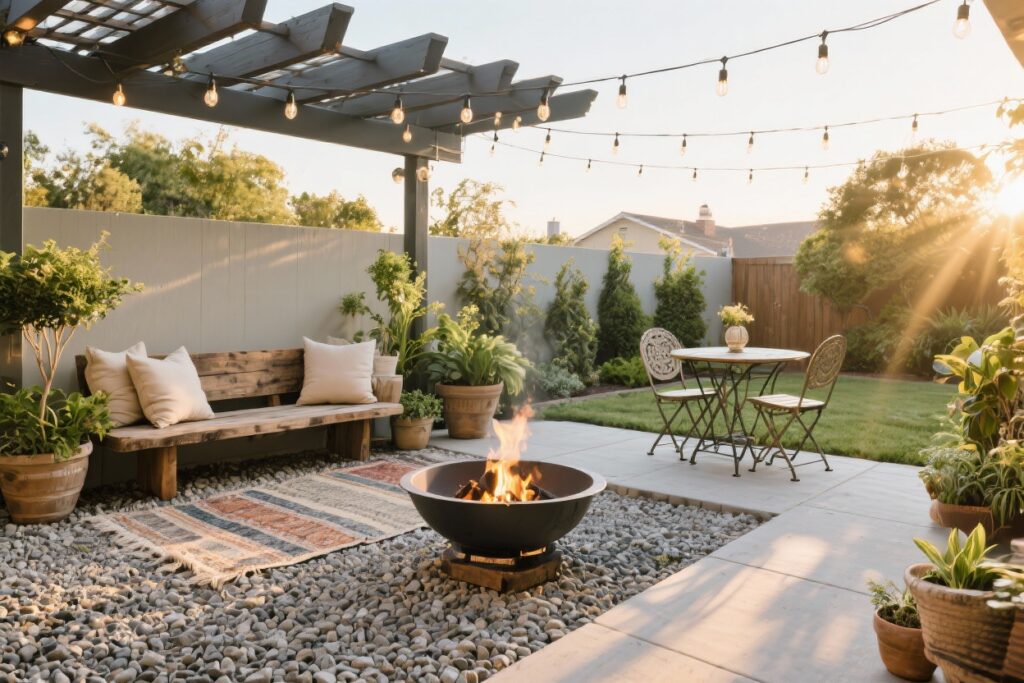
1. Create “Rooms” With Zones
Designers always talk about “zones,” and for good reason. Breaking your backyard into separate areas—like a lounge, dining spot, and fire nook—instantly makes it feel curated and intentional.
How To Do It On A Budget
- Define edges with outdoor rugs, pea gravel, or pavers to visually separate spaces.
- Use planters or tall grasses as natural “walls” without building anything permanent.
- Anchor each zone with a statement piece—like a fire pit, a coffee table, or a café table.
Pro tip: Keep your color palette cohesive across zones so it looks like one big, expensive plan—not a yard sale.
2. Lay a Chic Gravel Patio (No Concrete Required)
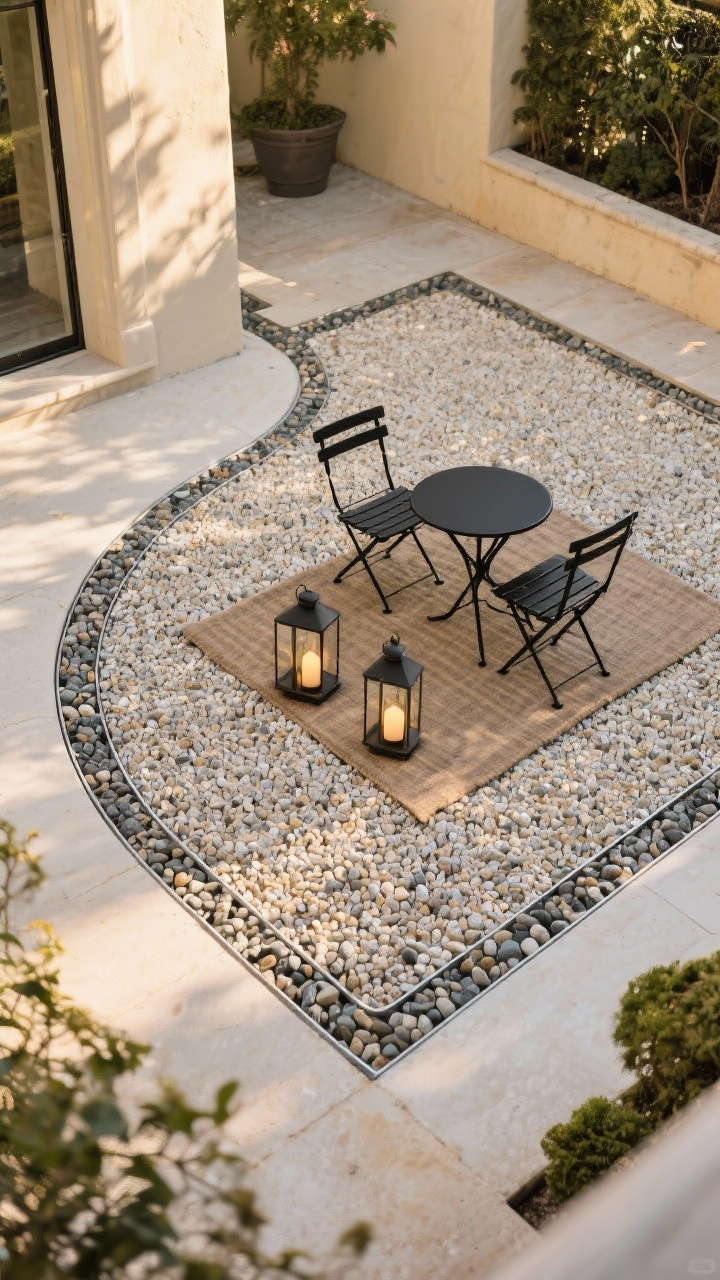
Want an “instant patio” that doesn’t require pouring concrete? A gravel patio is your best friend. It’s fast, affordable, and very European courtyard vibes.
Quick DIY Steps
- Map the shape with garden hose or spray paint.
- Lay landscape fabric to block weeds (do not skip this).
- Add edging (metal, composite, or even pressure-treated wood) to keep gravel in place.
- Pour 2–3 inches of pea gravel or decomposed granite and rake smooth.
Finish with a bistro set, lanterns, and an outdoor rug to soften the look. Boom: instant high-end hangout.
3. Use Lighting Like a Designer

Lighting is the secret sauce. It adds mood, warmth, and yes—makes your space look more expensive once the sun dips.
High-Impact, Low-Cost Lighting Ideas
- String lights overhead for that café-glow. Zig-zag them for fuller coverage.
- Solar path lights to define walkways and borders with zero wiring.
- Uplight trees and shrubs with solar or low-voltage spotlights—so classy.
- Lantern clusters on tables and steps for layered ambiance.
FYI: Warm white bulbs (2700K–3000K) feel luxe. Cool white reads “parking lot.” Don’t do it.
4. Go Big With Greenery (But Keep It Low-Maintenance)
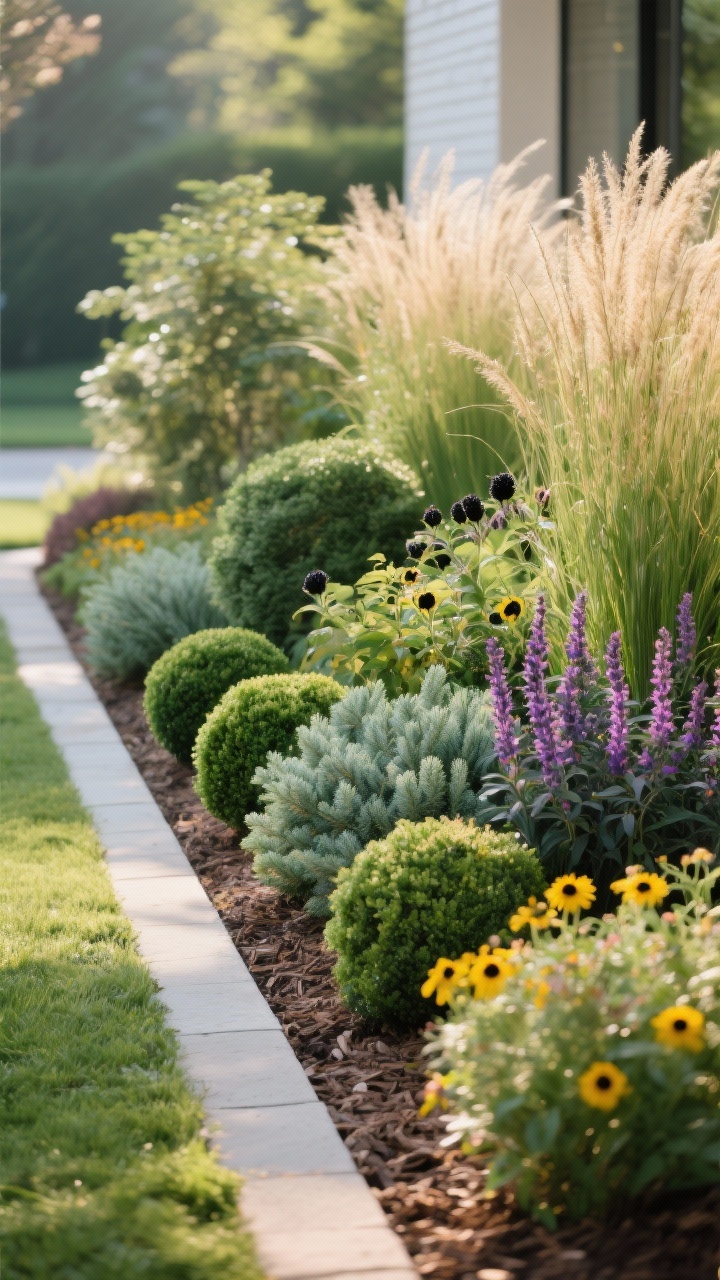
Nothing says “custom landscape” like lush plants—without the high-maintenance heartbreak. Mix heights and textures for that high-end, layered look.
Planting Tips That Look $$$
- Plant in odd numbers (3, 5, 7) for natural-looking clusters.
- Repeat plants along borders to create rhythm and cohesion.
- Mix evergreen structure (boxwood, juniper) with seasonal color (salvia, black-eyed Susan).
- Use tall grasses like miscanthus or feather reed for movement and privacy.
Keep it water-wise: native plants or drought-tolerant varieties look polished and save you on the water bill. Your future self will thank you.
5. Refresh Furniture With Paint And New Textiles
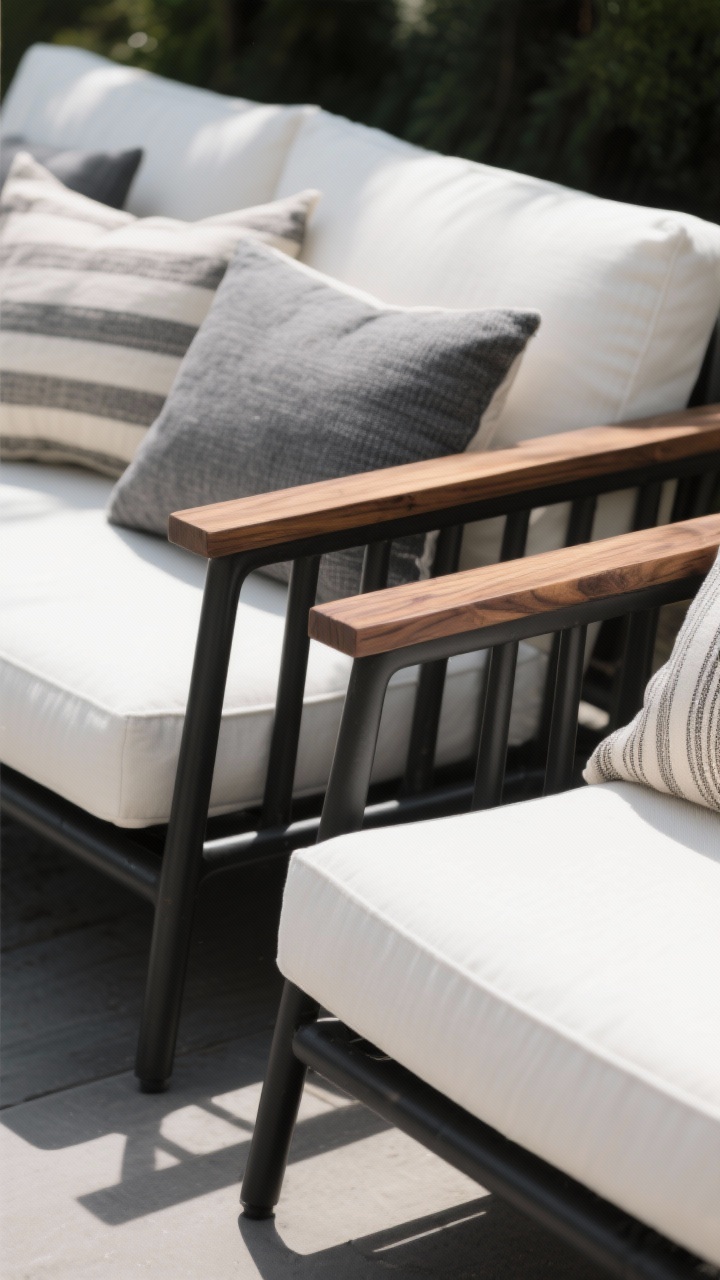
Before buying new furniture, try giving your current pieces a glow-up. A coat of paint plus fresh cushions can make old metal or wood look brand new.
What To Upgrade First
- Spray paint metal frames in matte black, charcoal, or soft white.
- Sand and stain wood for a richer finish, then seal for weather.
- Swap cushions to a tight color palette—think two main colors plus one accent.
- Add throw pillows in outdoor fabric with texture (stripes, linen-look, or subtle patterns).
Pro move: Limit patterns and keep it cohesive. A tight palette tells everyone you meant it.
6. Build a Budget-Friendly Privacy Screen
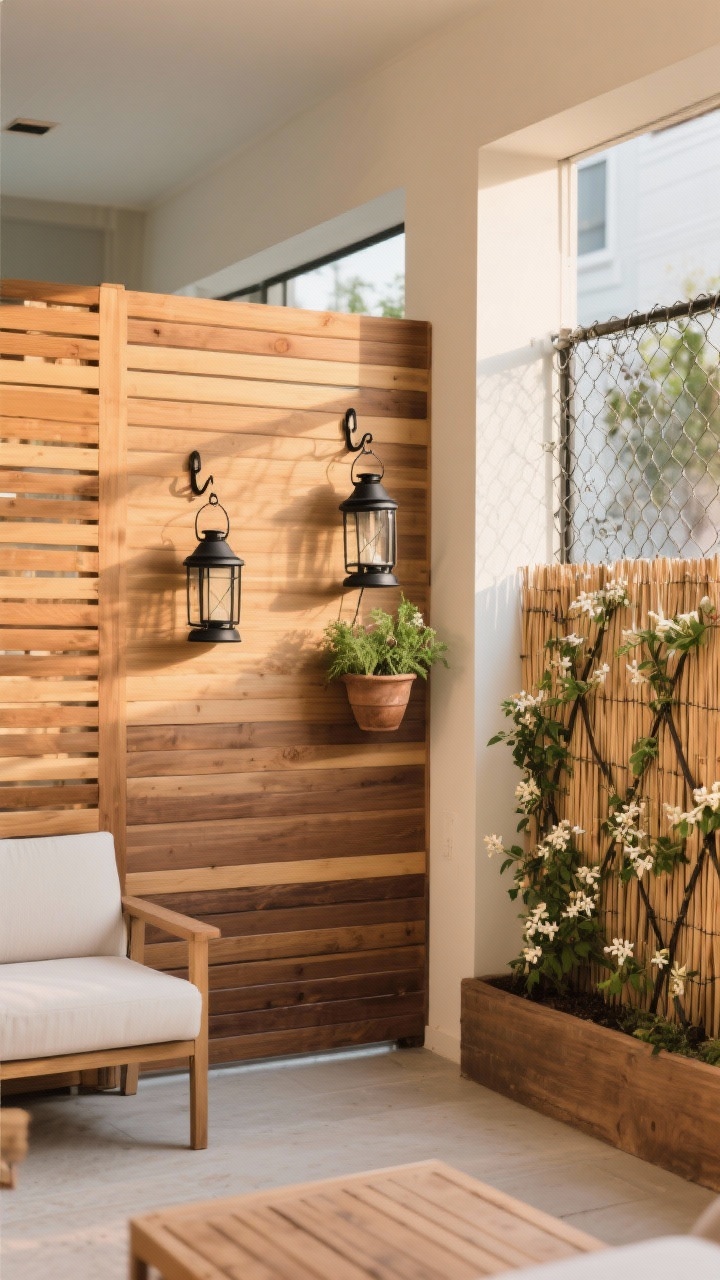
Privacy reads as luxury. Instead of pricey fencing, DIY a chic screen for a cozy, upscale feel—even in small yards.
Stylish Screen Ideas
- Horizontal slat screen using 1×4 cedar boards and simple posts—clean and modern.
- Bamboo or reed fencing as a quick wrap over chain-link (instant upgrade).
- Planter wall with stacked planters or a trellis and fast-growing vines (honeysuckle, jasmine, clematis).
Paint or stain to match your furniture for that designer, built-in look. Add hooks for lanterns or hanging herbs—double duty wins.
7. Add a Statement Path (It’s The Backyard Runway)

Paths are like eyeliner for your yard: they define everything. Even a simple walkway upgrades the whole vibe.
Affordable Path Options
- Stepping stones in gravel for an instant modern look.
- Flagstone with groundcover like creeping thyme between gaps—chef’s kiss.
- Brick in herringbone for classic charm with serious curb appeal.
Pro tip: Keep path width at least 30 inches so two people can walk comfortably. Narrow paths feel cheap; proper scale feels luxe.
8. Elevate With Containers And Garden Vignettes
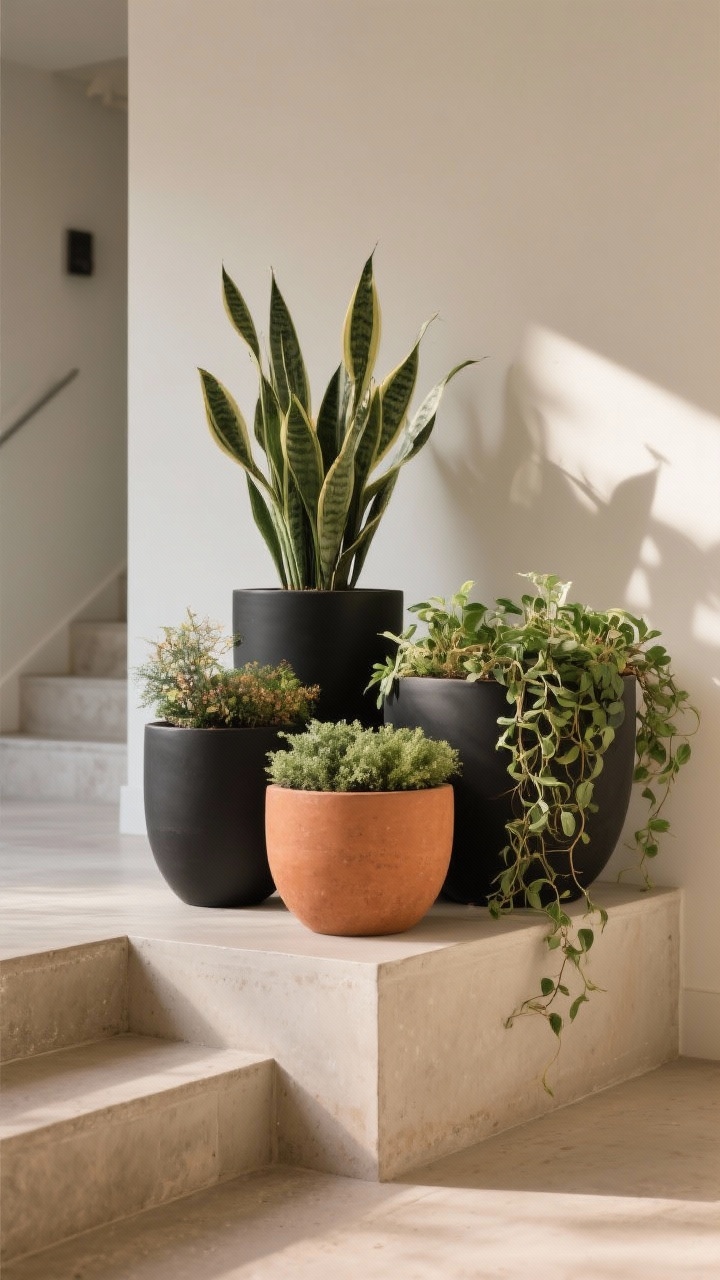
Containers are the fastest way to add polish. Group them in clusters and play with height for that editorial look.
Container Styling Basics
- Use the thriller–filler–spiller formula: one tall focal plant, medium fillers, and a trailing spiller.
- Stick to two pot colors (like black and terracotta) to avoid visual chaos.
- Vary sizes—one large, one medium, one small—grouped together looks intentional.
- Place vignettes at transitions: near steps, beside seating, or flanking a path.
IMO, matte black fiberstone planters look super high-end without the weight or the price tag.
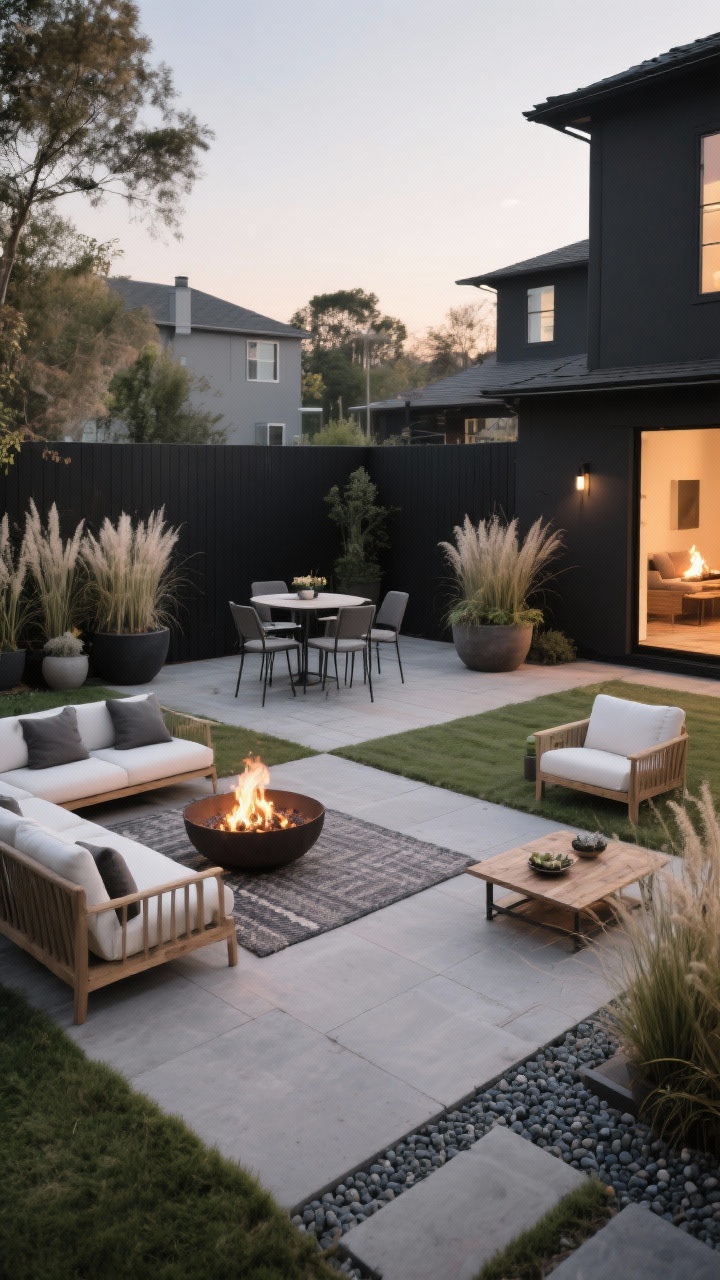
9. DIY A Fire Feature For Cozy Nights
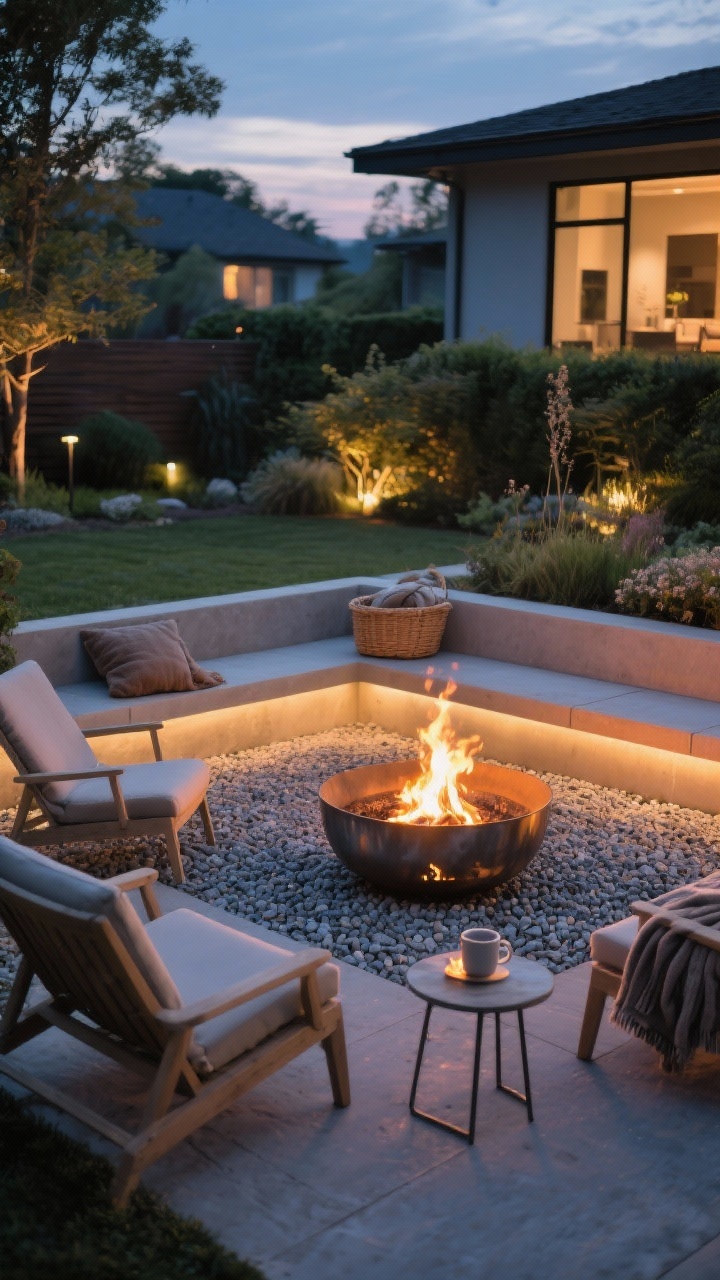
Nothing says “stay awhile” like a fire feature. You don’t need a custom masonry pit to get the vibe.
Budget Fire Feature Ideas
- Steel fire bowl on a gravel pad—simple, safe, and stylish.
- Concrete paver pit using retaining wall blocks—stack, secure with adhesive, done.
- Tabletop fire bowl with gel fuel for tiny patios or balconies.
Surround it with low chairs or built-in bench seating. Add a basket of throws and a side table for mugs—instant boutique-hotel energy.
10. Style The Details: Textiles, Trays, And Art
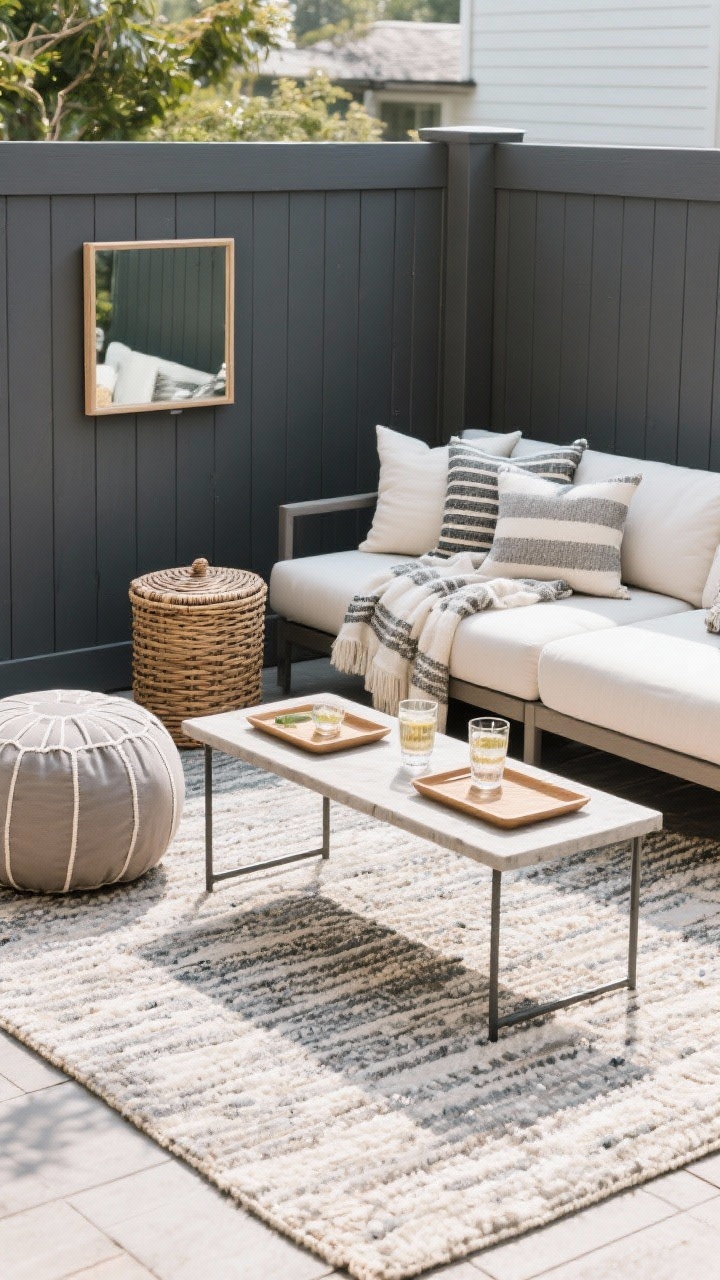
Details are where the luxe lives. Layer in textures and accessories so your backyard feels designed, not just assembled.
Styling Checklist
- Outdoor rug to ground the main seating area (look for quick-dry weaves).
- Side tables and trays so drinks and snacks have a home—practical and polished.
- Outdoor art or mirrors on a fence or wall (weatherproof frames FTW).
- Textiles: throws, pillows, and even a pouf—choose fade-resistant fabrics.
- Spruce your shed or fence with a fresh coat of paint in a sophisticated tone (charcoal, olive, or taupe).
Keep clutter in cute storage: lidded baskets or a weatherproof bench. Your space will look magazine-ready even on a random Tuesday.
Bonus Tips To Stretch Your Budget Further
- Shop the off-season for patio furniture and planters—late summer and fall deals are wild.
- Mix high and low: splurge on the rug or chairs, save on side tables and planters.
- Power wash everything—pavers, siding, fences. Clean equals new (and costs almost nothing).
- Repeat materials—same gravel, stain, or paint across zones creates a custom-look finish.
There you have it: ten budget-friendly moves that make your backyard look designer without a designer price tag. Start with one zone, add good lighting, and layer in plants and textiles. Before you know it, you’ll have the backyard everyone wants to hang out in—no splurging required. Now go grab that string light set and make some magic.