
Small Kitchen Remodeling on a Budget Using Smart Layout Changes
A small kitchen can feel tight, cluttered, and hard to use—but you don’t need a full gut renovation to make it work better. The biggest wins often come from smart layout changes that improve flow, clearances, and storage where you actually need it.
Below are budget-friendly layout moves that can transform how your kitchen functions, using careful planning, a few targeted swaps, and strategic re-positioning (often without moving every pipe and wire).
1) Map Your Work Triangle (or Work Zones) Before You Move Anything
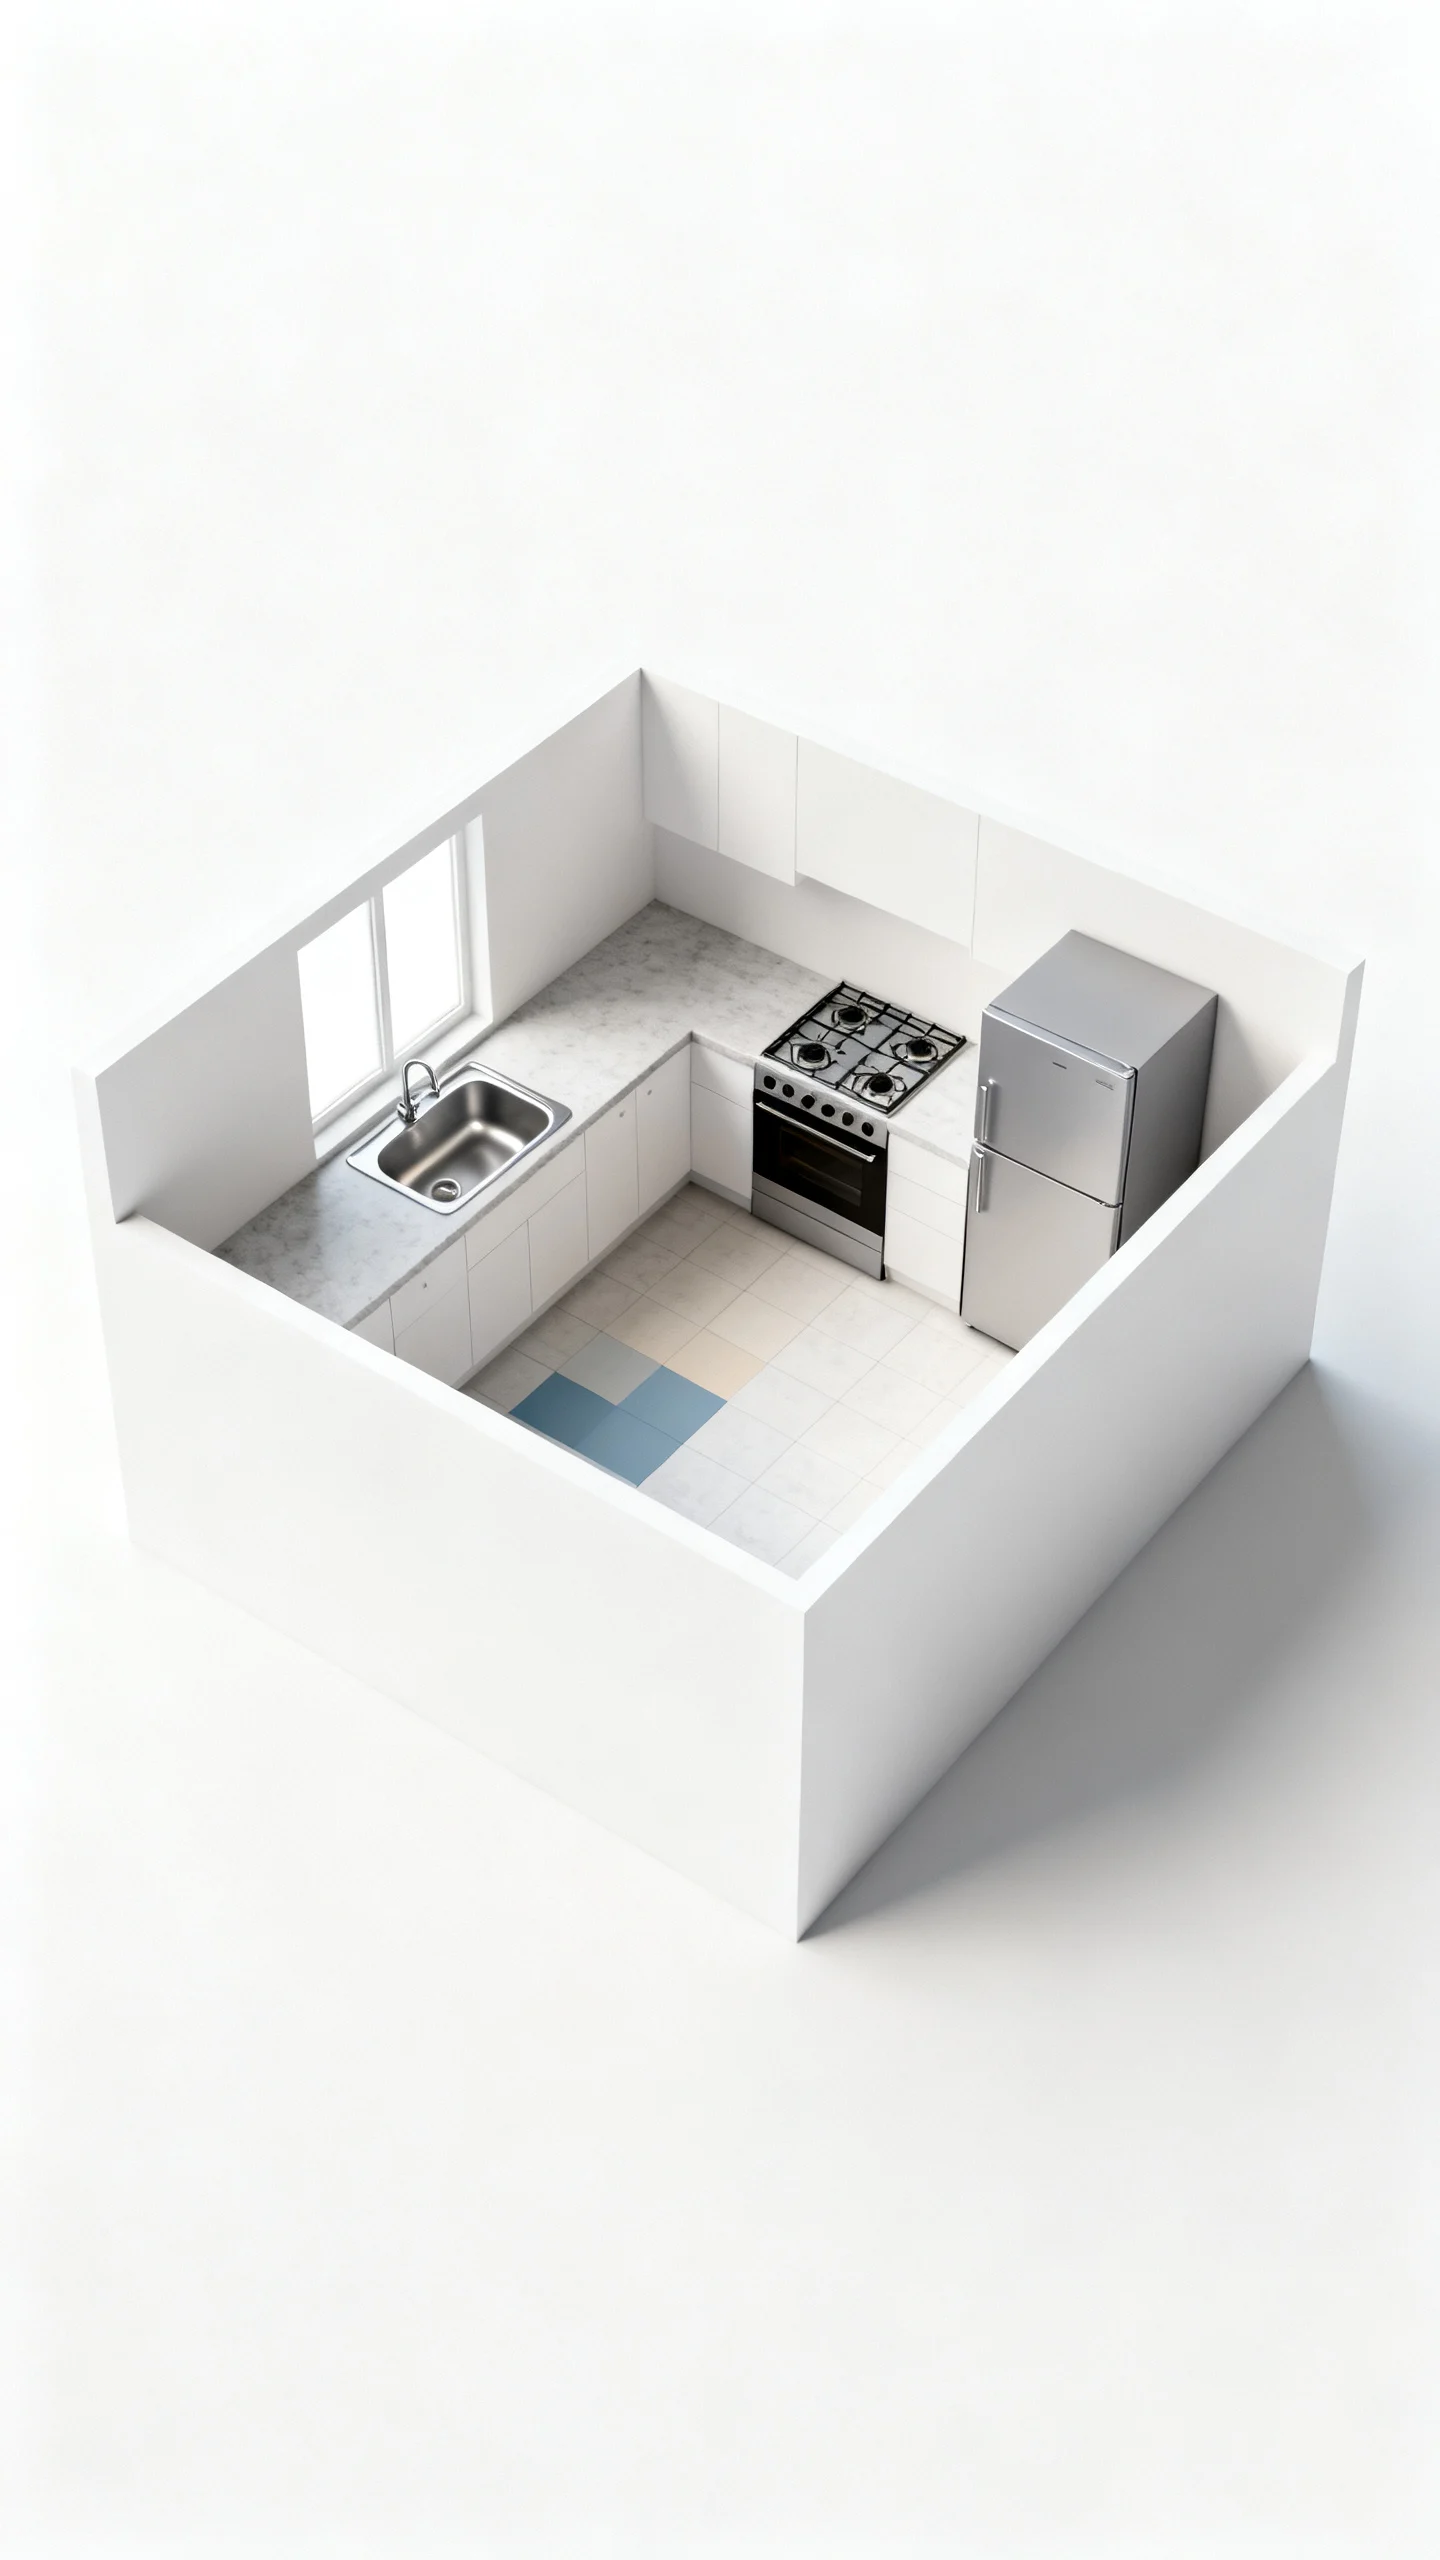
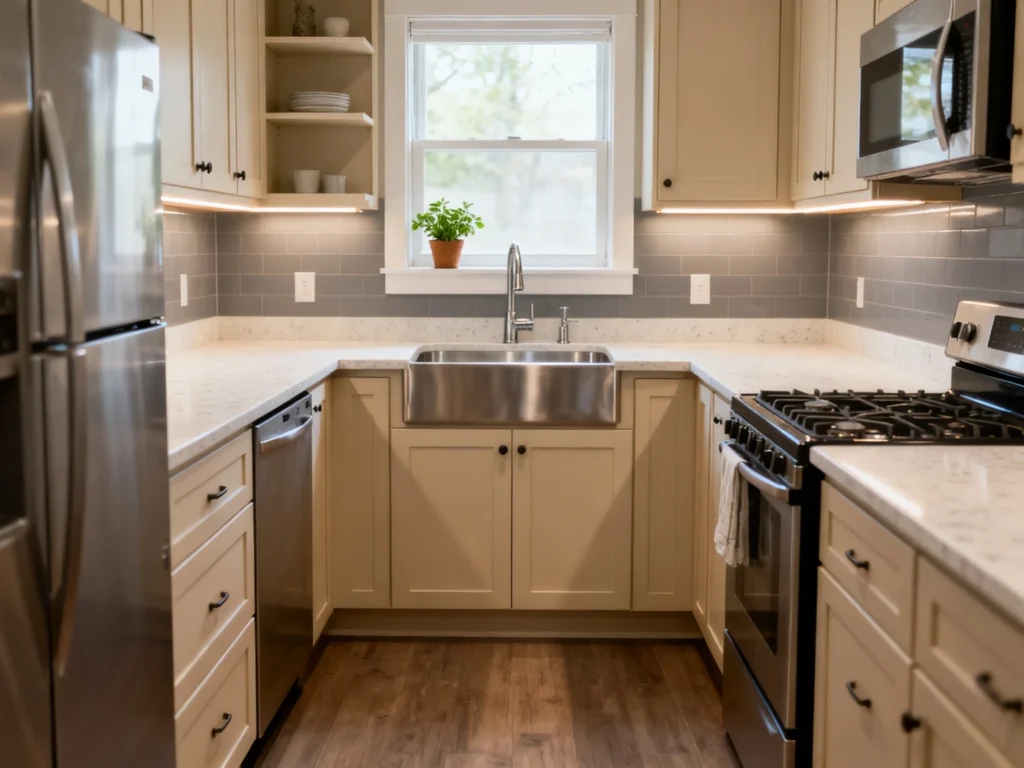
Start with a simple sketch of your current kitchen and mark the sink, cooktop/range, and refrigerator. In small kitchens, the classic “work triangle” still helps: aim for clear, short paths between these three points without obstacles. If your kitchen is a galley or single-wall, think in work zones instead—prep zone near the sink, cooking zone by the range, and a landing zone next to the fridge.
Budget tip: Use painter’s tape on the floor to outline where doors open (fridge, oven) and where you stand to prep. If you’re constantly stepping around an open dishwasher or squeezing past a fridge door, that’s your first clue that a low-cost layout adjustment will pay off more than new finishes.
2) Keep Walkways Comfortable: Prioritize Clearance Over Extra Cabinets
In a small kitchen, clearance is the luxury. A good target is 36 inches for main walkways; 42 inches is even better if two people cook together, but many compact kitchens can’t reach that. The most important goal: avoid pinch points where door swings and traffic overlap (especially near the fridge and dishwasher).
If your kitchen feels jammed, consider removing one problematic base cabinet run (or trimming depth in a specific spot) to regain flow. Standard base cabinets are about 24 inches deep; in select areas, reducing to 18–21 inches (like a shallow pantry run or a short base section) can create breathing room without sacrificing the entire storage wall.
3) Swap a Door Swing for a Drawer or Slide: Fix the “Collision Zone”
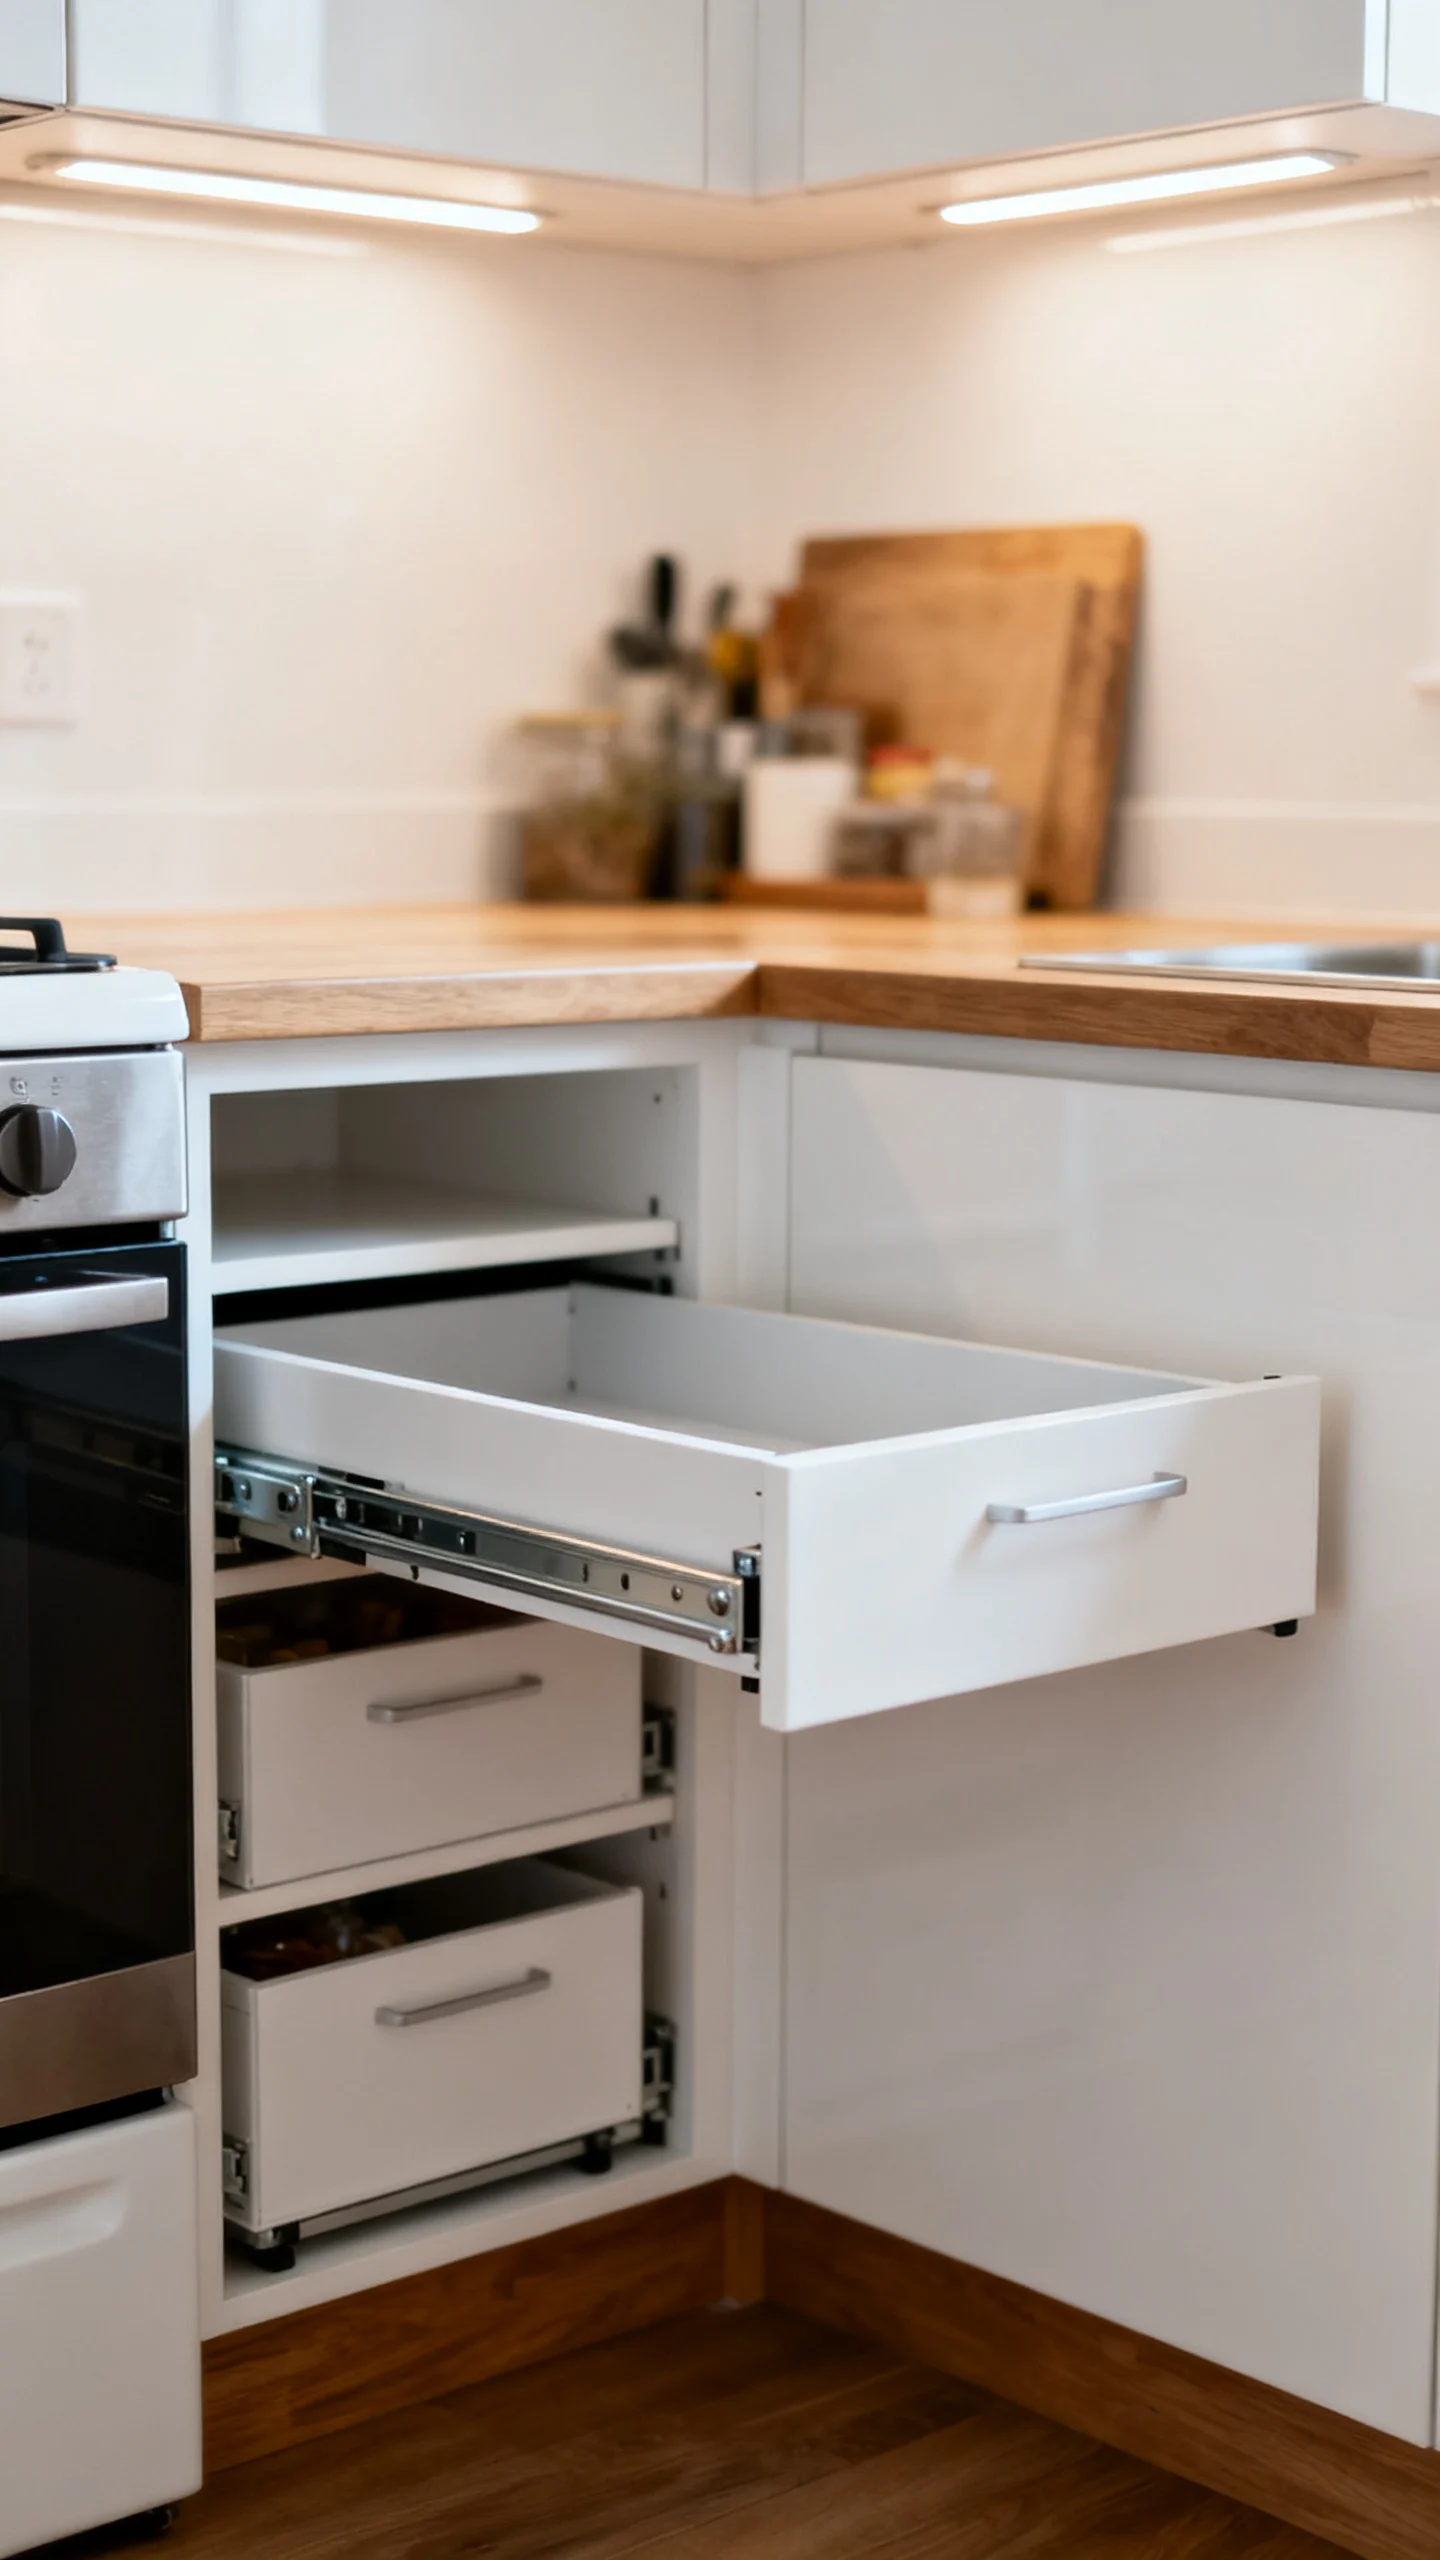
One of the cheapest “layout changes” is changing how storage opens. Door swings create dead zones in tight kitchens because you need standing room to open and access shelves. Converting lower cabinets to deep drawers (or adding roll-out trays) lets you access storage while standing closer, reducing awkward shuffles in a narrow aisle.
Where it matters most: the cabinet closest to the range (for pots/pans), and the cabinet closest to the sink (for trash, cleaning supplies, or everyday dishes). If a full drawer conversion isn’t in the budget, add pull-out hardware to existing boxes—you keep the cabinet footprint but dramatically improve movement and usability.
4) Move the Fridge “Out of the Corner” to Stop Traffic Jams
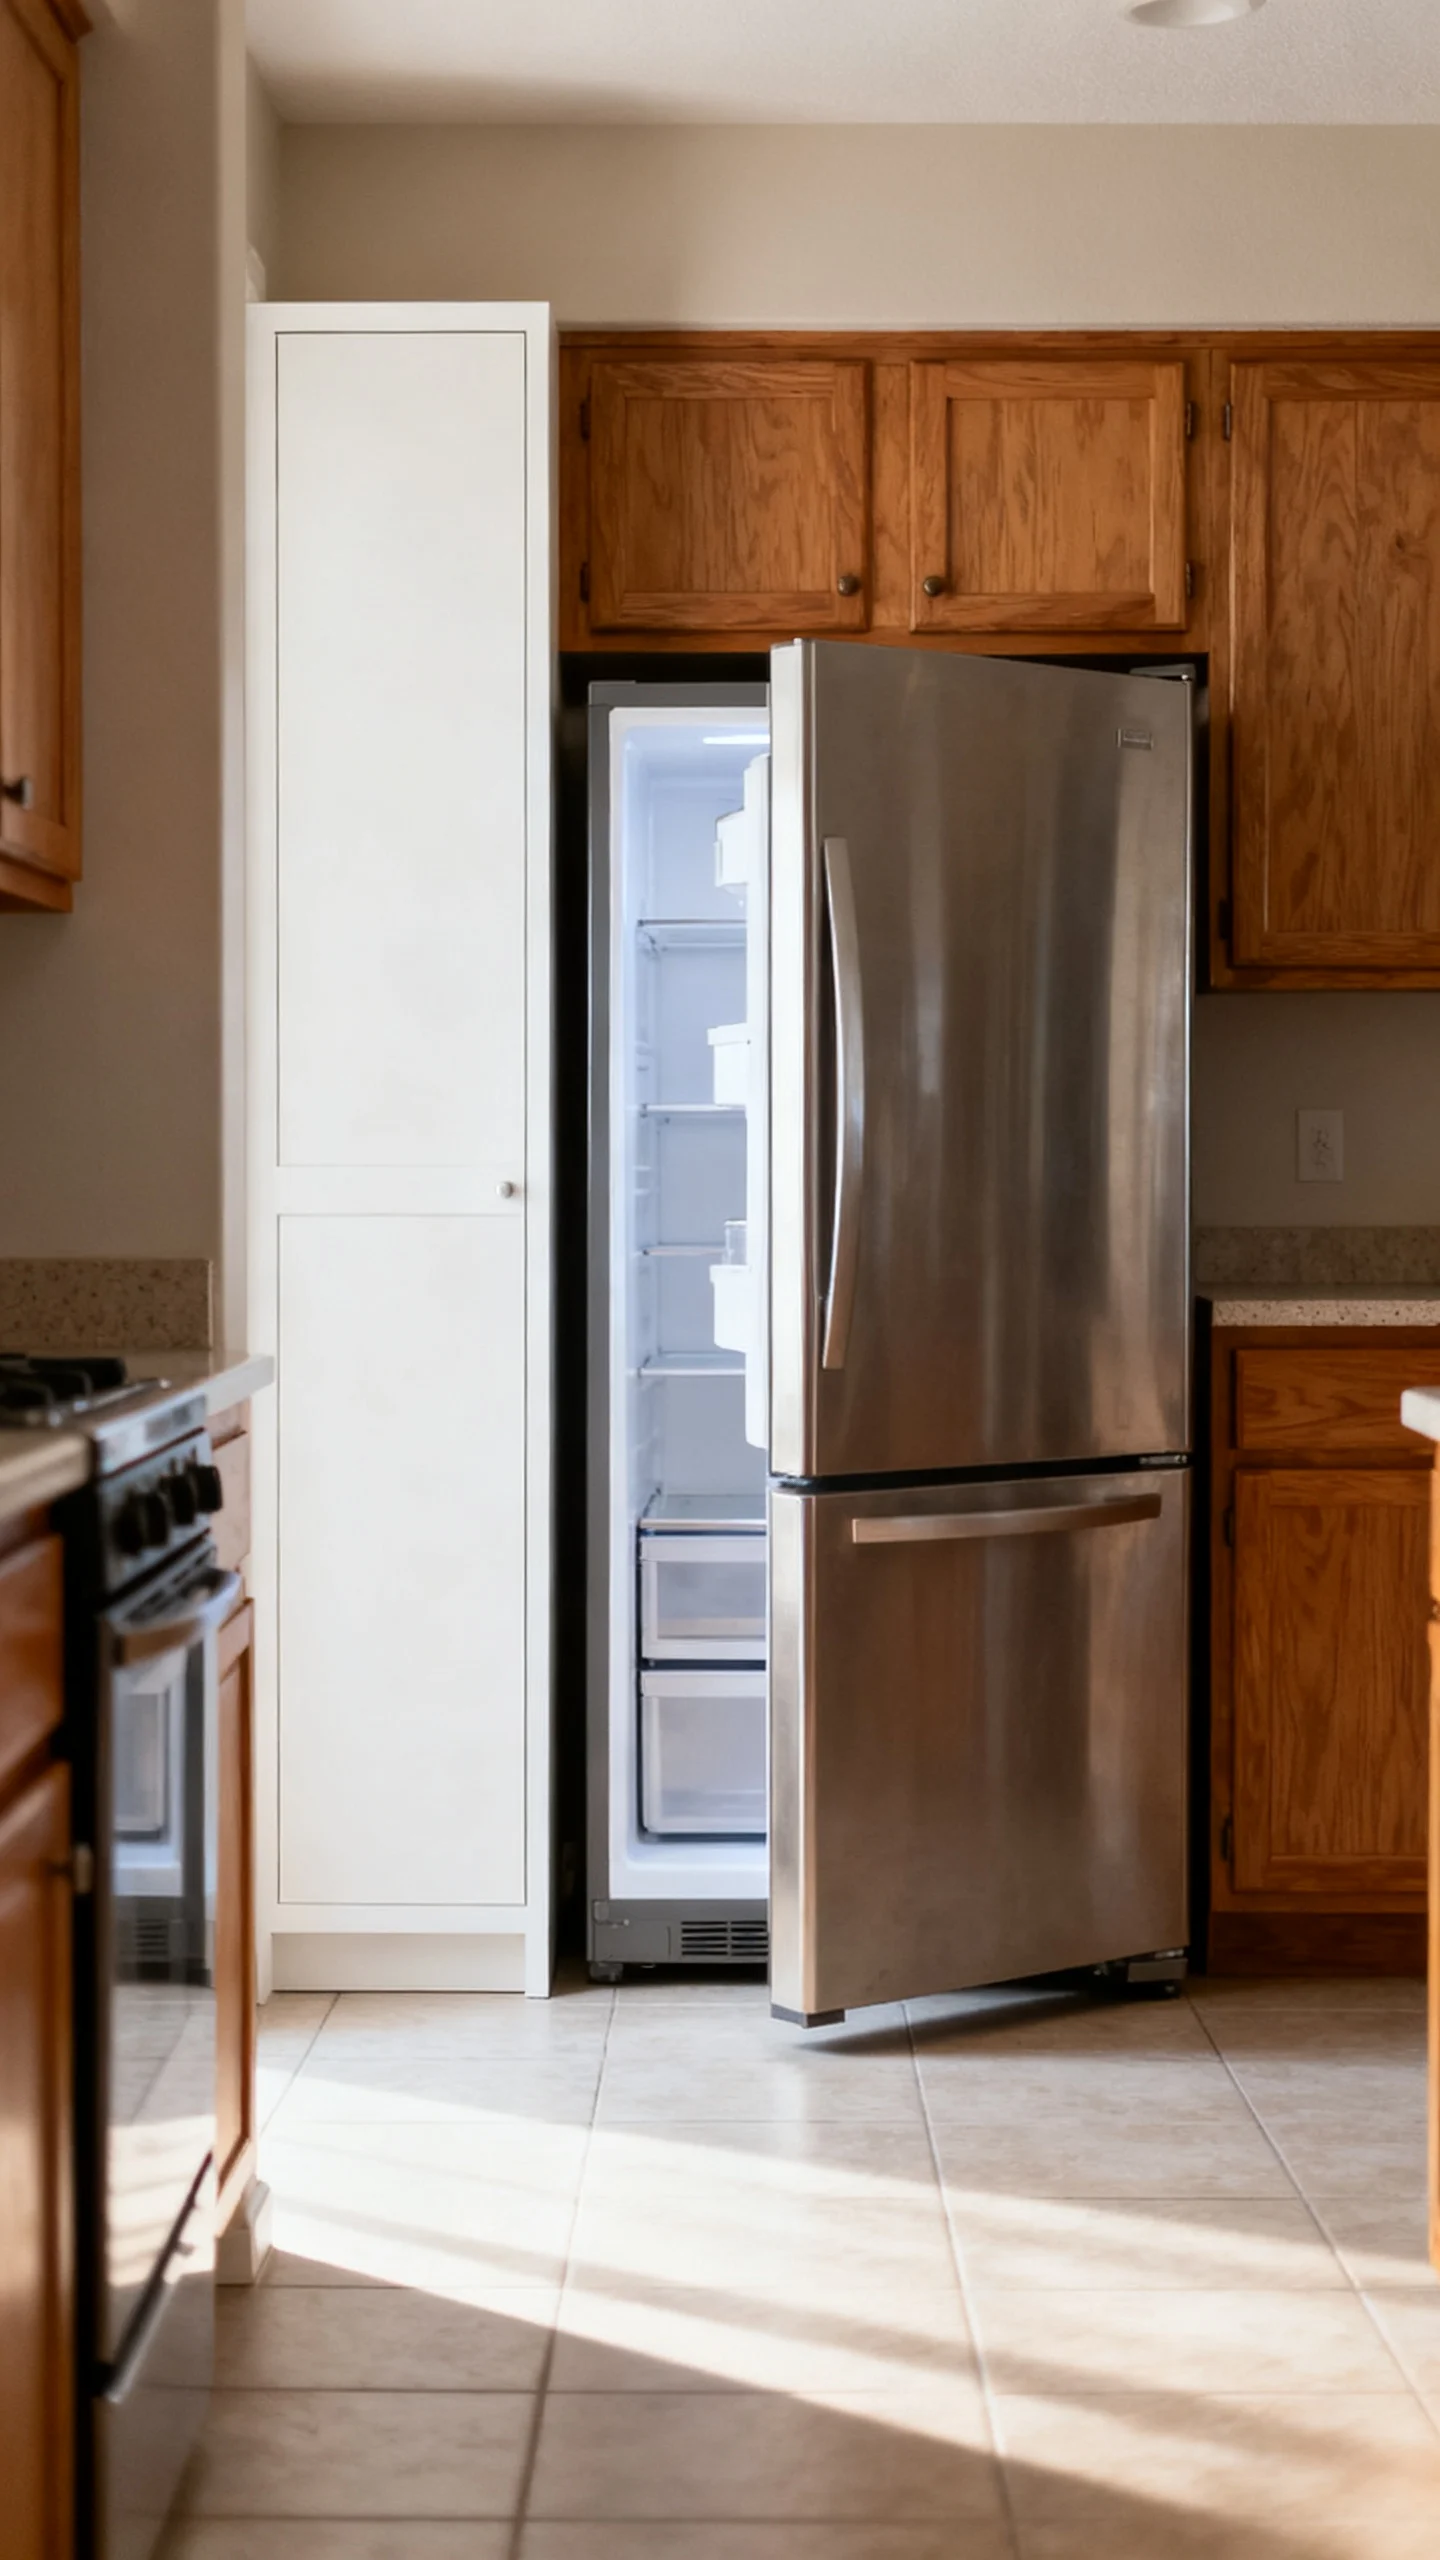
A fridge crammed into a corner often blocks itself: the door can’t open fully, drawers can’t pull out, and anyone grabbing groceries shuts down the whole kitchen. If possible, relocate the fridge to the end of a run or a spot where the door can open at least 90 degrees without hitting a wall or cabinet. Many fridge interiors need more than 90 degrees to fully remove crispers—so test your model’s requirements.
Budget-friendly approach: Instead of moving plumbing, focus on shifting tall elements. Sometimes you can swap the fridge with a pantry cabinet, move a broom closet-style unit to another wall, or choose a counter-depth or narrower fridge (even 3–6 inches can change everything). Always plan for a landing area: aim for 15 inches of countertop on the latch side of the fridge, or the nearest feasible surface.
5) Recenter the Sink for a Better Prep Run (Without Relocating Pipes Far)
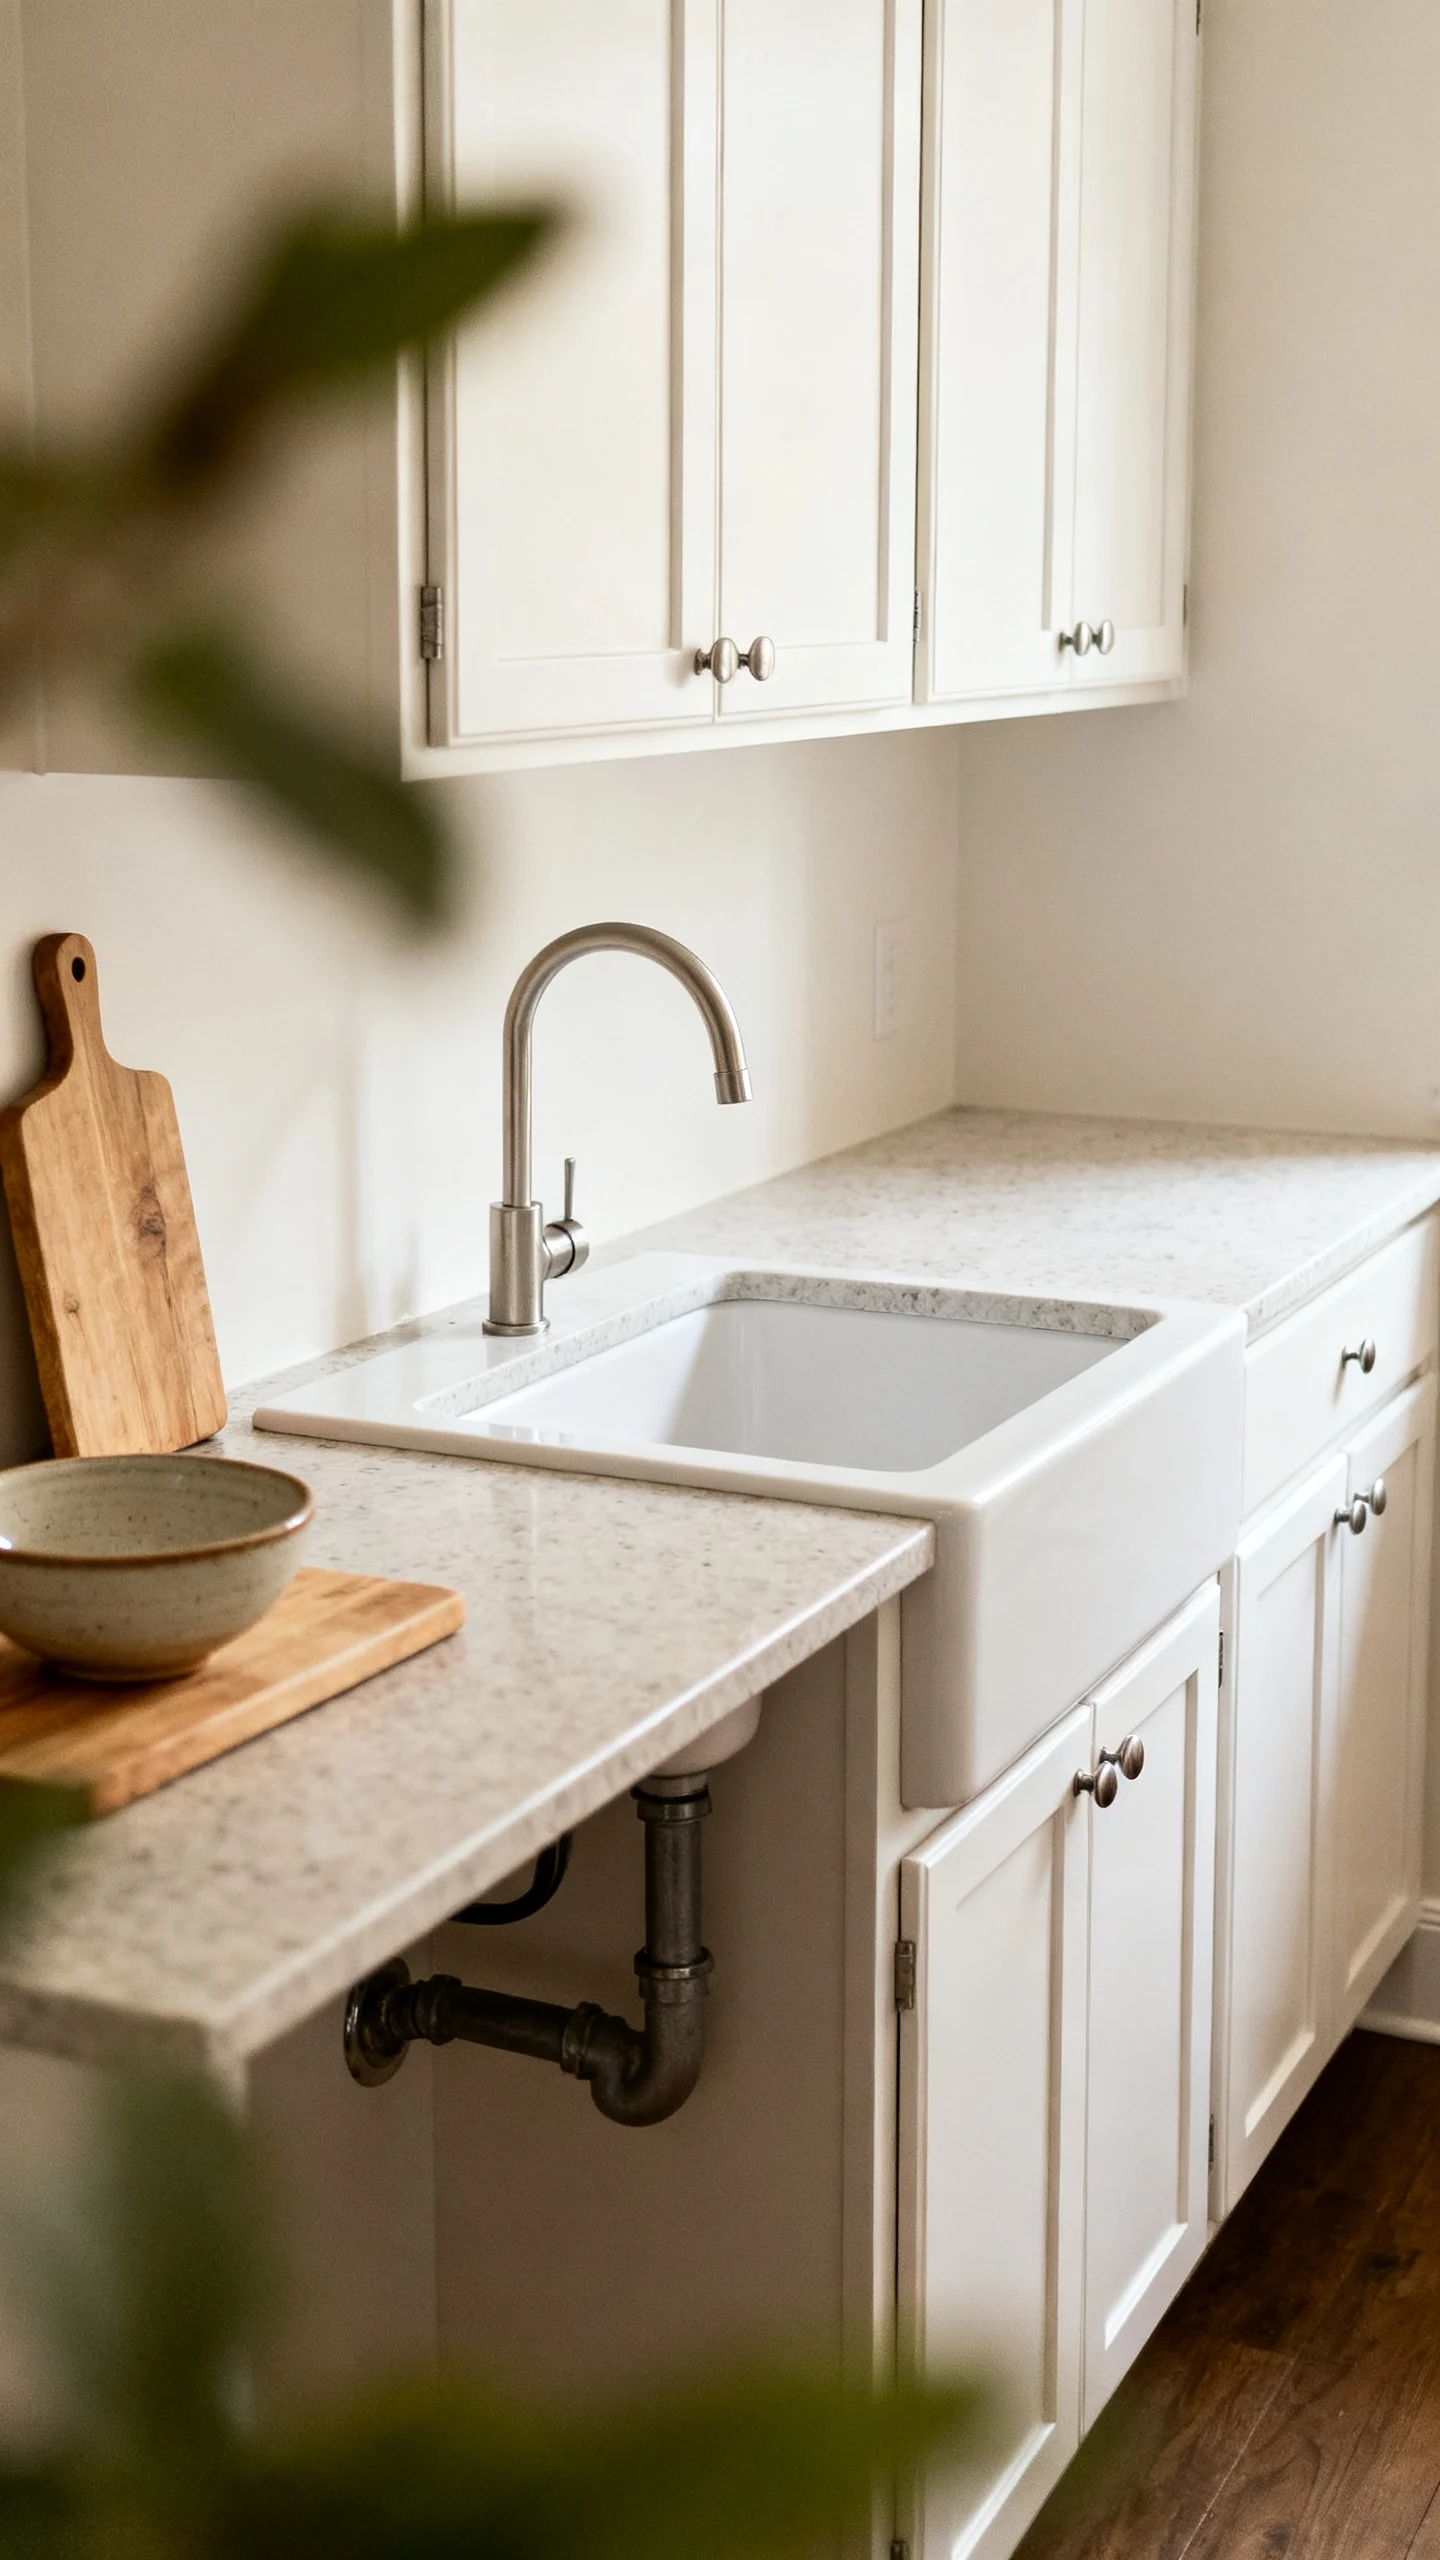
The sink is the heart of most small kitchens. If you have an awkward corner sink or a sink that steals the only usable prep space, a small shift can unlock a longer, more functional counter. The budget goal is to keep plumbing moves minimal—shifting the sink within the same cabinet run is typically cheaper than moving it across the room.
Clearance targets: leave at least 24 inches of continuous counter on one side of the sink for prep, and 18 inches on the other side when possible. If you can’t get both, prioritize the side that’s closest to the fridge (for unpacking and rinsing produce). Even moving the sink 12–18 inches can create a surprisingly workable prep zone.
6) Replace a Peninsula With a Slim “Pass-Through” or Shortened Overhang
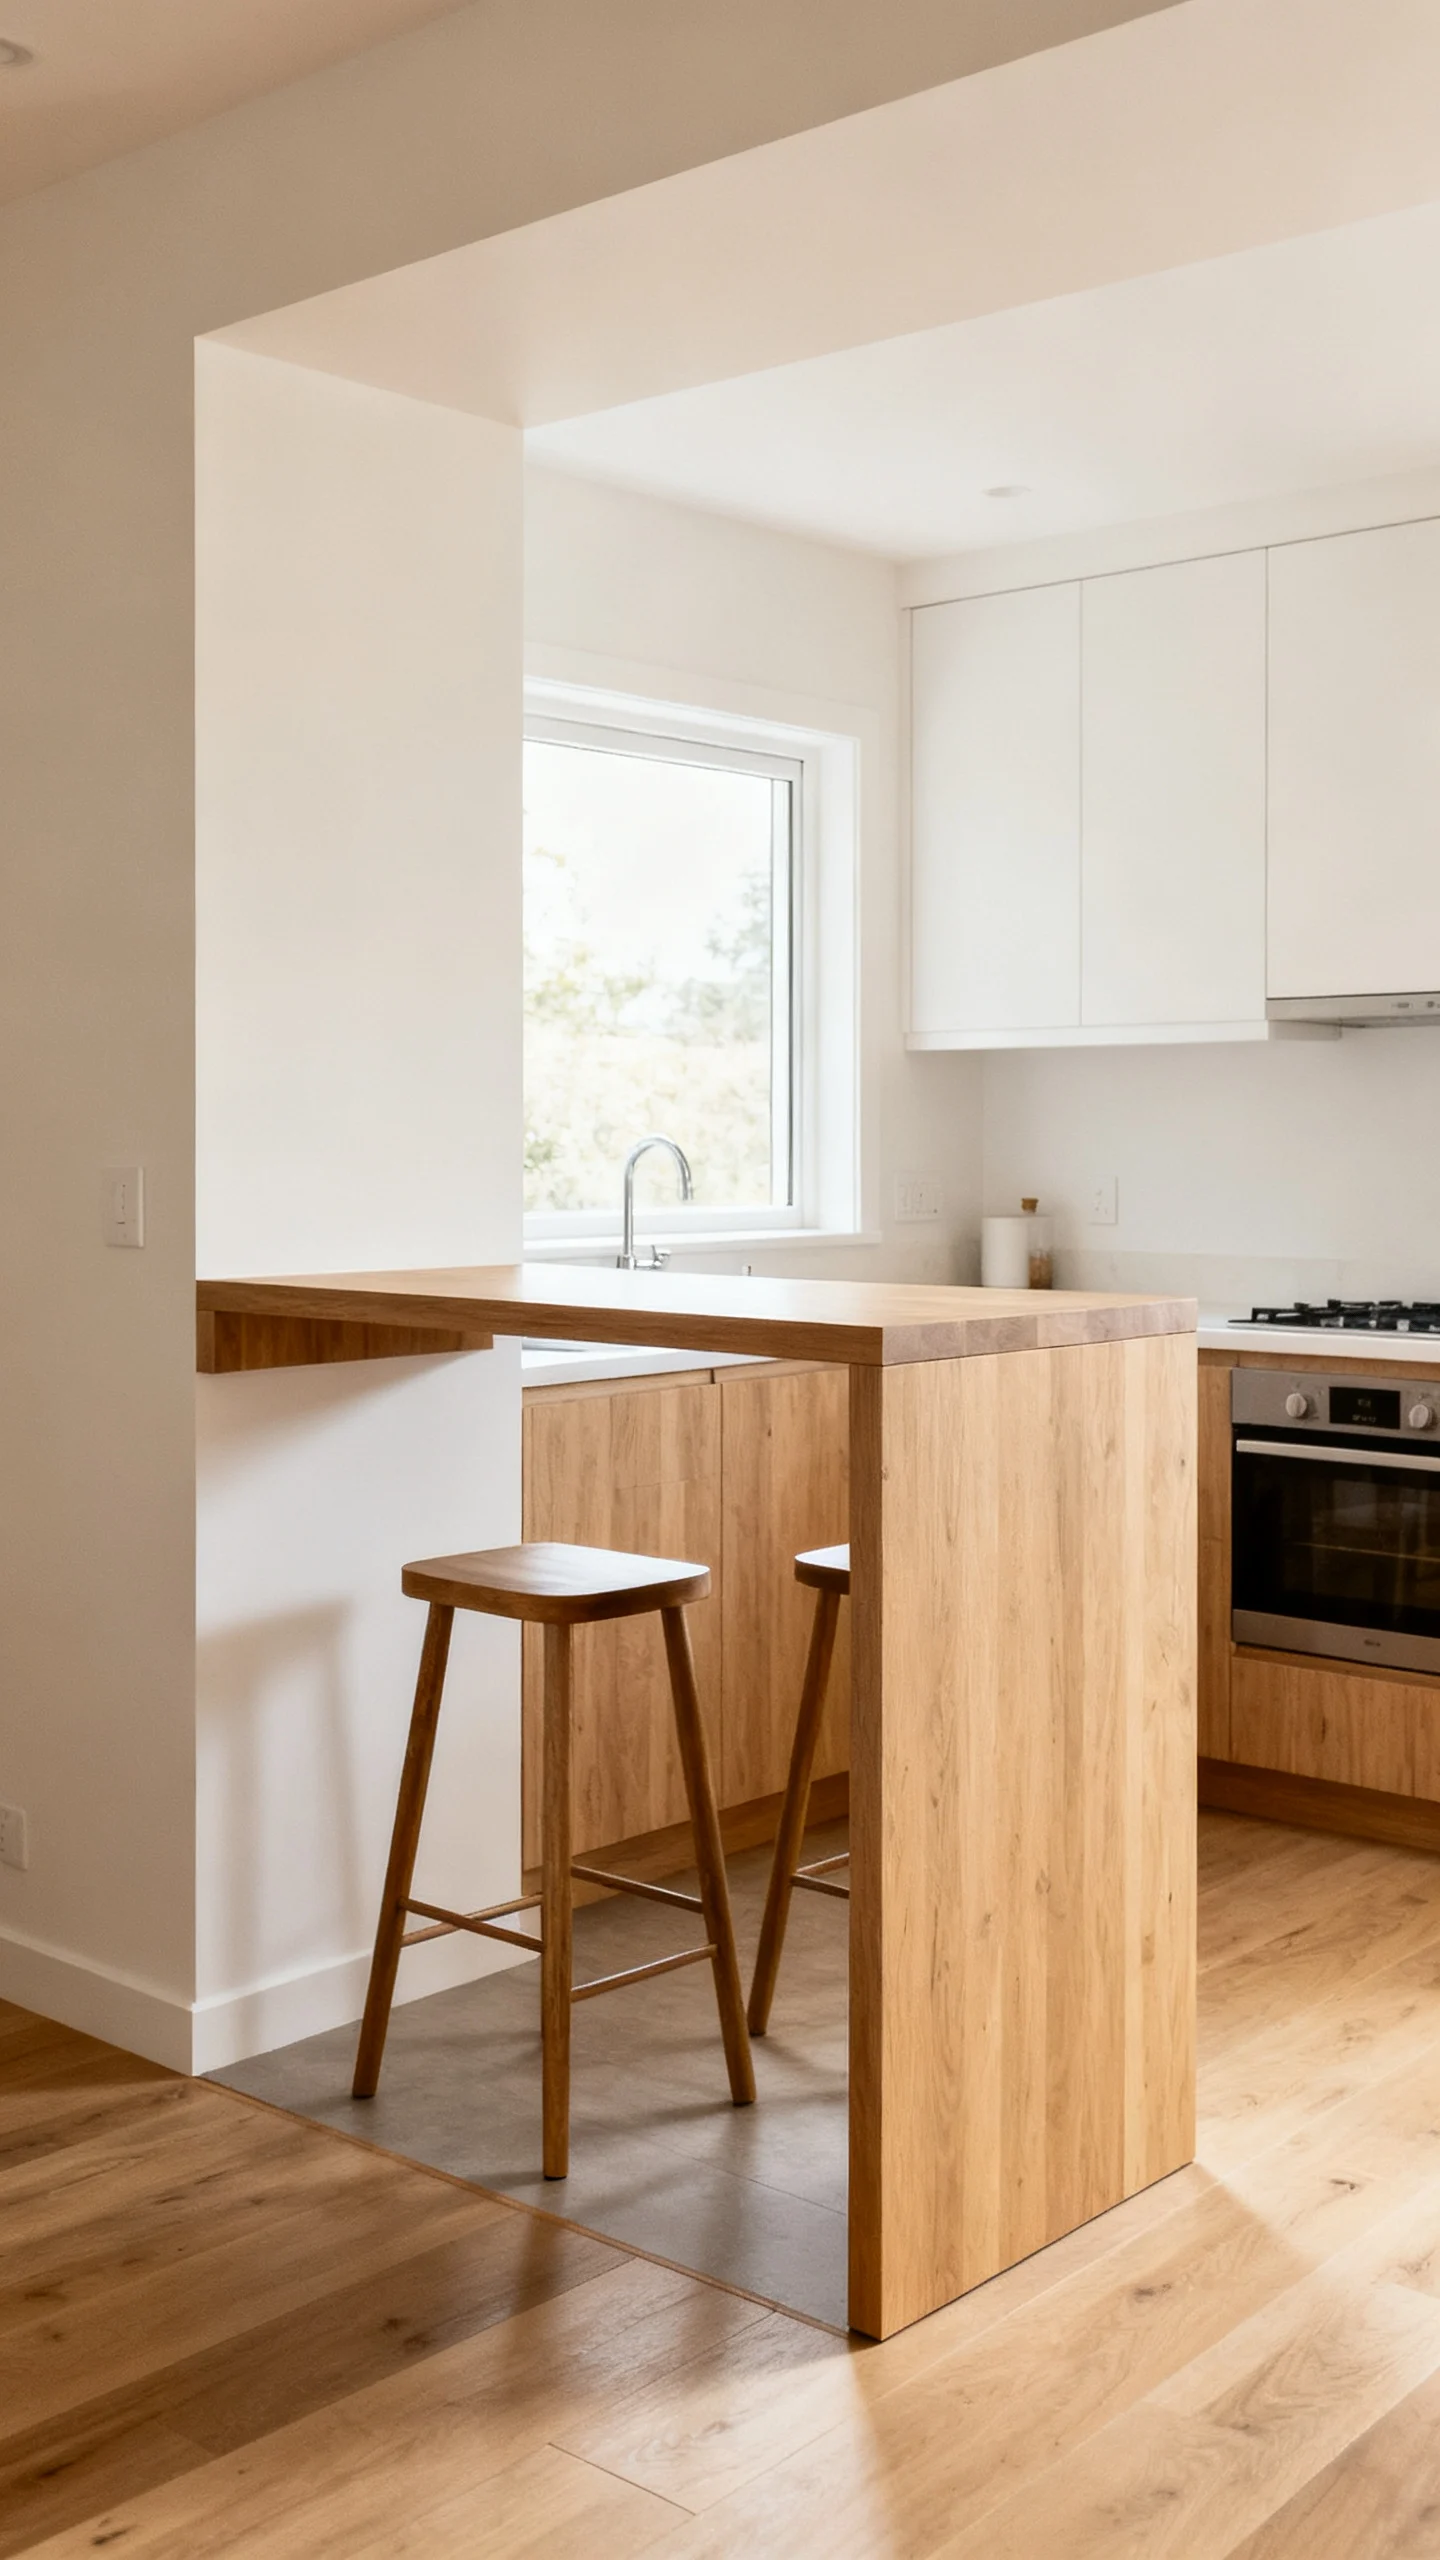
Peninsulas are common in small kitchens—and they’re also a common reason kitchens feel blocked. If the peninsula creates a tight choke point, consider shortening it, squaring off an angled end, or switching to a slimmer design that preserves some counter without hijacking circulation.
Useful measurements: for seating, a typical overhang is about 12 inches (more for comfortable knees), but in a small kitchen that overhang often steals walkway width. If your priority is cooking, not bar seating, reduce the overhang or remove seating entirely and create a clean, easy-to-pass edge. You can also convert part of the peninsula into shallow storage (think 12–15 inches deep) on the outer side to reduce bulk while still gaining function.
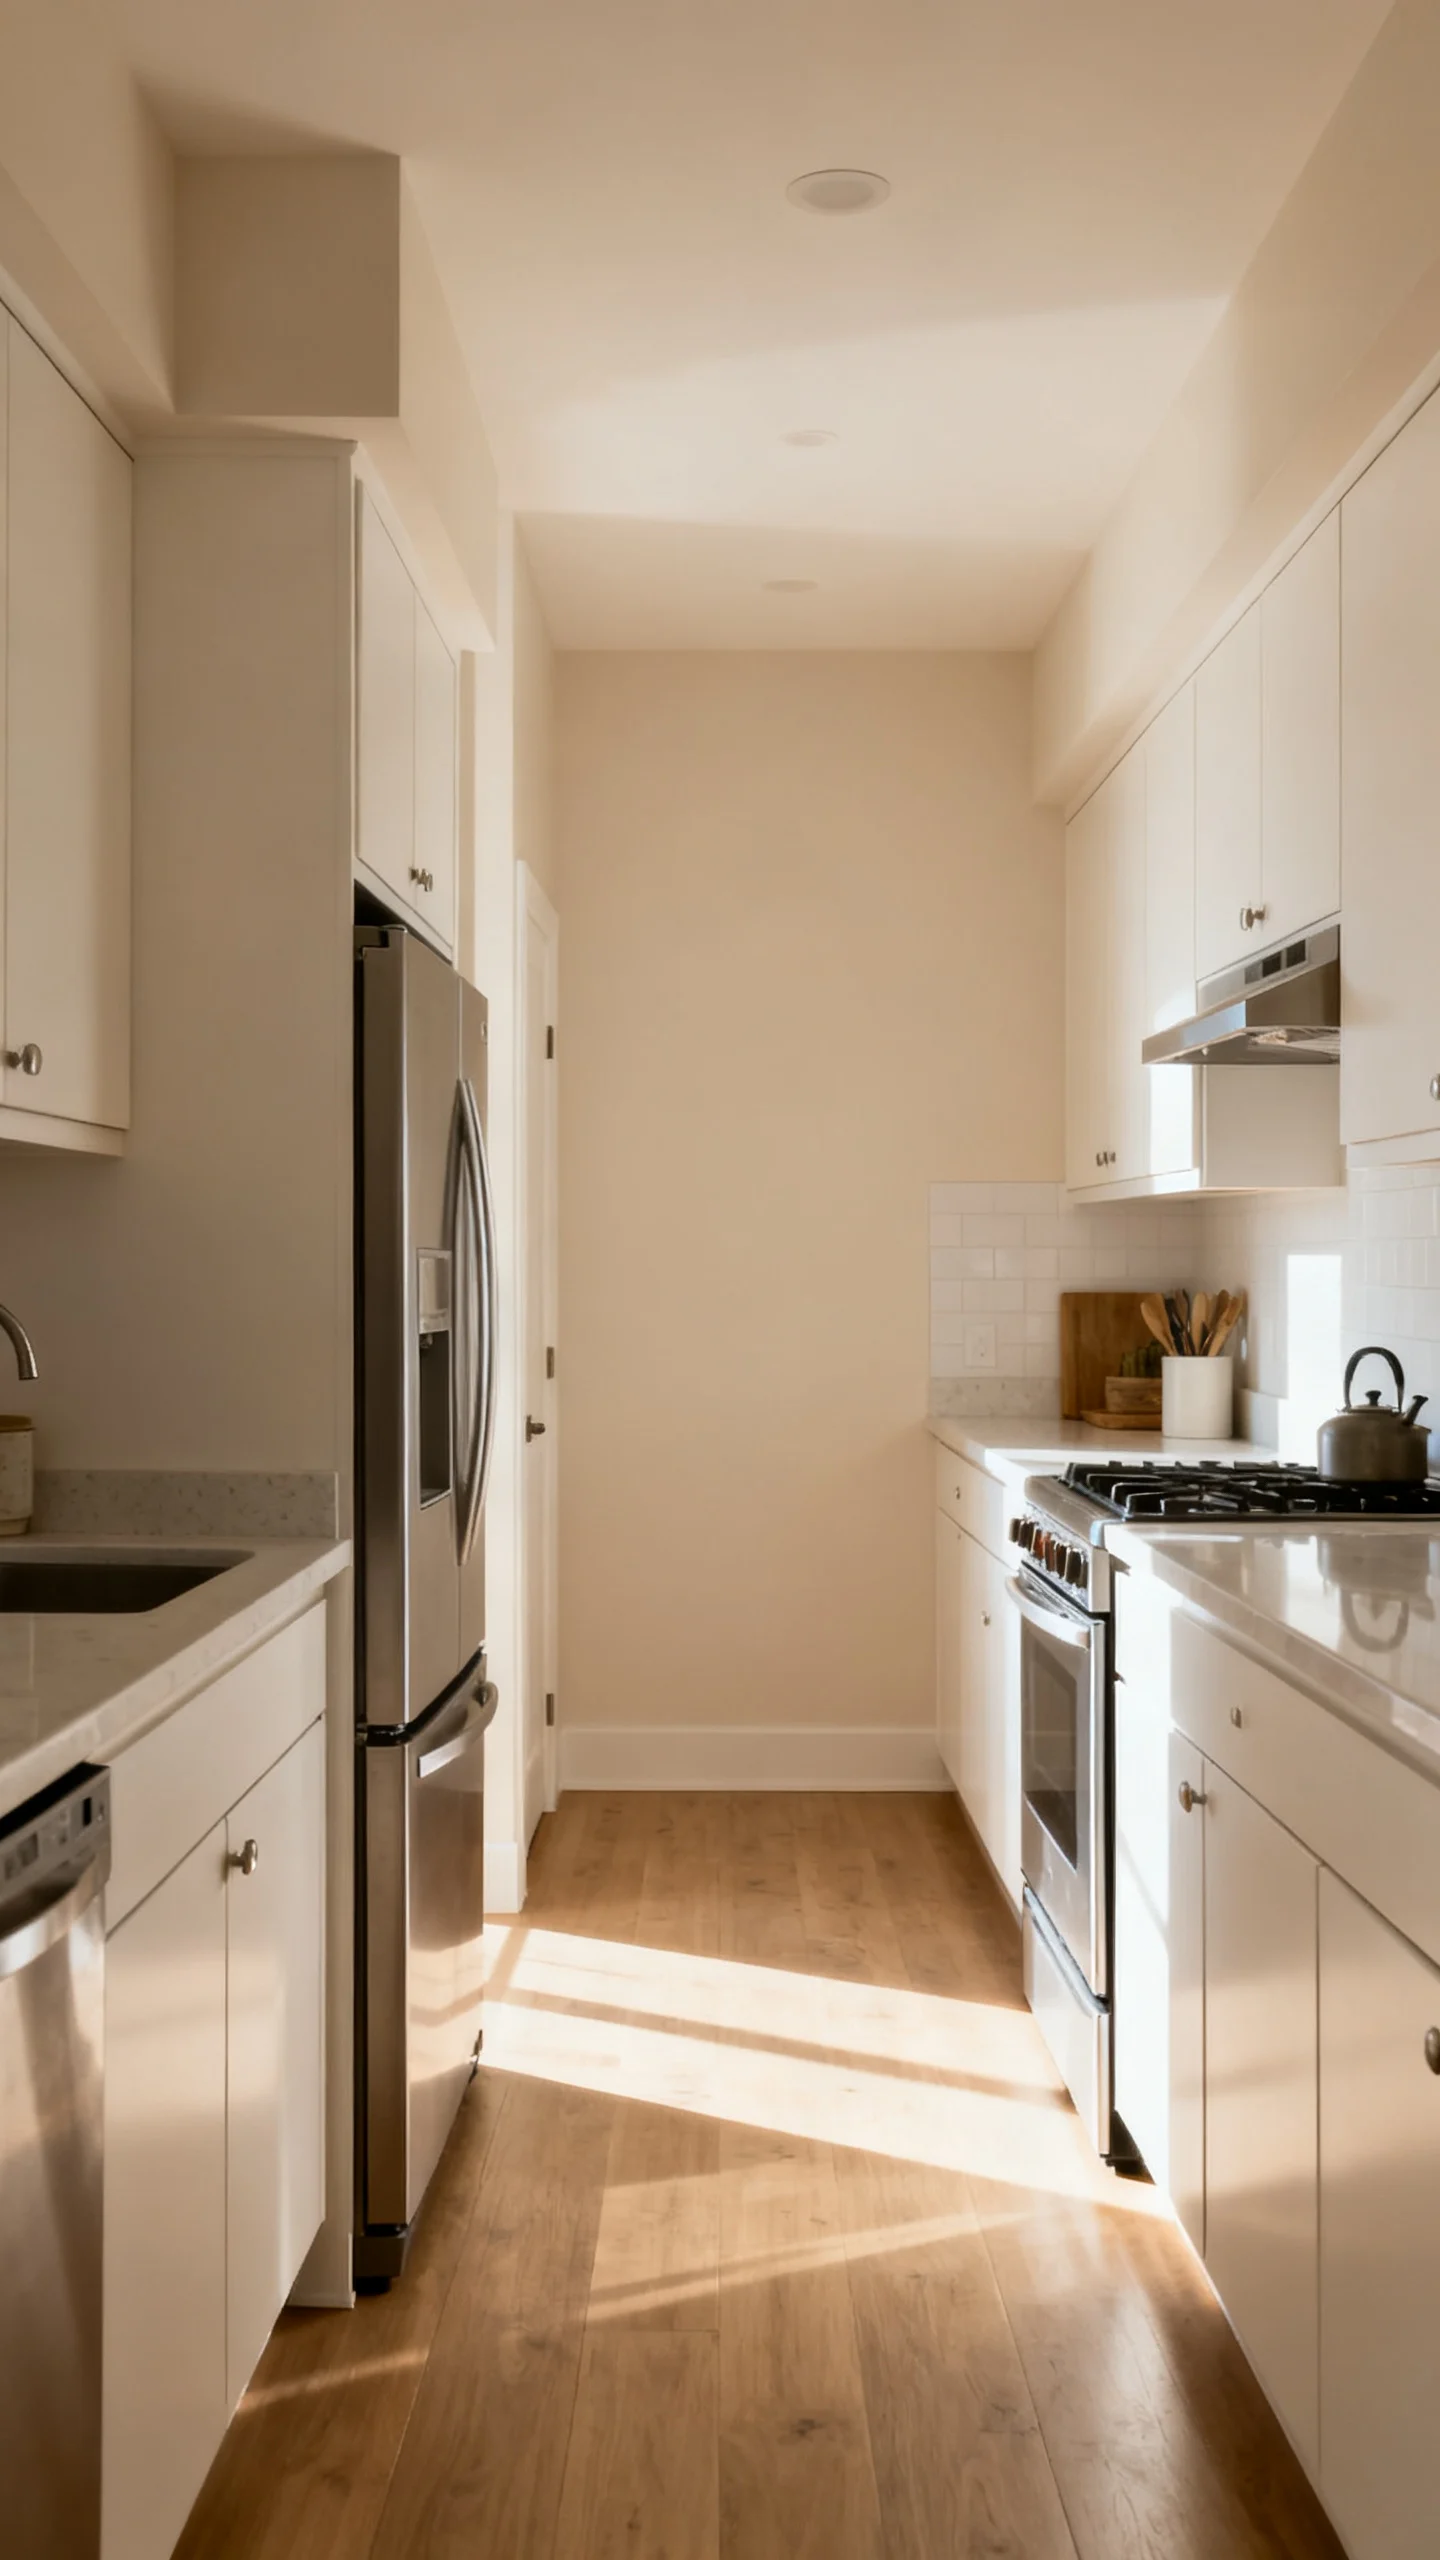
7) Consider a Galley Upgrade: Make the Two-Sided Layout Work Harder
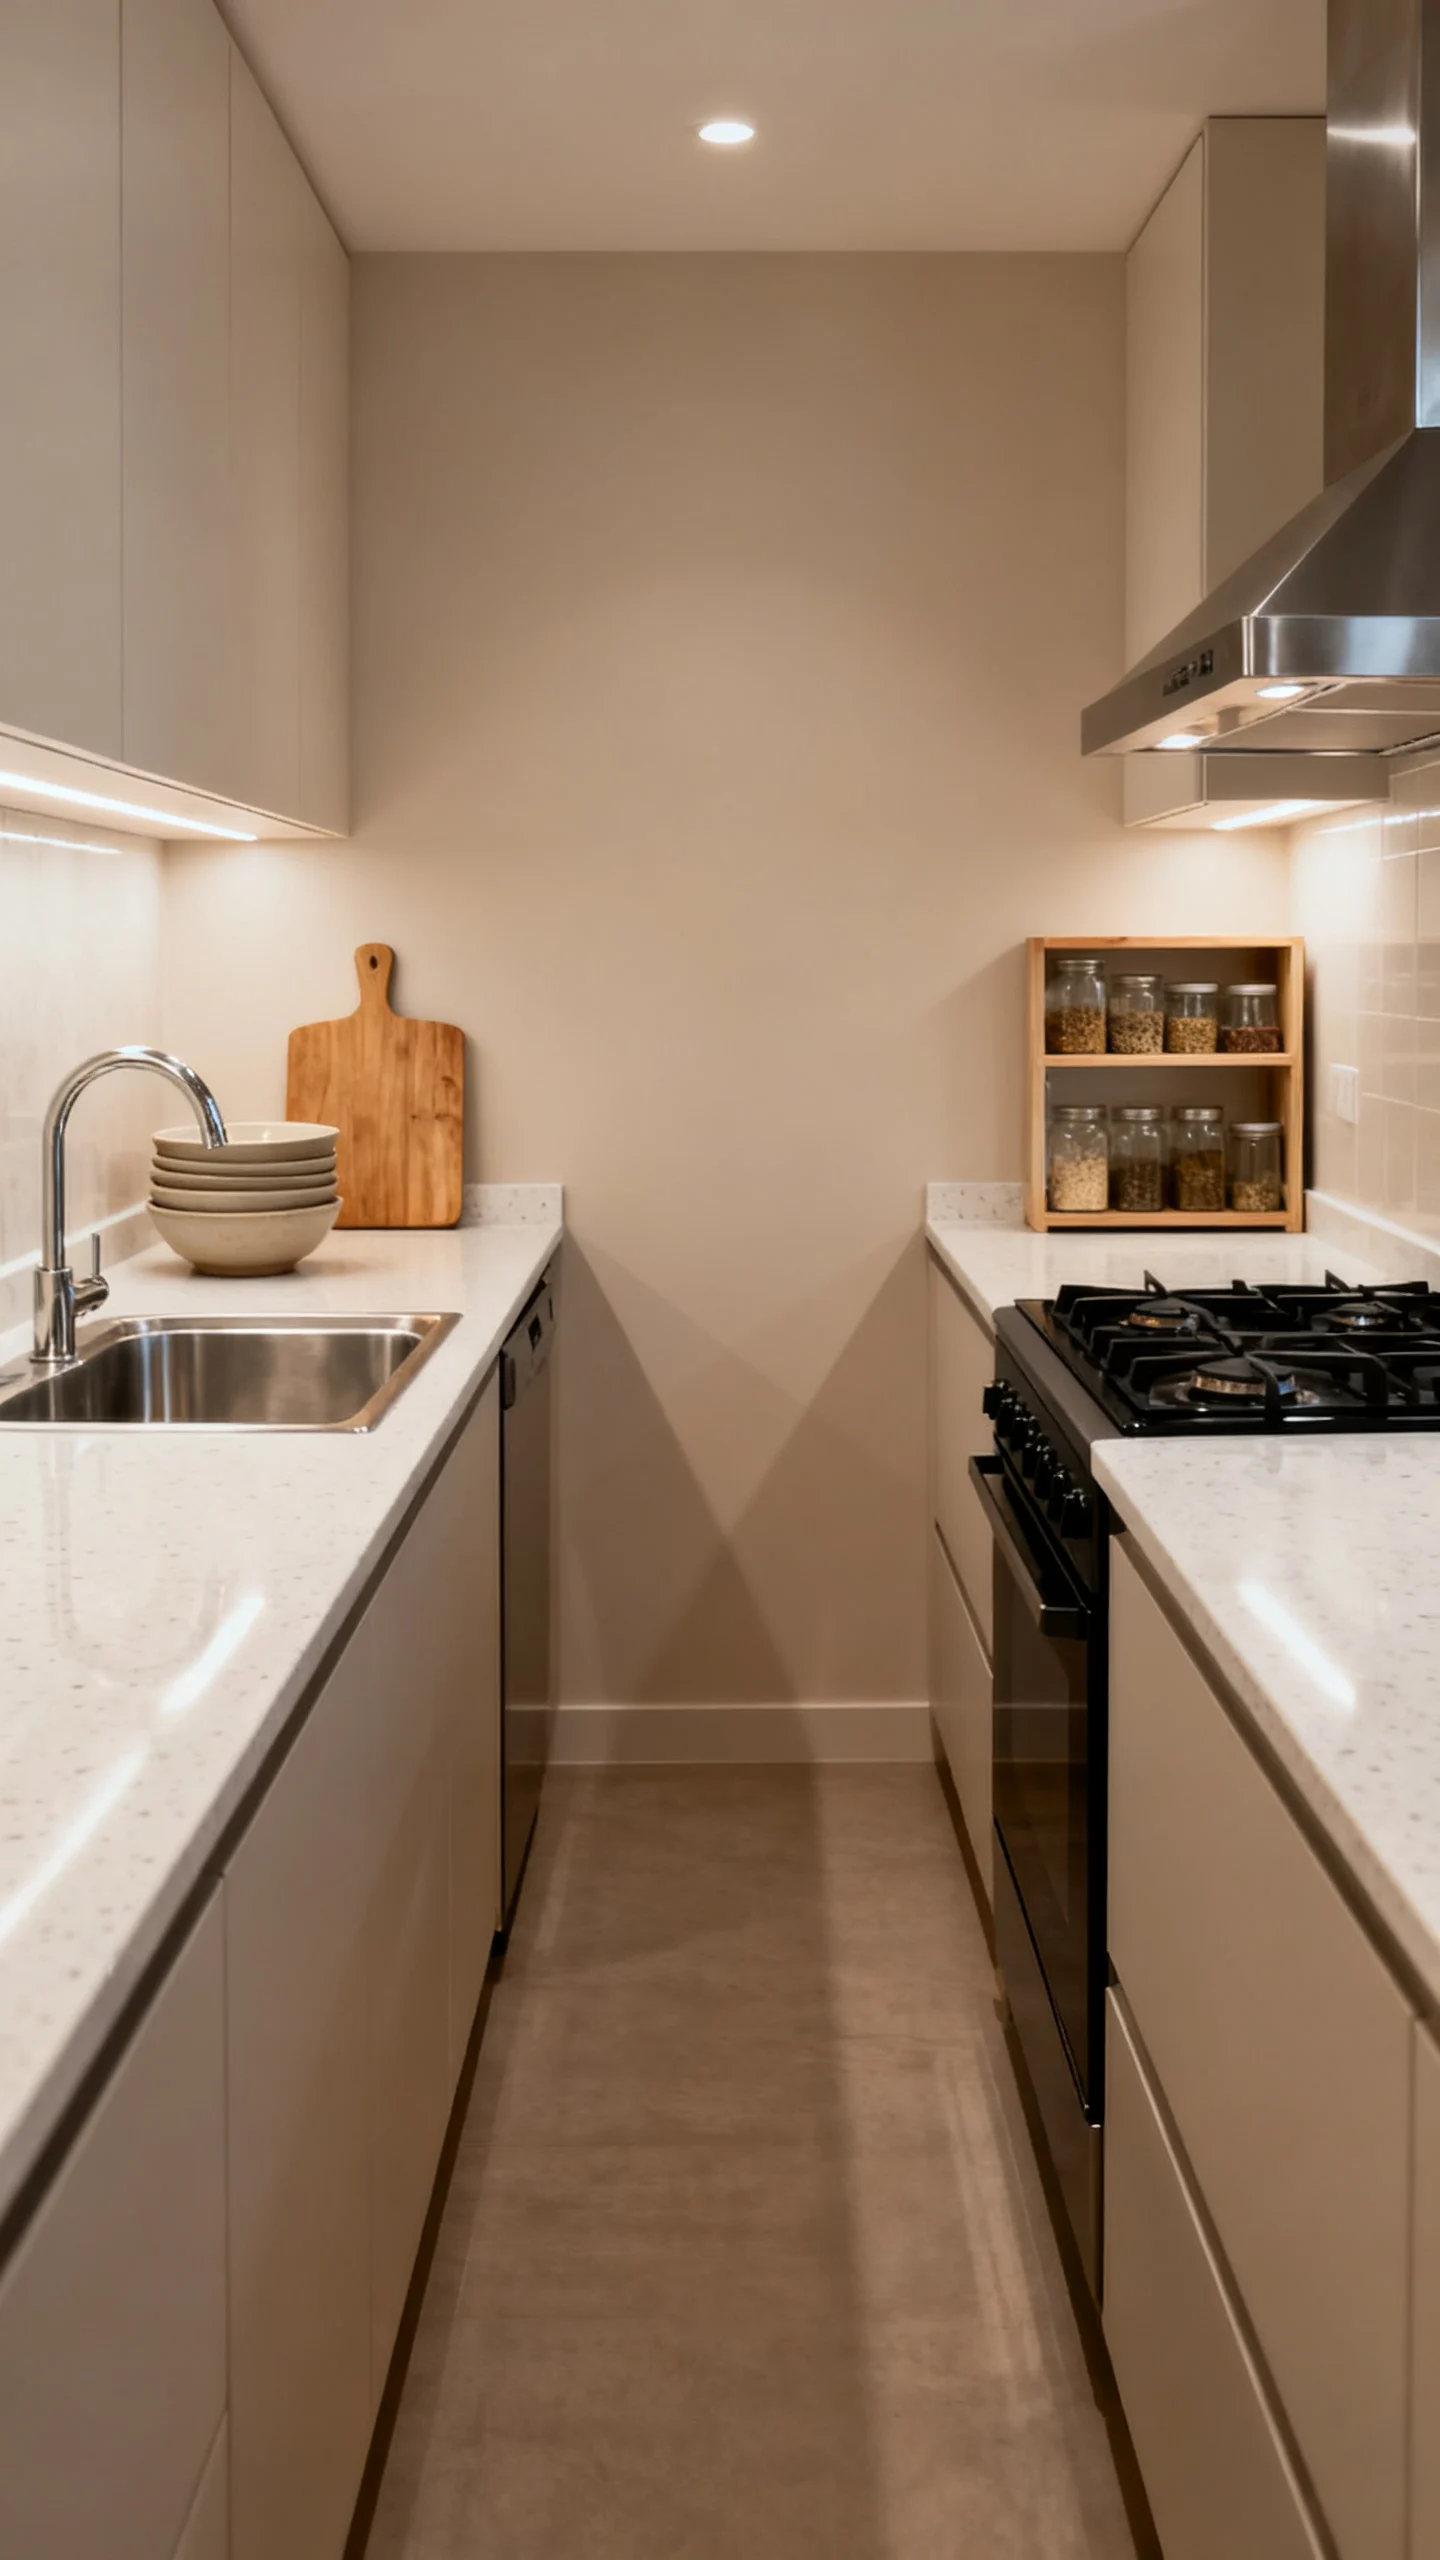
Galley kitchens can be incredibly efficient—if the aisle width and appliance placement are right. If you have two parallel runs, keep the most-used zones opposite each other: sink and prep on one side, range on the other, with the fridge near an end to reduce cross-traffic.
Avoid placing the dishwasher so it blocks the main pathway when open. If possible, place it adjacent to the sink but not at the narrowest part of the aisle. Also watch for opposing door swings: a fridge door and an oven door facing each other can create a total standstill. Sometimes the budget fix is as simple as swapping the range and a base cabinet run location, or changing the hinge direction of a fridge door (if your model allows it).
8) Shift the Range to Gain Landing Space and Safer Clearances
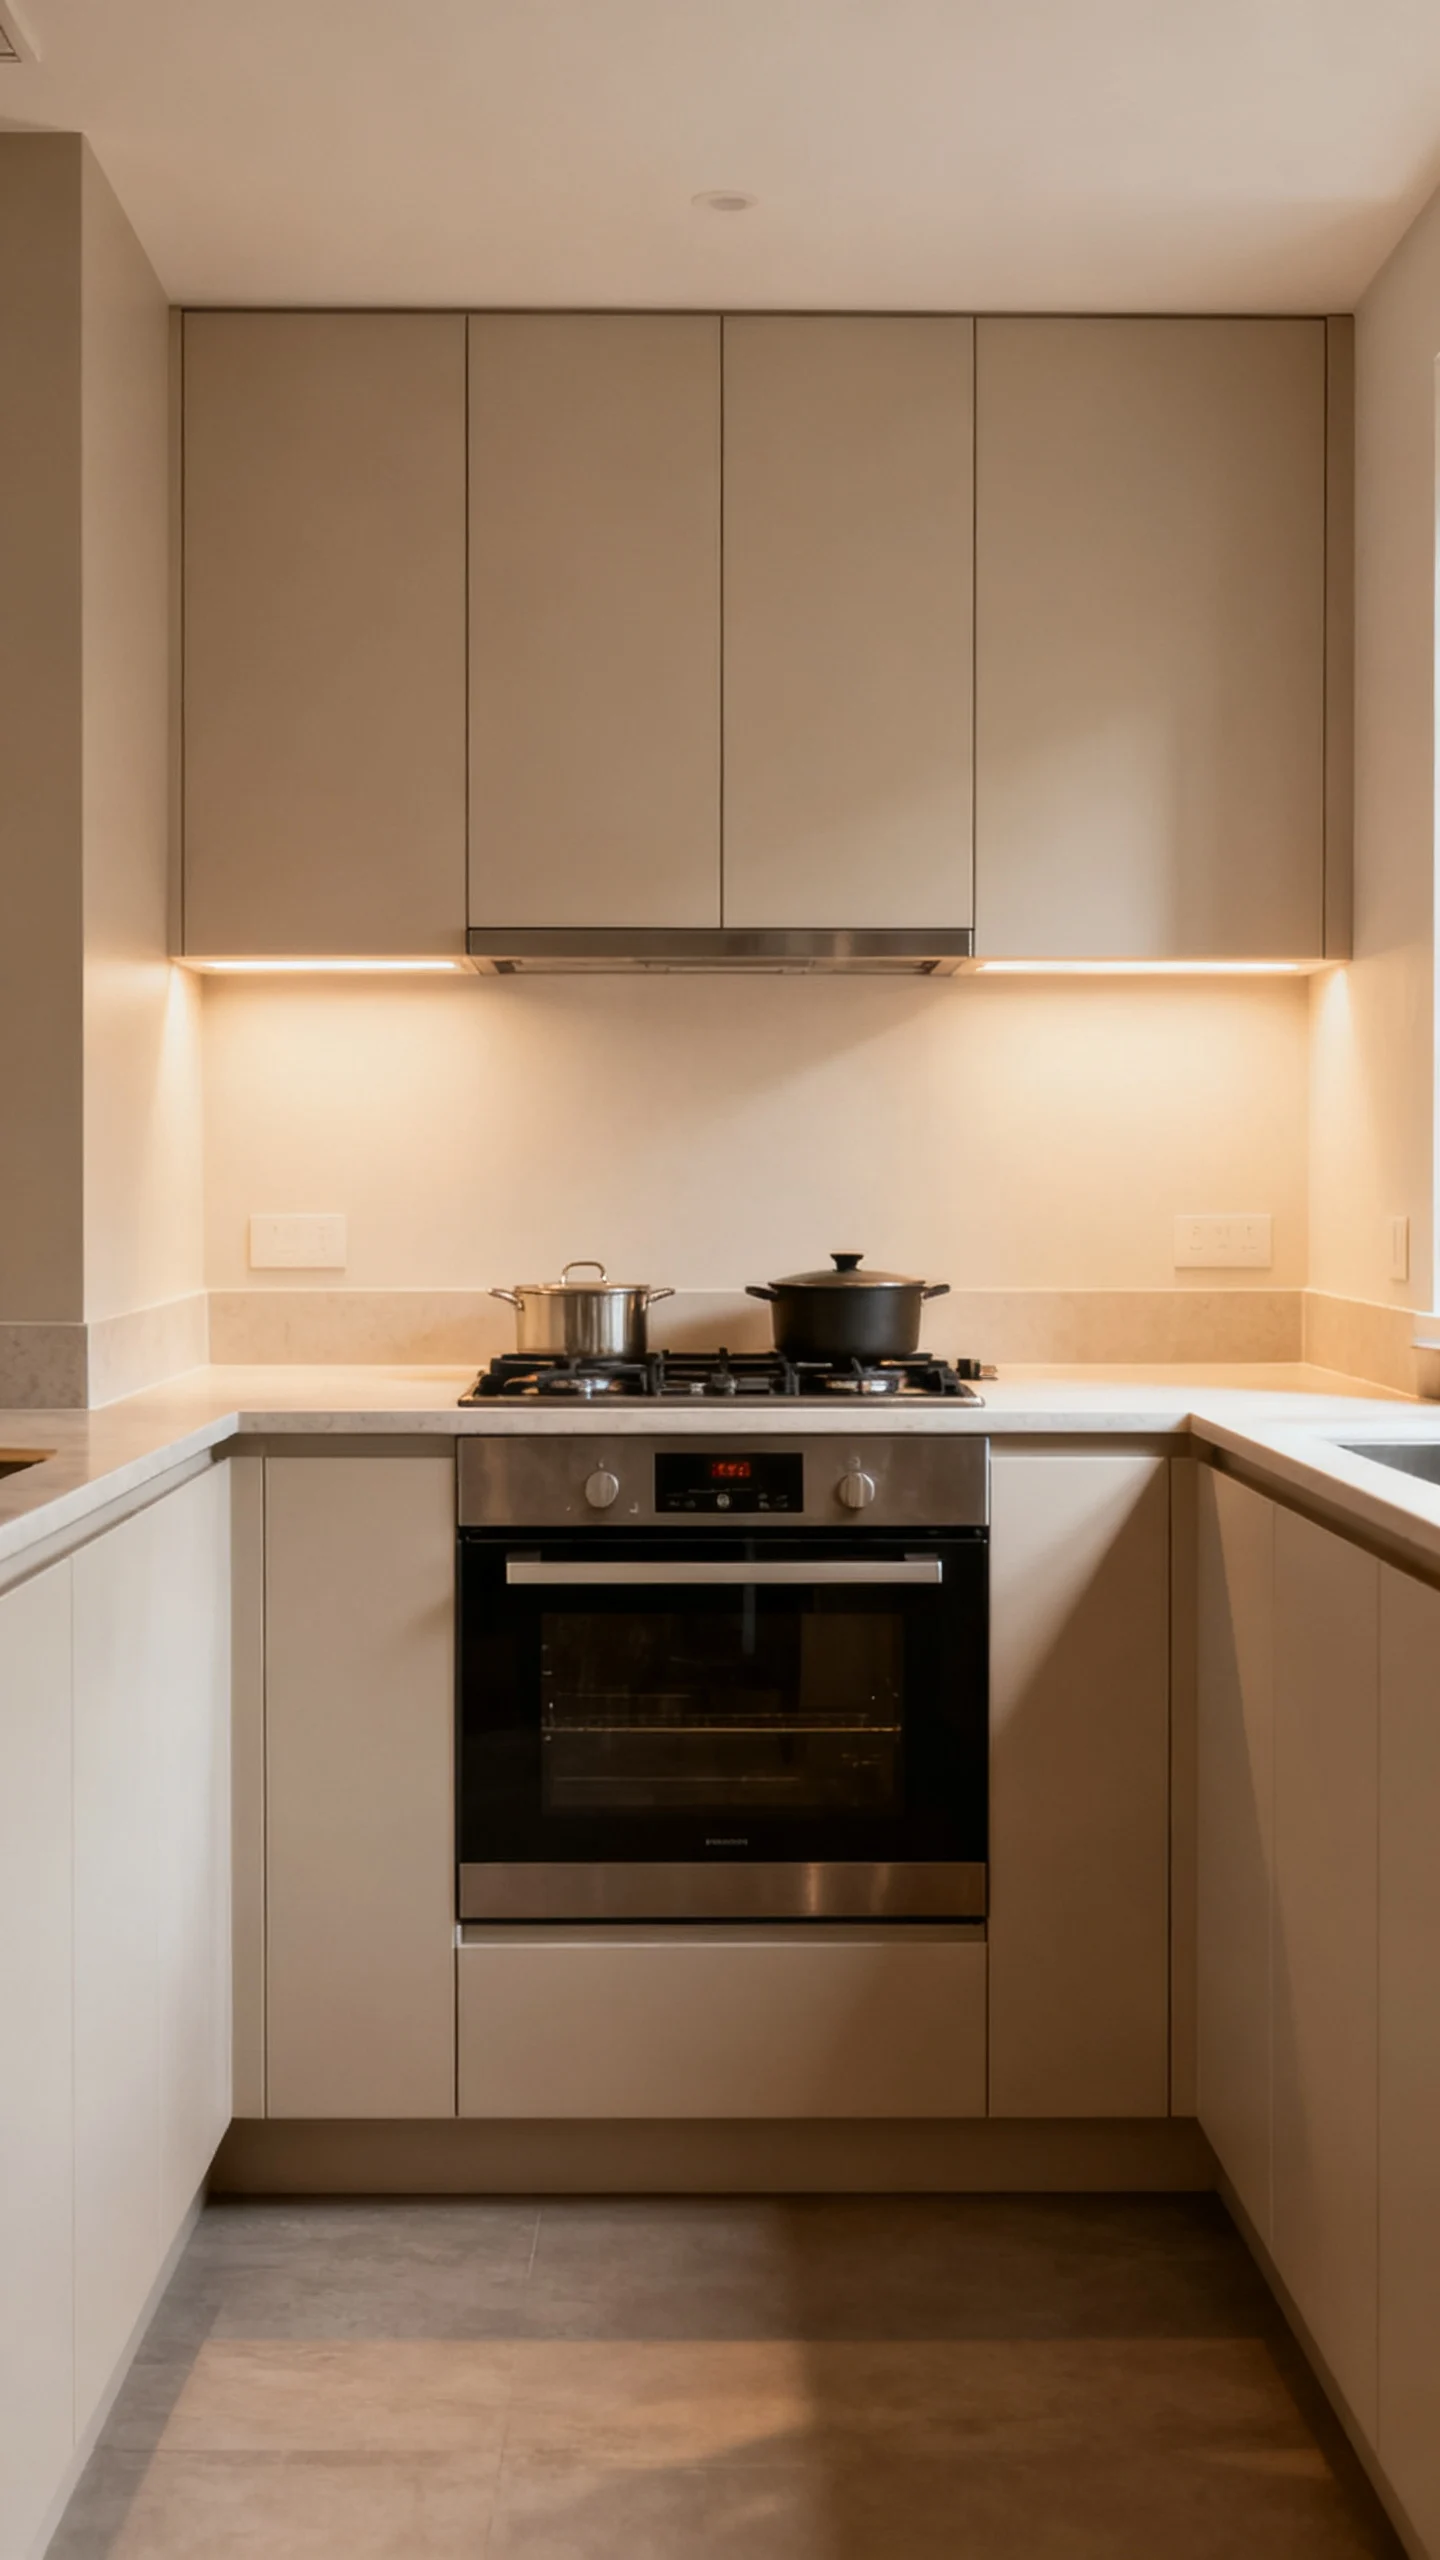
In a small kitchen, the range often ends up squeezed beside a wall or tall cabinet, which reduces safety and usable counter. Try to position the range with at least 12 inches of counter on one side and 15 inches on the other (when possible) to create true landing zones for hot pans and ingredients. If the range is hard against a wall, consider adding a narrow pull-out (like a 6–9 inch spice base) between the range and wall—small change, big improvement.
If you’re remodeling on a budget, keep the venting plan in mind. Moving a range far from existing venting can add cost. A practical compromise: keep the range on the same wall but shift it a cabinet or two to improve clearances and counter balance.
9) Turn Dead Corners Into Accessible Storage (So You Can Remove Extra Cabinets)
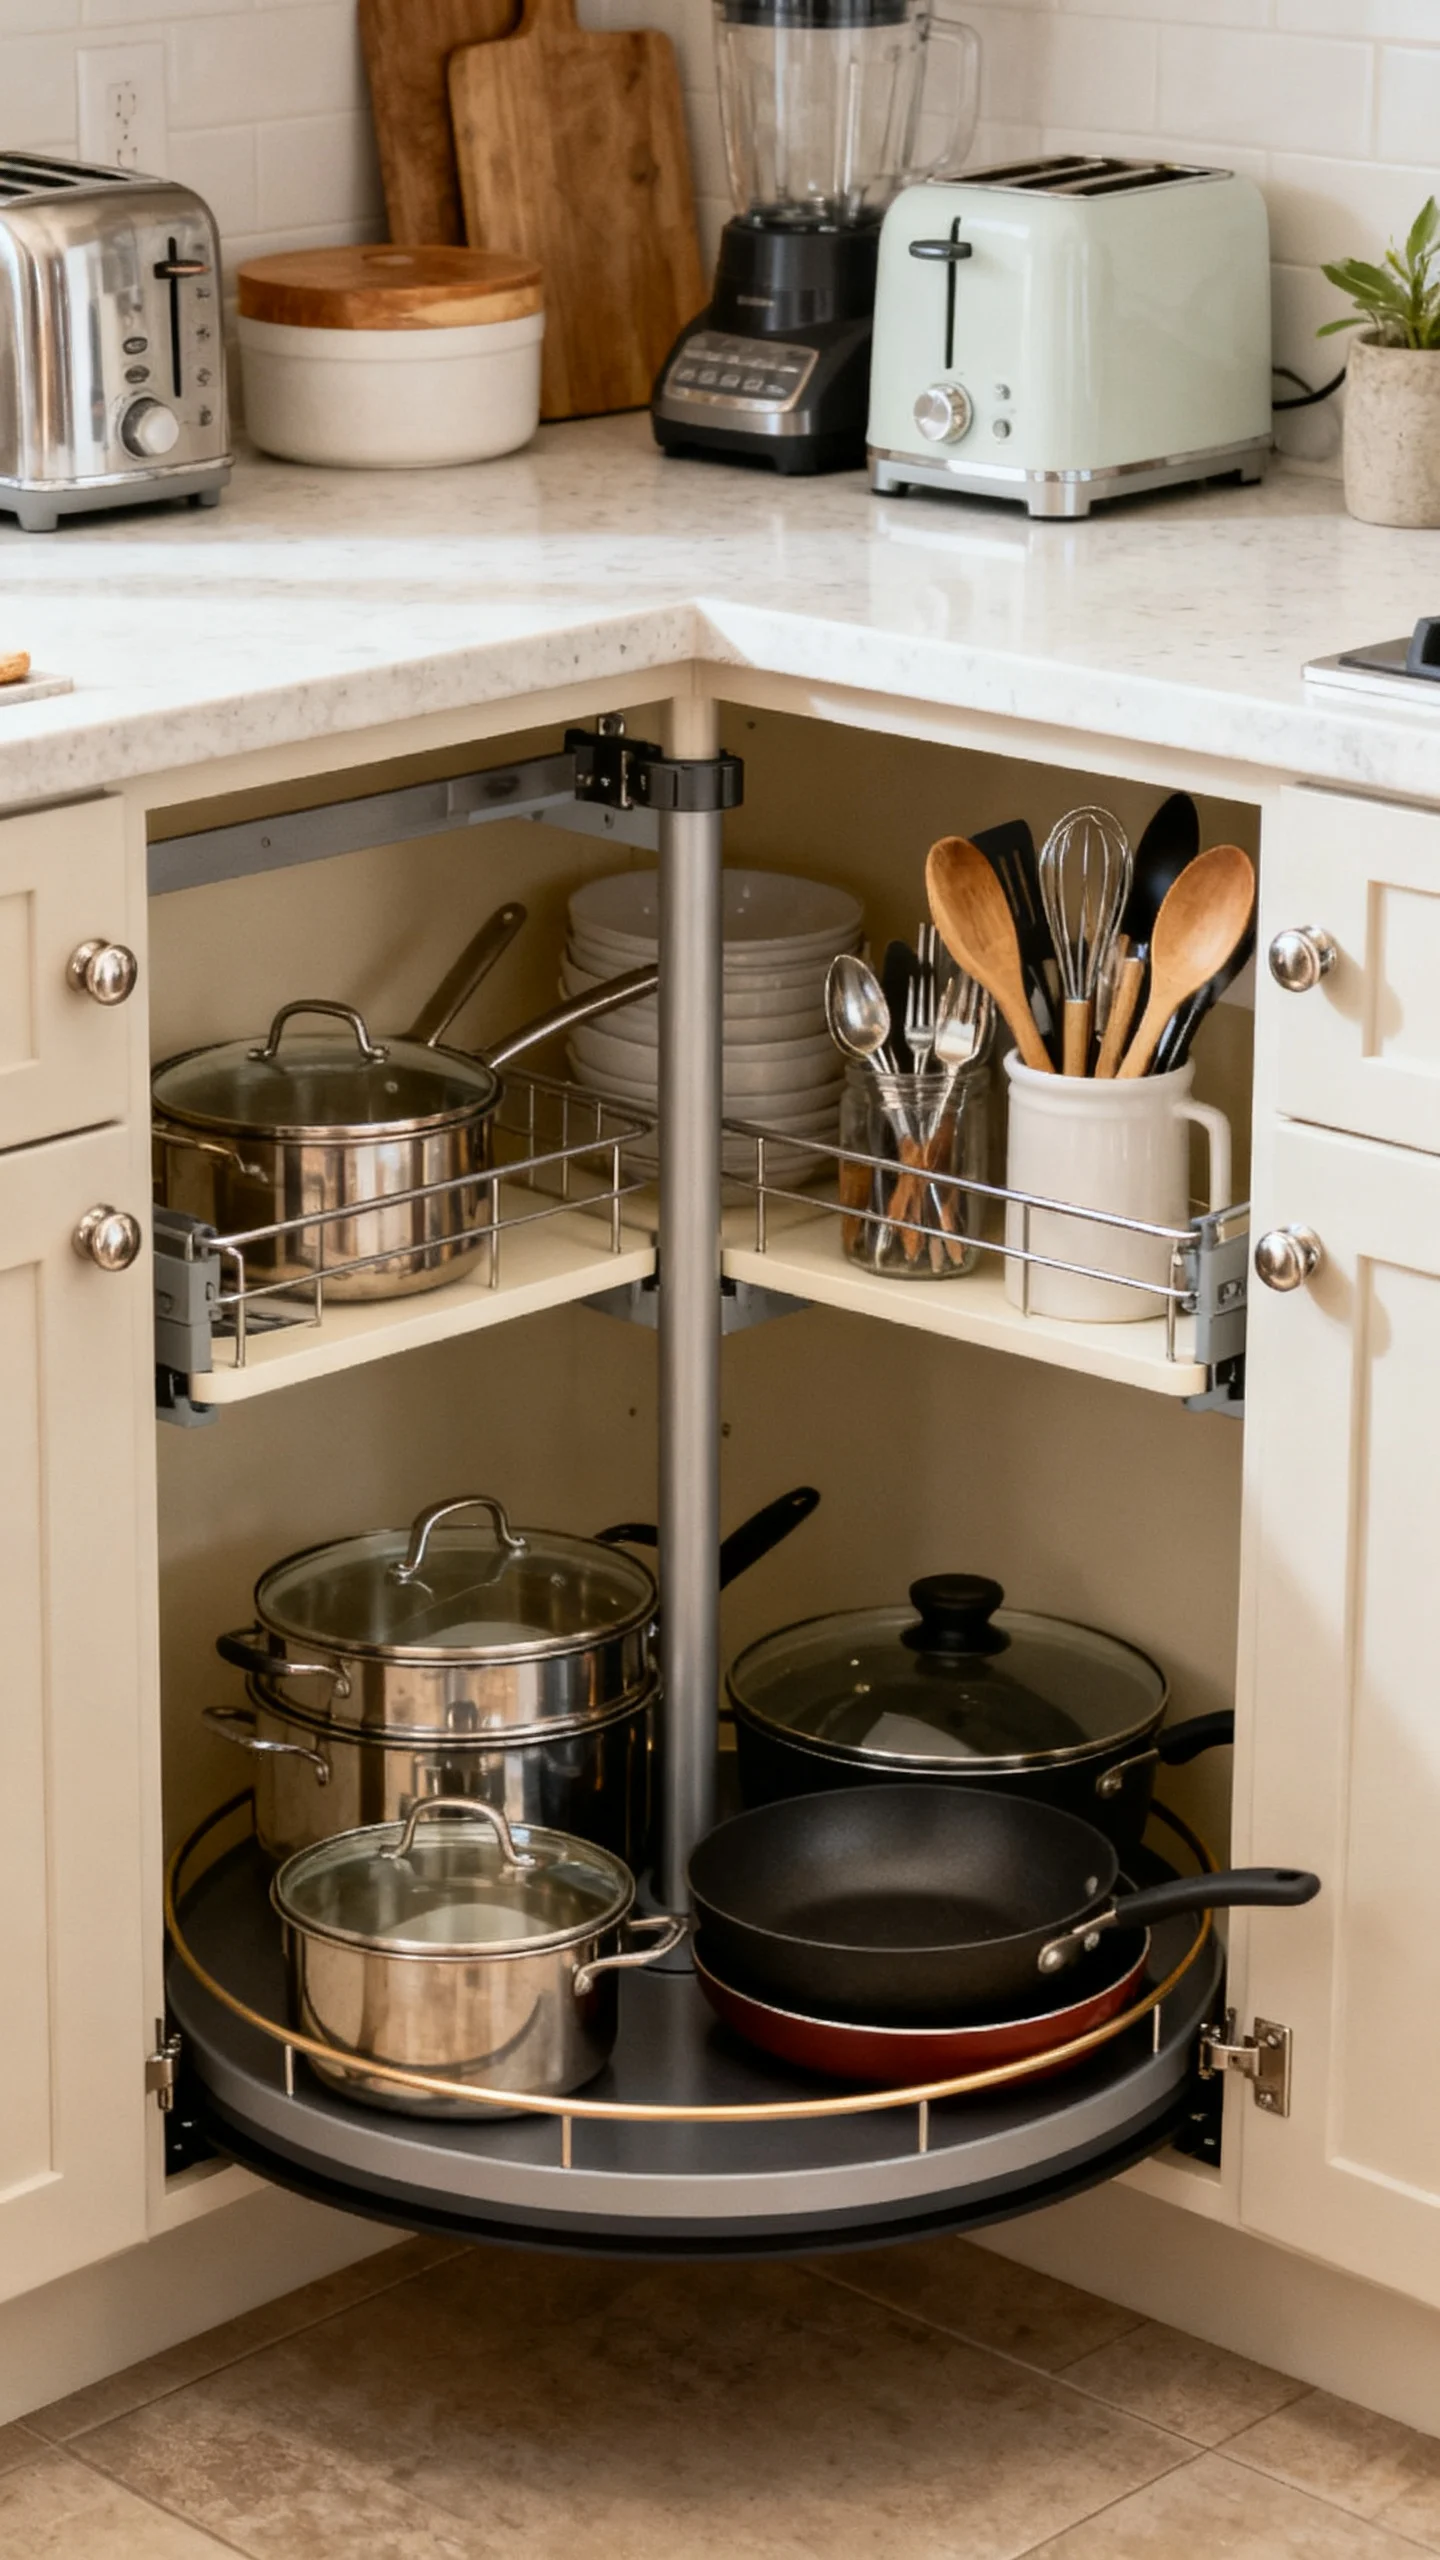
Corner base cabinets are notorious for wasted space. Instead of adding more cabinets elsewhere (which can tighten your layout), upgrade the corner you already have. Options include a lazy Susan, swing-out shelves, or pull-out corner systems. These inserts cost money, but they can be cheaper than expanding cabinetry—and they let you maintain better walkway clearances.
Layout advantage: once corners work, you may be able to eliminate a cramped add-on cabinet, a bulky pantry tower in the wrong spot, or a redundant upper that crowds the counter. The goal is fewer “steps” and fewer obstacles, not necessarily more square inches of storage.
10) Plan Electrical and Lighting Changes That Support the New Layout
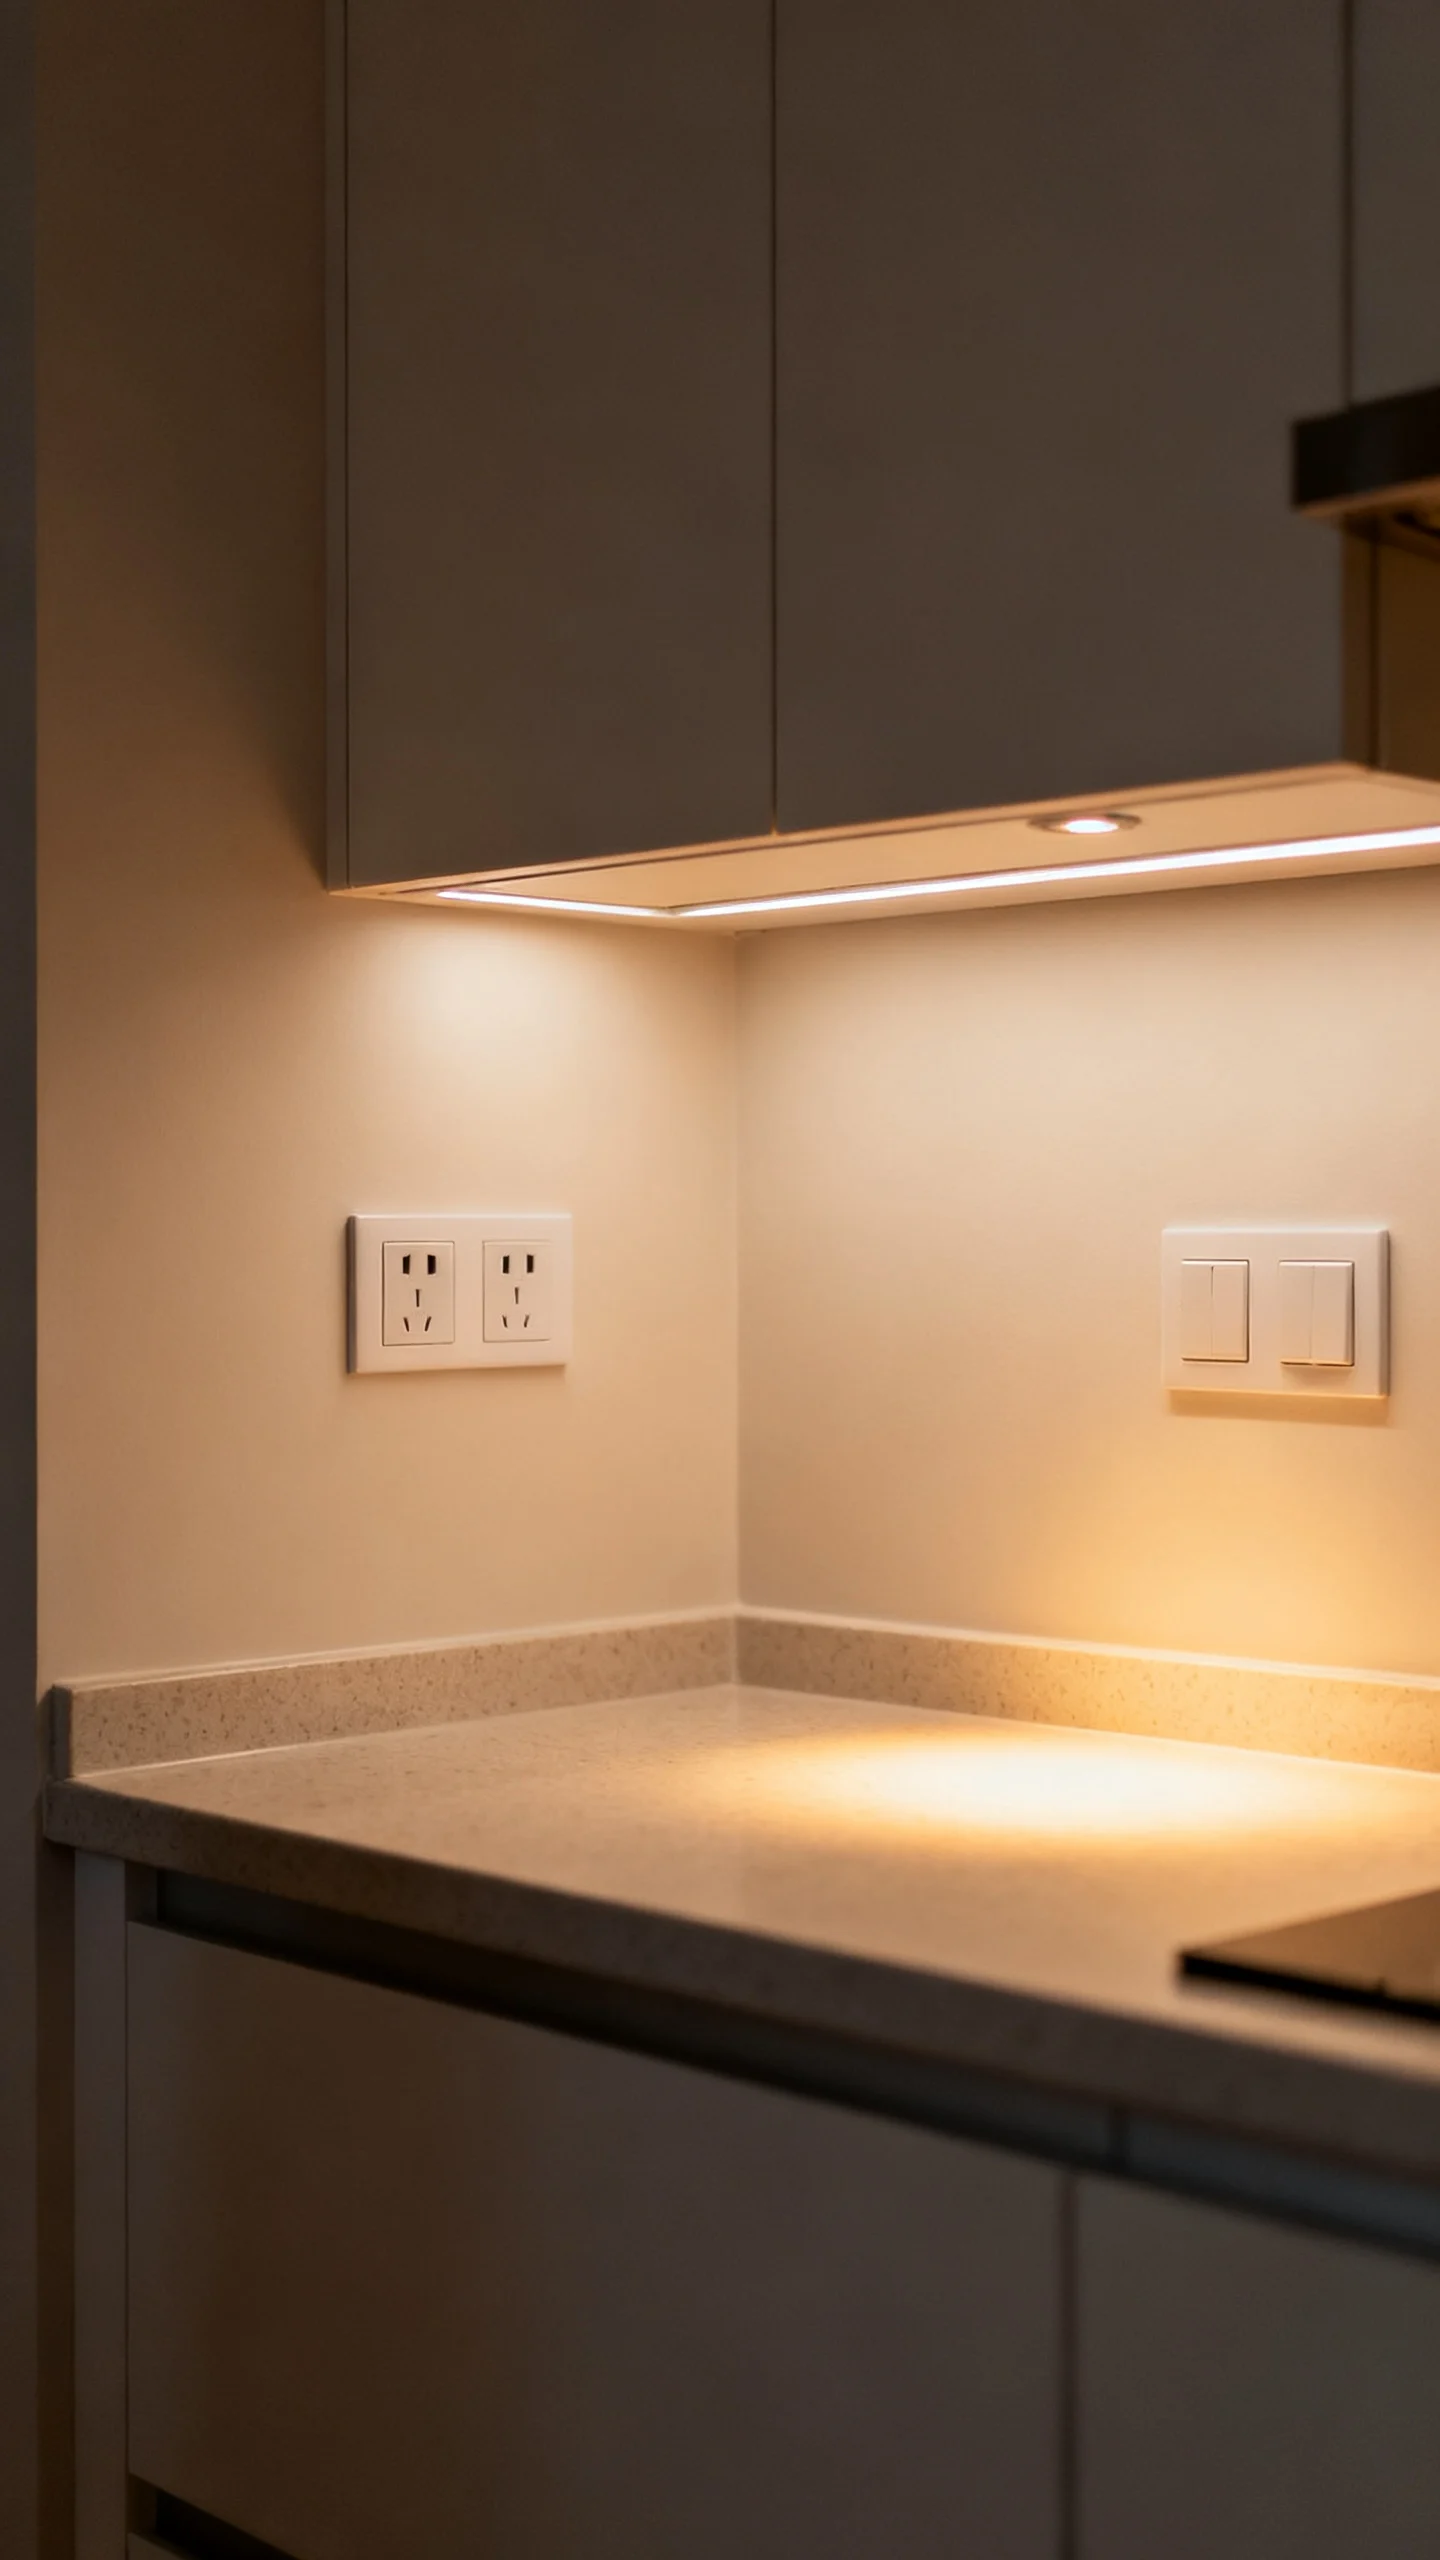
Even a budget layout remodel usually needs a few targeted electrical updates to make the new plan functional. Before finalizing positions, confirm where you need outlets for small appliances and where task lighting should land. Under-cabinet lighting is a relatively low-cost upgrade that makes a small kitchen feel bigger and improves prep visibility—especially if your layout changes create a new main prep counter.
Keep costs down by avoiding panel upgrades and extensive rewiring. If you’re moving appliances only a short distance, see whether you can reuse circuits and keep new outlets within the same wall cavity. The key is aligning lighting and power with your “new best counter,” so the layout change actually feels like an upgrade every day.
FAQ
What’s the most budget-friendly layout change for a small kitchen?
Fixing pinch points without moving plumbing is usually the best value: repositioning the fridge, changing door swings, adding pull-outs, and adjusting a peninsula length can dramatically improve flow with less labor than relocating a sink.
How much aisle space do I really need in a small kitchen?
Aim for about 36 inches for a functional single-cook walkway. If two people cook at once, 42 inches is more comfortable. In a tight galley, prioritize keeping the narrowest point clear of appliance door conflicts (dishwasher, oven, fridge).
Is it worth moving the sink on a budget?
Yes—if you can shift it within the same cabinet run. Even moving a sink 12–18 inches can create a better prep counter and improve workflow, while keeping plumbing costs manageable compared to moving it to a different wall.
Should the fridge be near the sink or near the entrance?
In many small kitchens, placing the fridge closer to the entrance (or at the end of a run) reduces traffic through the main cooking zone. Wherever it lands, try to include a nearby “landing zone” surface so unloading groceries doesn’t block your prep area.
What layout mistakes make small kitchens feel smaller?
The most common are oversized peninsulas that choke walkways, appliances jammed into corners that can’t open fully, and layouts that lack landing space next to the fridge and range. Solving these with smart repositioning often makes the kitchen feel larger without adding square footage.