
DIY Bathroom Design Mistakes to Avoid
DIY bathroom projects can look deceptively simple—until you’re living with a door that hits the vanity, a mirror that feels too high, or grout that won’t stay clean. The good news: most bathroom design regrets are predictable and completely avoidable.
Use the tips below as a pre-renodel checklist. Each one addresses a common DIY bathroom design mistake, with practical clearances, placement rules, and material notes that make the difference between “good enough” and “why didn’t I do this sooner?”
1) Skipping a Real Layout Plan (and Trusting “It’ll Fit”)
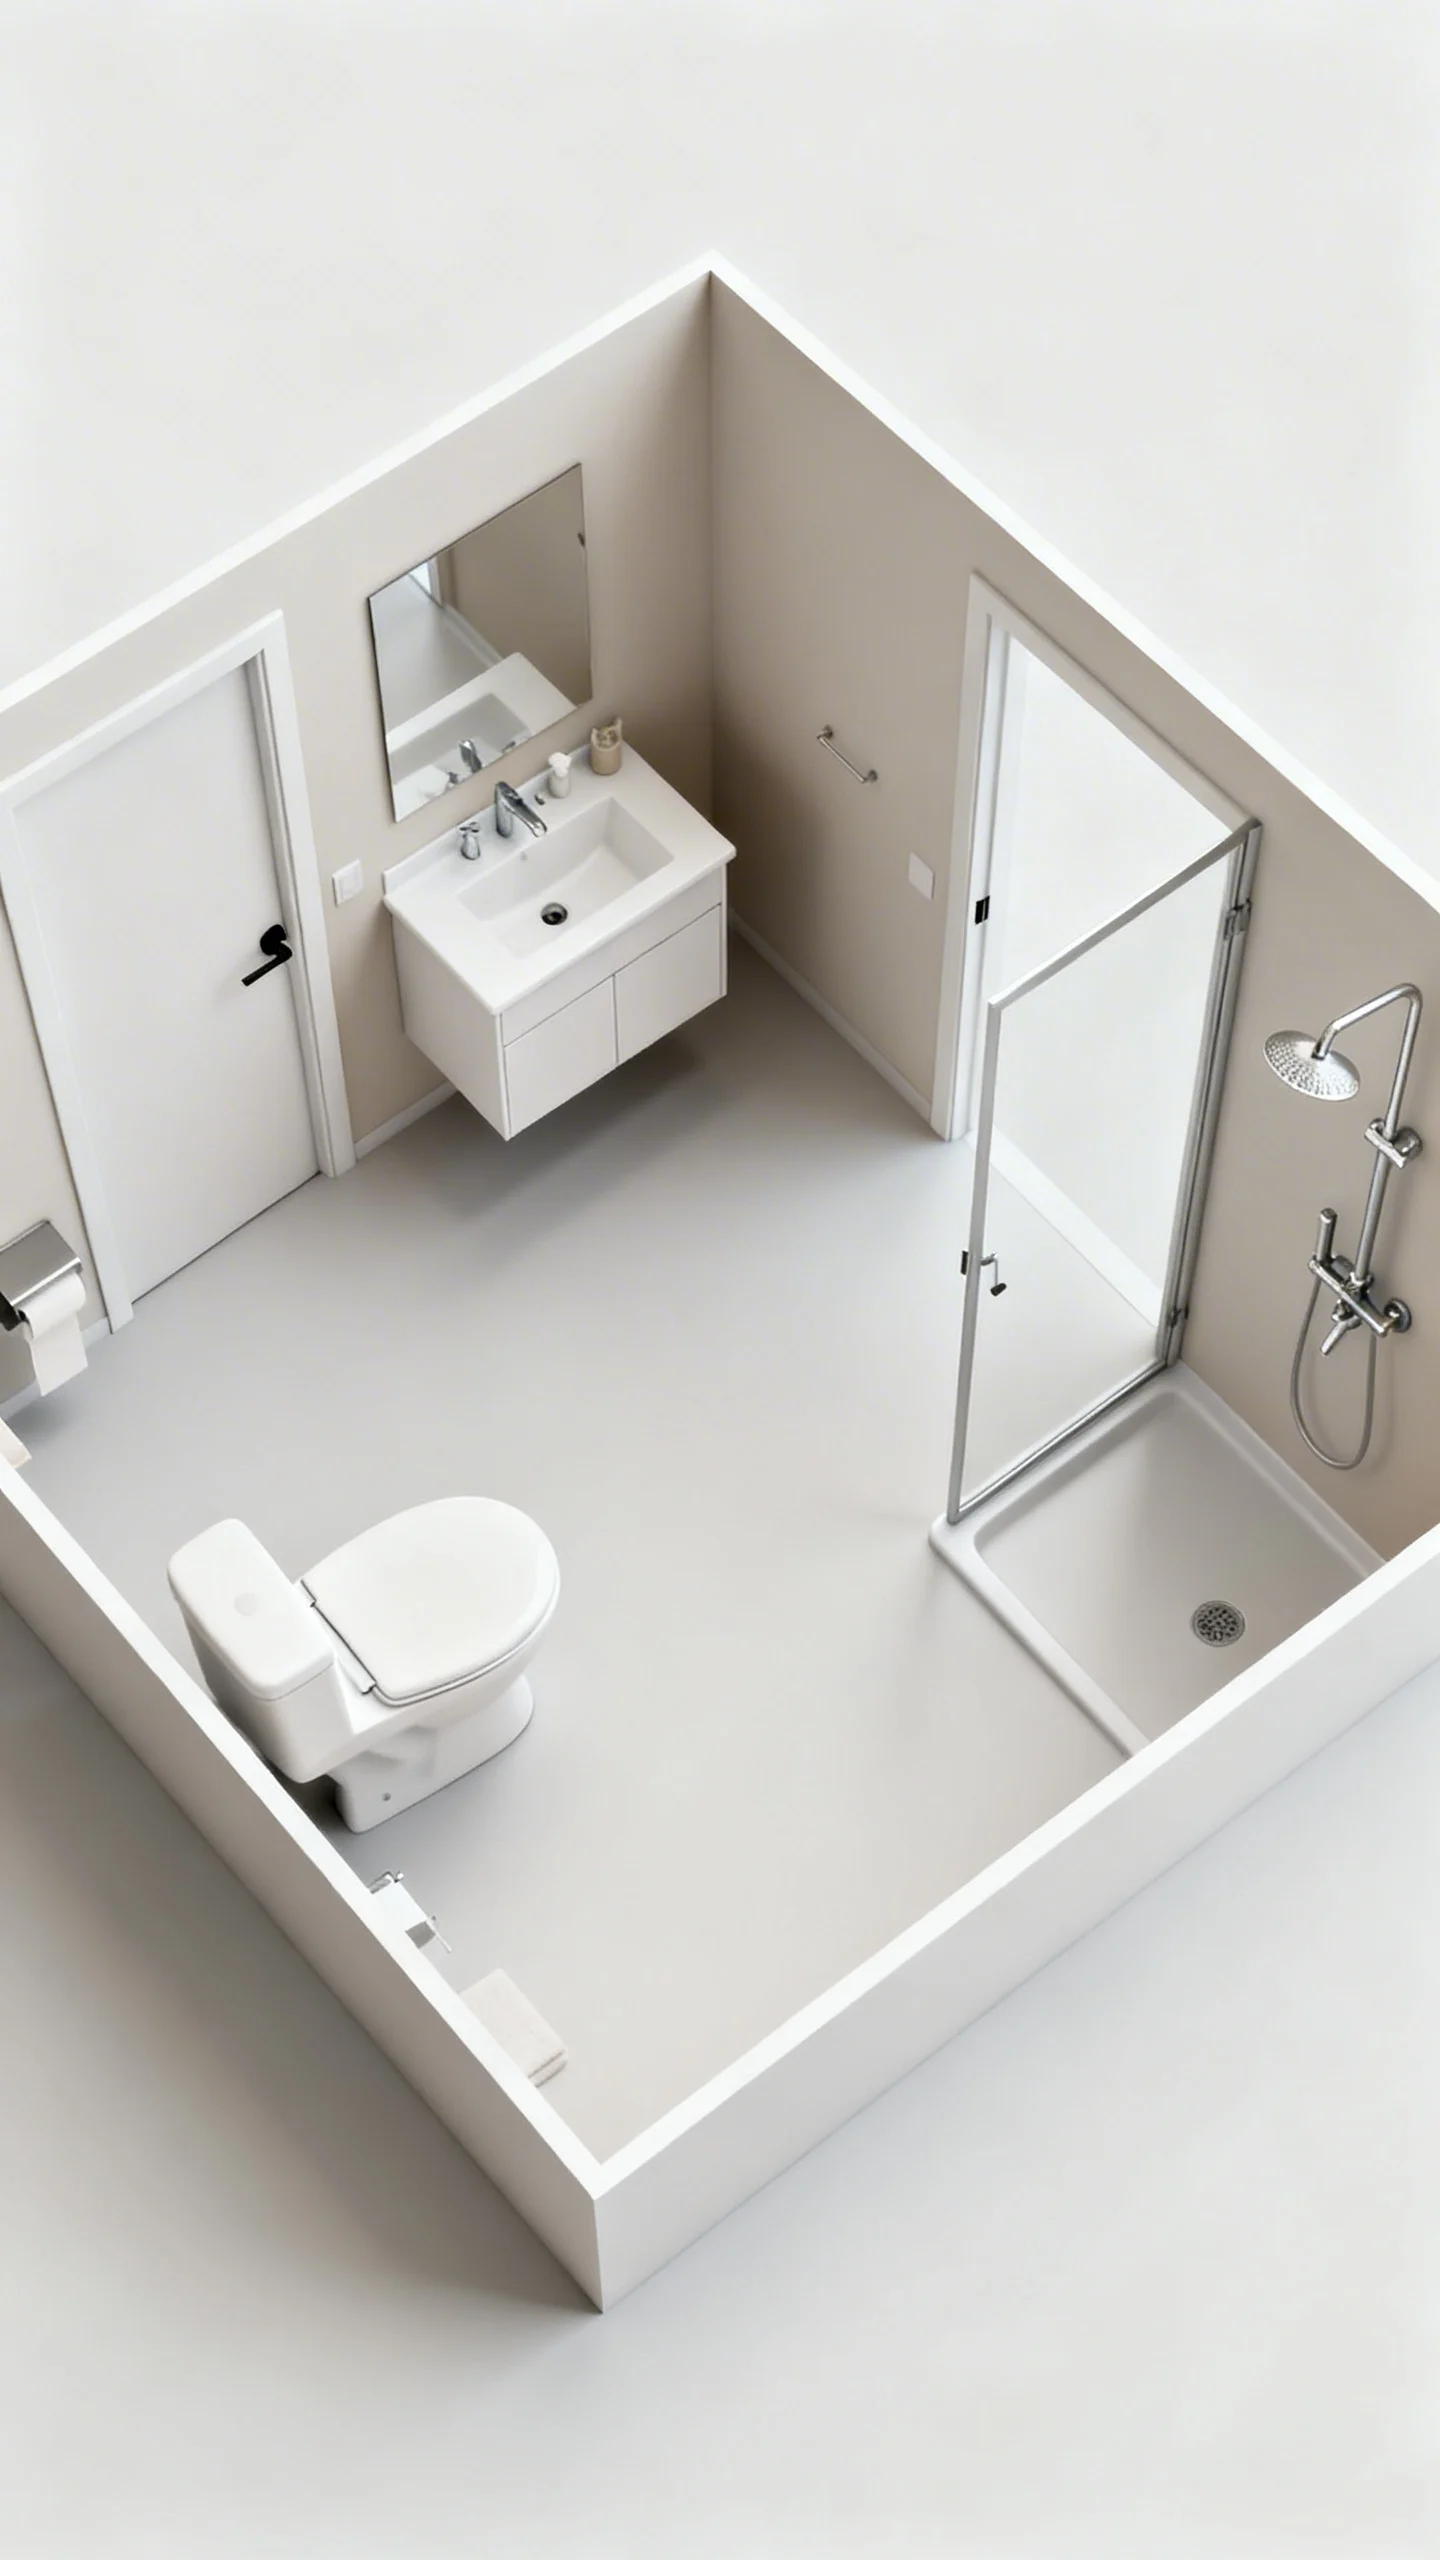
A bathroom is a tight puzzle—guessing leads to pinch points. Before you buy anything, draw a scaled floor plan (graph paper is fine) and place fixtures to confirm clearances. Aim for at least 21 inches of clear floor space in front of the toilet and vanity (30 inches feels better), and plan a 30-inch-wide minimum clear zone for the toilet area if possible. Mark door swings and drawer pull-outs so you don’t end up with a vanity drawer that smacks the door trim or a towel bar that blocks a cabinet.
2) Choosing a Vanity That’s the Wrong Depth (and Killing the Walkway)
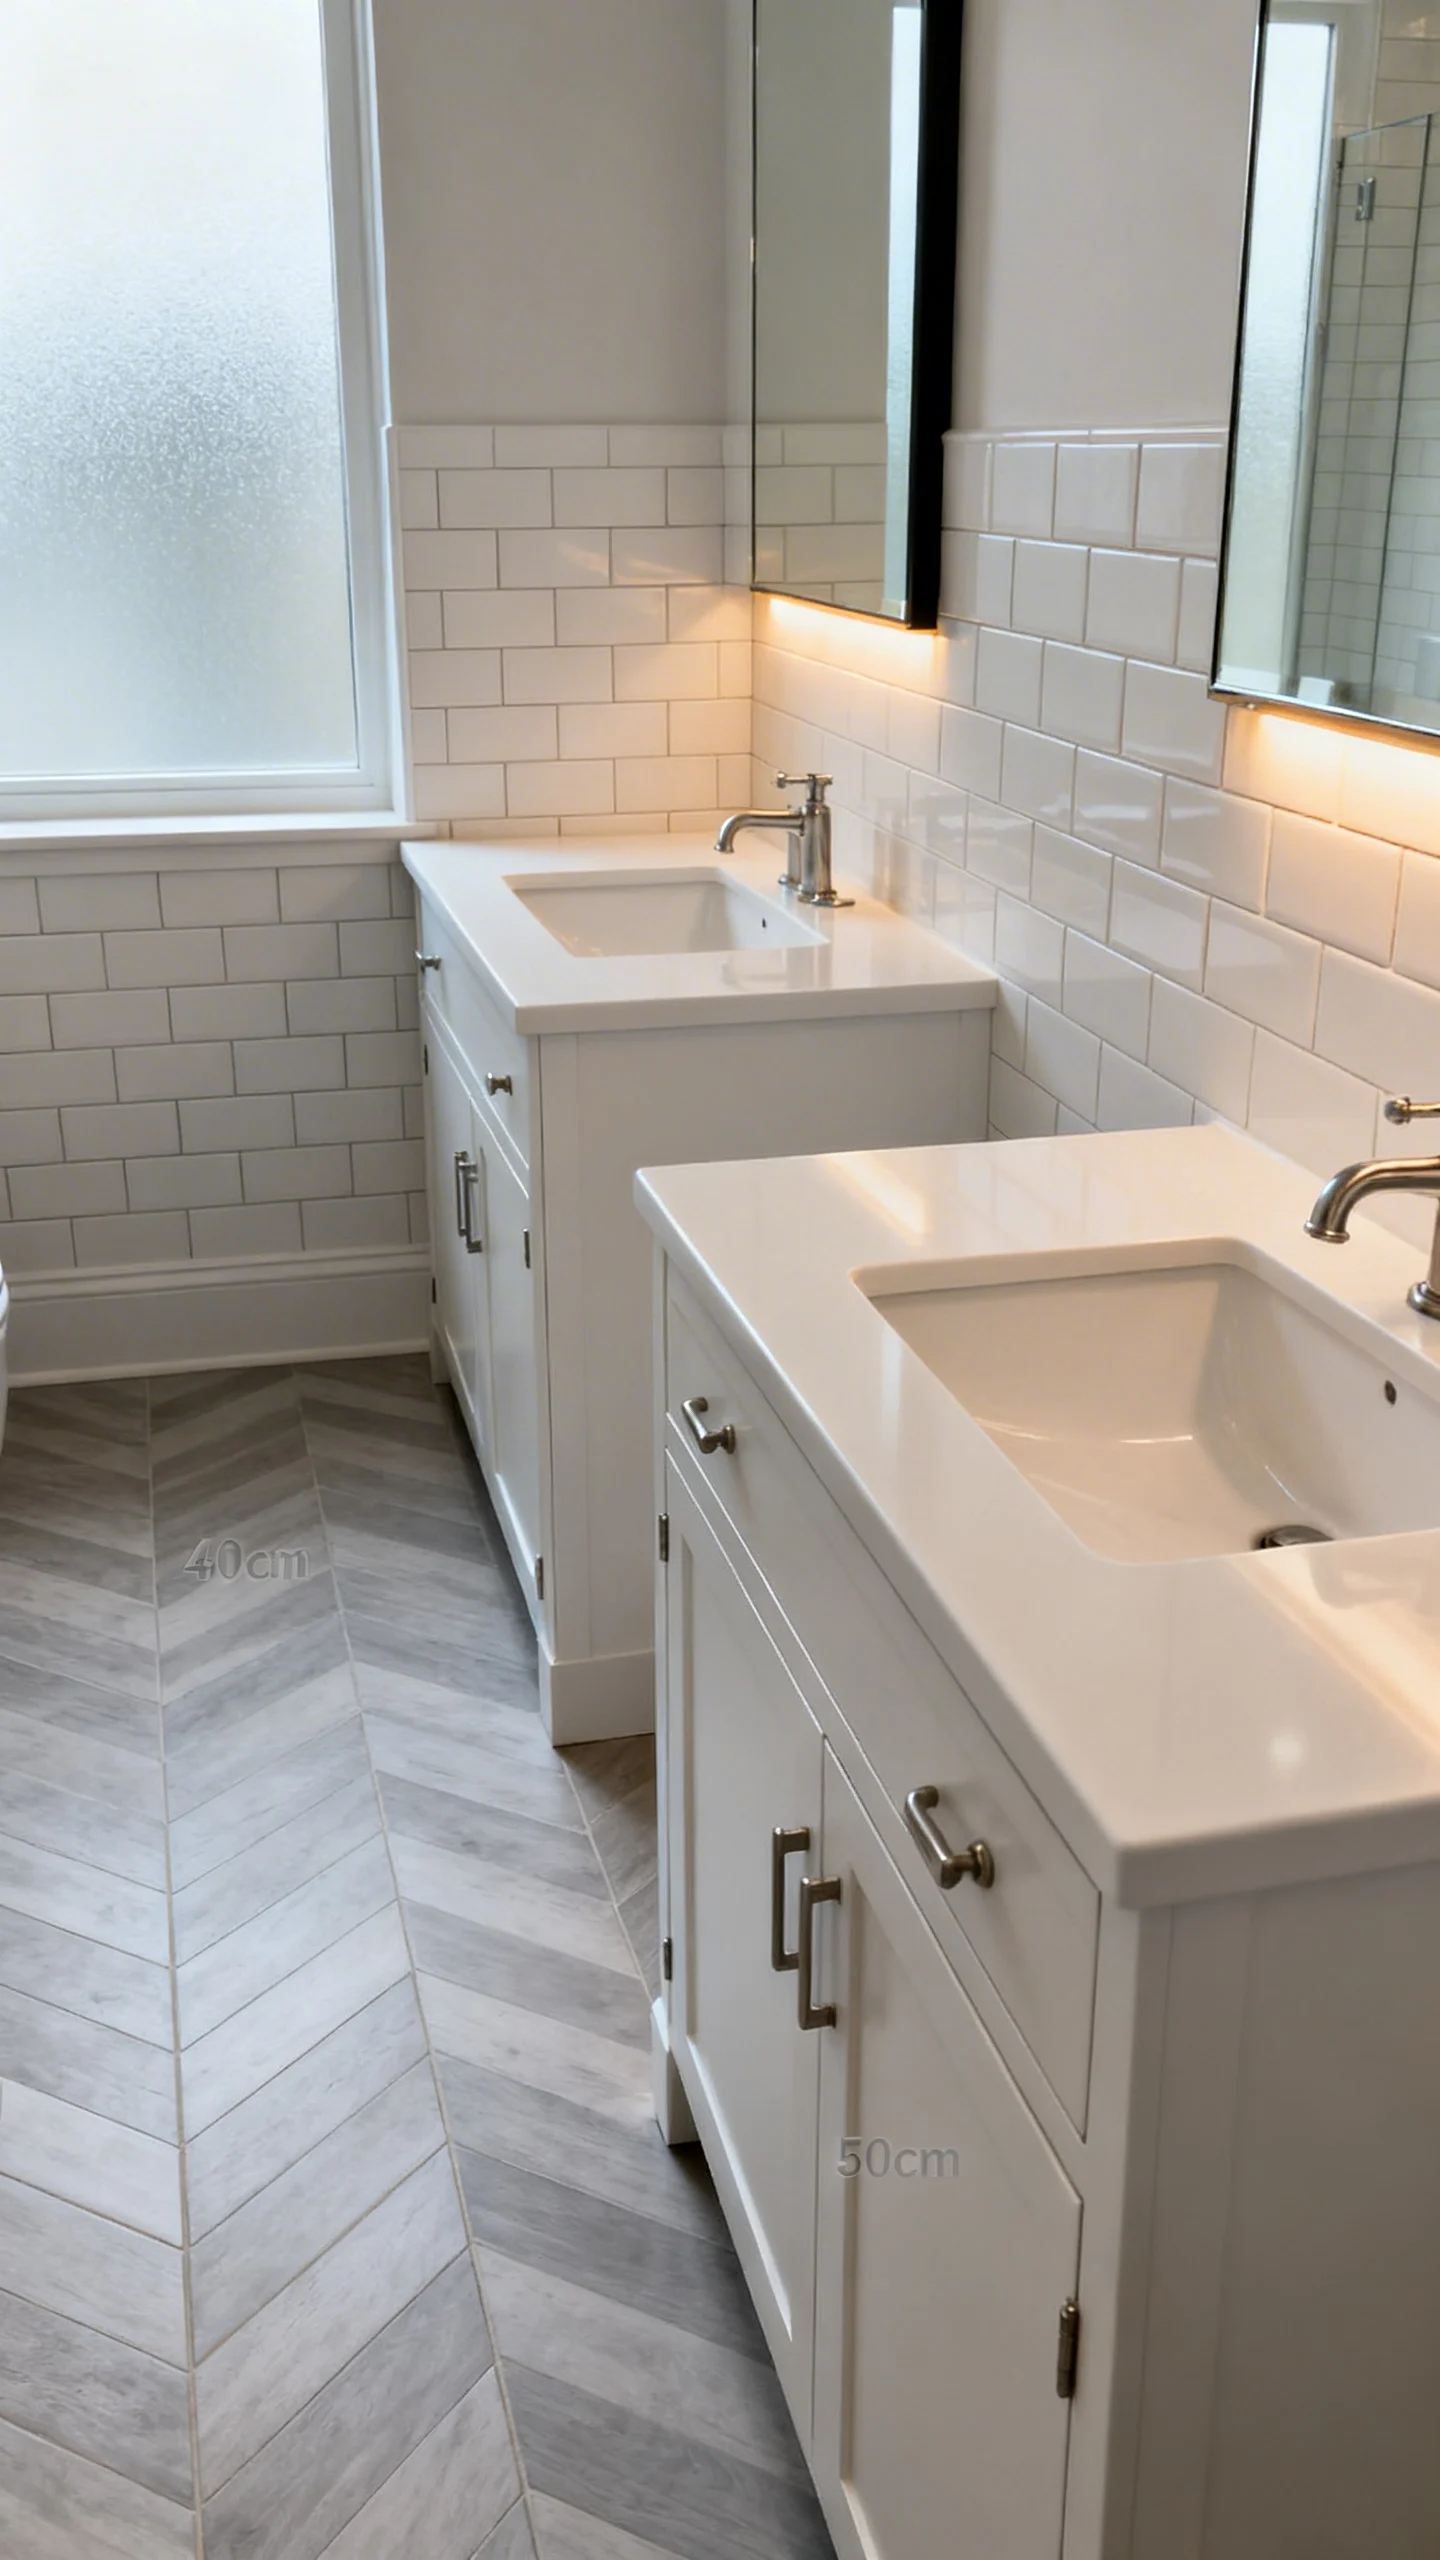
One of the quickest DIY mistakes is selecting a vanity based on looks, not depth. Standard vanity depth is often around 21 inches, but in smaller baths a 18-inch-depth vanity can dramatically improve flow without sacrificing style. Keep a comfortable path through the bathroom—tight clearances feel even tighter when wet towels and bathmats enter the mix. If you’re wall-mounting a floating vanity, confirm wall blocking and plumbing placement early so you aren’t forced into awkward offsets later.
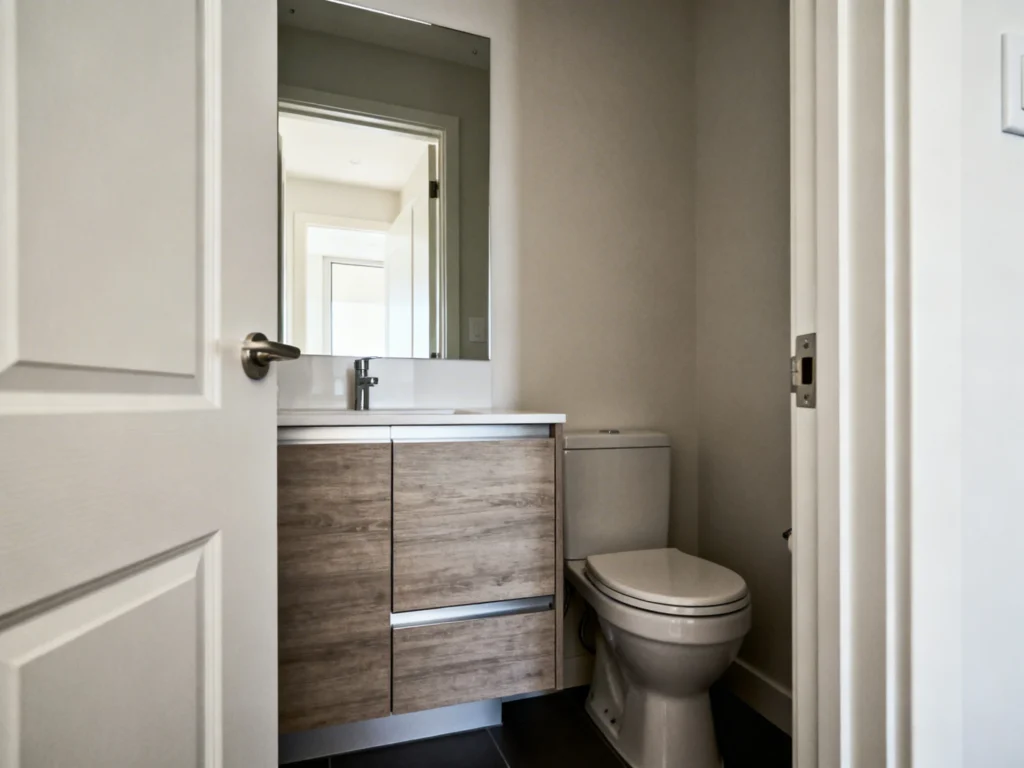
3) Putting the Toilet Too Close to a Wall or Vanity
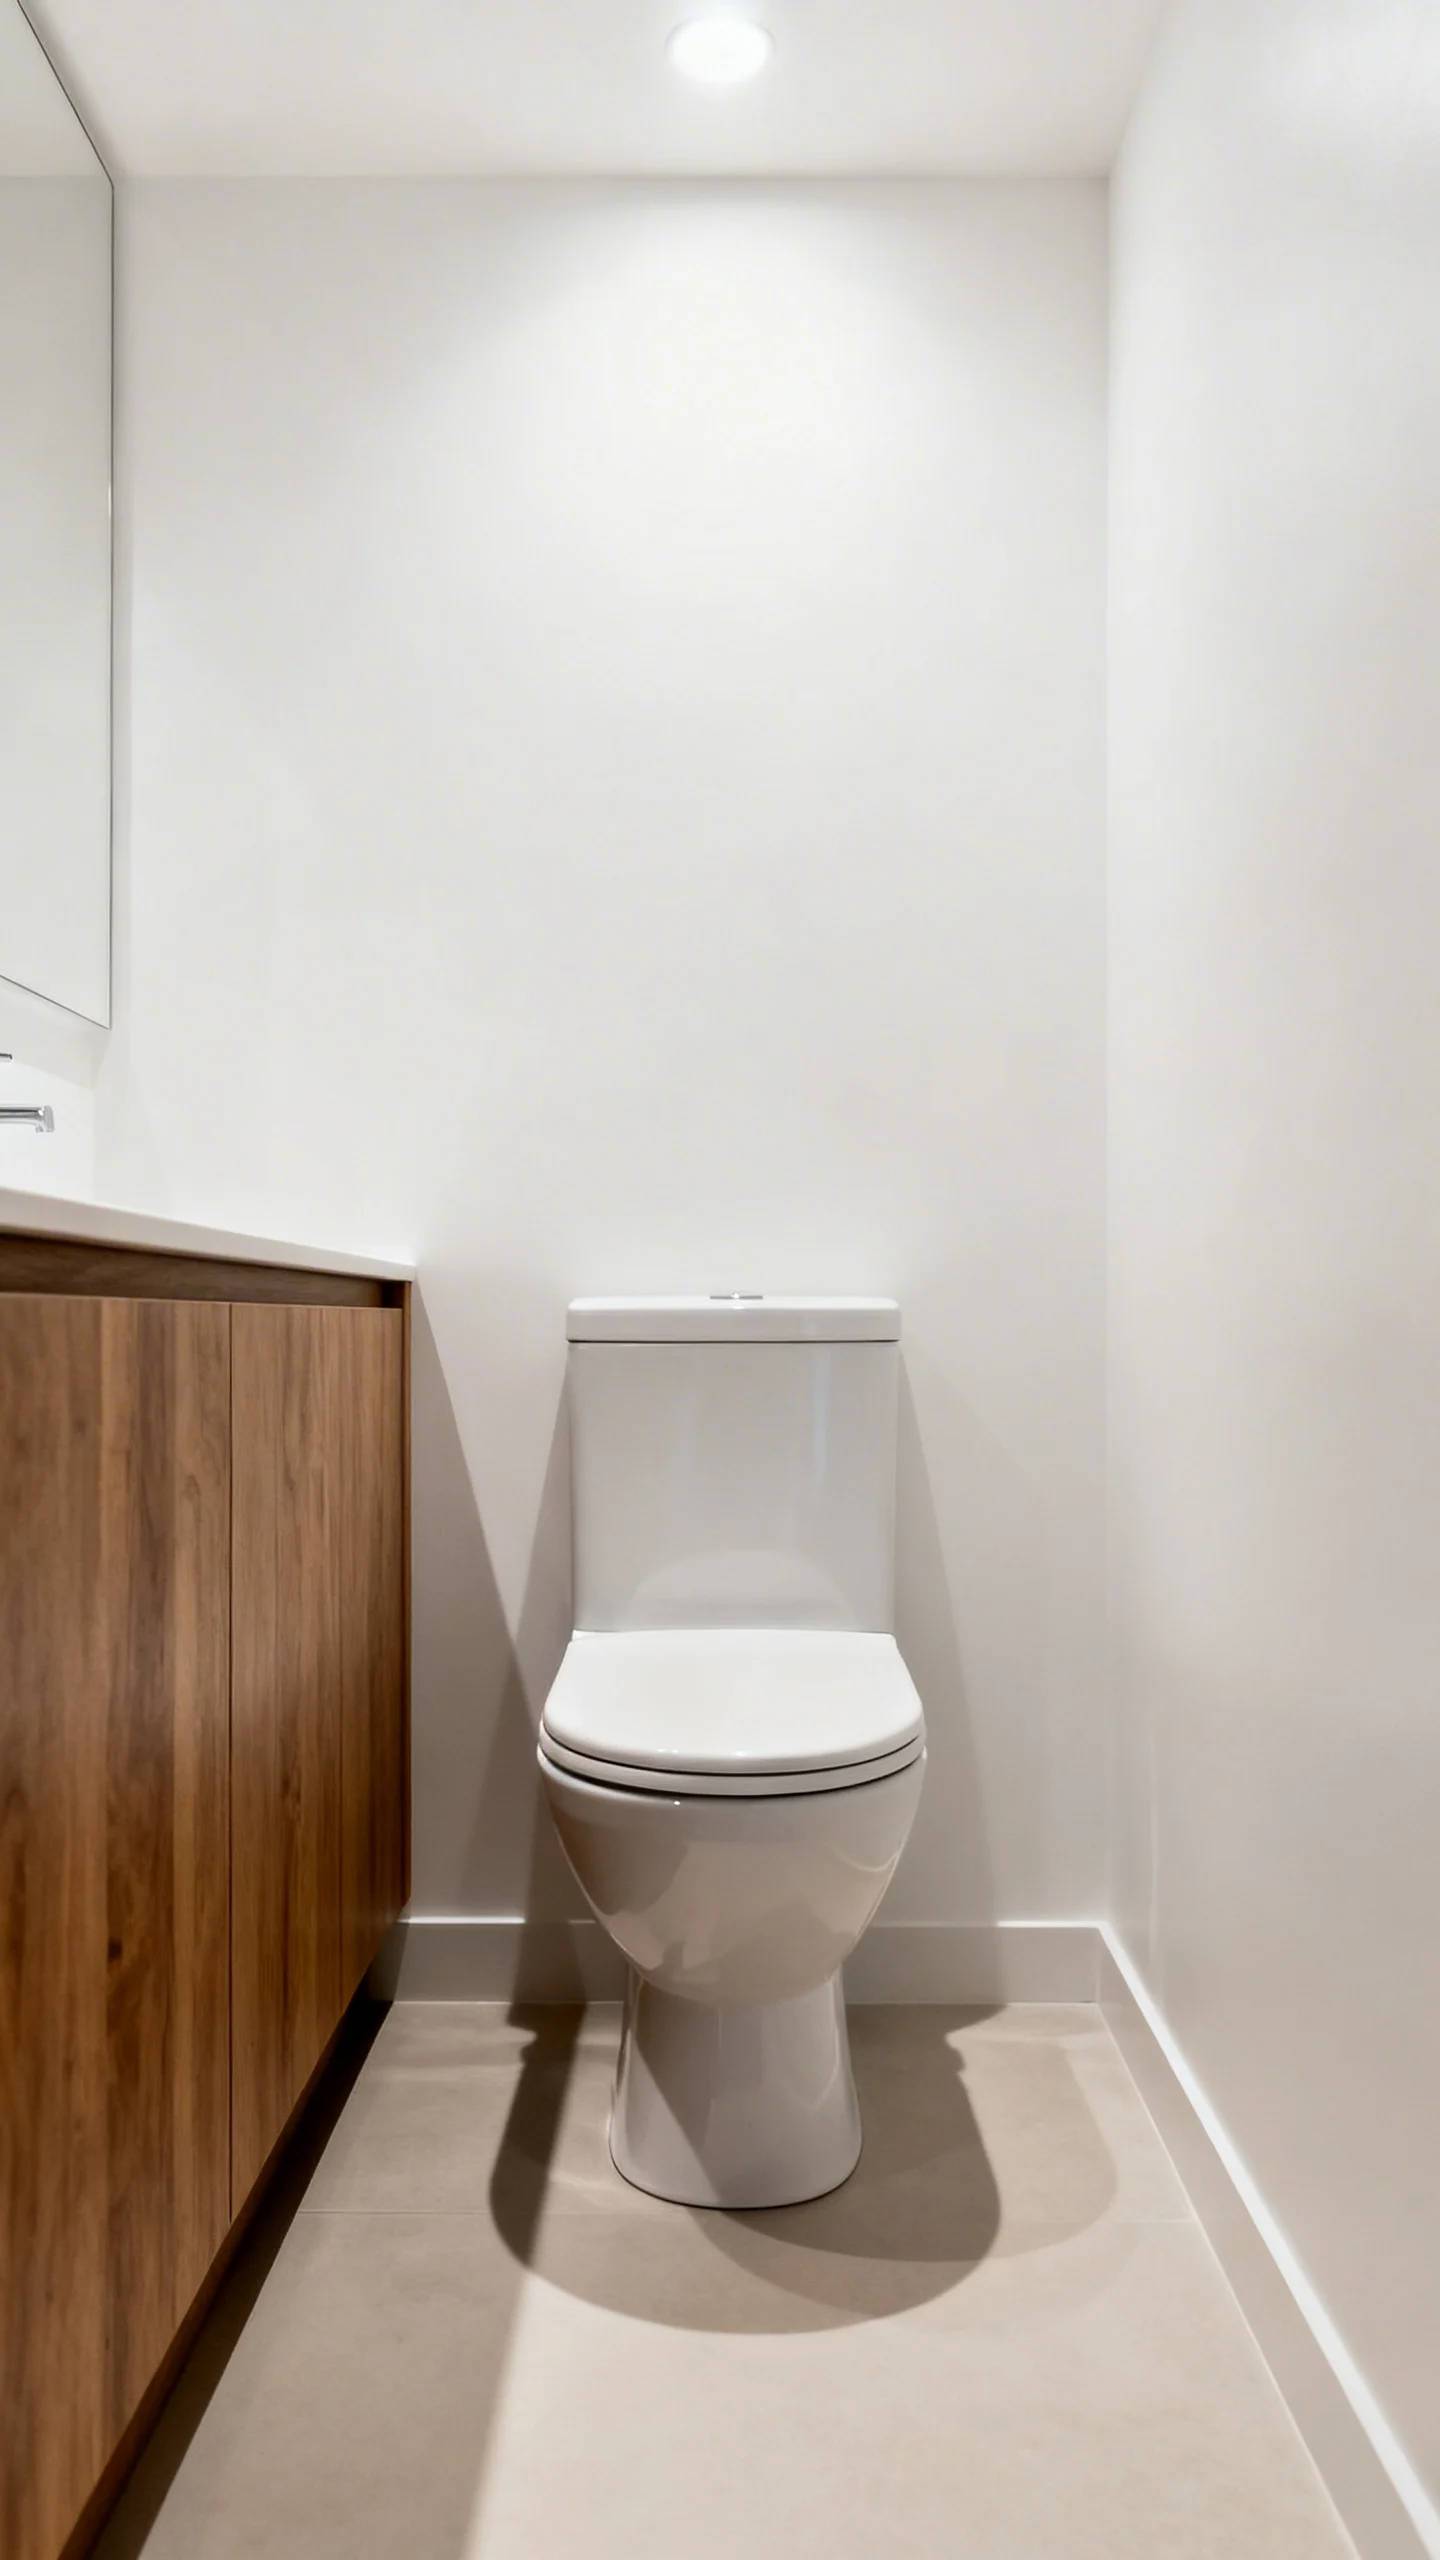
“It technically fits” is not the same as “it’s comfortable.” Centerline spacing matters: try for 15 inches from the toilet centerline to the nearest side wall or vanity (more is nicer). If you’re relocating plumbing, check not just the toilet footprint but the elbow room for shoulders and knees. Also consider the toilet paper holder: place it where it’s easy to reach from a seated position, typically 8–12 inches in front of the toilet bowl and about 26 inches above the floor, adjusting for your specific model.
4) Installing the Showerhead and Controls at Awkward Heights
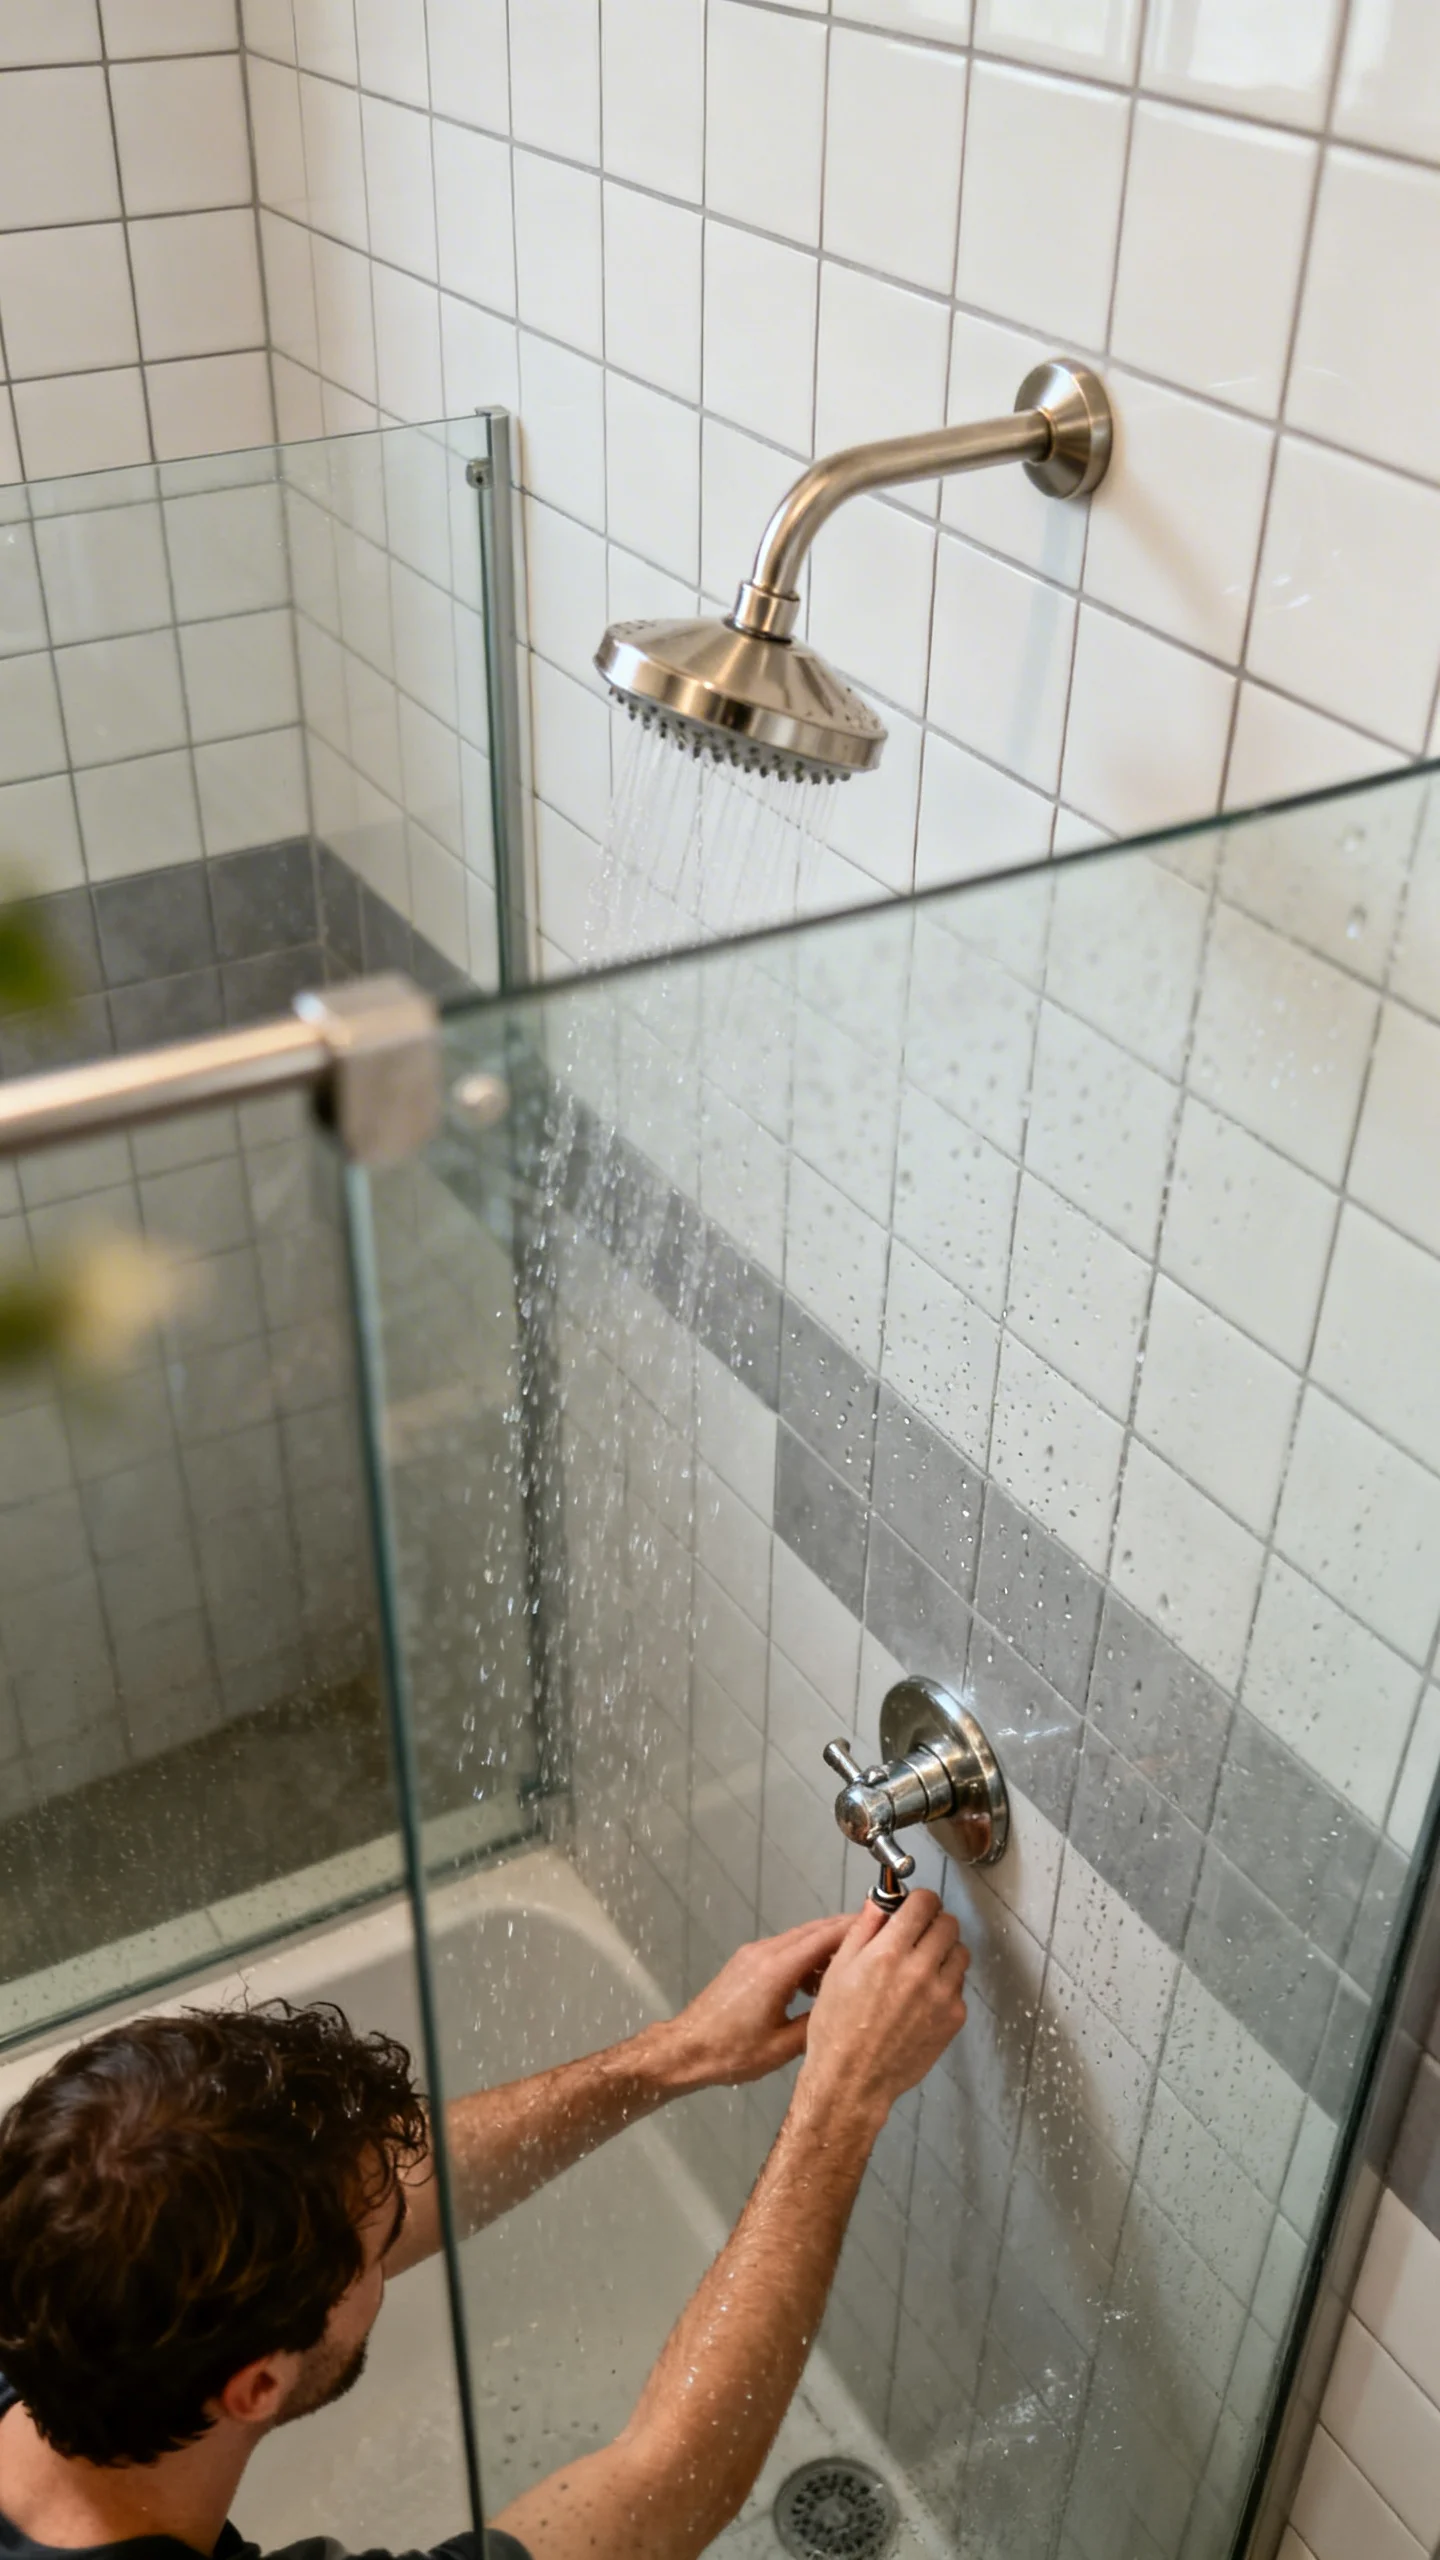
Shower placement is a comfort decision you’ll feel daily. A common DIY mistake is defaulting to “standard” heights that don’t match the household. As a starting point, place the showerhead around 80 inches from the finished floor (higher for tall users), and position the valve/controls so they’re reachable without stepping fully under the spray—often around 38–48 inches high. If you’re adding a handheld, plan a slide bar with a low-enough setting for kids and a high-enough setting for adults. Dry-fit with painter’s tape on the wall before committing.
5) Underestimating Waterproofing (Tile Is Not Waterproof)
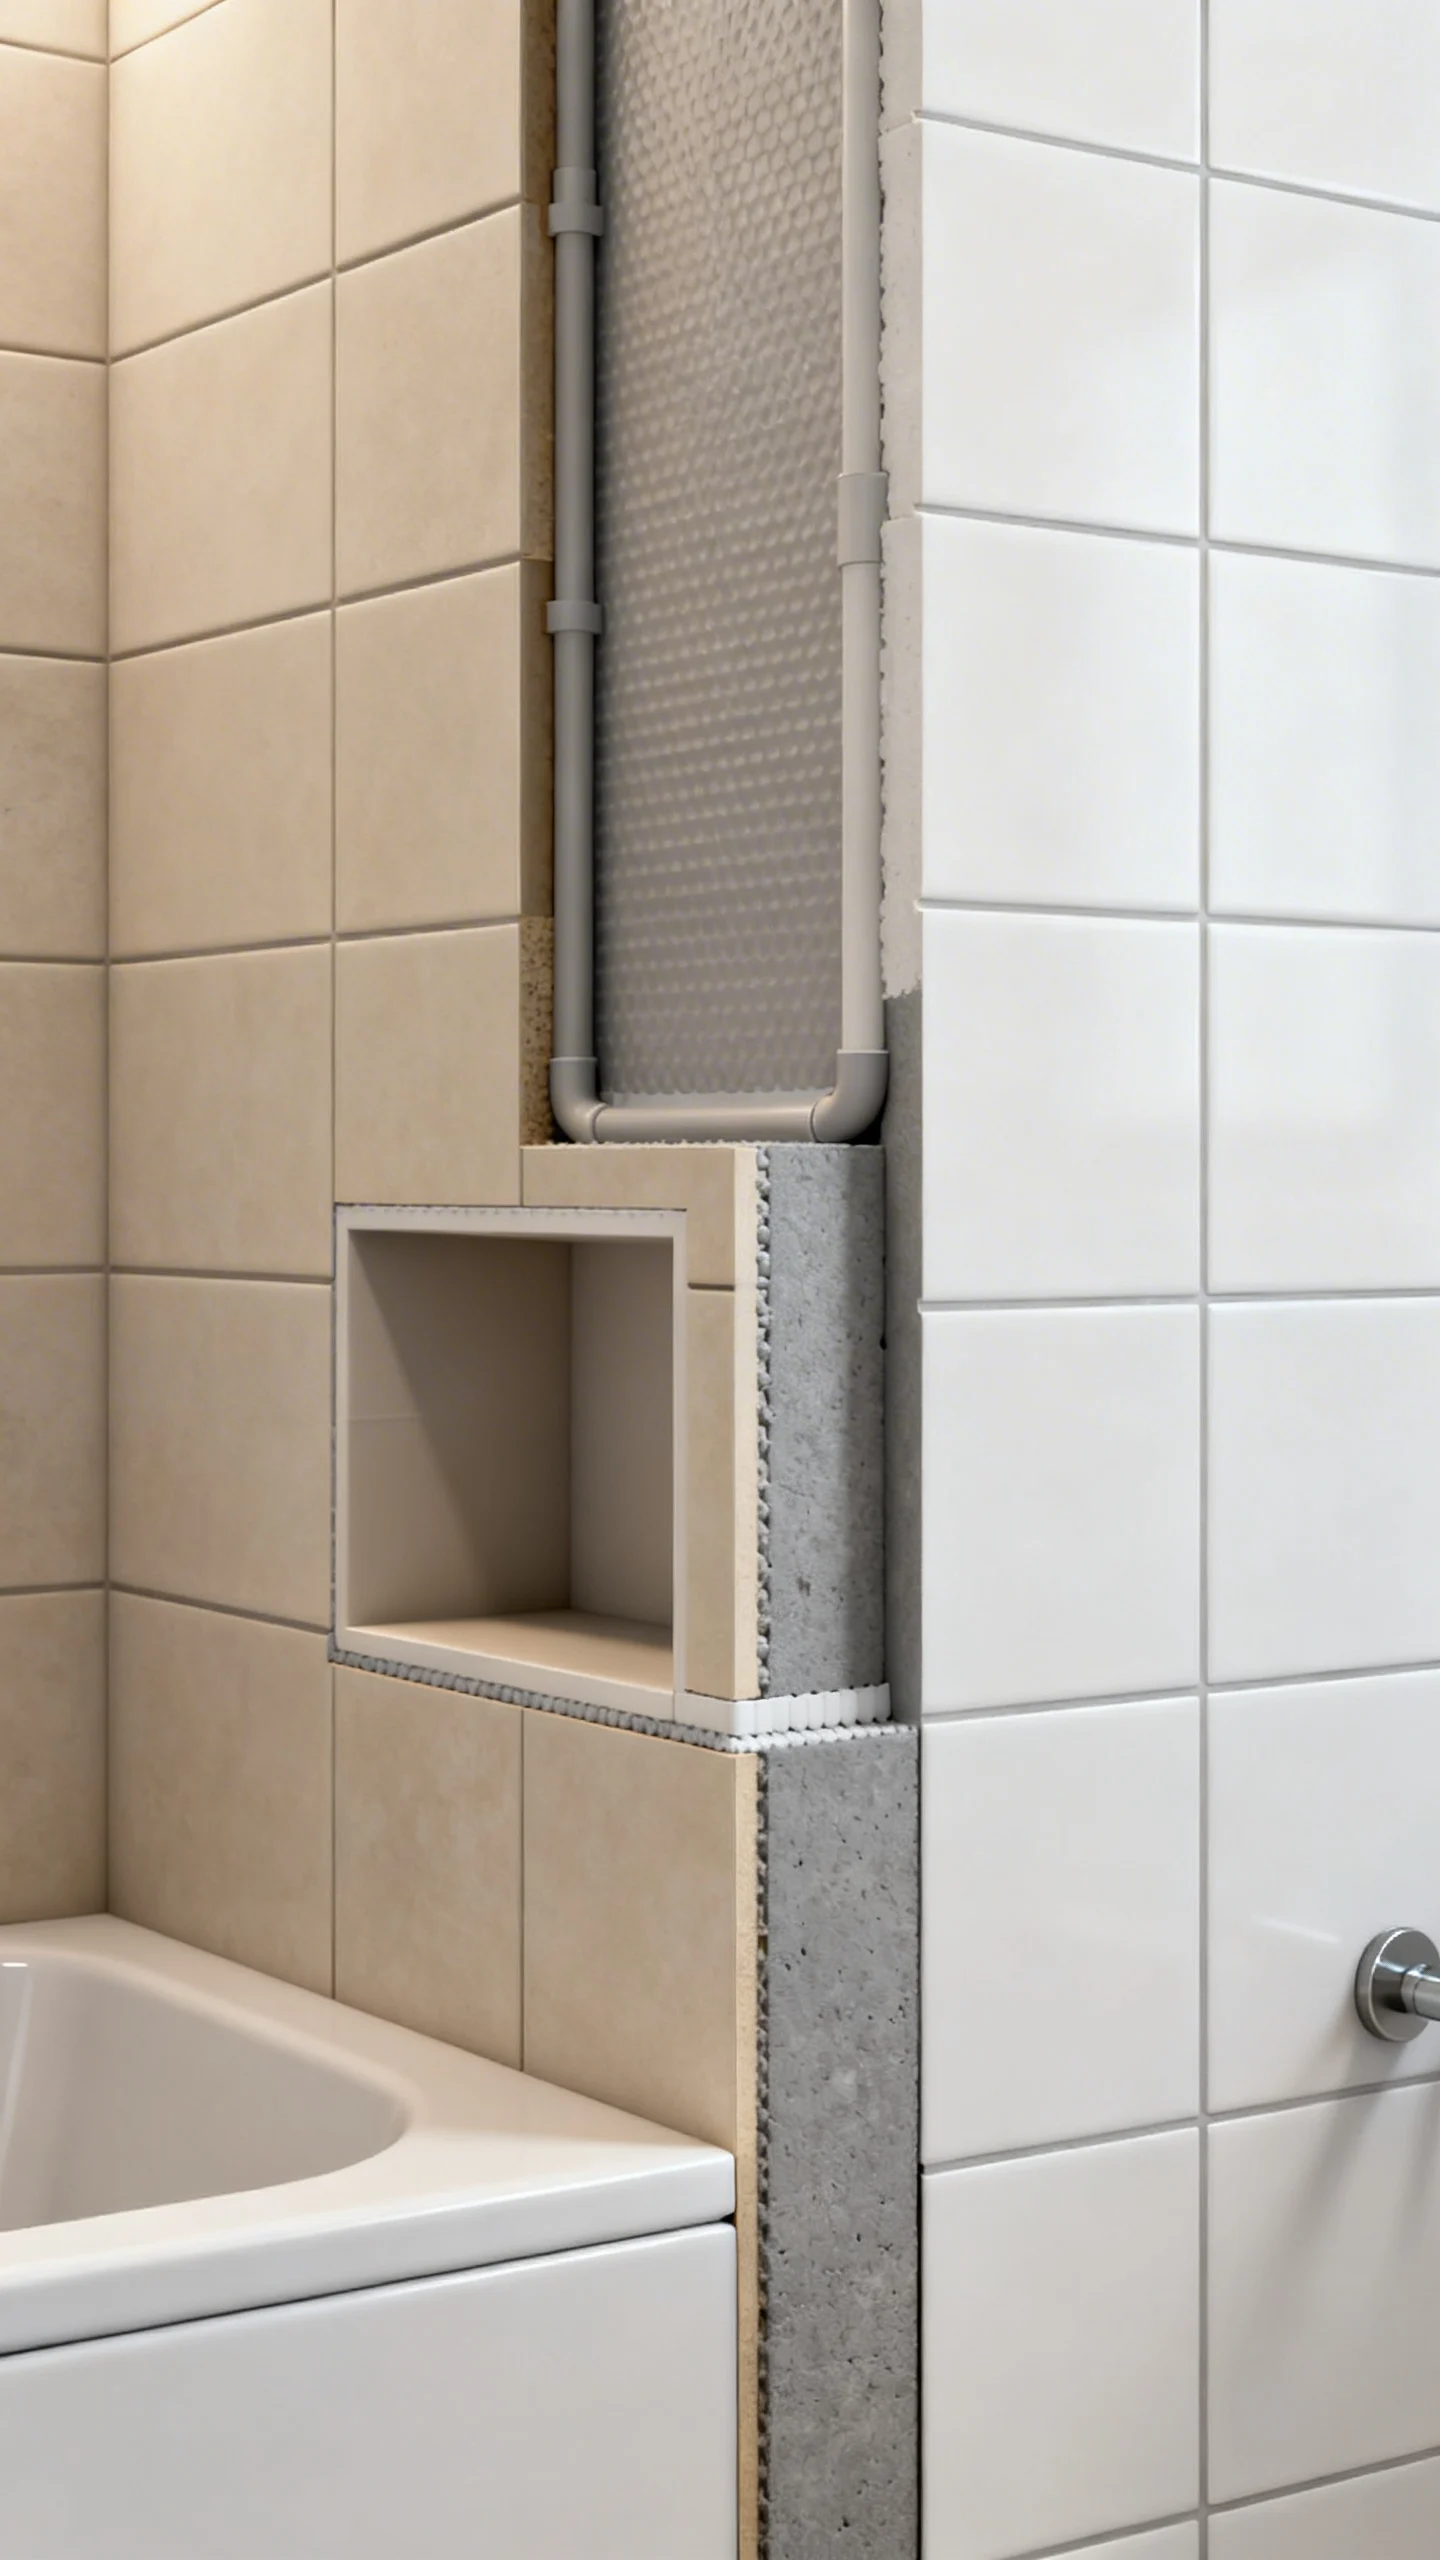
Tile and grout can look solid, but they don’t stop water on their own. The mistake is treating tile as the waterproof layer instead of the finish layer. In wet zones (showers, tub surrounds), use a real waterproofing system—either a sheet membrane or a liquid-applied membrane—installed exactly per manufacturer instructions, including seams and corners. Pay special attention to niches and benches; these are leak hotspots. Slope horizontal surfaces slightly toward the drain so water doesn’t sit and darken grout lines.
6) Picking the Wrong Tile for the Floor (Slippery, Hard to Clean, or Too Delicate)
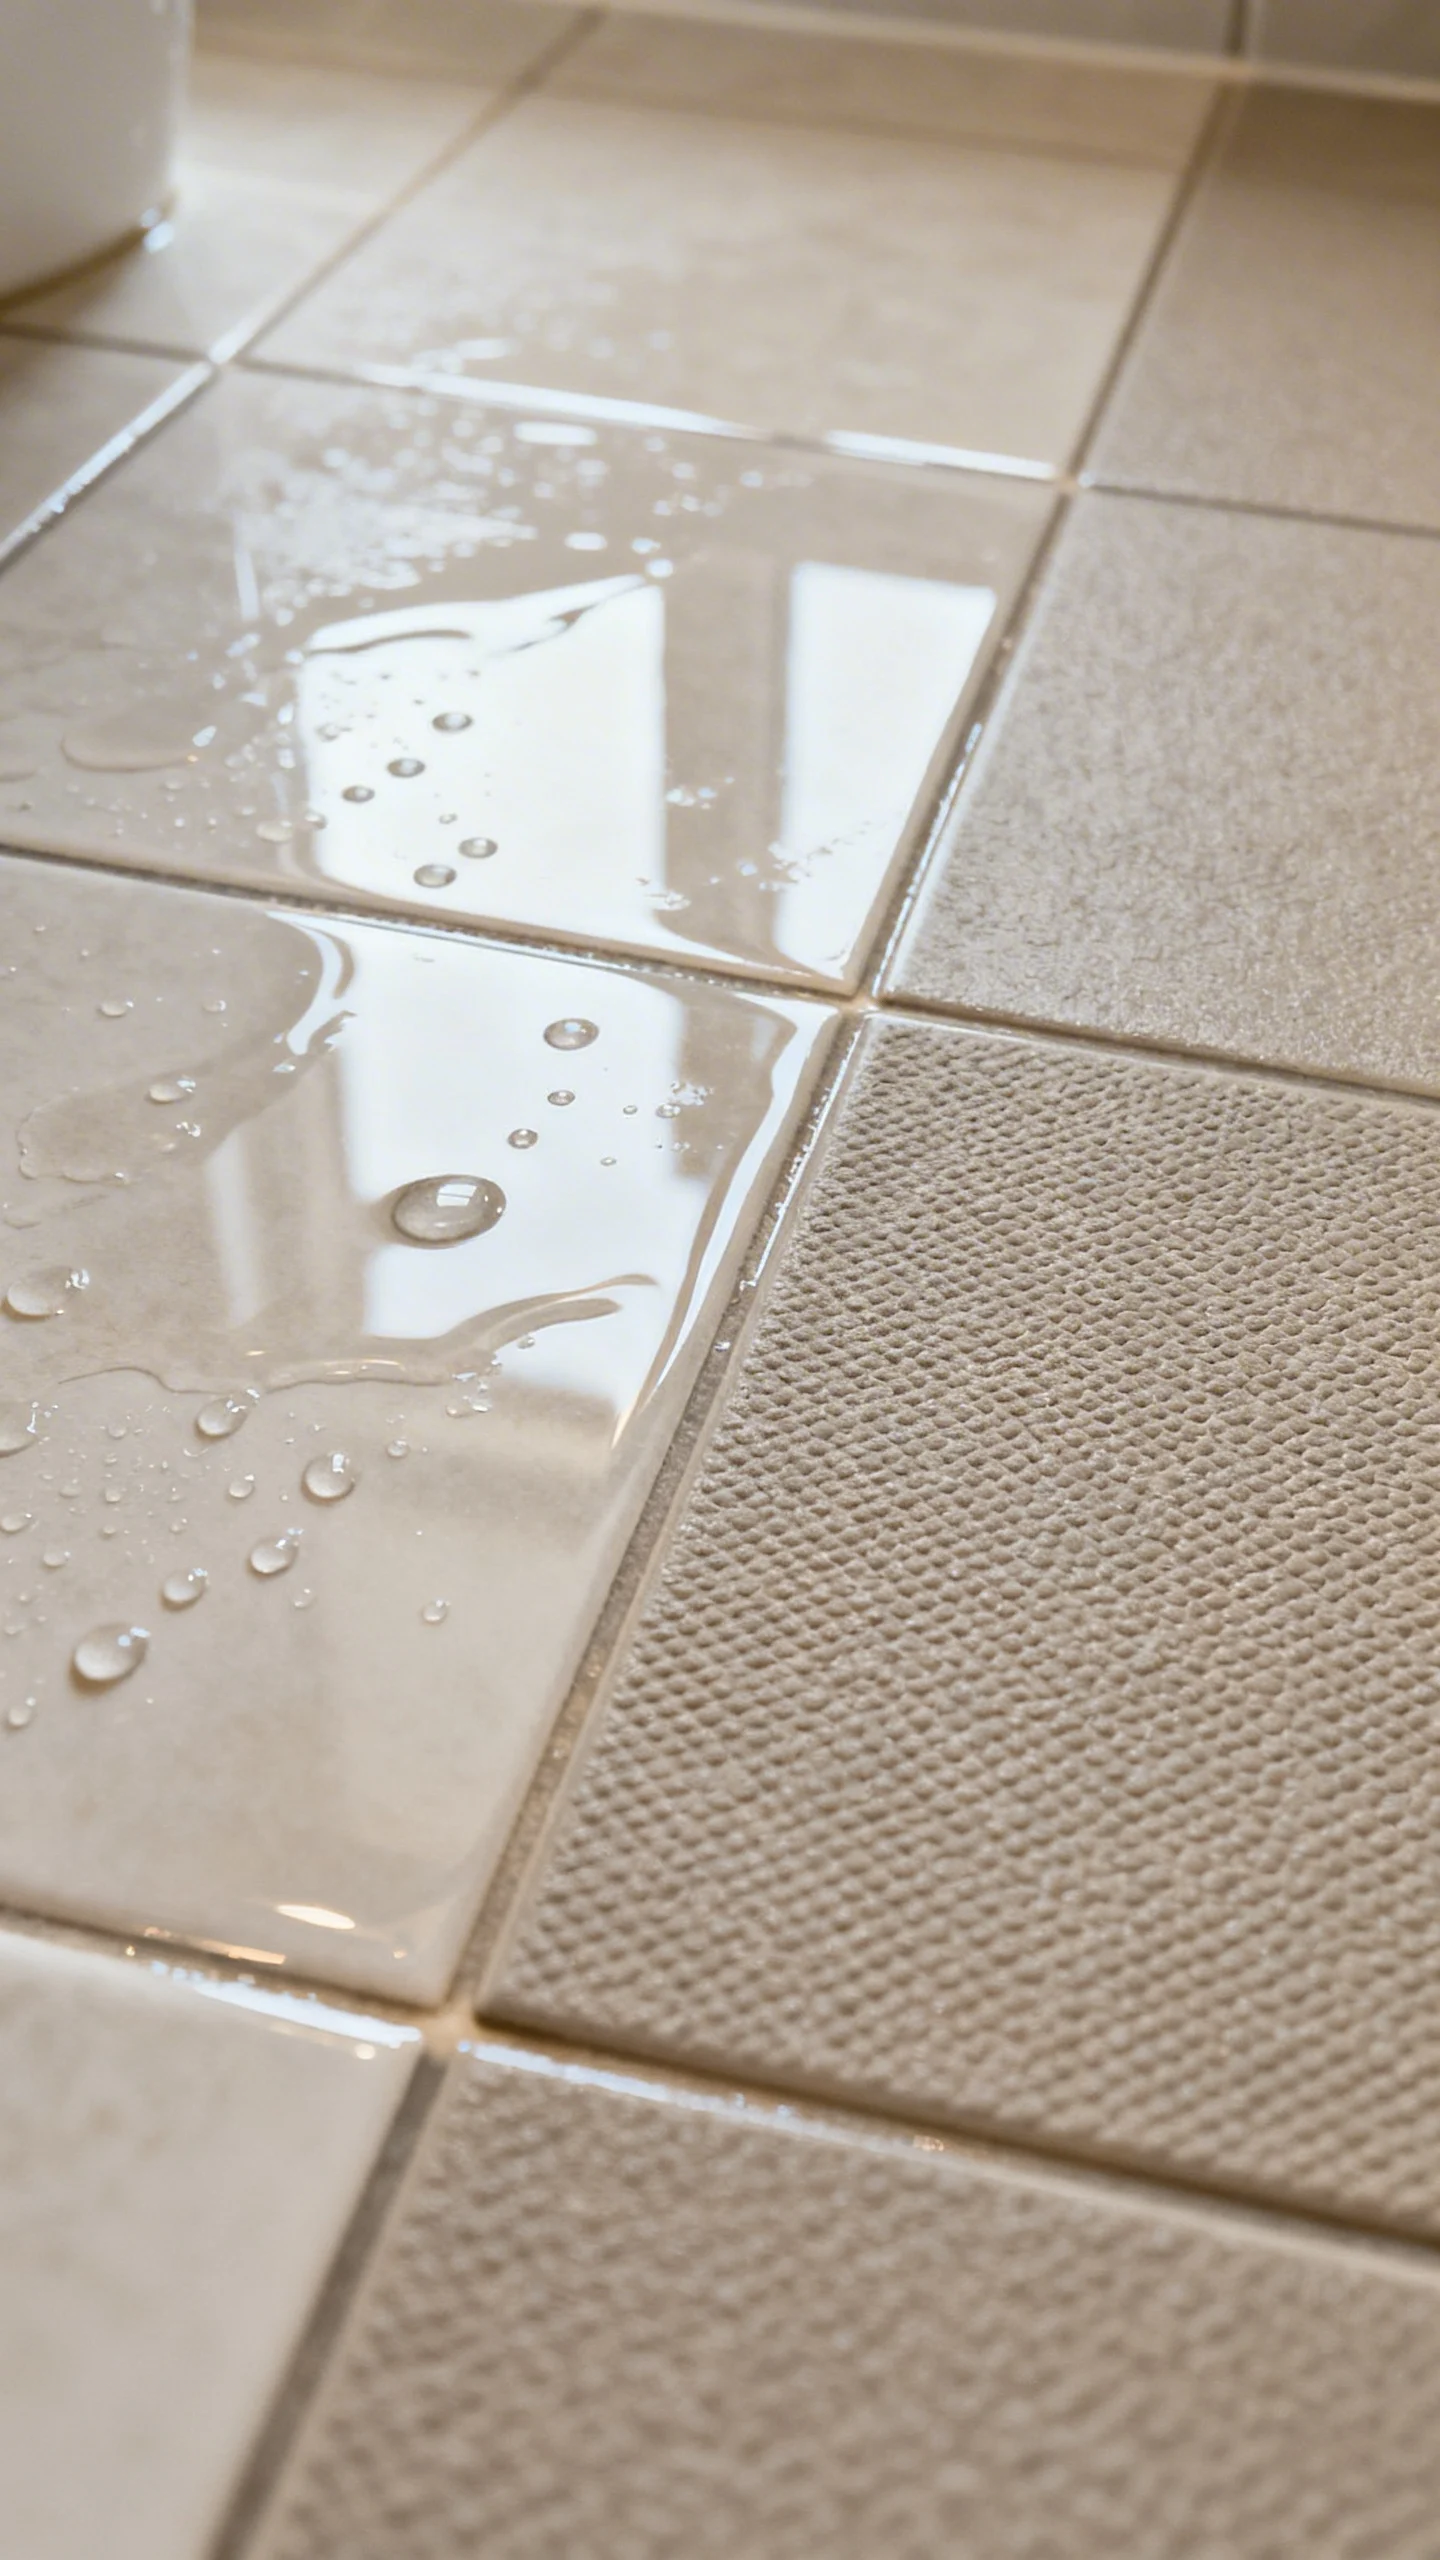
Bathroom floors need traction and durability. A classic DIY mistake is choosing glossy, smooth tile that becomes slick when wet. Look for floor-appropriate tile with better slip resistance (many brands publish DCOF ratings) and consider smaller formats—mosaics provide more grout lines for grip. Think about maintenance too: bright white grout on a high-traffic bathroom floor can be a constant battle. If you love a light look, choose a stain-resistant grout or a slightly warmer, forgiving grout tone that won’t show every footprint.
7) Installing a Shower Pan or Drain Without Proper Slope
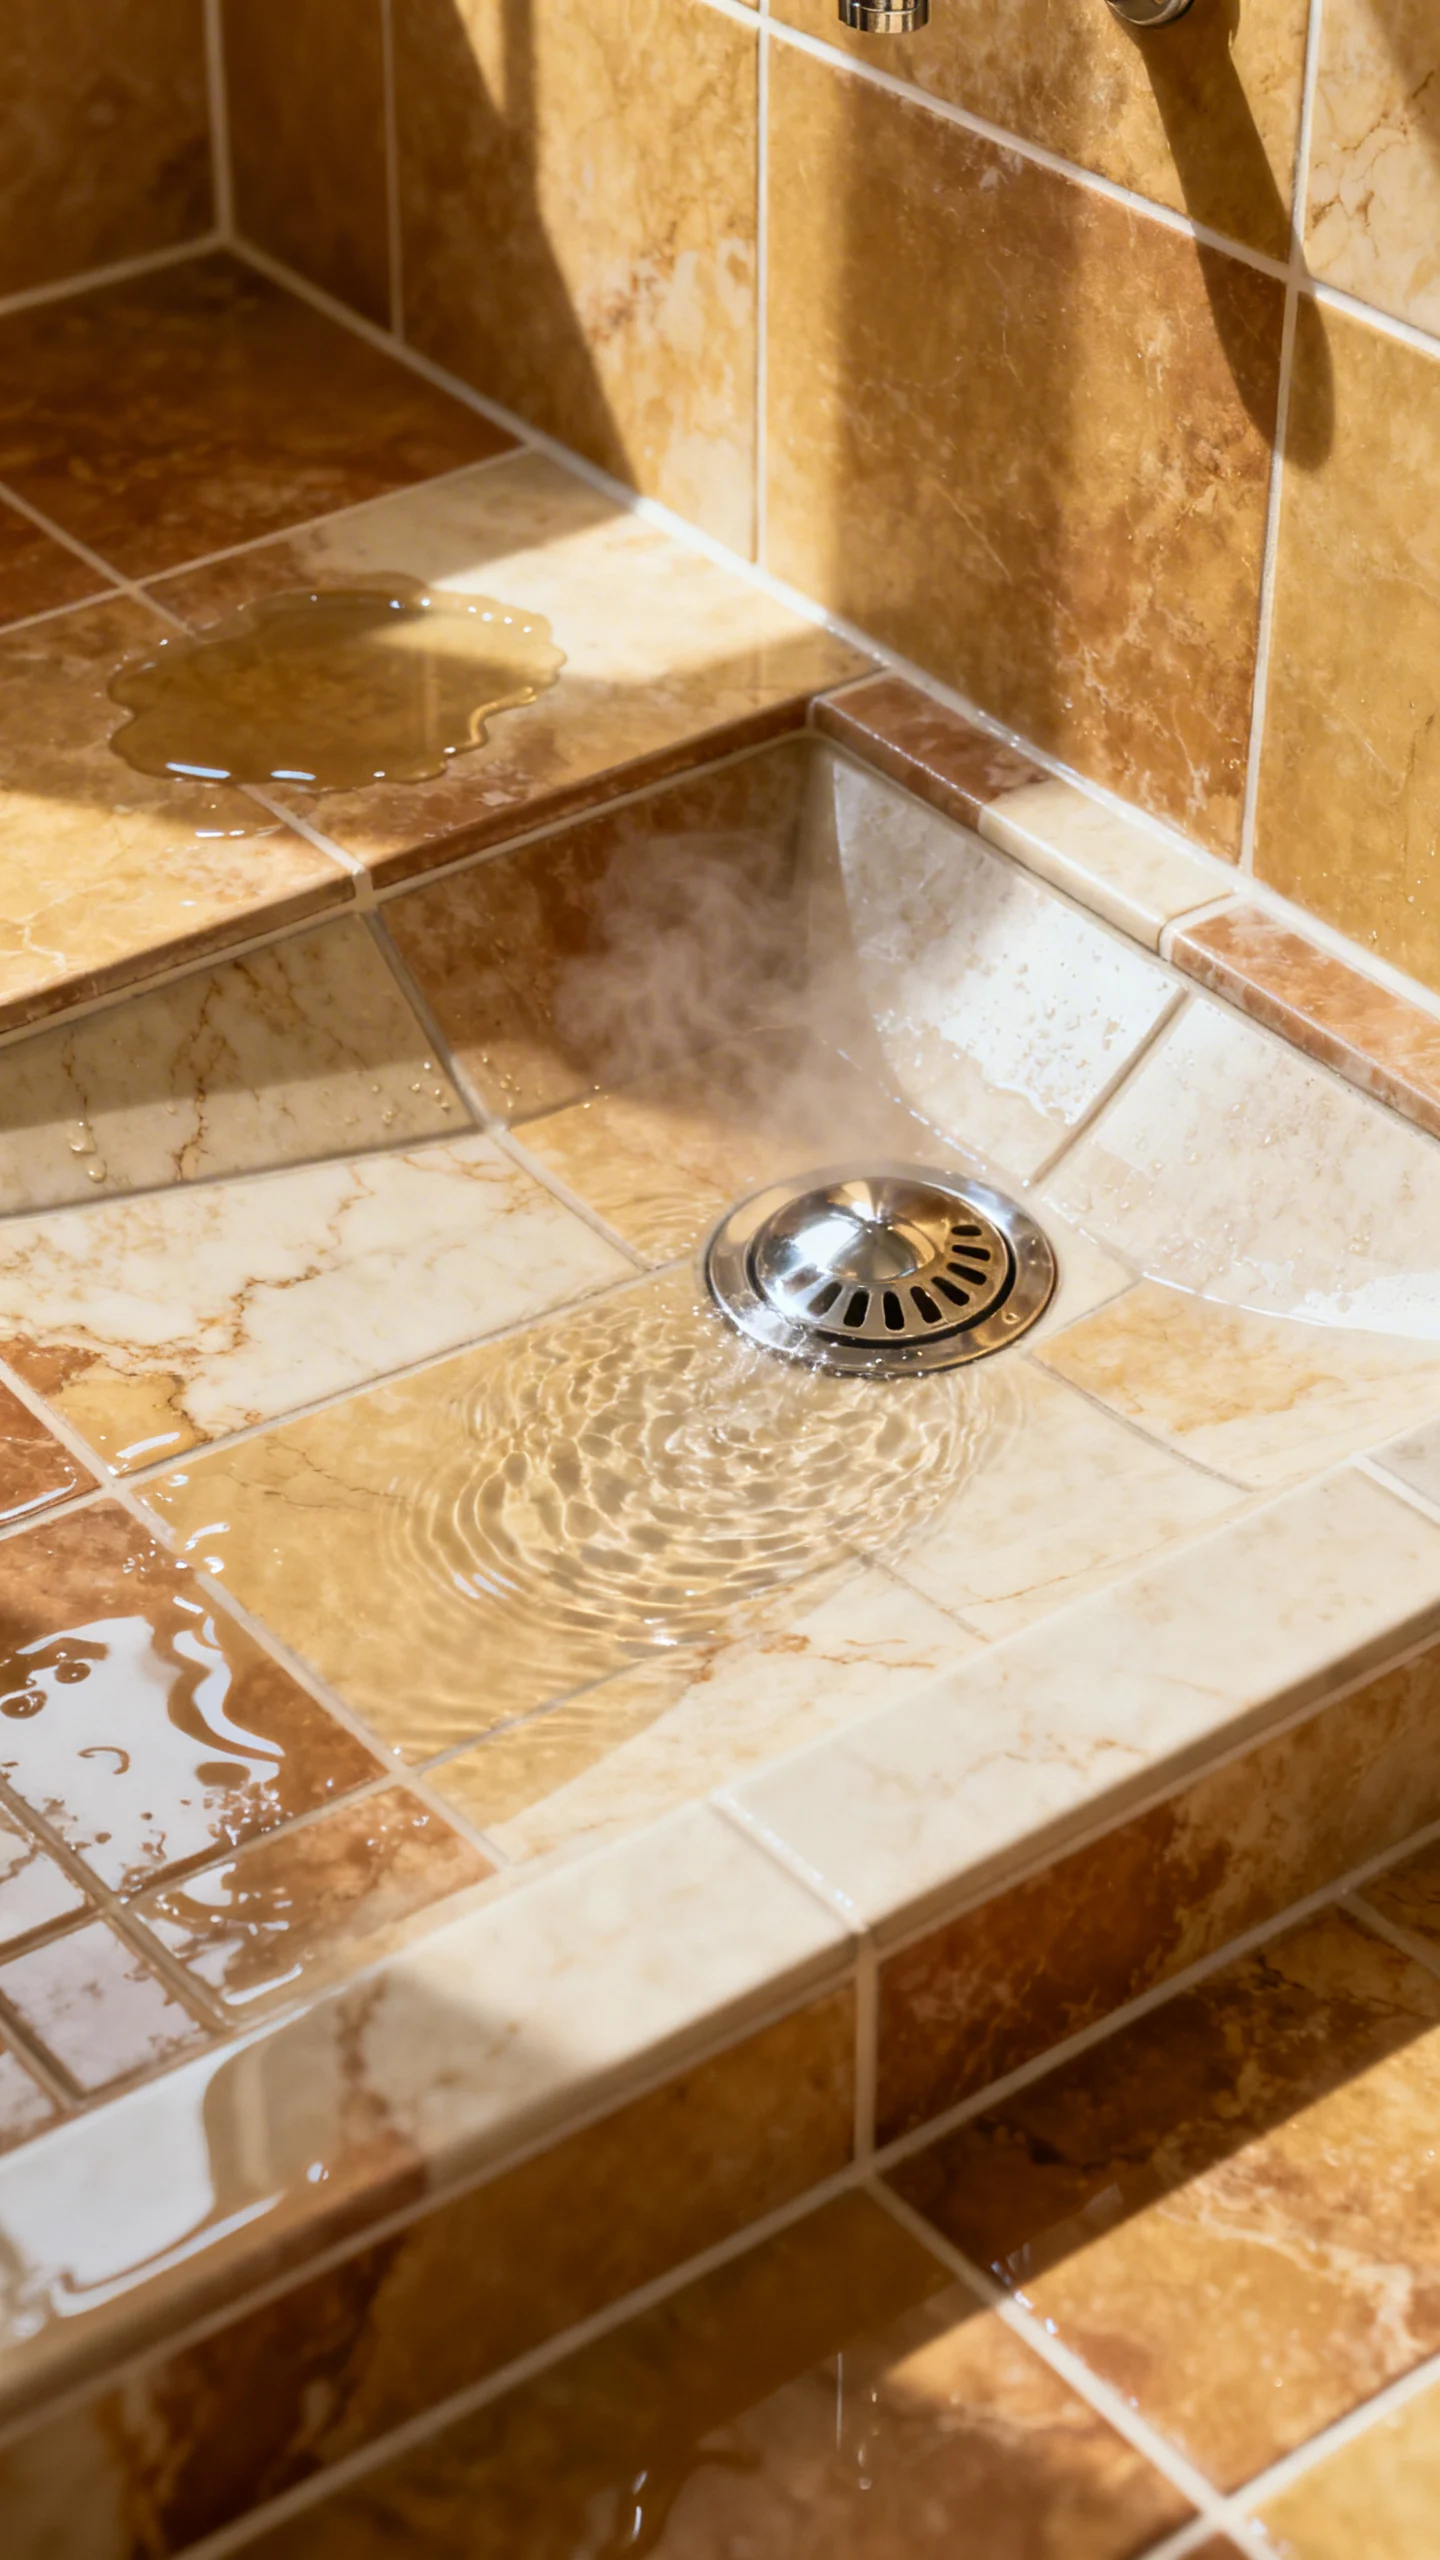
Standing water in the shower is usually a slope problem, and it’s tough to fix after the fact. If you’re doing a tiled shower floor, confirm the pre-slope and final slope lead consistently to the drain, with no low spots. Linear drains add style, but they demand precision in pitch and placement. For shower pans, follow the manufacturer’s bedding and leveling instructions—many require mortar support underneath. Also verify curb height and transitions so water stays in the shower and your bathmat stays dry.
8) Poor Ventilation Planning (Hello, Peeling Paint and Persistent Odors)
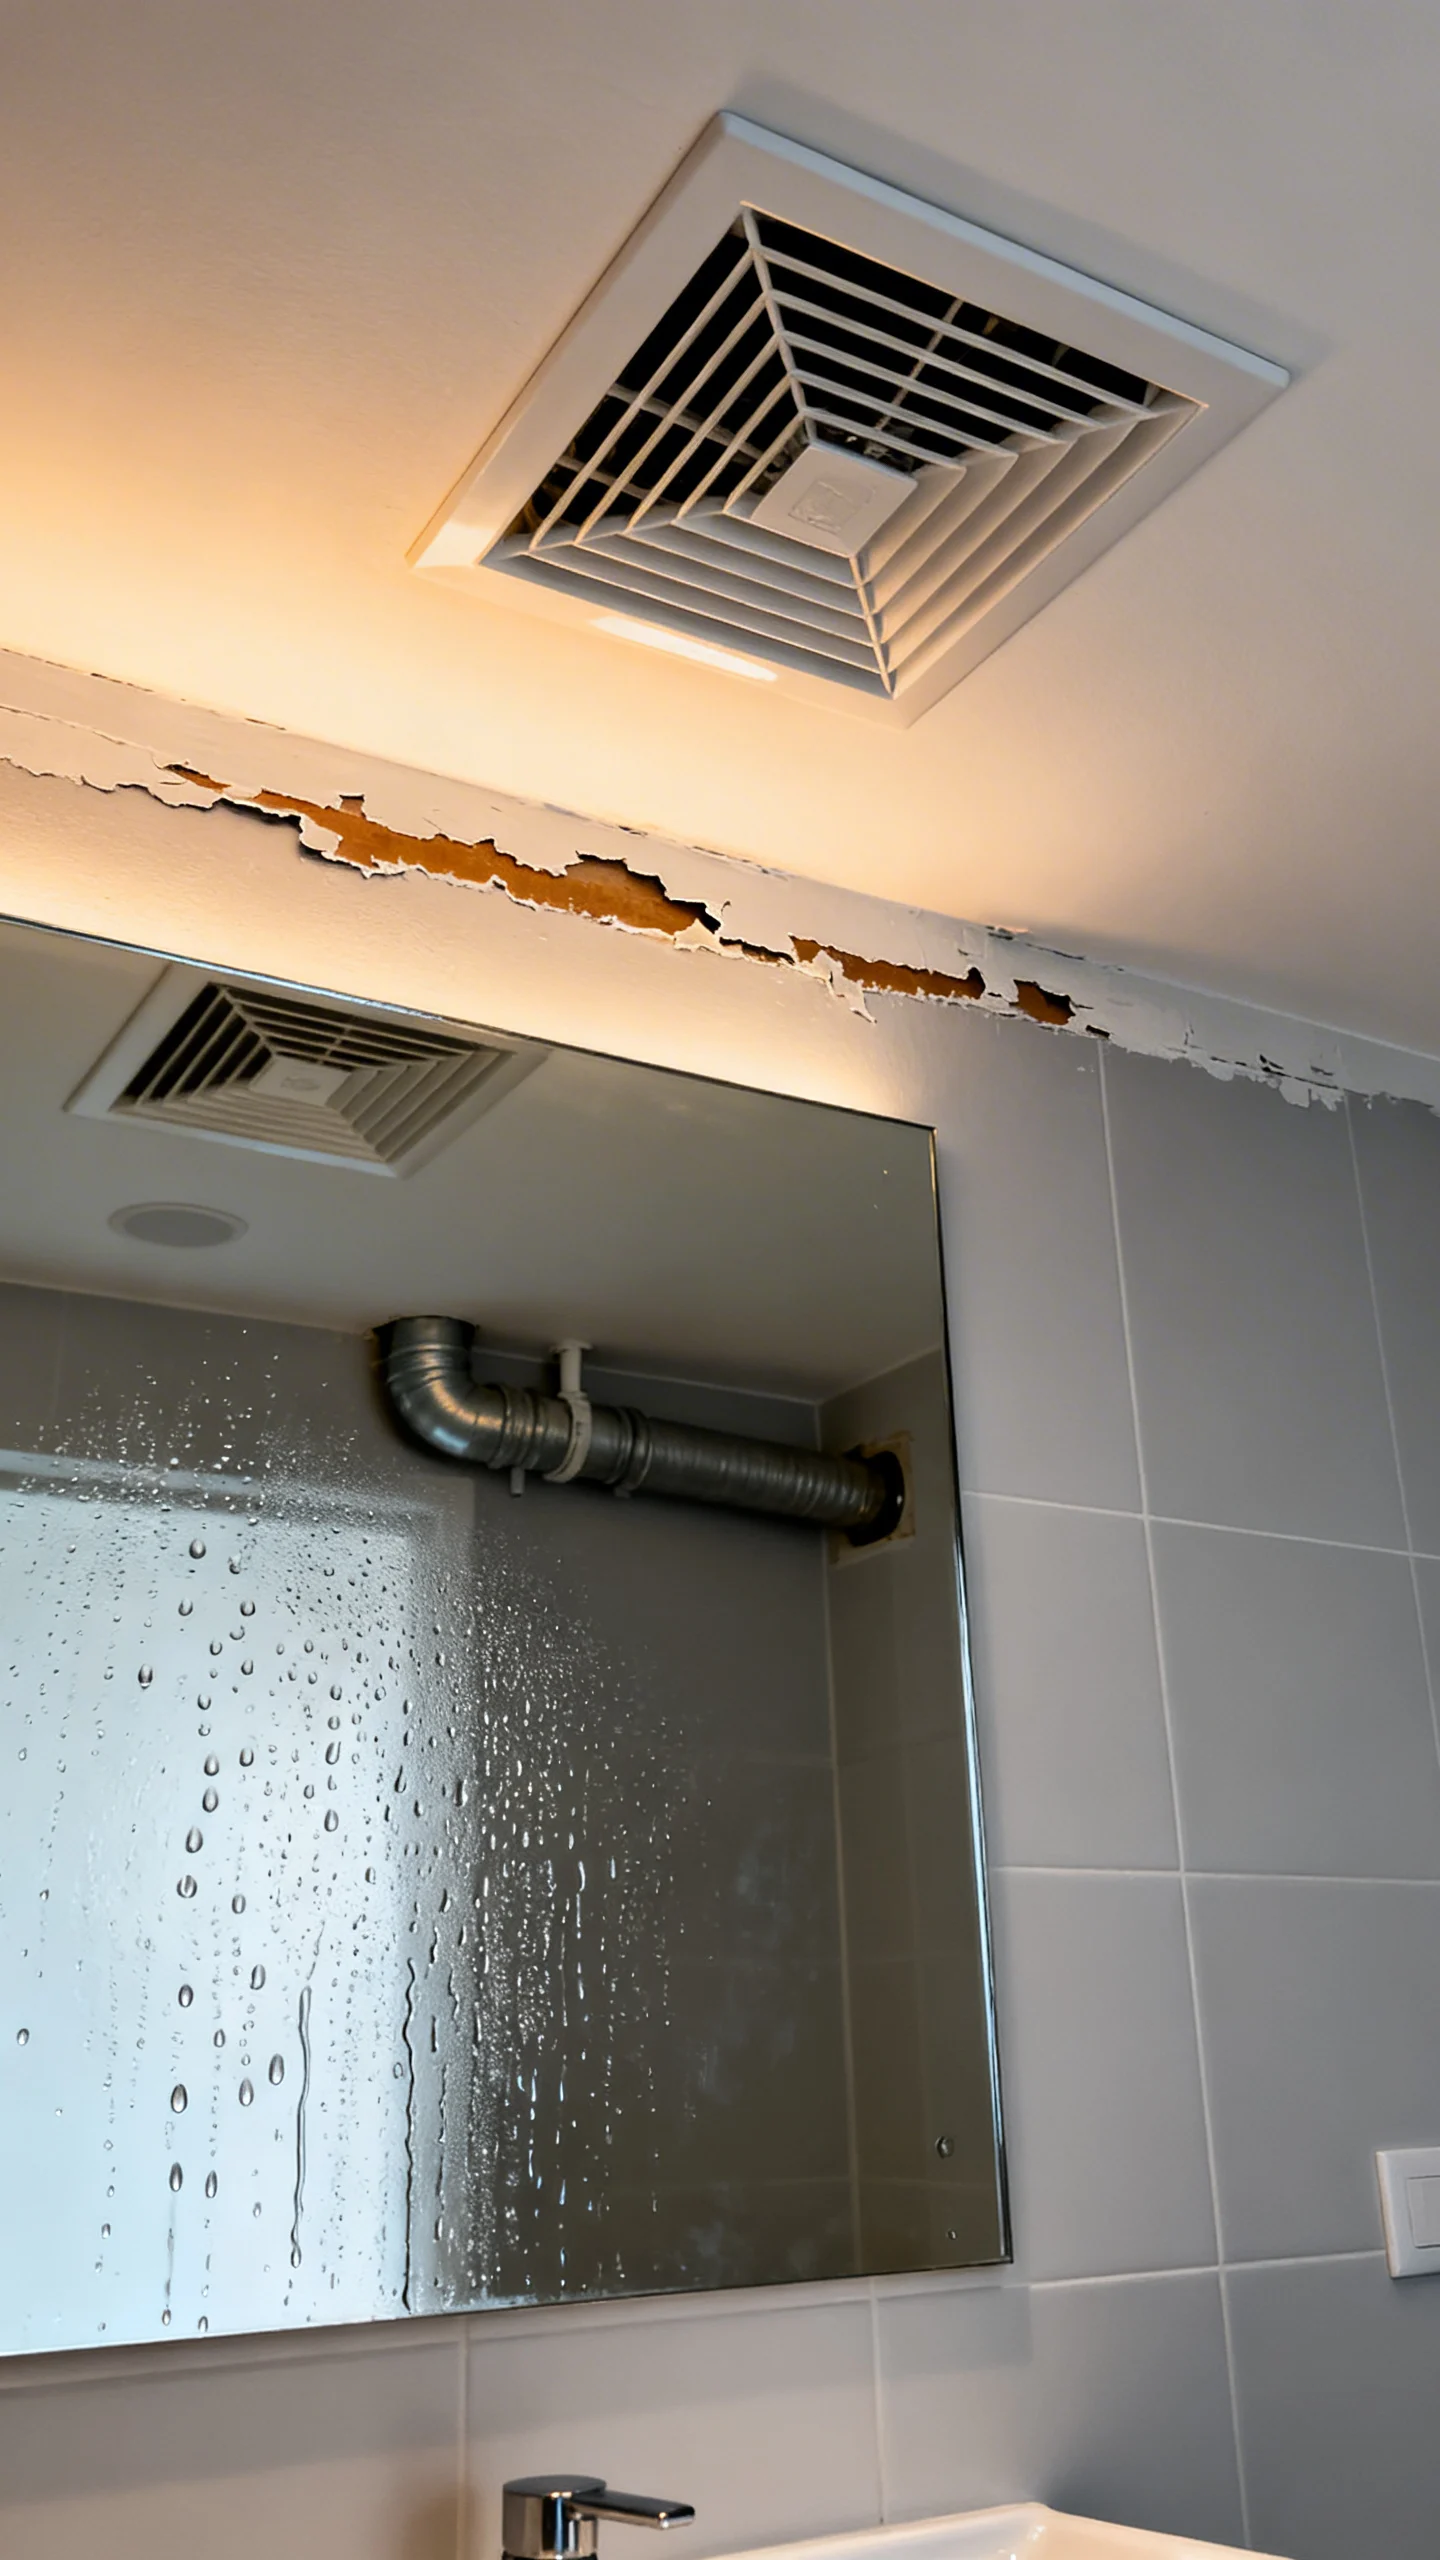
A pretty bathroom fails fast without ventilation. DIYers often reuse an undersized fan or skip ducting upgrades. Choose a fan rated appropriately for the room size (a common rule is 1 CFM per square foot, increasing for higher ceilings or heavy daily shower use). Make sure the fan vents to the exterior—not into an attic—and keep the duct run as short and straight as possible for best performance. Add a timer or humidity sensor so the fan actually runs long enough to clear moisture.
9) Lighting Mistakes: One Ceiling Light and a Shadowy Mirror
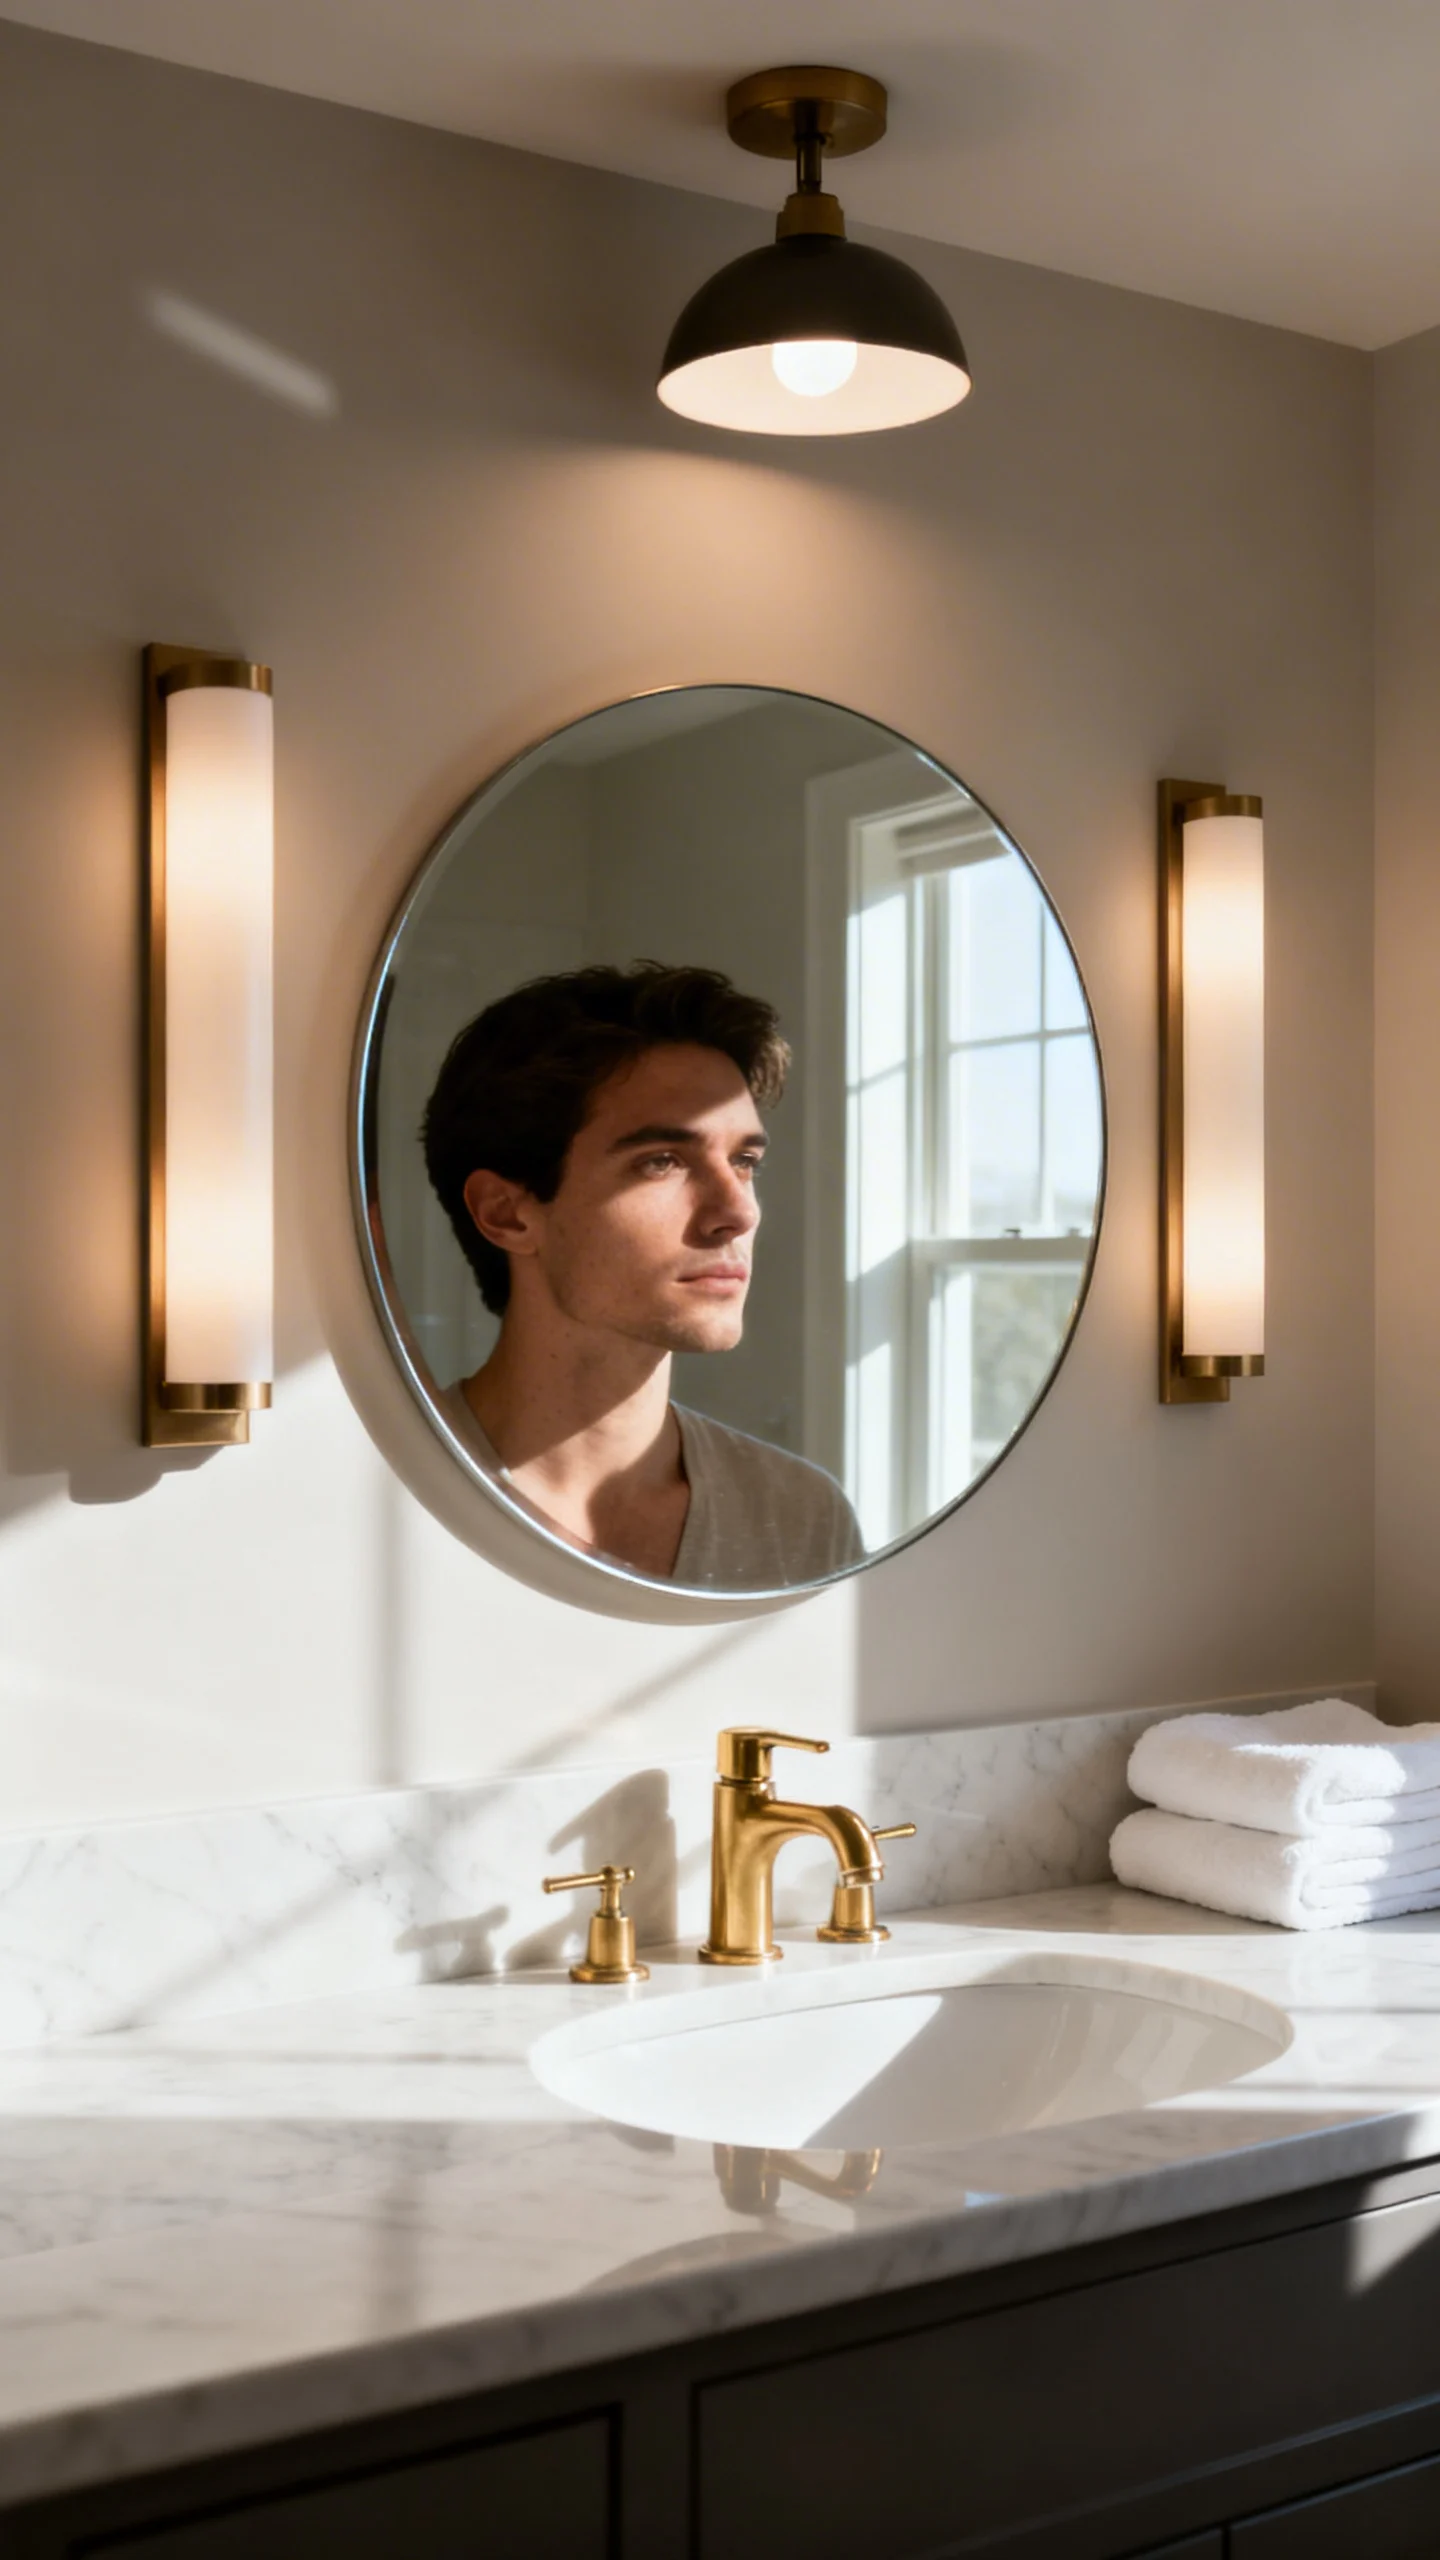
Bathrooms need layered, face-friendly light. A common DIY error is relying on a single overhead fixture that casts shadows at the mirror. Add dedicated vanity lighting—either sconces on both sides of the mirror or a well-placed bar above—so grooming feels effortless. Choose bulbs in a flattering, practical range (many people prefer 2700K–3000K for warm clarity) and aim for decent color accuracy (look for higher CRI when possible). If you’re adding recessed lights, avoid placing them directly above your head at the vanity—shift them forward to illuminate your face.
10) Forgetting Storage and “Daily-Use” Placement (Then Living with Counter Clutter)
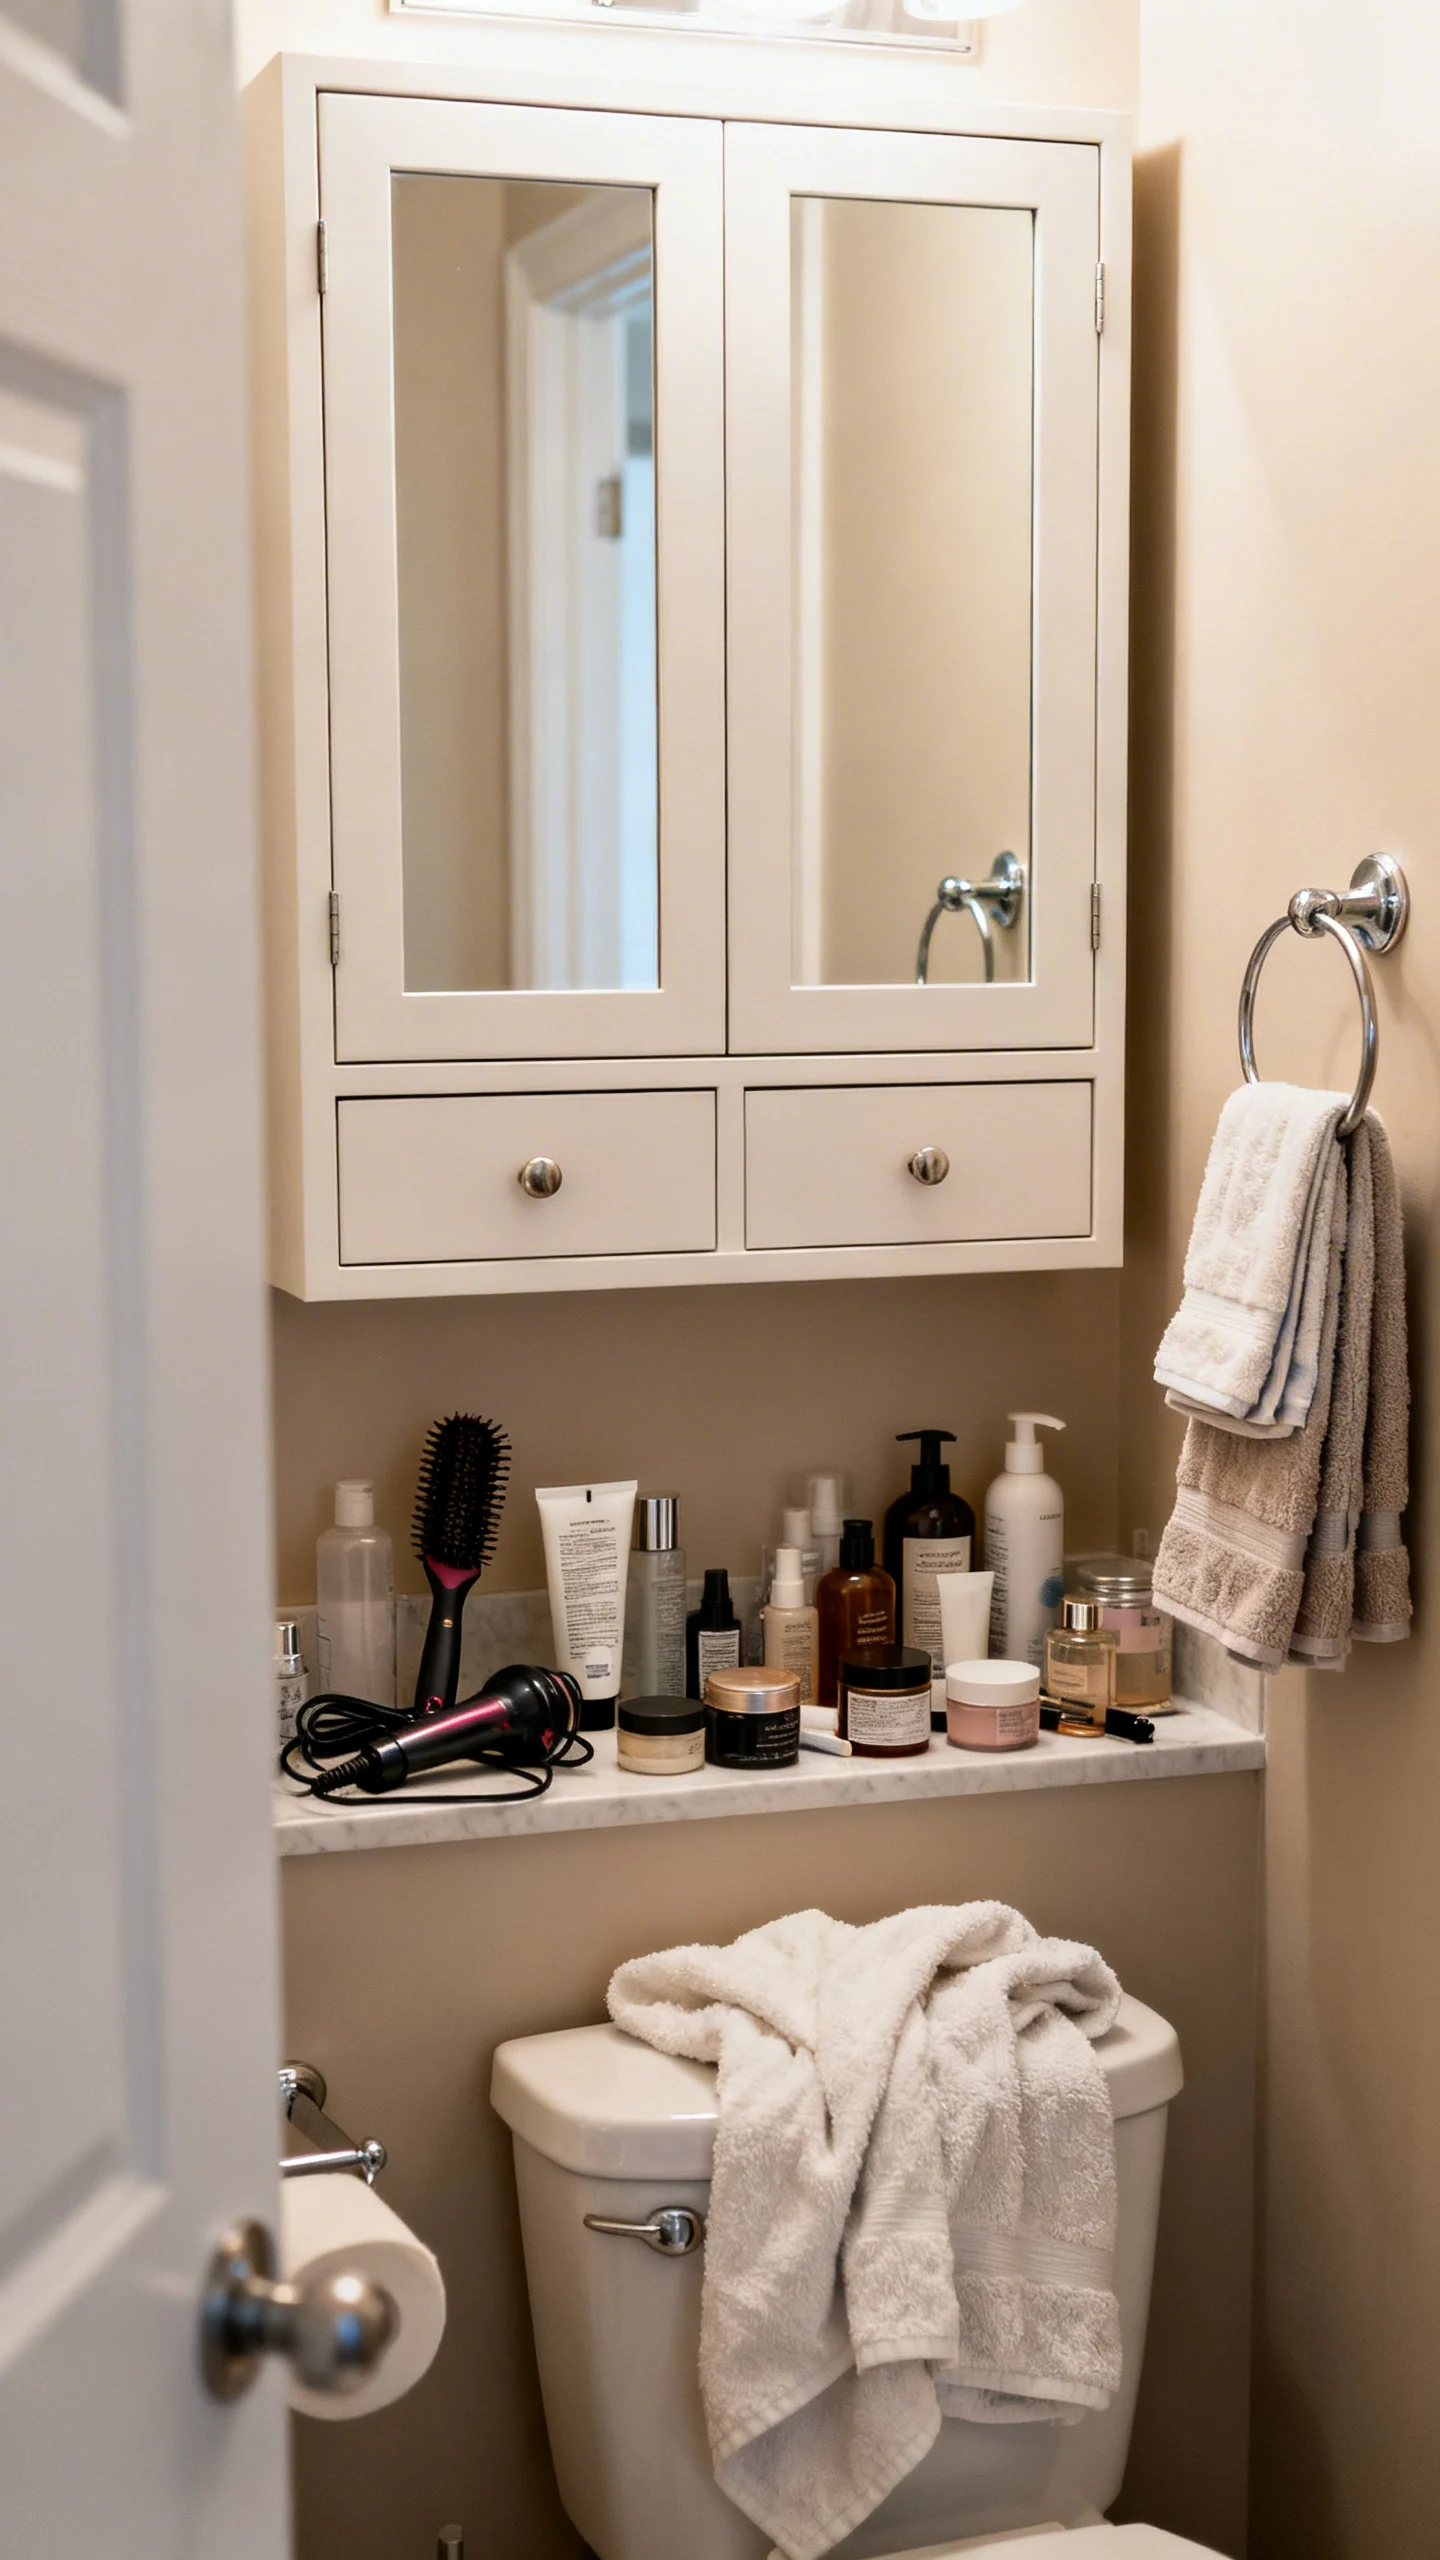
DIY bathrooms often look clean on reveal day, then overflow by week two. Plan storage for what you actually use: drawers for toiletries, a spot for hair tools, a closed cabinet for backups, and hooks for towels that don’t block movement. Keep frequently used items within easy reach of the sink, and place towel storage close enough to the shower or tub that you’re not dripping across the room. If you’re short on space, consider a recessed medicine cabinet, a vanity with full-extension drawers, or a slim cabinet that fits beside the mirror without crowding the sink.
FAQ
What’s the biggest DIY bathroom design mistake people regret most?
Poor layout planning—especially tight clearances around the toilet, vanity, and door swing. It can make a brand-new bathroom feel cramped even with beautiful finishes.
How much space should I leave in front of a toilet and vanity?
Aim for at least 21 inches of clear space in front of each fixture, with 30 inches feeling more comfortable when the room size allows.
Is tile waterproof in a shower?
No. Tile is a finish surface; waterproofing must be handled by a membrane system behind or beneath the tile, installed with proper seam and corner treatment.
What type of bathroom floor tile is easiest to live with?
Matte or textured porcelain is a favorite for durability and low maintenance. Smaller tiles or mosaics can improve traction, and a medium-tone grout is often more forgiving than bright white.
How do I know if my bathroom fan is strong enough?
A common guideline is 1 CFM per square foot of bathroom area, with more needed for high ceilings or frequent hot showers. Also ensure the fan vents outdoors and the ducting isn’t overly long or twisty.