
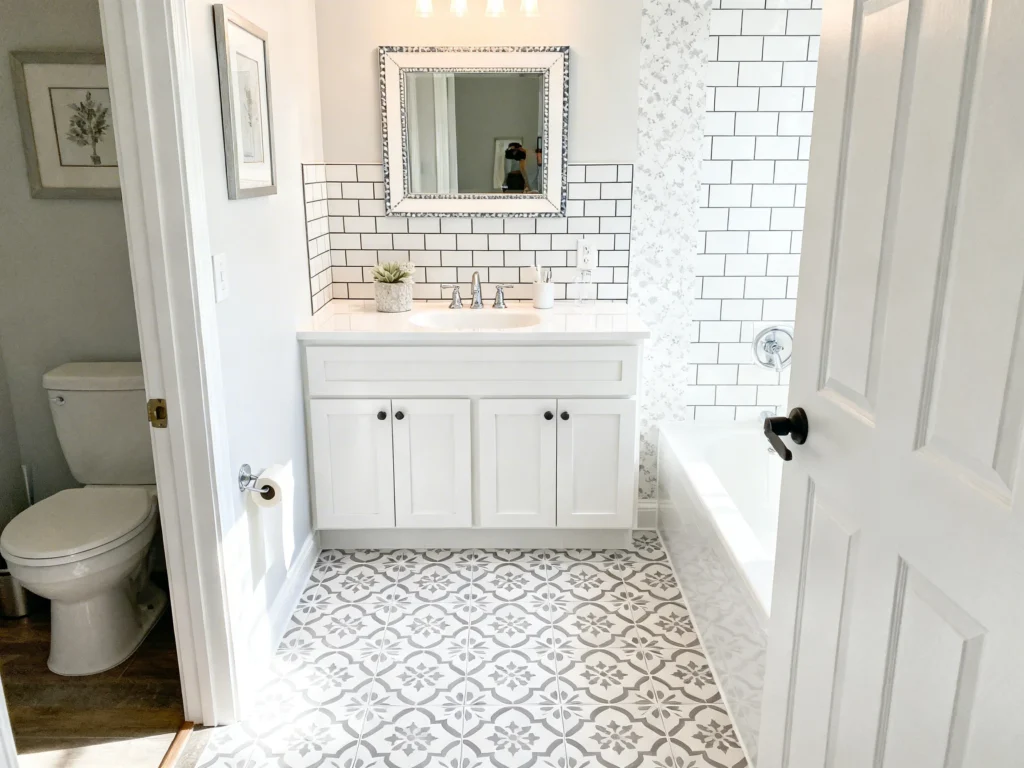
DIY Bathroom Design Ideas Using Peel-and-Stick Upgrades
Want a bathroom refresh without demolition dust or a contractor timeline? Peel-and-stick upgrades are one of the fastest DIY routes to a cleaner, more designed look—especially in small bathrooms where a few surfaces make a big visual impact.
Below are practical, bathroom-specific tips for using peel-and-stick materials the right way: where they work best, how to prep, what to avoid in wet zones, and the measurements that keep your update looking intentional.
1) Start With the Right Surface Prep (It’s 80% of the Result)
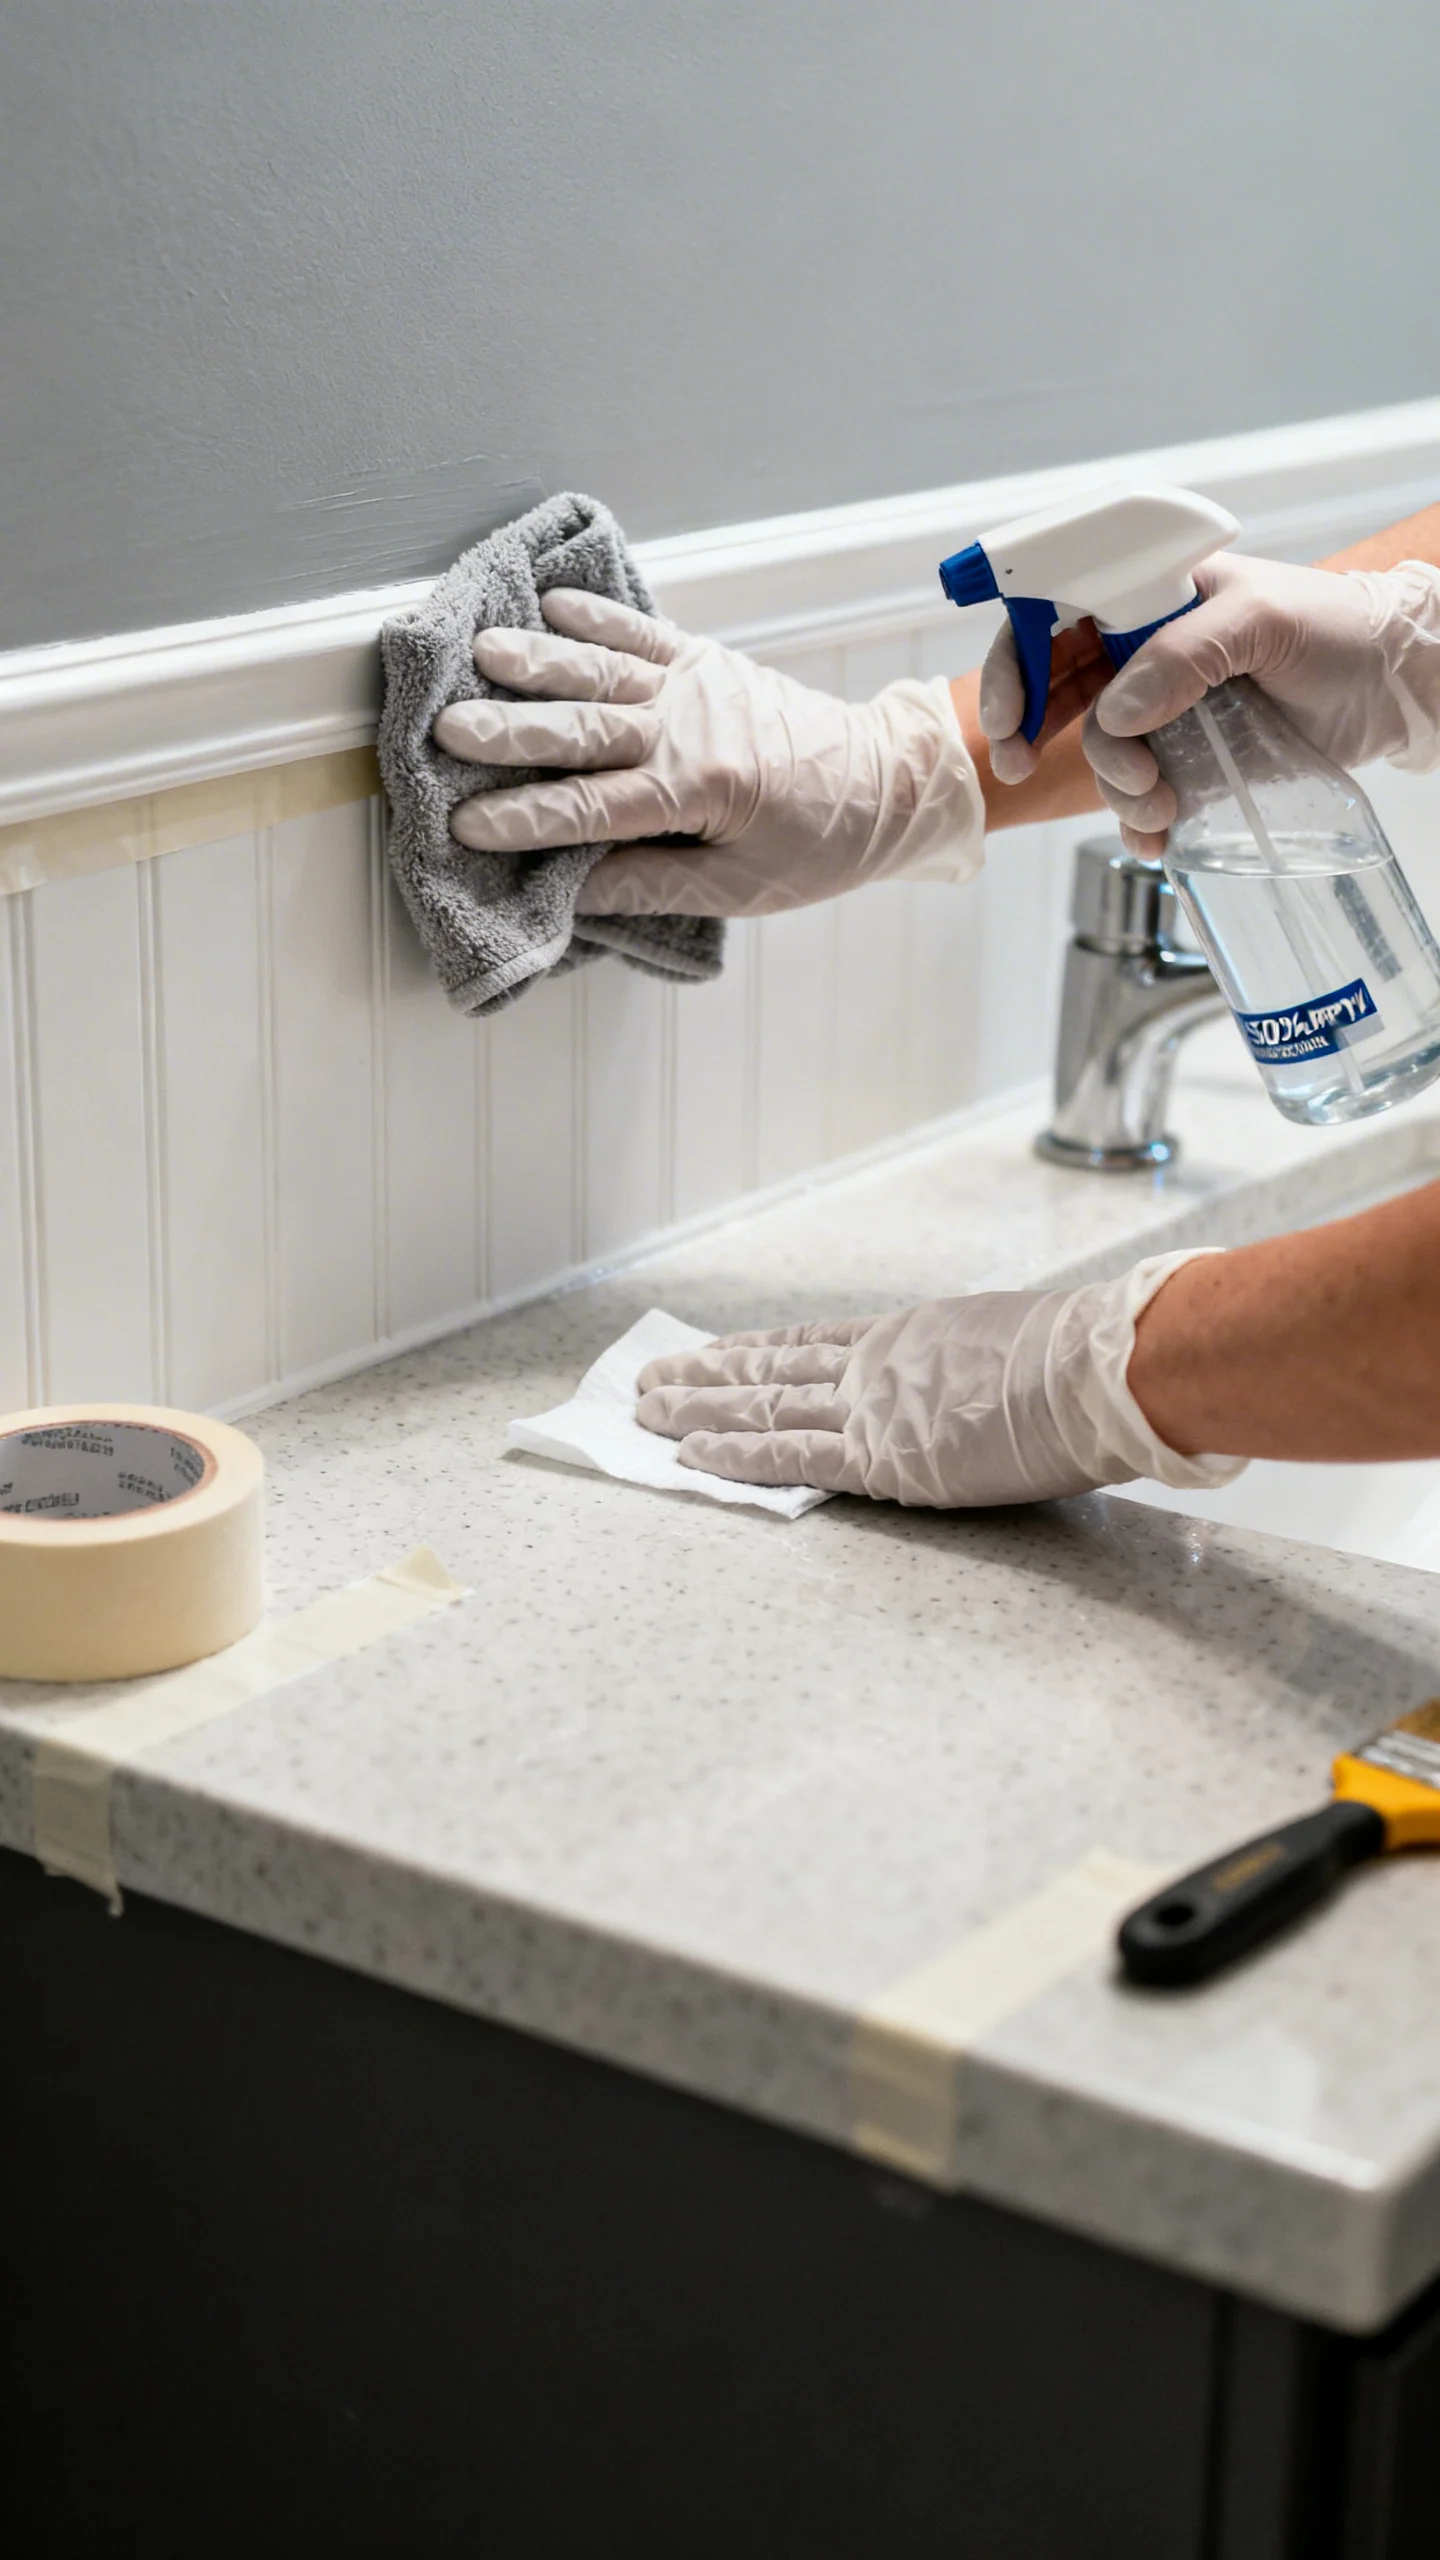
Peel-and-stick products only perform as well as the surface underneath. Clean every area with a degreasing cleaner (especially around the sink where soap film builds), then rinse and let it fully dry. Wipe again with 70% isopropyl alcohol to remove residue. For best adhesion, apply on smooth, sealed surfaces—painted drywall with a satin/semi-gloss finish, sealed tile, laminate, or sealed wood. If your wall is chalky, flaking, or freshly painted, fix that first: patch, sand smooth, and wait at least 2–3 weeks after painting before applying peel-and-stick so the paint can cure. In humid bathrooms, run the exhaust fan during and after installation, and aim for 24 hours of low steam exposure while adhesives set.
2) Create a Faux Tile Backsplash Behind the Vanity
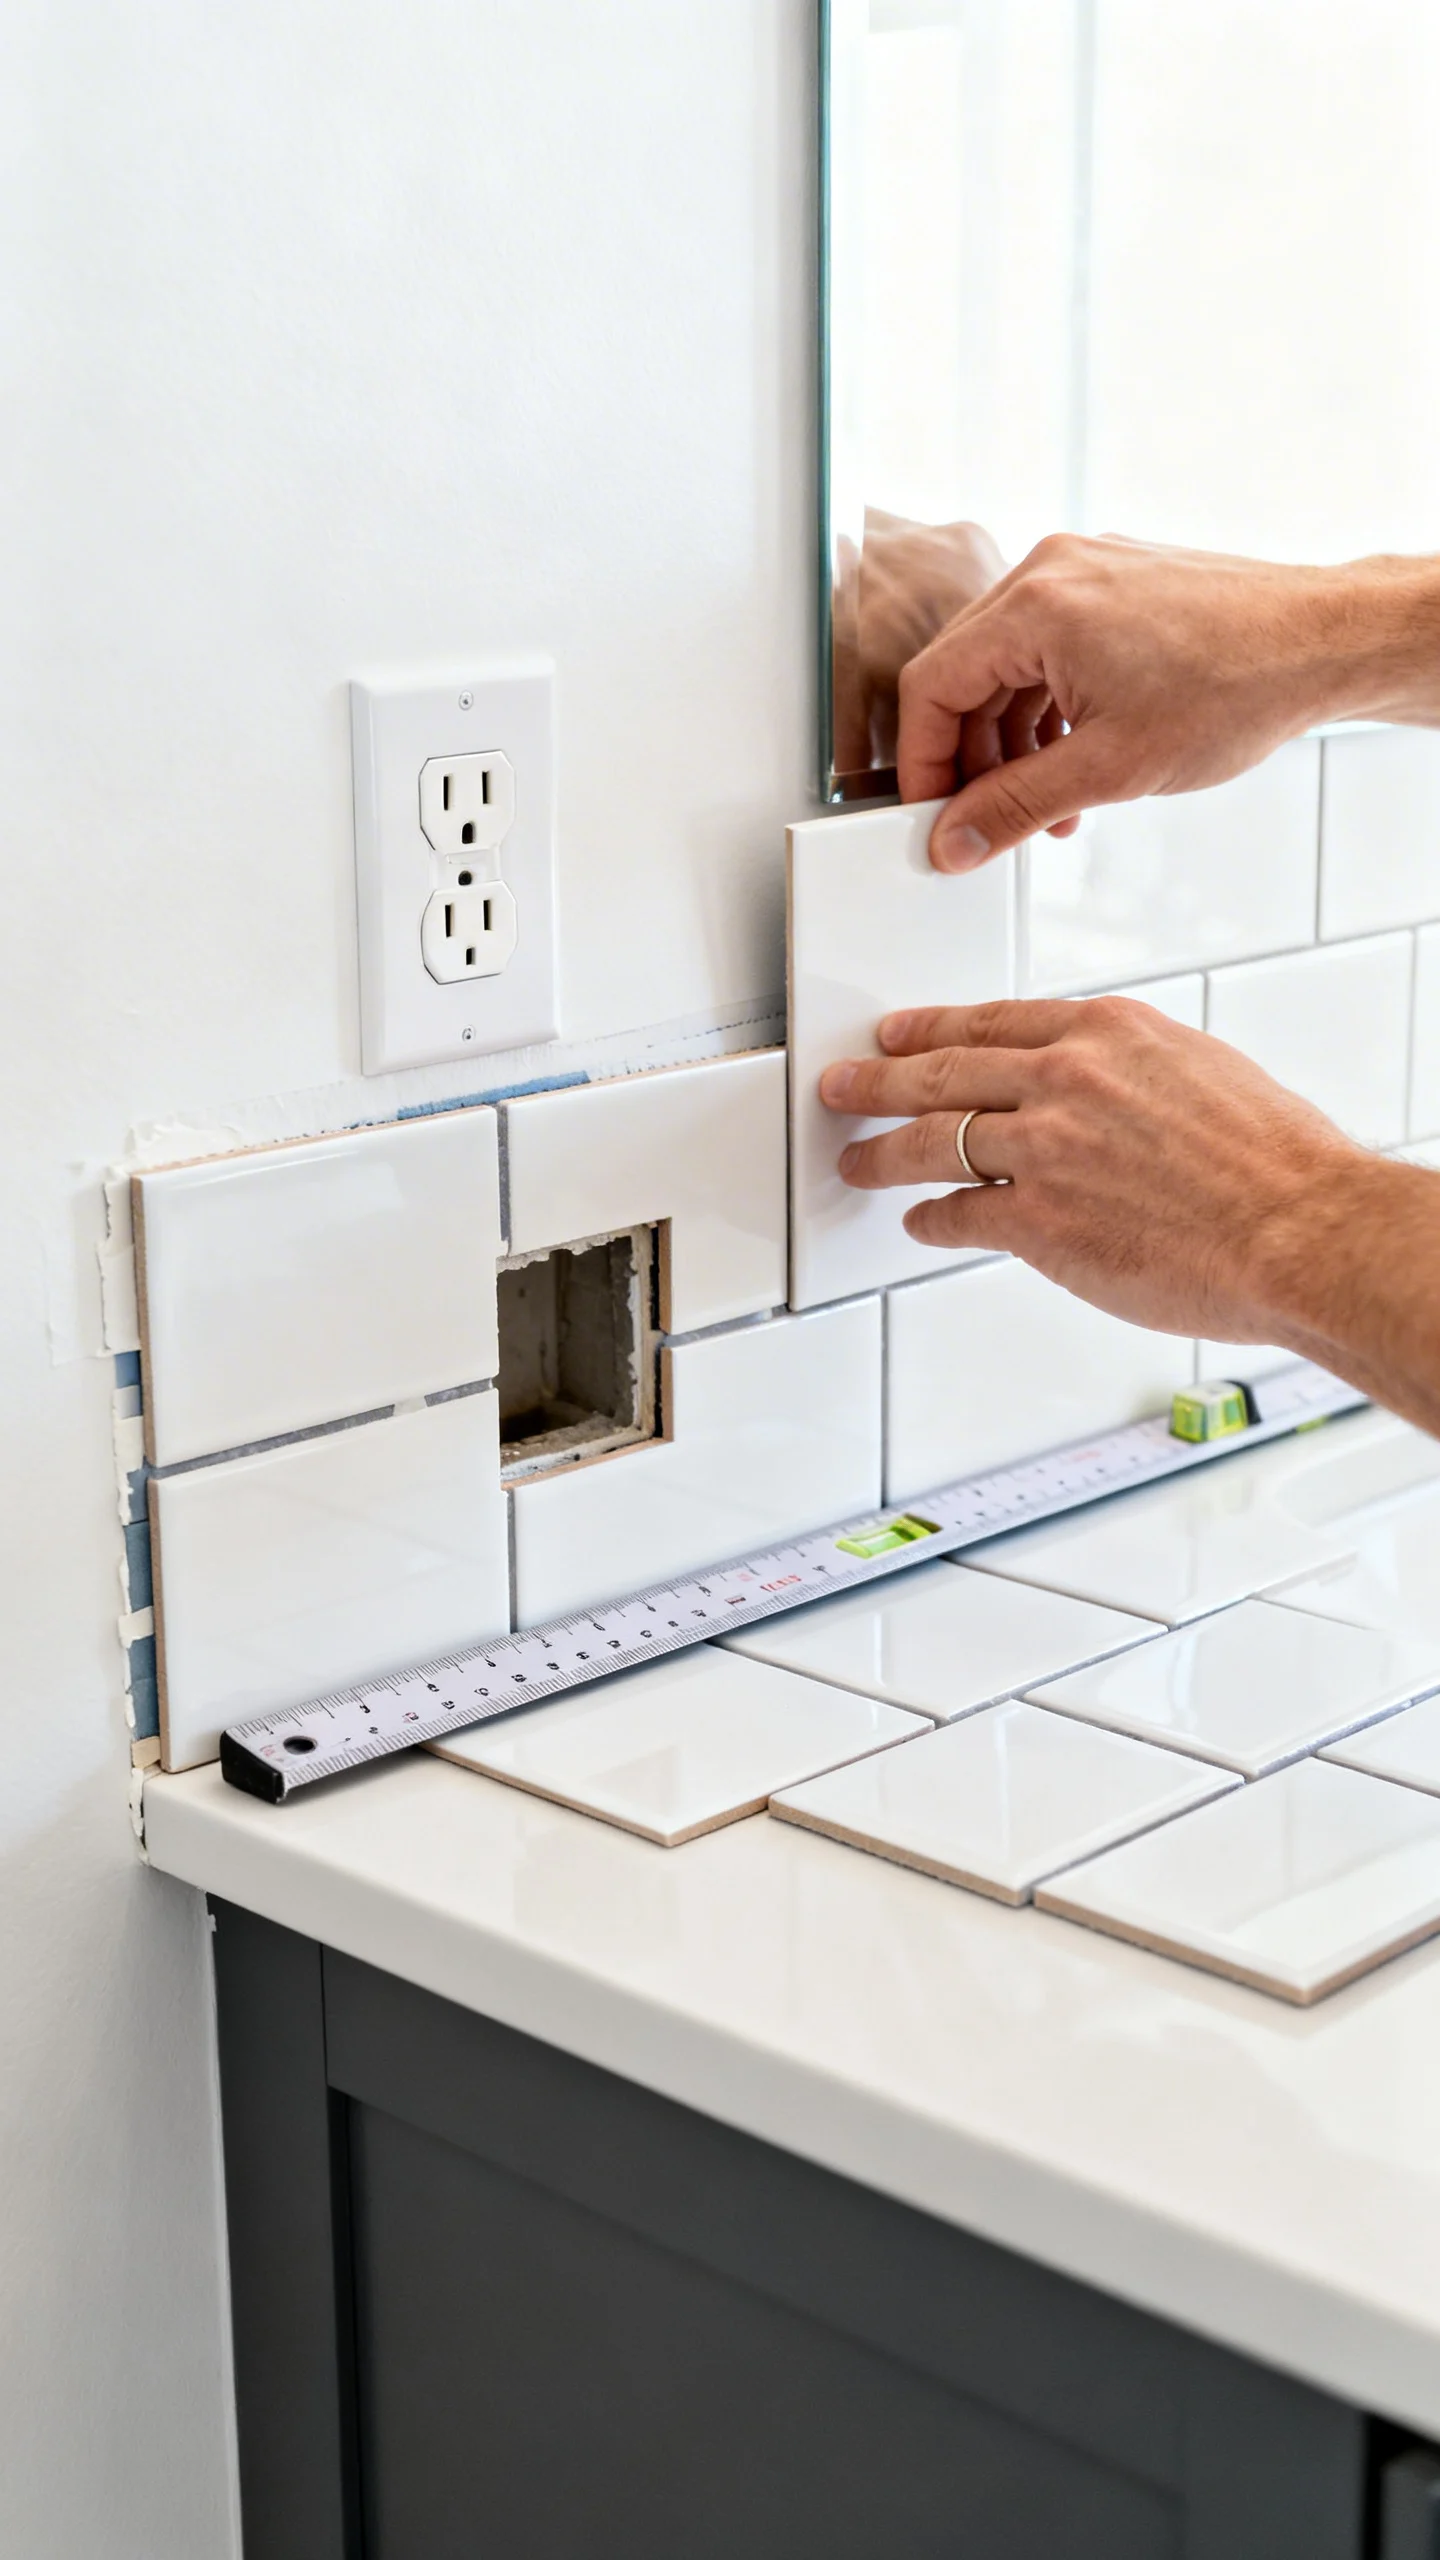
A peel-and-stick tile backsplash is a high-impact upgrade that’s still manageable for beginners. Measure the width of the vanity and plan your backsplash to extend 1–2 inches beyond the vanity edges for a built-in look. Typical height ranges from 4–6 inches for a minimal band, or 18–22 inches if you want a more dramatic vertical panel beneath a mirror. Use a level to draw a straight baseline; bathrooms often have subtle out-of-square corners, so a level line matters more than following the countertop. Trim sheets with a utility knife and metal straightedge, and leave a tiny 1/16-inch gap at the countertop and side walls—then finish with a thin bead of kitchen-and-bath silicone (clear or color-matched) to reduce water intrusion and make the edge look intentional.
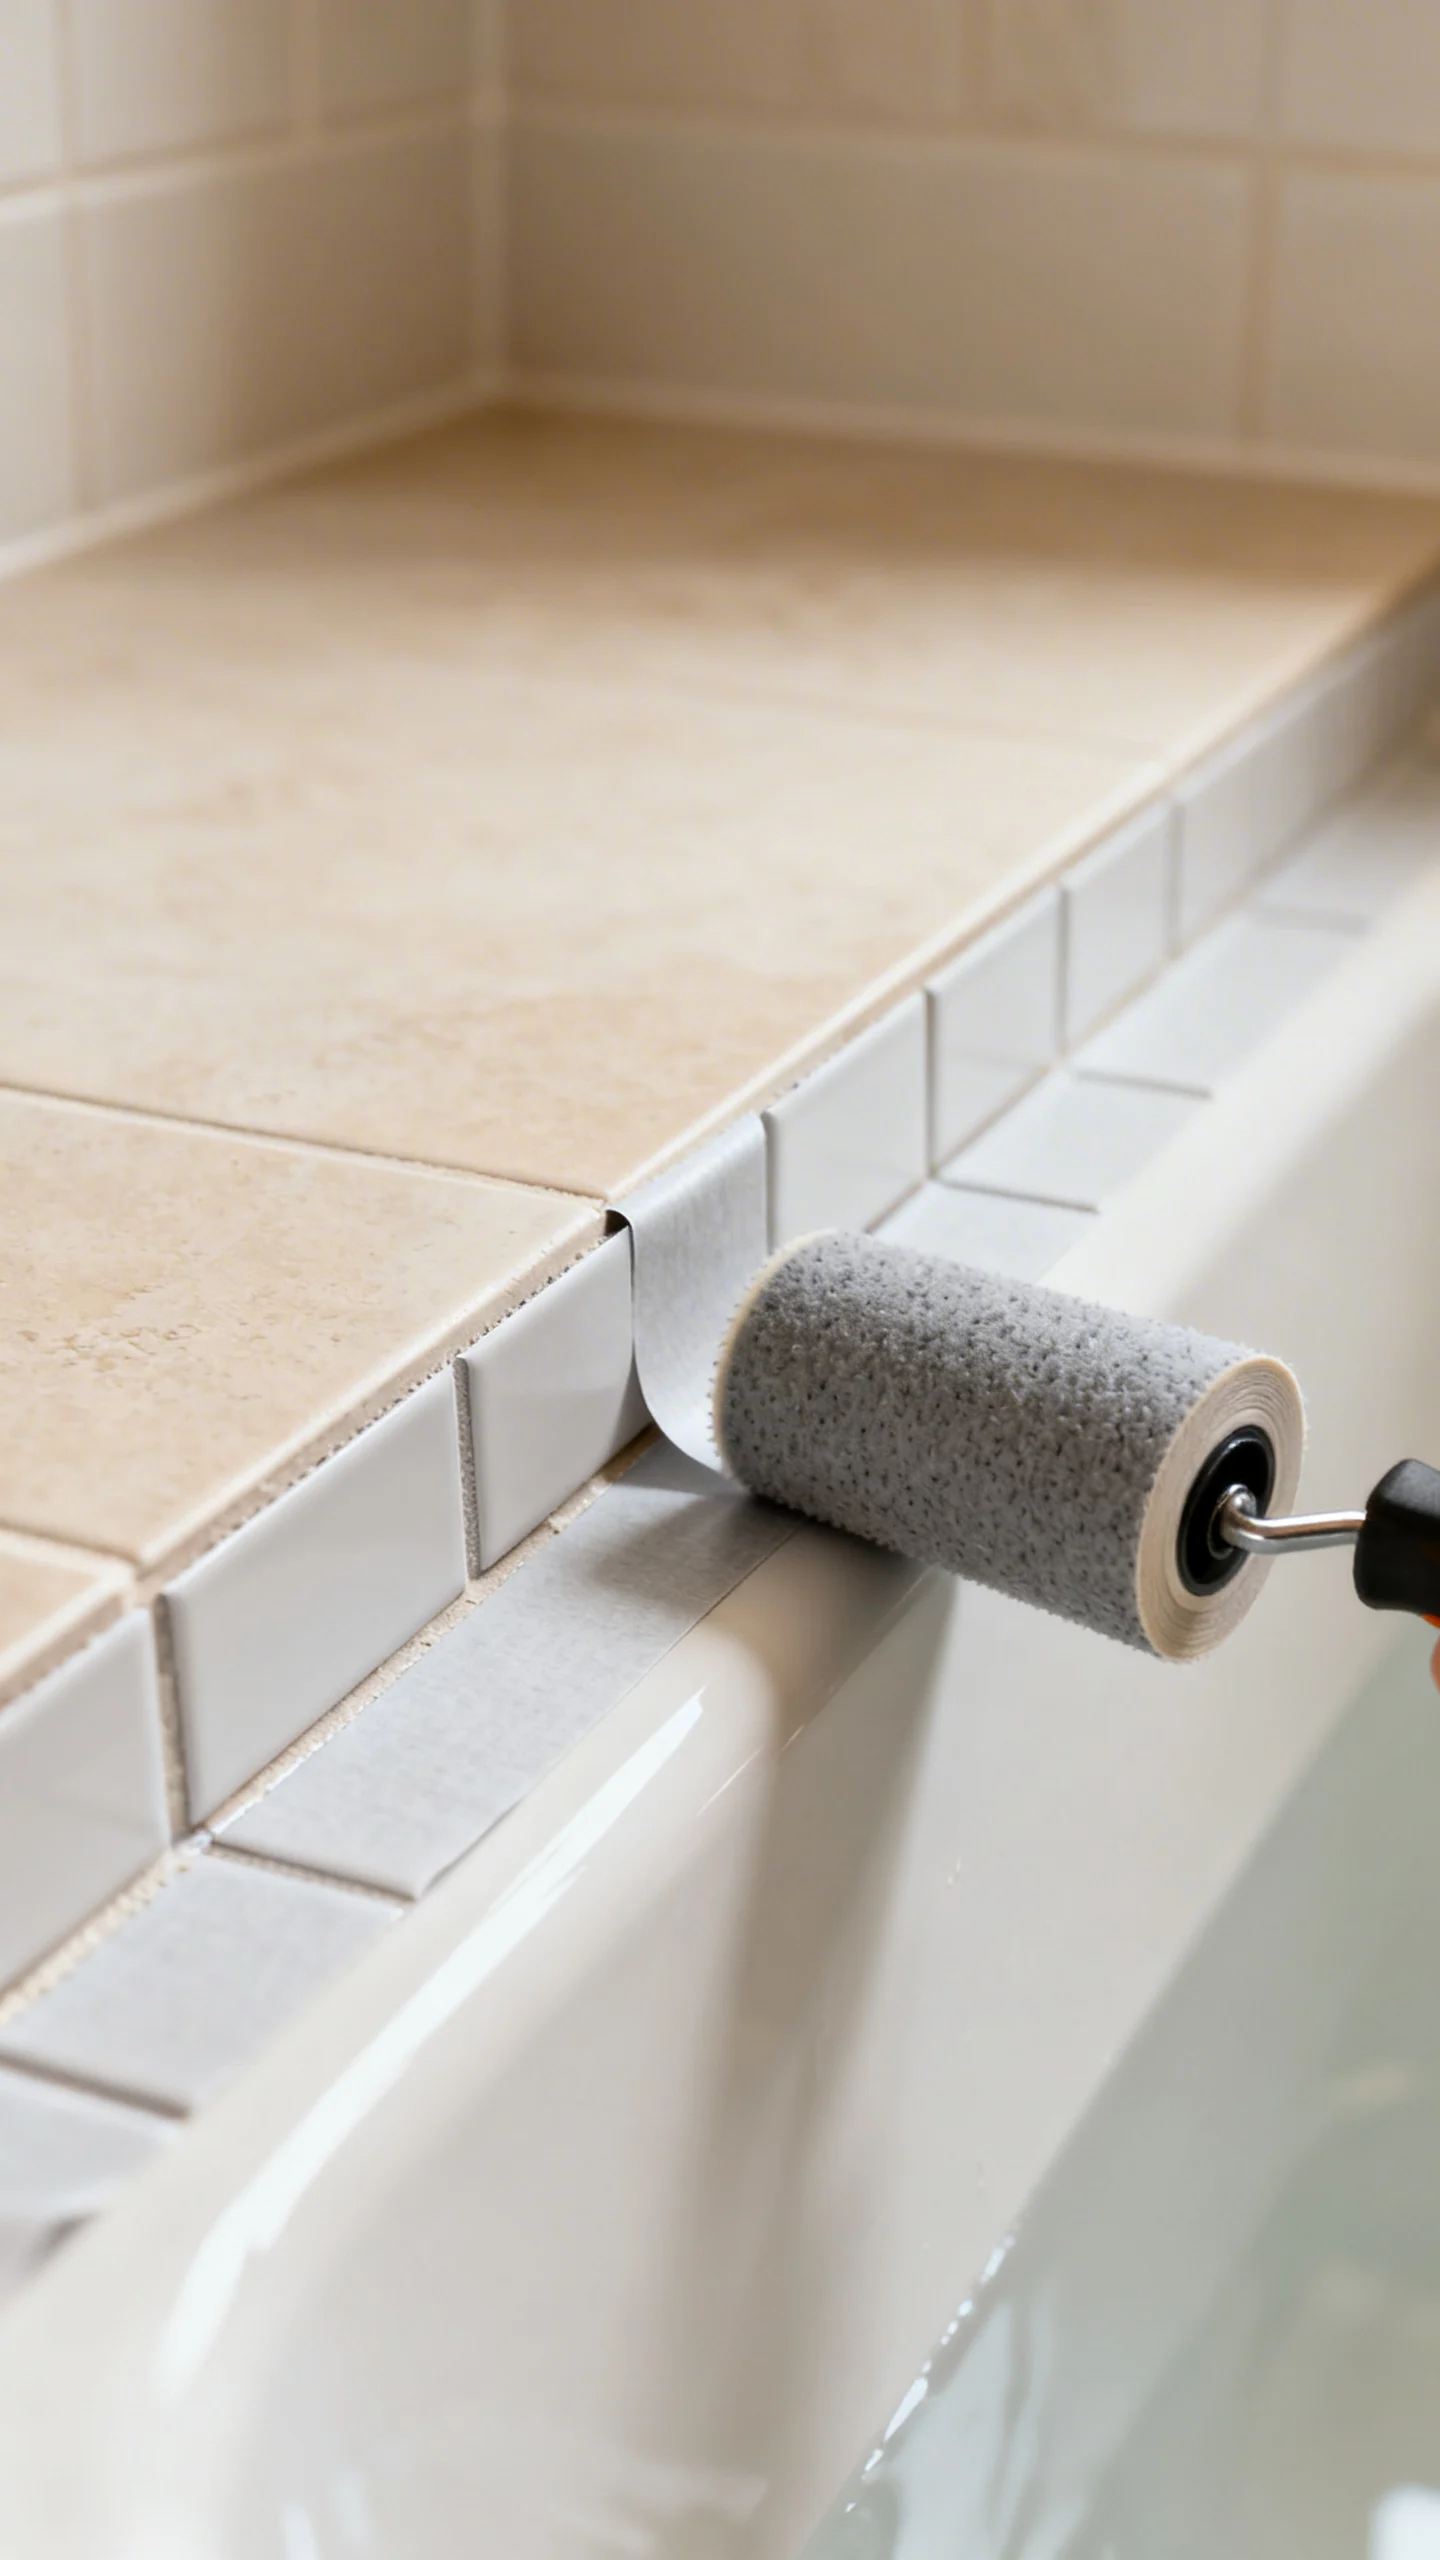
3) Use Peel-and-Stick Floor Tiles for a Quick Pattern Refresh (With Clearance Checks)
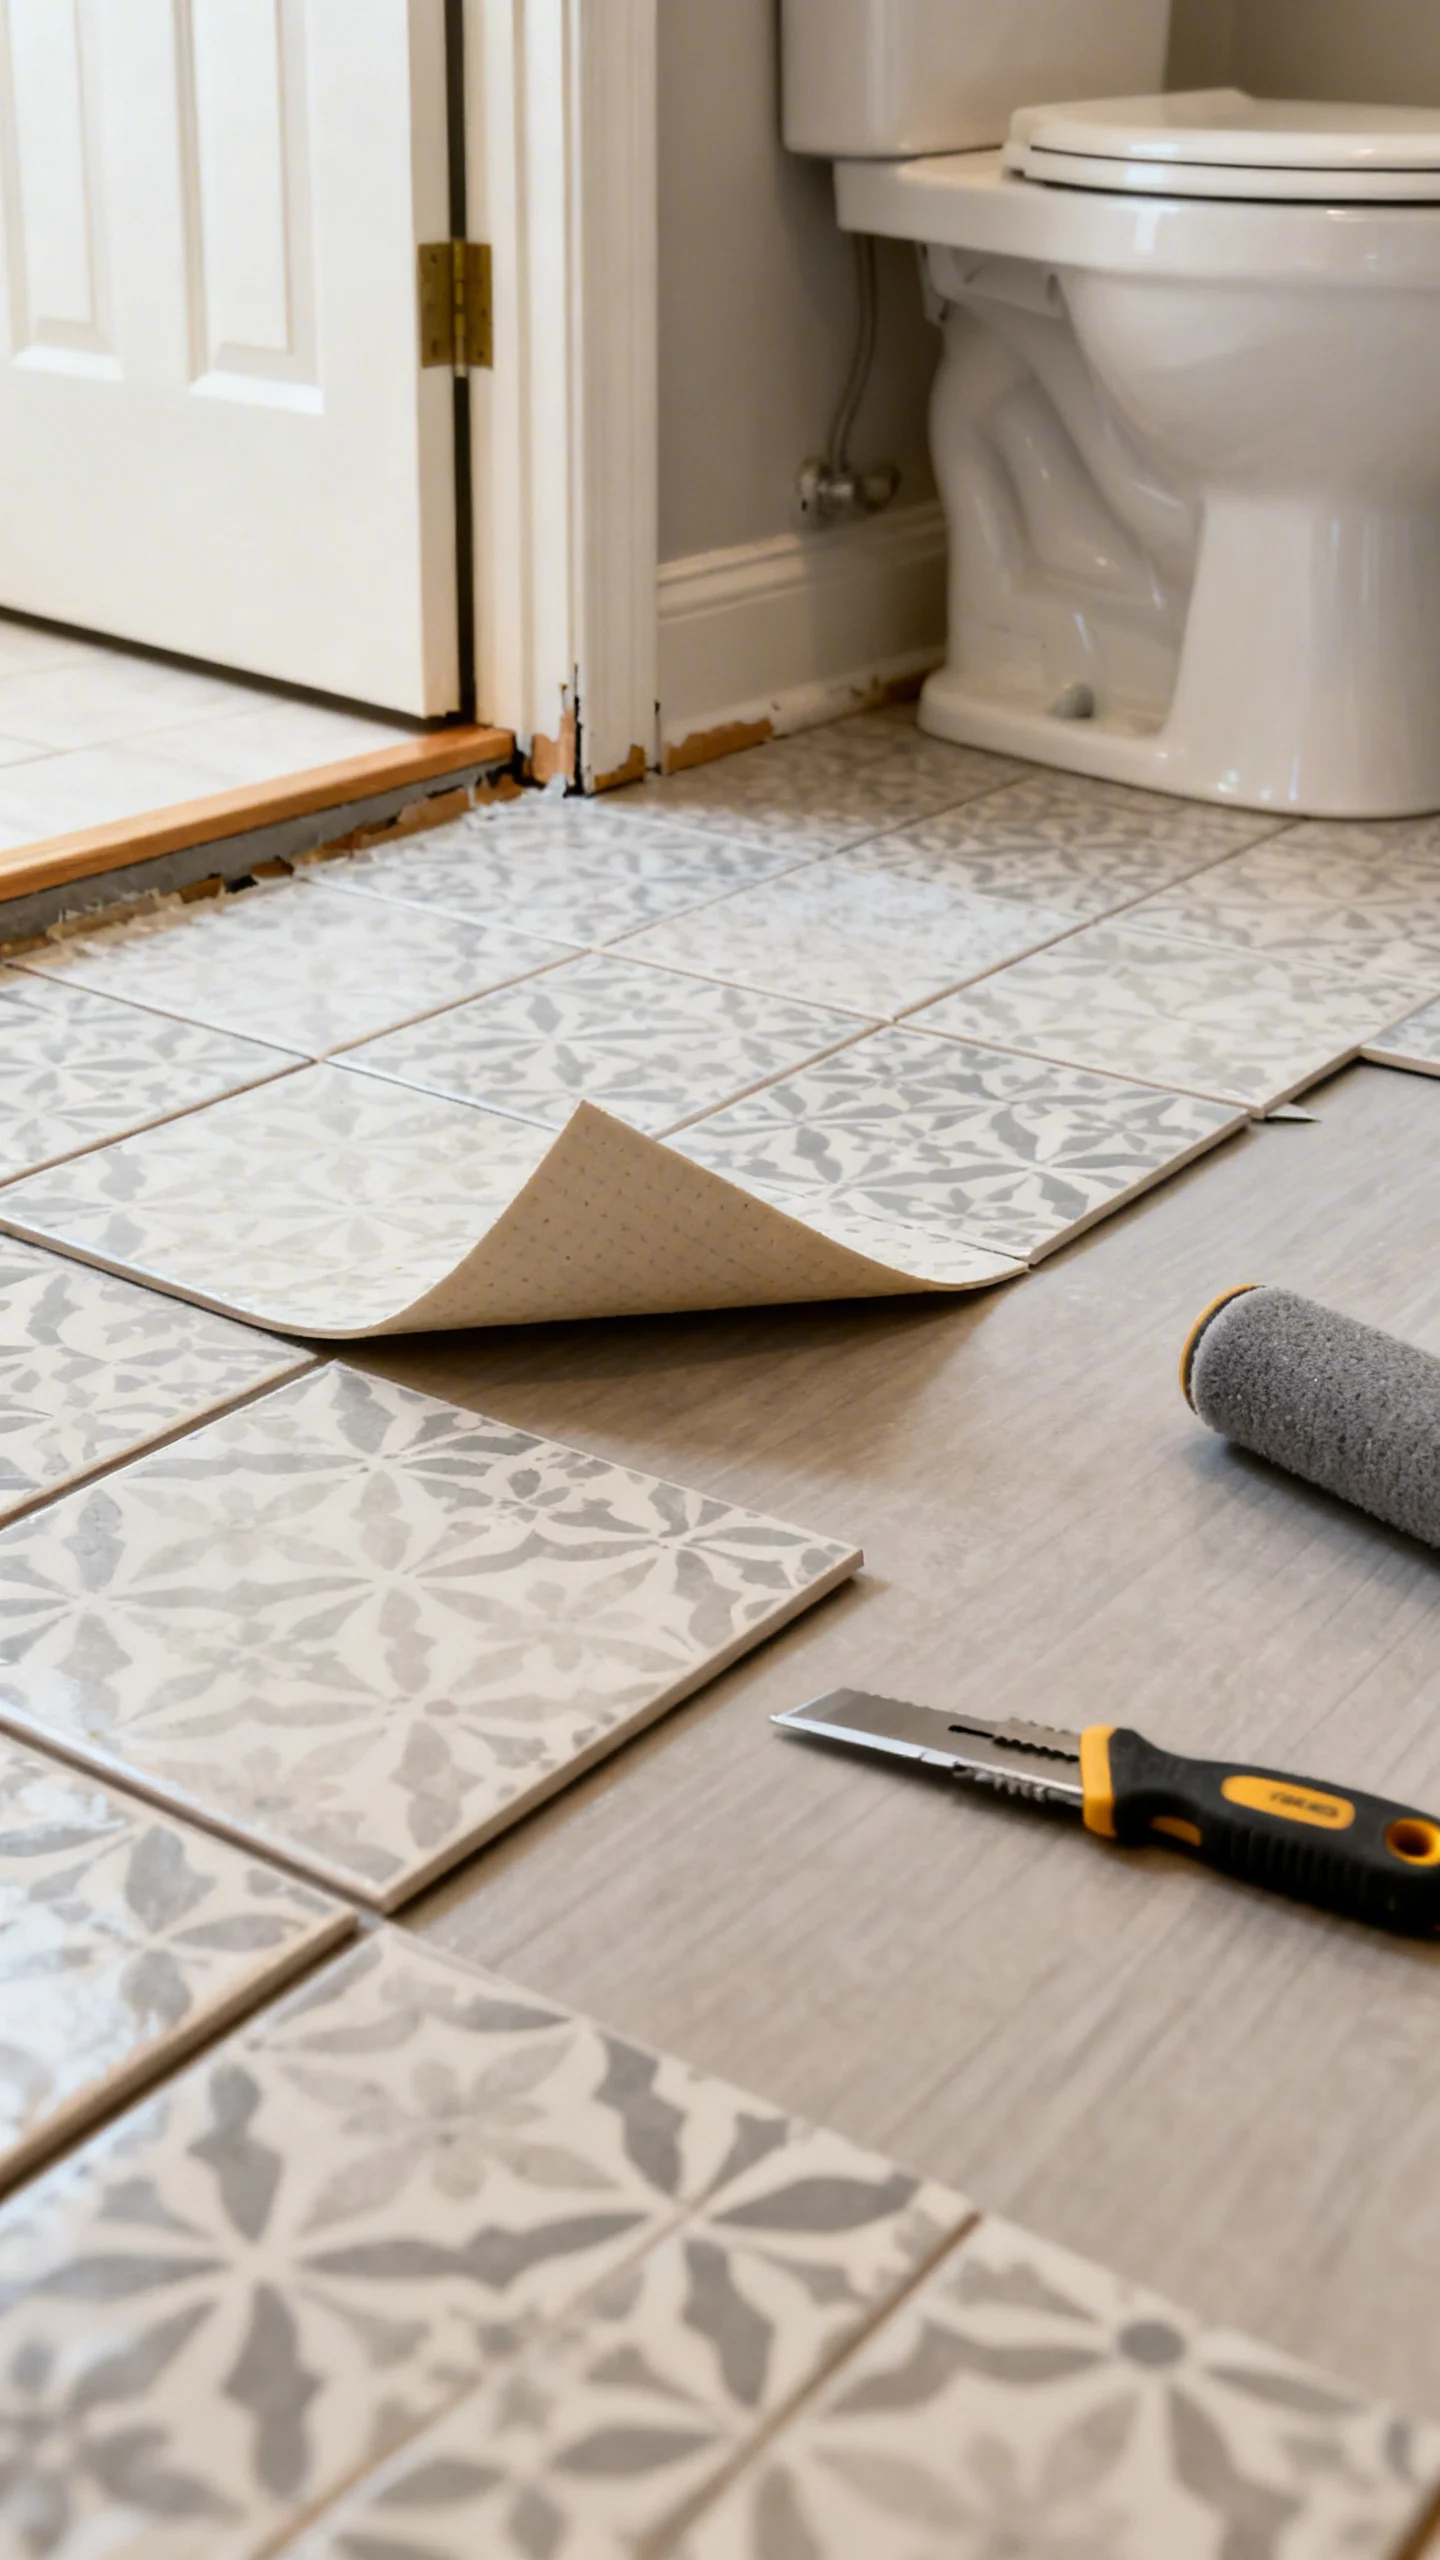
Peel-and-stick floor tiles can dramatically change the bathroom’s mood, but only if the subfloor is smooth and stable. They’re best over flat vinyl, sealed concrete, or properly prepped plywood—not over deeply textured tile. Before you commit, check door clearance: most peel-and-stick floor tiles are about 1–2 mm thick, but layered transitions can catch a door. You generally want at least 1/4 inch clearance under the bathroom door; if it’s tight, plan to undercut the door slightly or stop the tile at the threshold with a slim transition strip. For layout, dry-fit a few rows to center the pattern (especially with checkerboard or encaustic looks). Press firmly with a hand roller or rolling pin to seat adhesive, focusing on seams. Avoid soaking-mop cleaning for the first 48–72 hours.
4) Add a Moisture-Smart Peel-and-Stick Wallpaper Accent (Outside the Splash Zone)
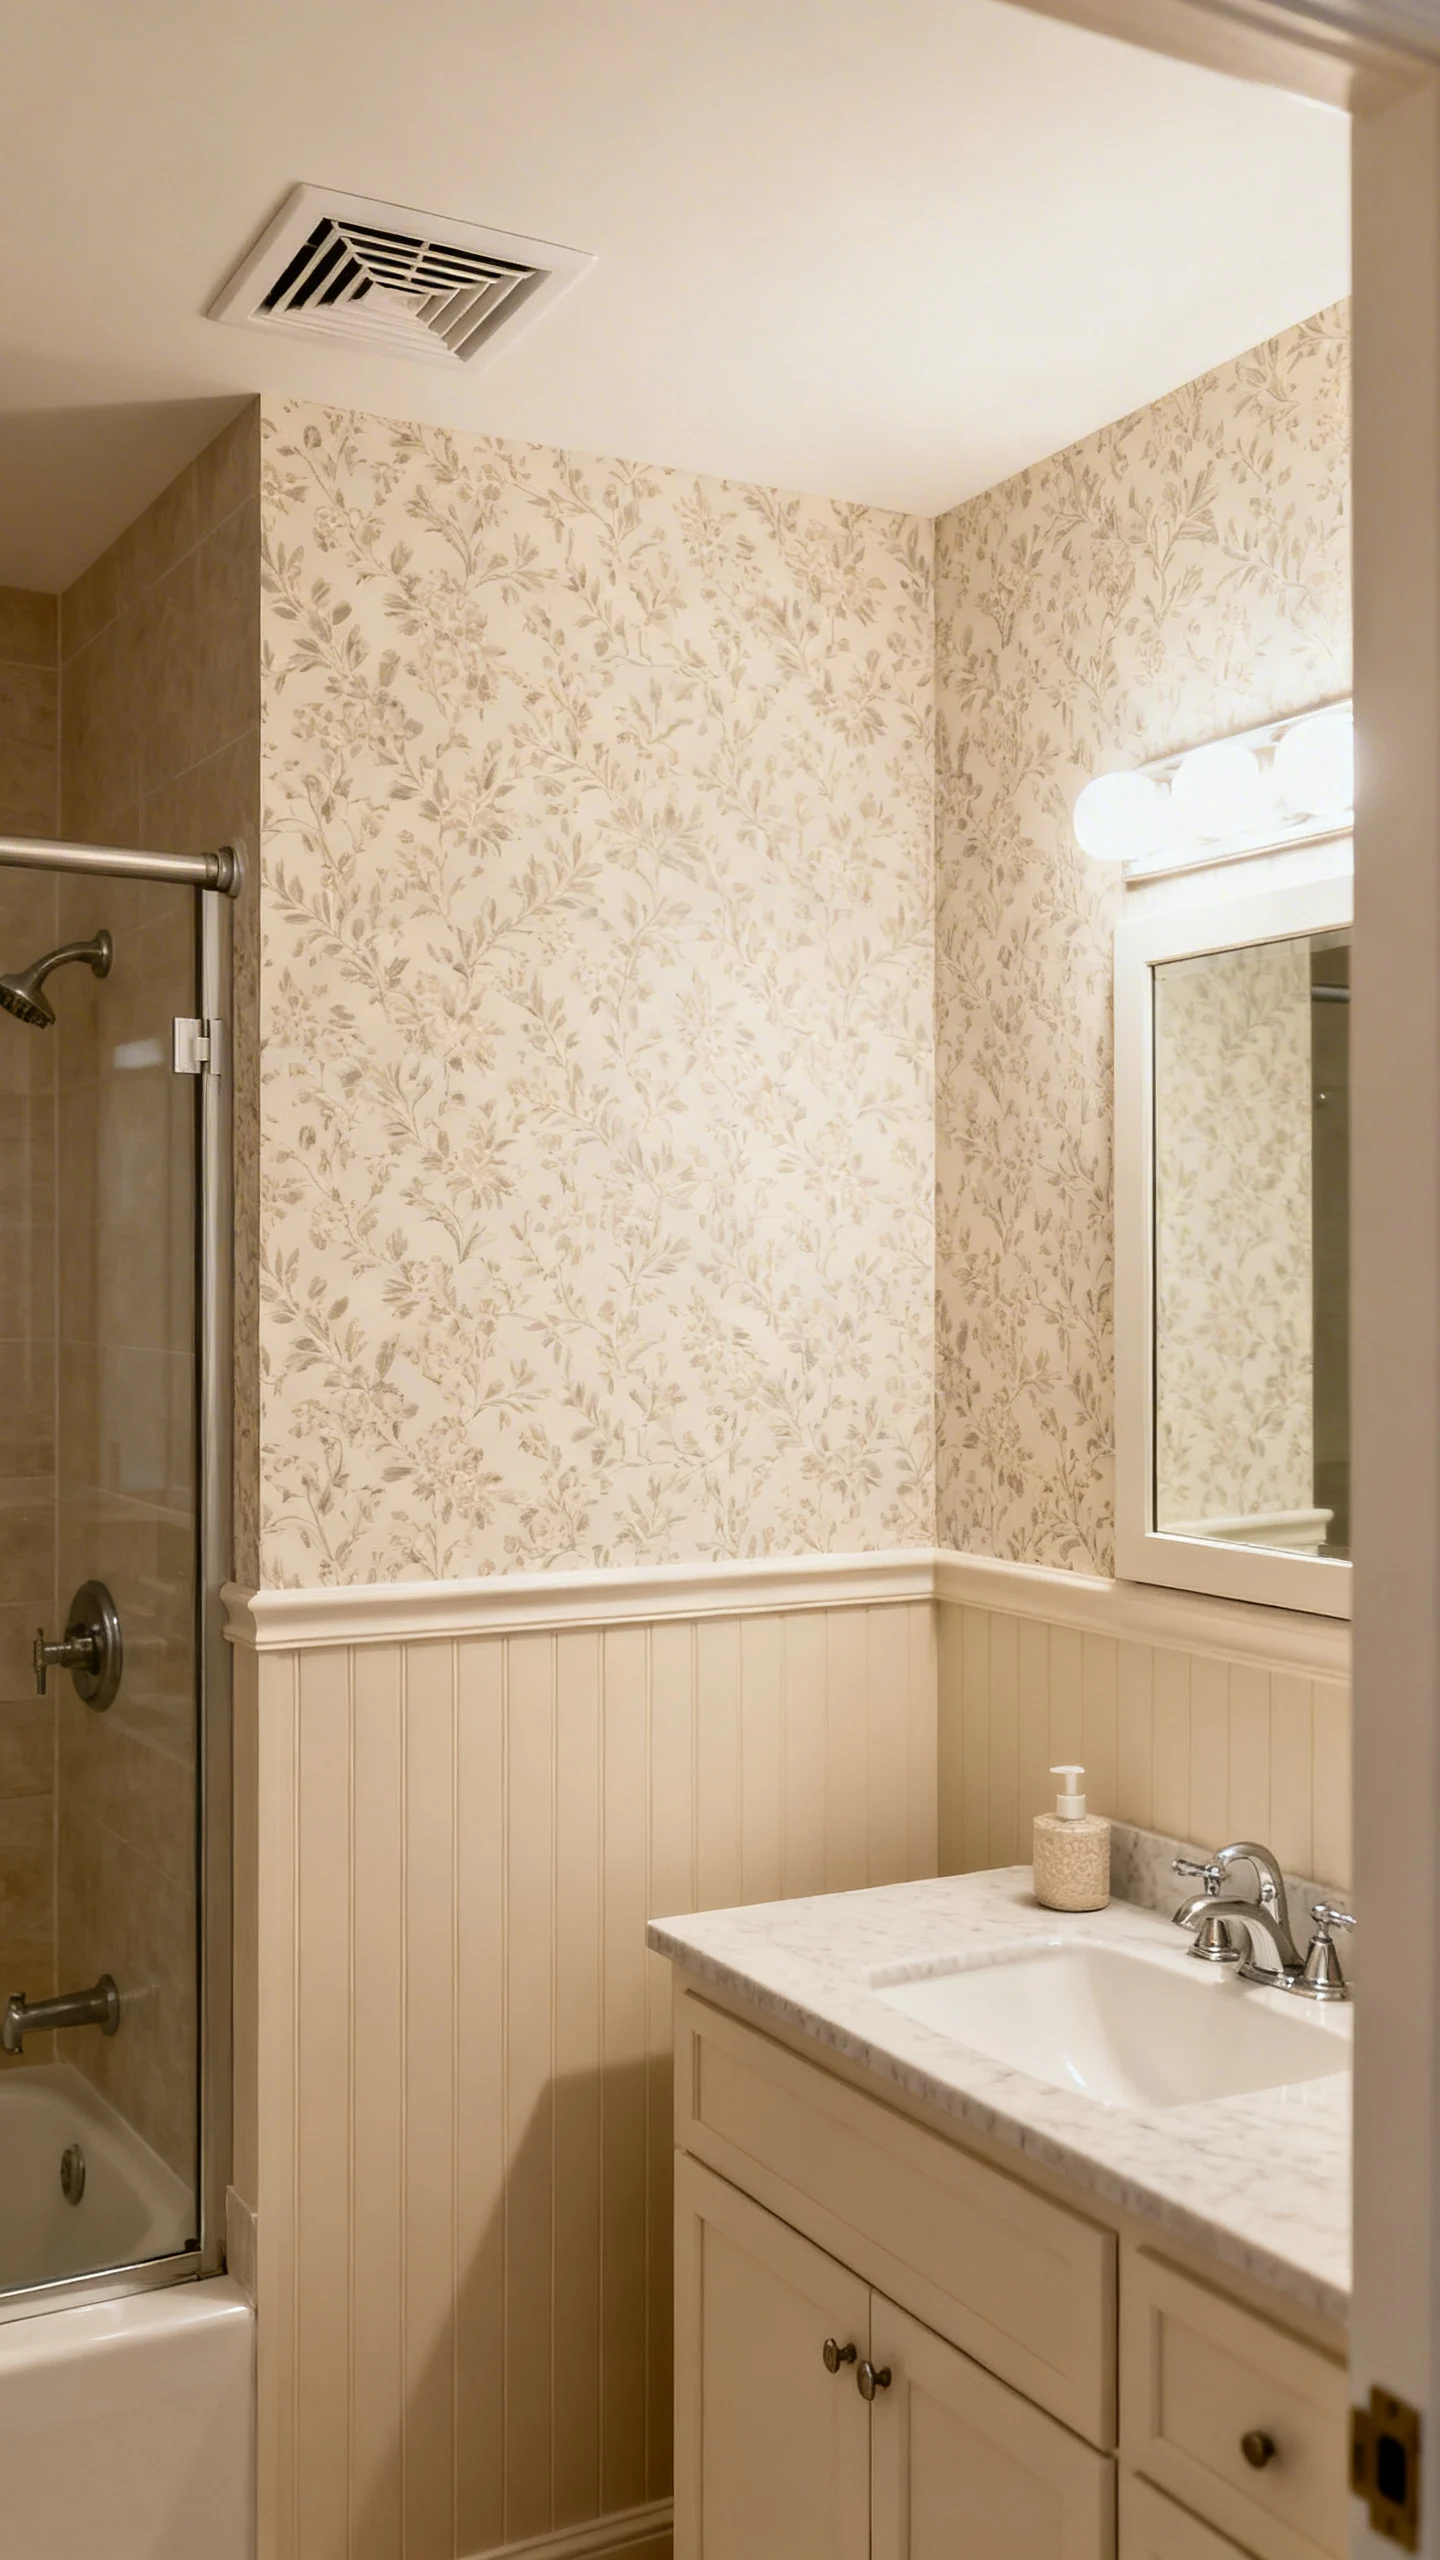
In bathrooms, wallpaper placement is everything. Use peel-and-stick wallpaper on the wall behind the vanity (if it won’t be directly splashed) or on an upper wall area above wainscoting—not inside a shower or where water runs down the surface. For longevity, choose vinyl or moisture-resistant peel-and-stick wallpaper and pair it with good ventilation. Measure wall height and add 2 inches to each drop for trimming; use a plumb line rather than corners to start straight. Smooth from the center outward with a plastic smoother to avoid bubbles. If your bathroom gets steamy, keep wallpaper 12+ inches away from the shower opening and focus on walls that dry quickly.
5) Upgrade the Vanity With Peel-and-Stick “Countertop” Film (And Protect the Edges)
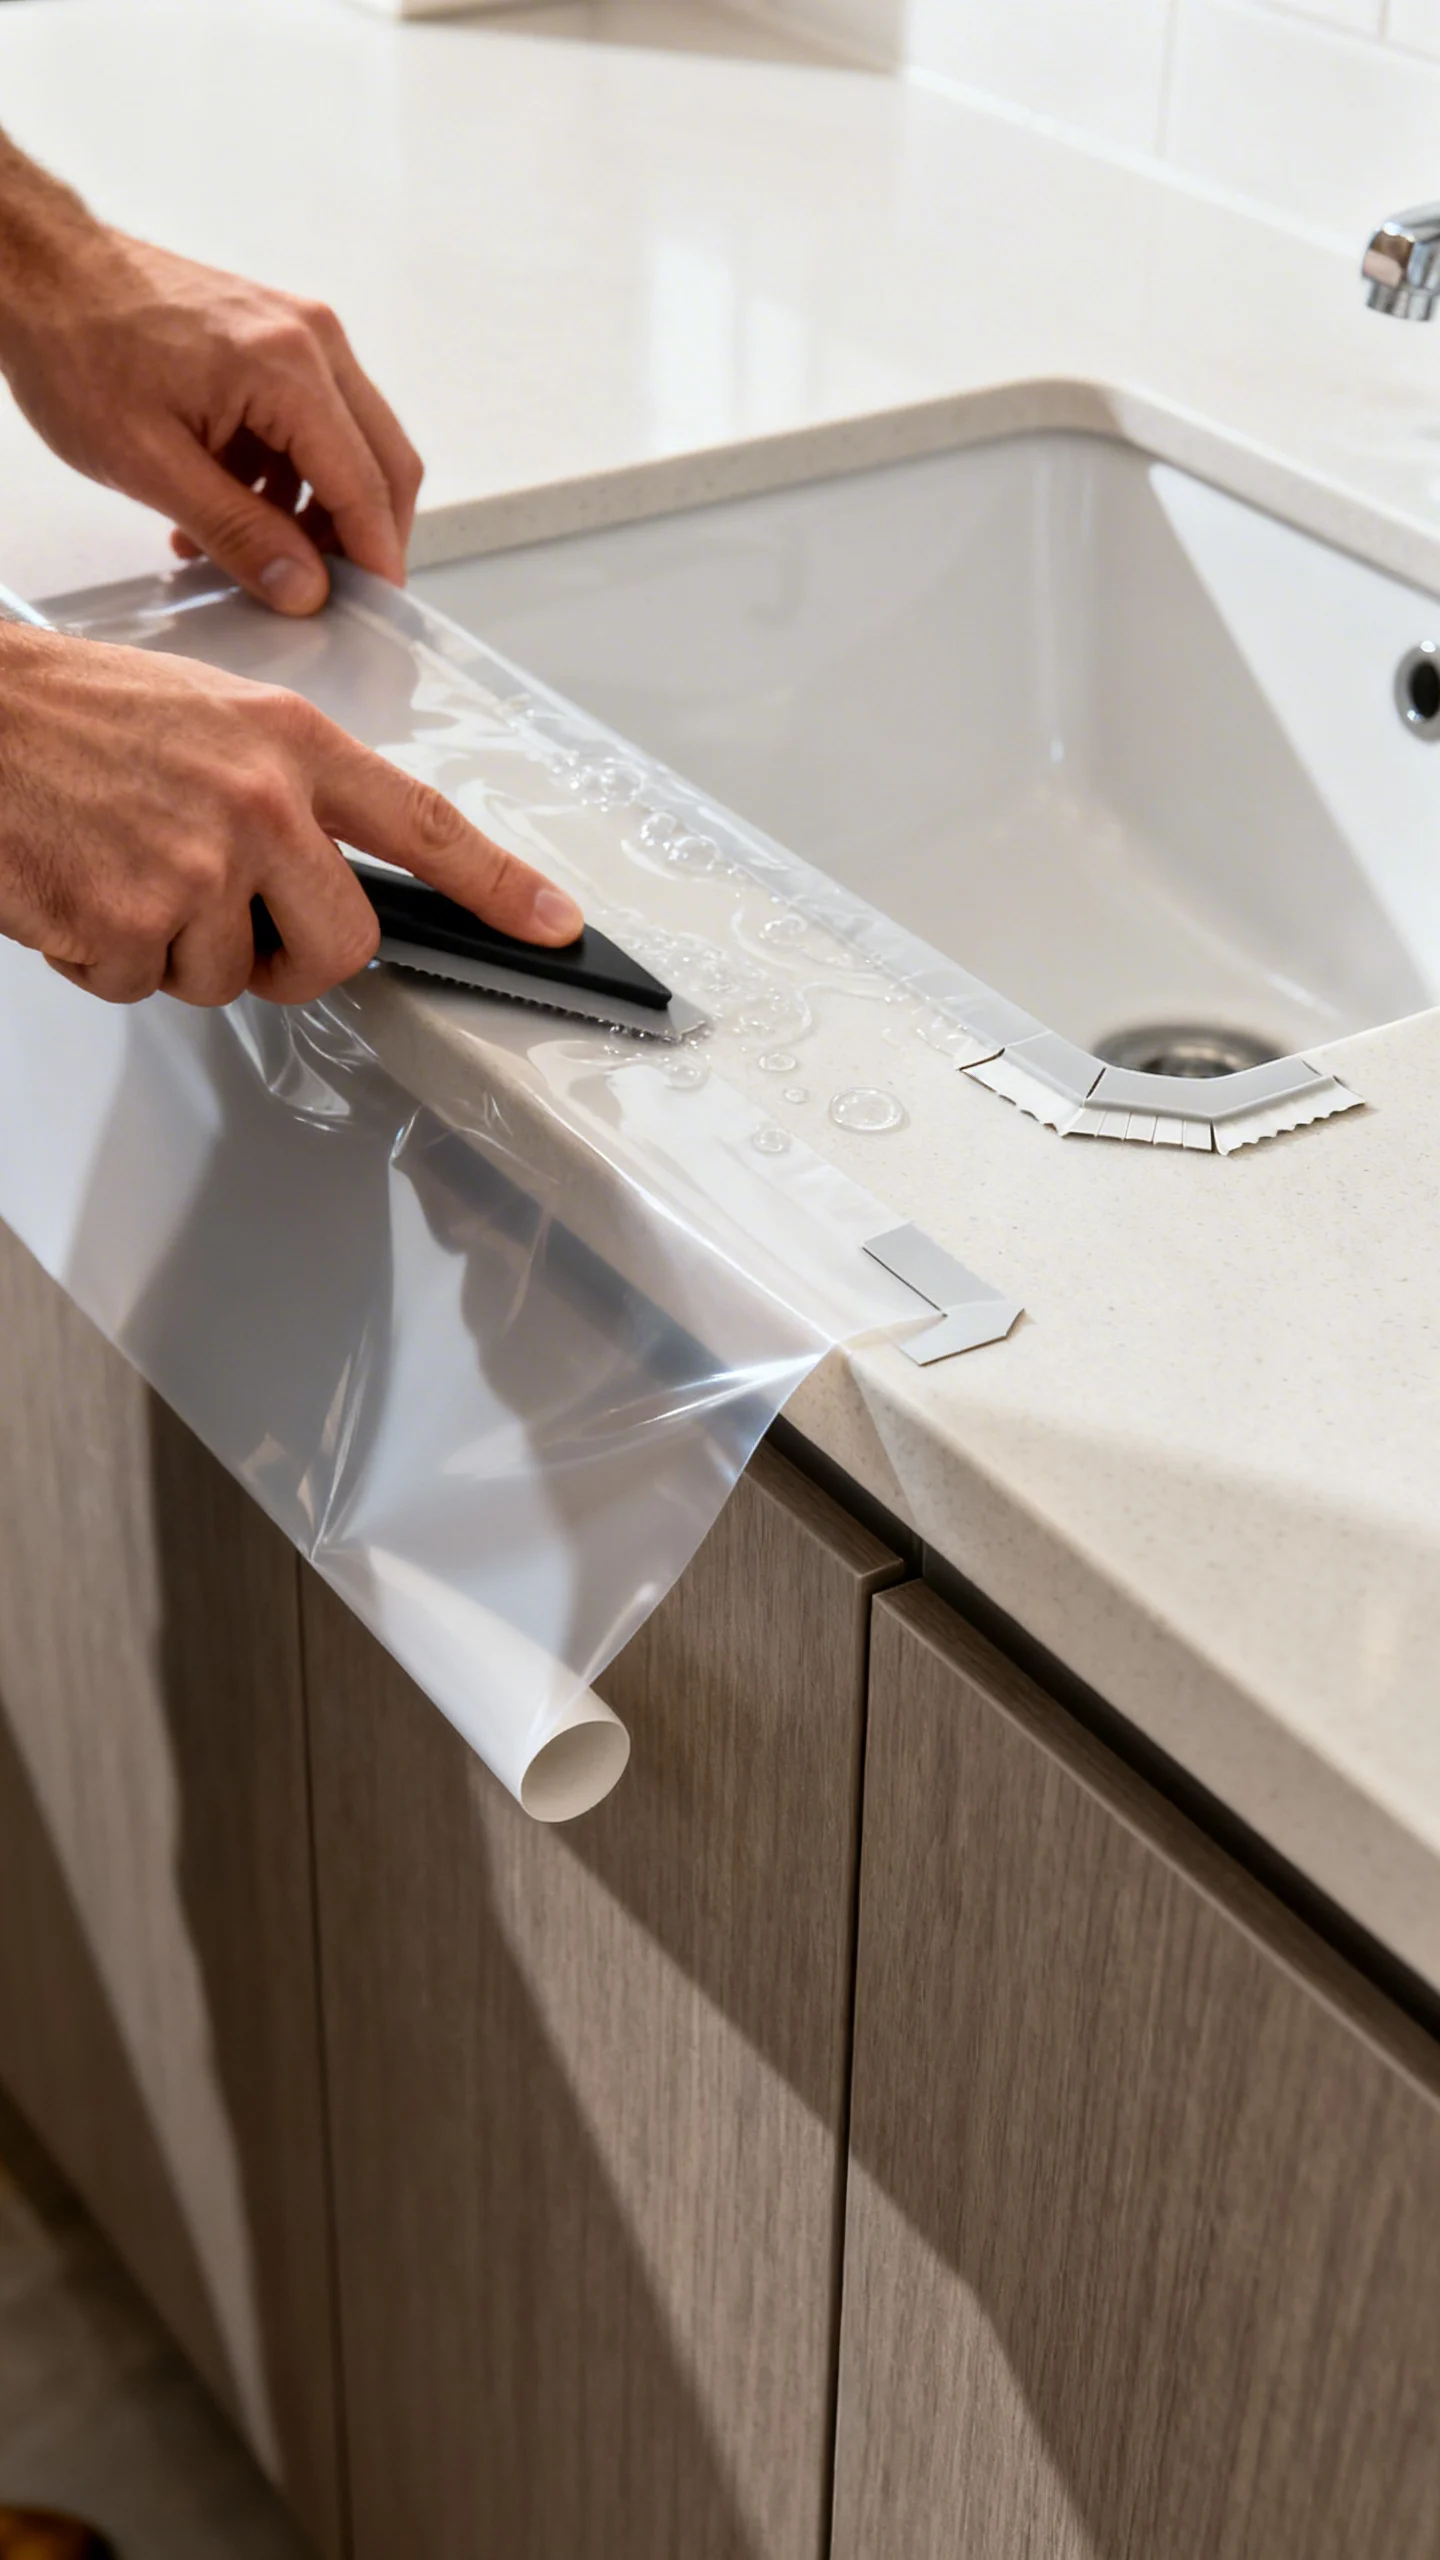
Peel-and-stick countertop film can modernize a dated vanity top (think faux marble, concrete, or solid color) with minimal tools. This works best on smooth laminate, not on chipped, swollen particleboard. Measure the countertop depth and width and cut the film with 1–2 inches extra on all sides so you can wrap edges cleanly. Remove the faucet if possible for a more seamless finish; if you can’t, make tight relief cuts around the base and seal those cuts with a thin bead of clear silicone. Use gentle heat (a hair dryer on low) to help the film conform around rounded edges, then press firmly. The most important step for a bathroom: seal the perimeter seams (especially at the backsplash or wall and around the sink) with kitchen-and-bath silicone to keep water from lifting the film over time.
6) Refresh an Old Mirror With Peel-and-Stick Frame Molding or Trim Tape
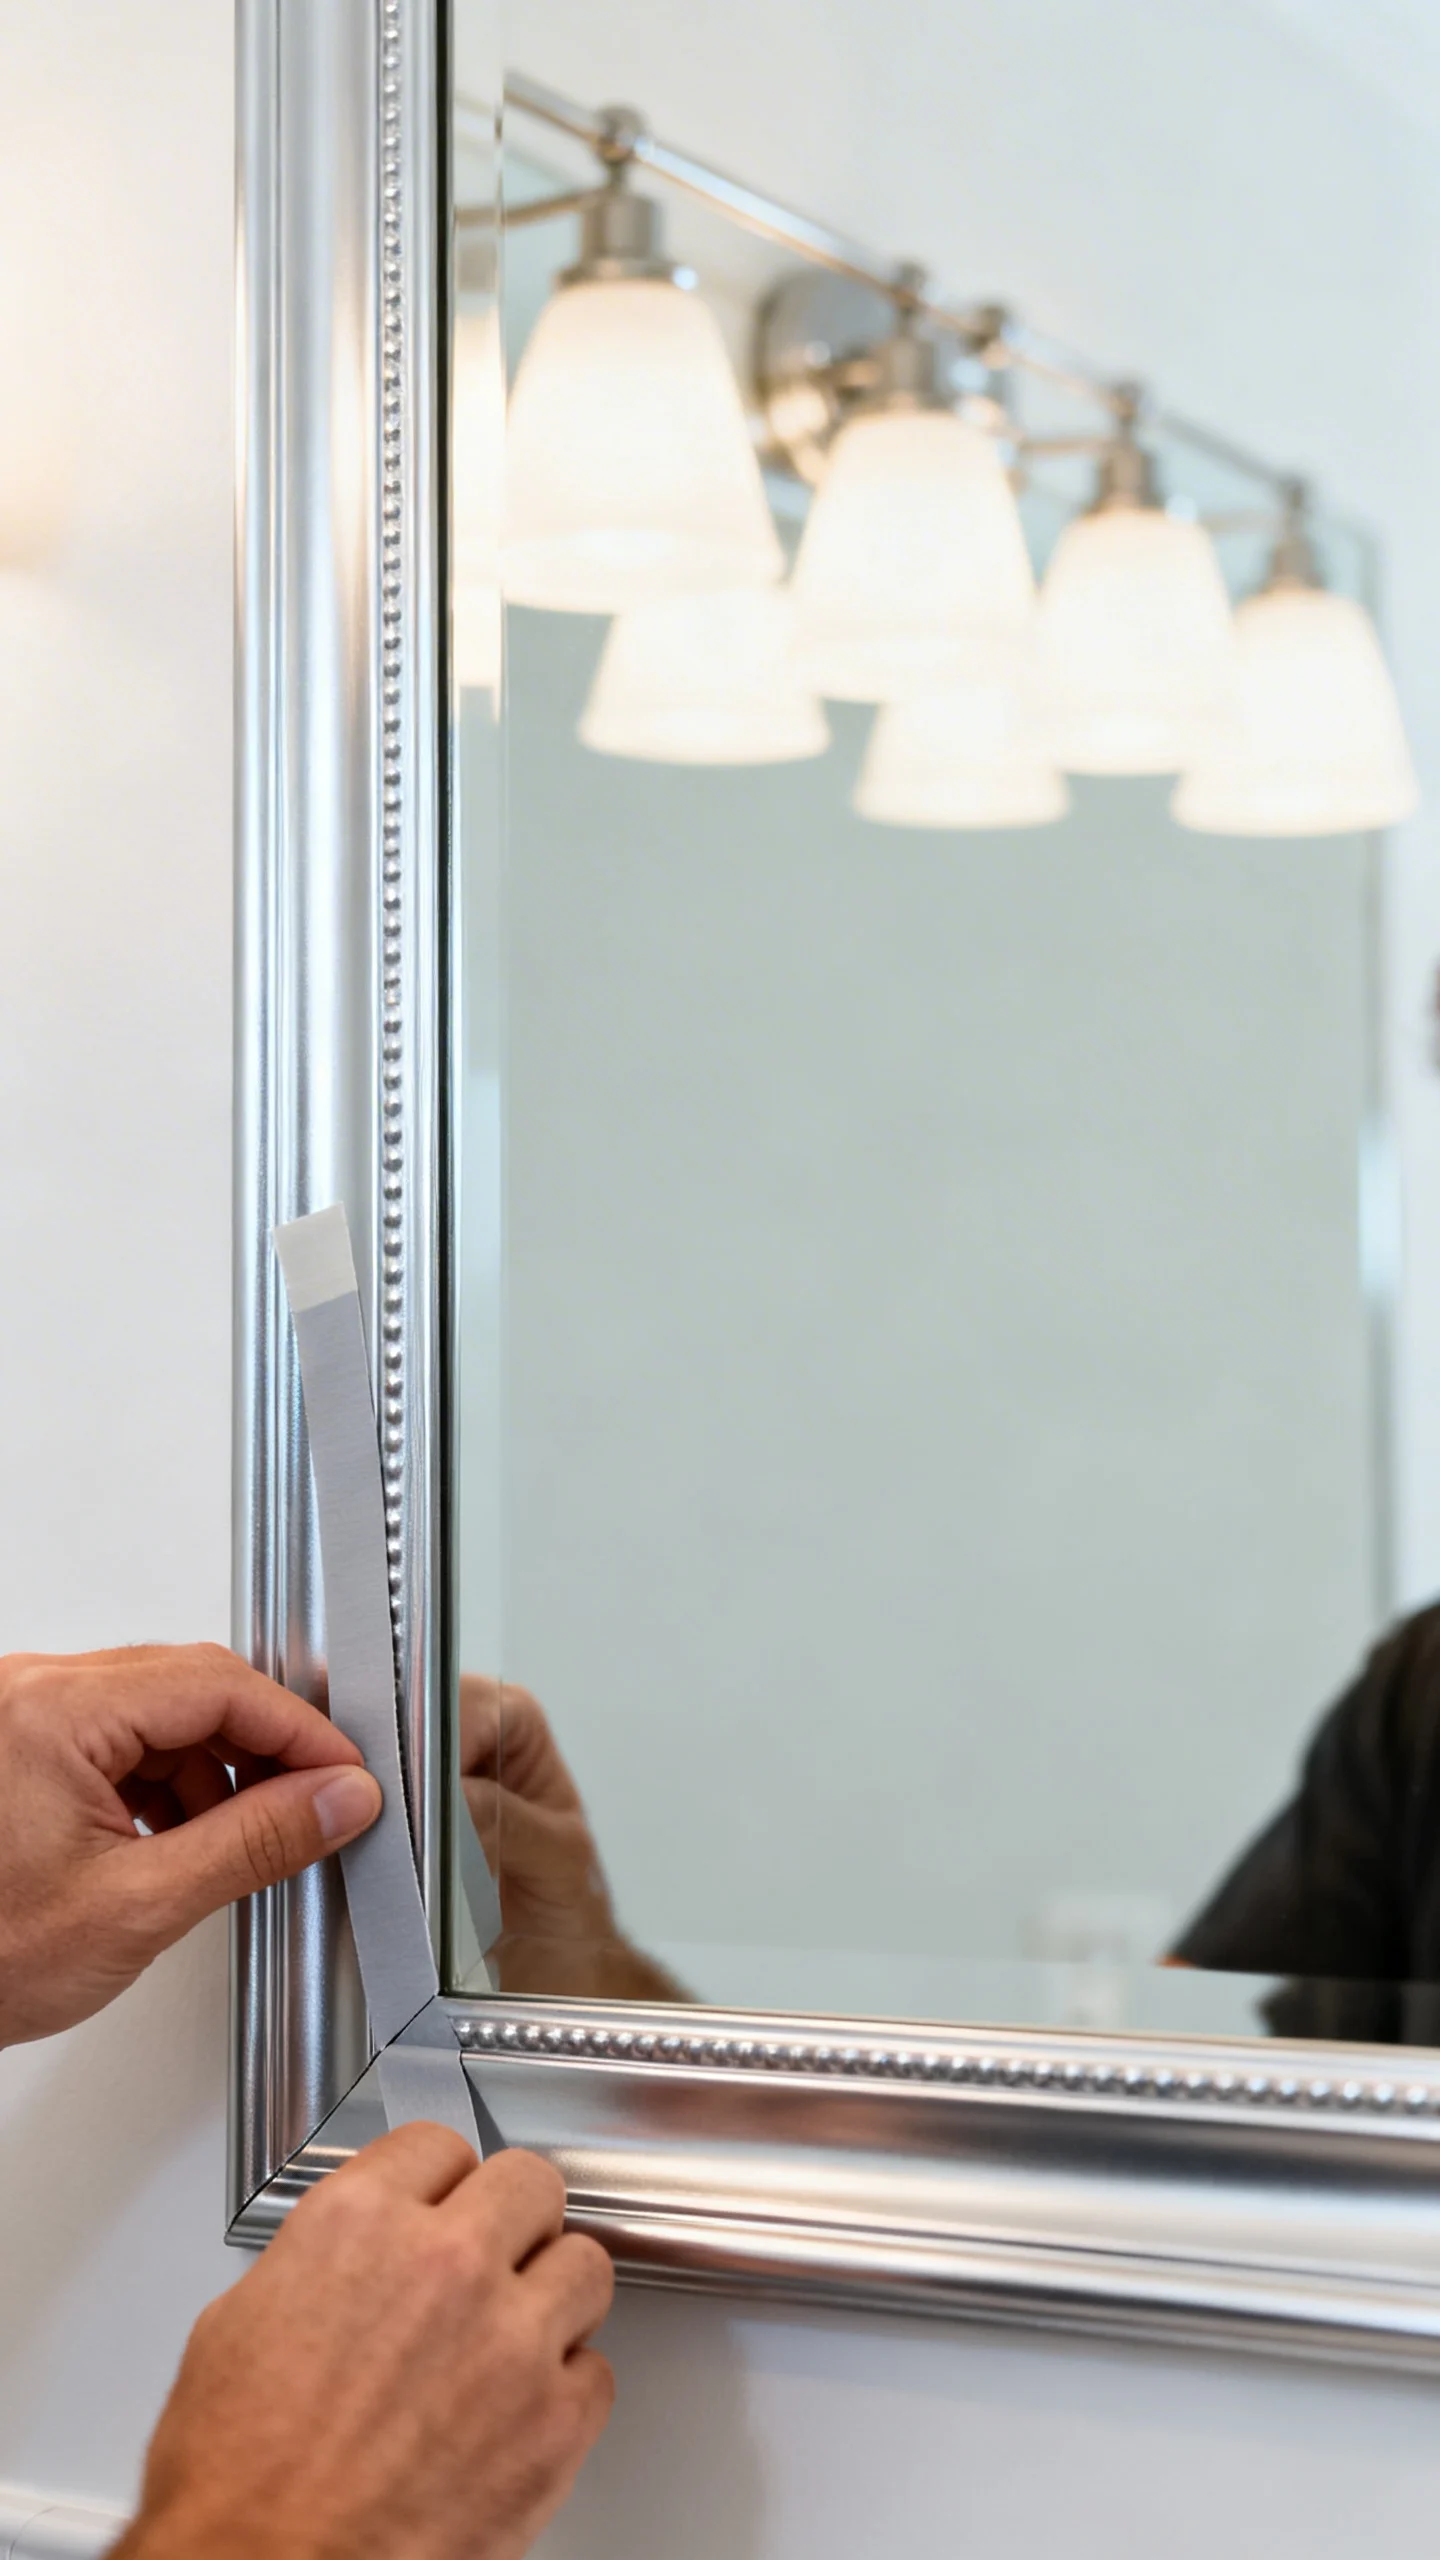
A builder-grade mirror can look custom with peel-and-stick framing kits, lightweight molding strips, or metallic trim tape. Measure the mirror and plan for a frame width that matches the room scale—typically 2–3 inches wide for standard vanity mirrors, 3–4 inches for larger mirrors. Clean the mirror edges thoroughly so adhesive bonds well. If using trim tape, keep corners crisp by mitering at 45 degrees with sharp scissors or a miter tool. For molding-style frames, dry-fit all sides first and keep a consistent 1/8-inch reveal (a thin border of mirror showing) so the frame looks intentional. Choose materials labeled for high humidity, and avoid heavy wood that could fail if the adhesive softens in steam.
7) Apply Peel-and-Stick Window Film for Privacy Without Losing Light

If your bathroom window needs privacy but you love natural light, peel-and-stick (or static-cling) window film is a simple upgrade that feels instantly more polished. Measure the glass pane only (not the frame) and cut the film 1/4 inch larger on all sides, then trim flush after application. For easiest placement, mist the glass lightly with water (if the product allows wet application), smooth with a squeegee, and push bubbles to the edges. Frosted or reeded-glass patterns look clean and spa-like; avoid overly busy patterns in small bathrooms. Leave a 1/16-inch gap at the edges if the manufacturer recommends it to prevent peeling from condensation buildup.
8) Add Peel-and-Stick Wainscoting Panels to Protect High-Touch Walls
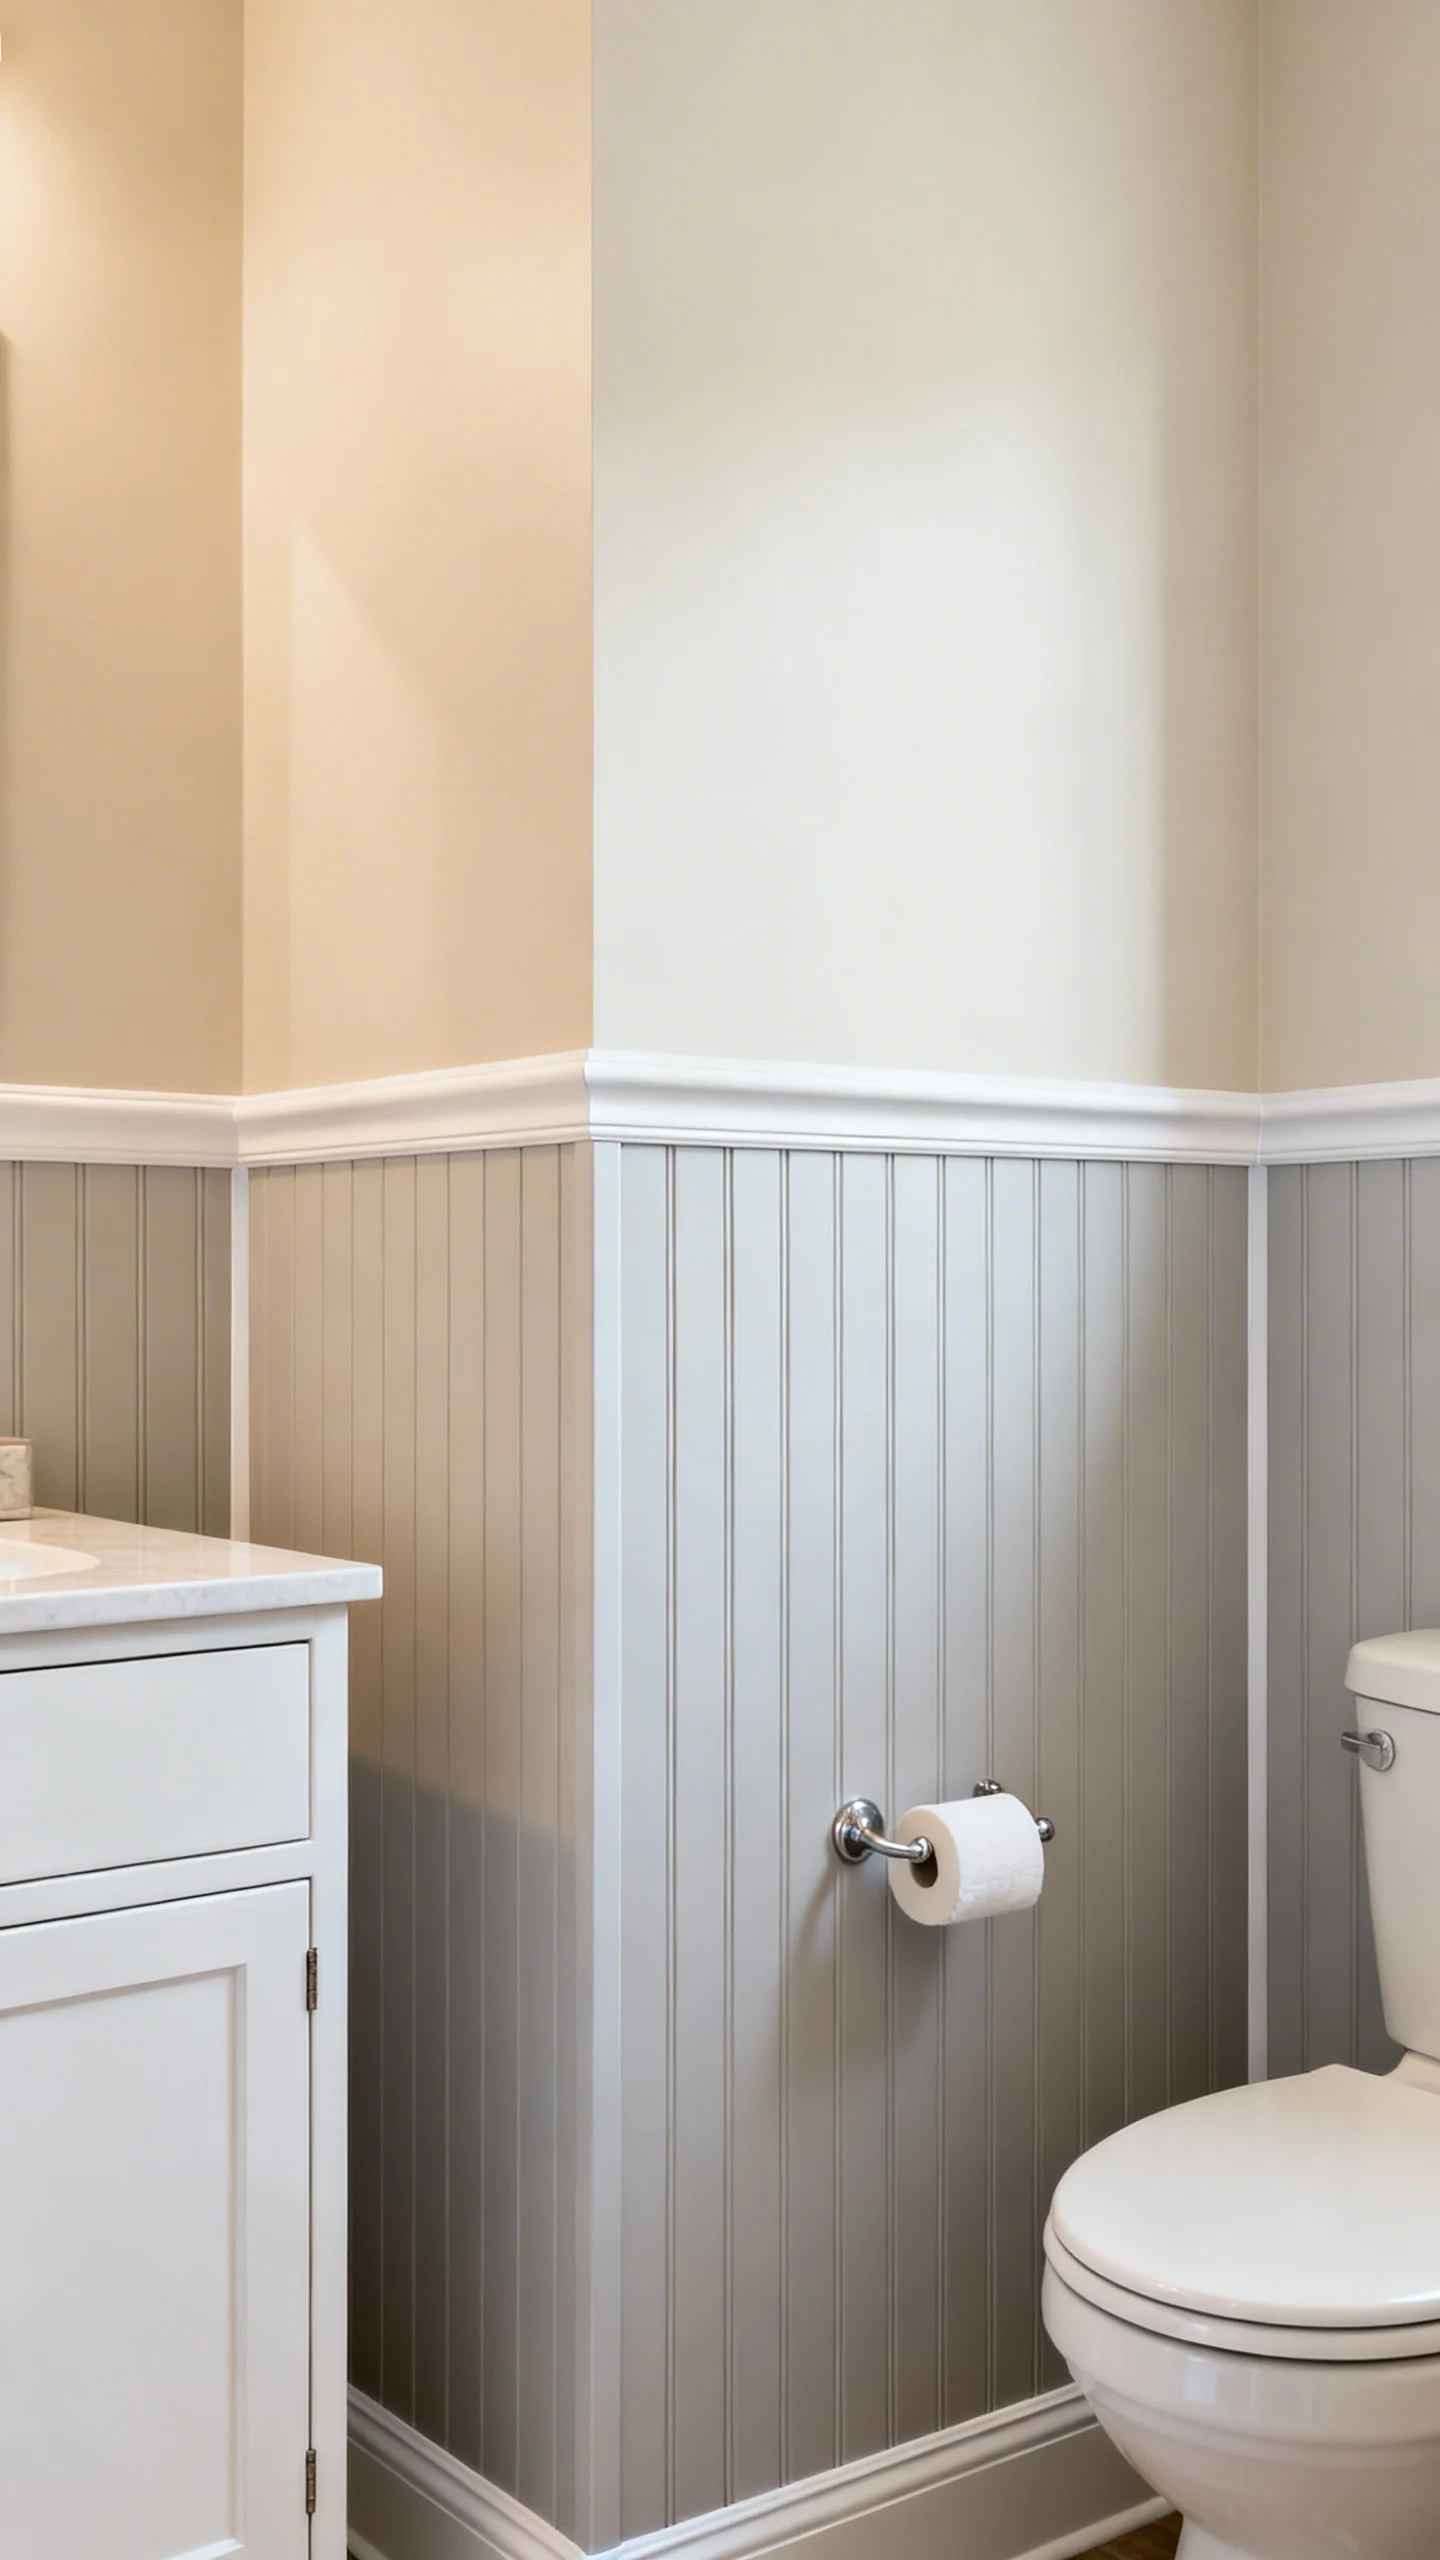
Peel-and-stick wall panels (often faux beadboard or slat styles) can bring structure to a bathroom and help protect walls from splashes—when placed correctly. A practical height is 36–42 inches from the floor (about counter height), or align the top with the vanity backsplash height for a cohesive line. Use a laser level to keep the top edge straight, because bathroom floors can slope slightly toward the drain. Seal panel seams and the top edge with paintable silicone caulk if the product allows, especially near the sink area. For a more finished look, add a peel-and-stick chair-rail-style trim at the top, or use a thin PVC molding adhered with waterproof construction adhesive (if you want extra durability in humid conditions).
9) Use Peel-and-Stick Grout or Caulk Strip Tape for a Cleaner, Sharper Edge
When your bathroom’s problem is “everything looks a little tired,” crisp edges can change the whole impression. Peel-and-stick caulk strip tape works best on clean, dry seams around the vanity backsplash, tub ledge (outside direct water flow), and along countertop-to-wall joints. Measure runs and cut lengths slightly long; press firmly and smooth as you go to avoid ripples. That said, treat it as a cosmetic upgrade, not a forever waterproofing solution. In wet areas (like inside a shower), traditional 100% silicone is still the better choice. If you’re using strip tape near water, choose a mold-resistant version and keep the exhaust fan running to reduce moisture lingering at the seam.
10) Finish With Peel-and-Stick Labels and Organizing Inserts for a Remodel-Ready Feel
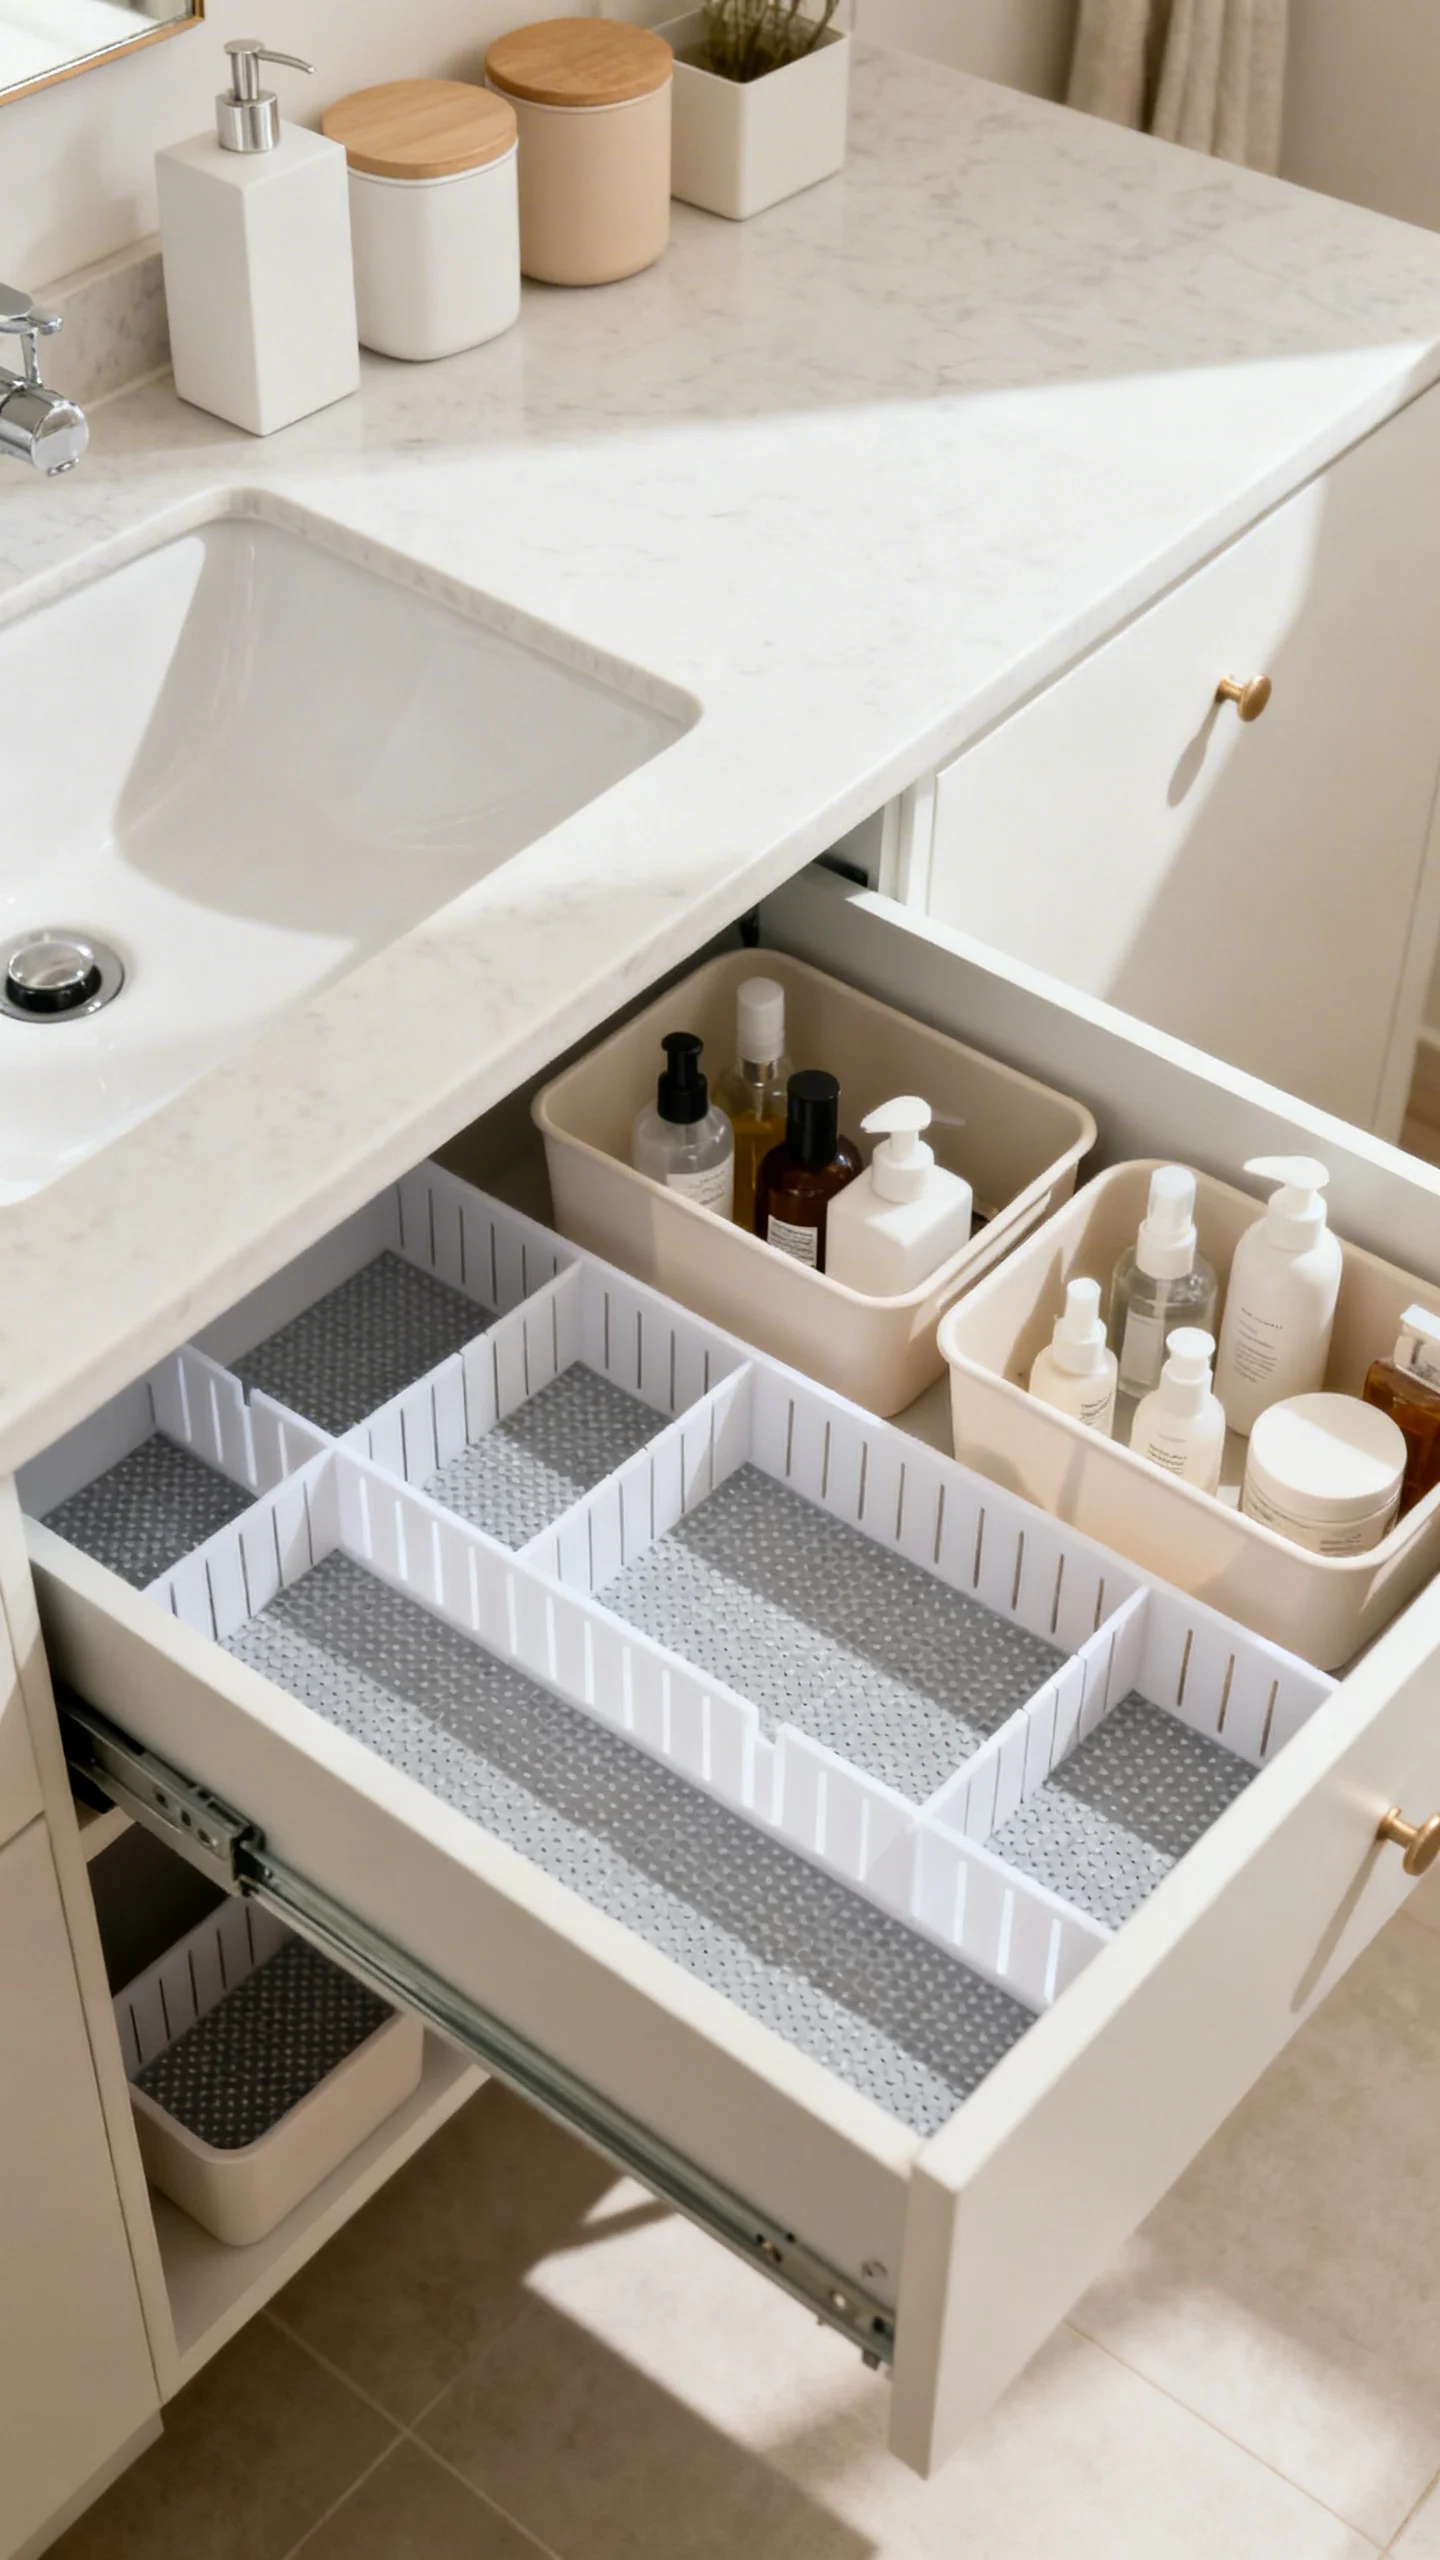
True “remodel energy” often comes from the details: drawers that function smoothly and storage that looks planned. Use peel-and-stick labels on refillable bottles (hand soap, lotion) and on shelf bins for backstock items to cut visual clutter. Add peel-and-stick drawer liners that are washable and moisture-resistant—especially under the sink where small leaks happen. Measure each drawer interior and cut liners 1/8 inch smaller on each side so edges don’t curl. Choose light colors to brighten deep vanity drawers, and opt for textured, non-slip liners to keep items from shifting when drawers close.
FAQ
Can peel-and-stick tile go inside a shower?
Most peel-and-stick tiles are not rated for continuous water exposure or full shower spray, and steam can weaken adhesives over time. For a bathroom, keep peel-and-stick tile to backsplashes, powder-room walls, or areas outside direct water flow. If you want a shower upgrade, look for products specifically rated for wet areas and follow the manufacturer’s instructions exactly—otherwise use traditional tile and waterproofing methods.
How long do peel-and-stick bathroom upgrades typically last?
Longevity depends on ventilation, surface prep, and placement. In a well-ventilated bathroom on a properly cleaned, smooth surface, peel-and-stick wallpaper and backsplash tile can look great for several years. Floors and countertop films experience more wear and moisture, so edge sealing and gentle cleaning make a noticeable difference.
What’s the best way to cut peel-and-stick materials cleanly?
Use a sharp utility knife with snap-off blades and a metal straightedge for tile sheets and films. For wallpaper, sharp scissors can work, but a knife gives straighter edges against a level line. Change blades often—dull blades cause tearing and jagged edges that are more visible in bright bathroom lighting.
Will peel-and-stick products damage bathroom walls when removed?
They can, especially on flat/matte paint or poorly prepped drywall. To reduce risk, apply to cured satin or semi-gloss paint and avoid placing on crumbly surfaces. When removing, warm the area with a hair dryer and peel slowly at a low angle; any minor adhesive residue can often be removed with mild adhesive remover that’s safe for painted surfaces.
How do I keep edges from lifting in a humid bathroom?
Start with thorough cleaning and complete drying, then apply firm pressure with a roller to seat the adhesive. Keep the bathroom well ventilated (run the fan during showers), and seal vulnerable edges—around sinks and countertops