
Furniture Remodeling on a Budget That Looks Custom
Custom-looking furniture doesn’t have to come with a custom price tag. With a few strategic upgrades—focused on finish, structure, and details—you can remodel thrifted finds or tired staples into pieces that feel built-in, boutique, and intentional.
These budget-smart tips are designed to help your furniture look truly “made for the space,” without expensive tools or pro-only skills. Think high impact, low waste, and finishes that hold up in real life.
1) Start With a Solid Piece (and Know What to Skip)
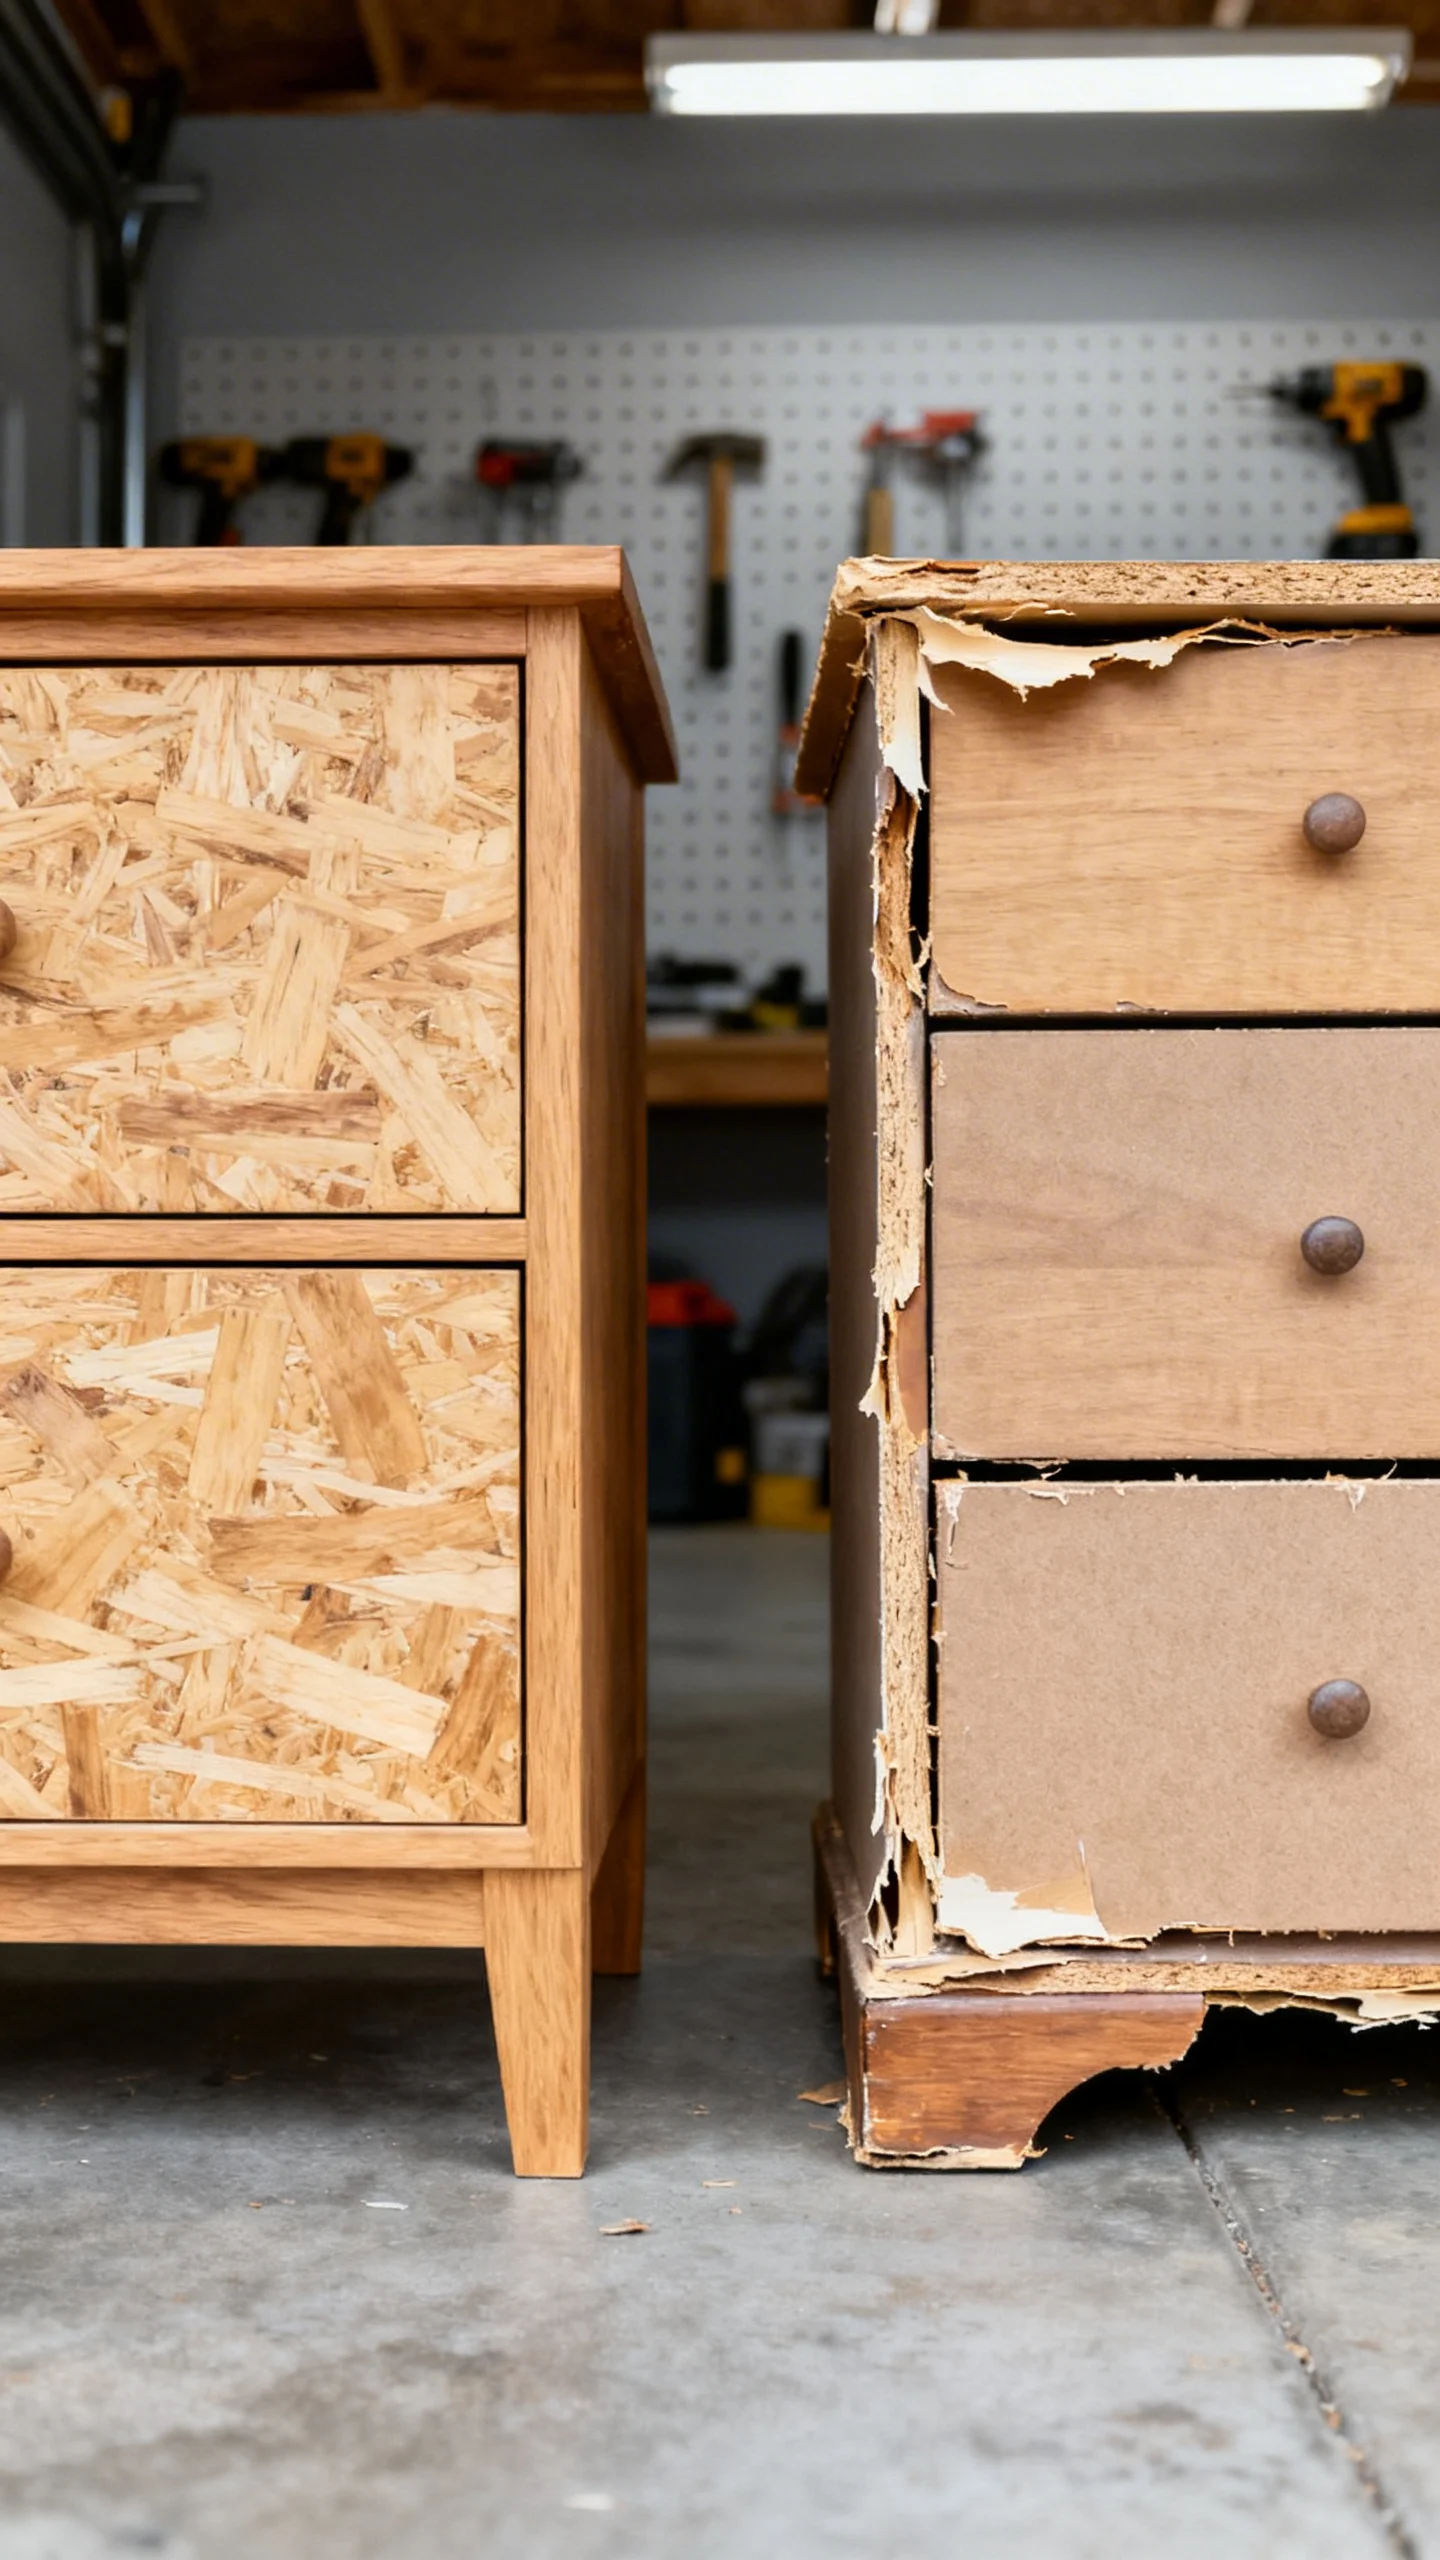
The most budget-friendly “custom” makeover starts with choosing the right base. Look for real wood, plywood, or sturdy MDF with tight joints and minimal wobble. Do a quick stability test: grab a corner and gently twist—if it racks easily, expect extra repair work.
Skip pieces with swollen particleboard (often around feet or bottoms), deep water damage, or peeling laminate on large flat surfaces unless you plan to fully skin it. Minor veneer chips are fine; they can be patched. If drawers glide smoothly and the case is square, you’re already ahead.
2) Plan Proportions Like a Built-In: Overhangs, Reveals, and Clearances
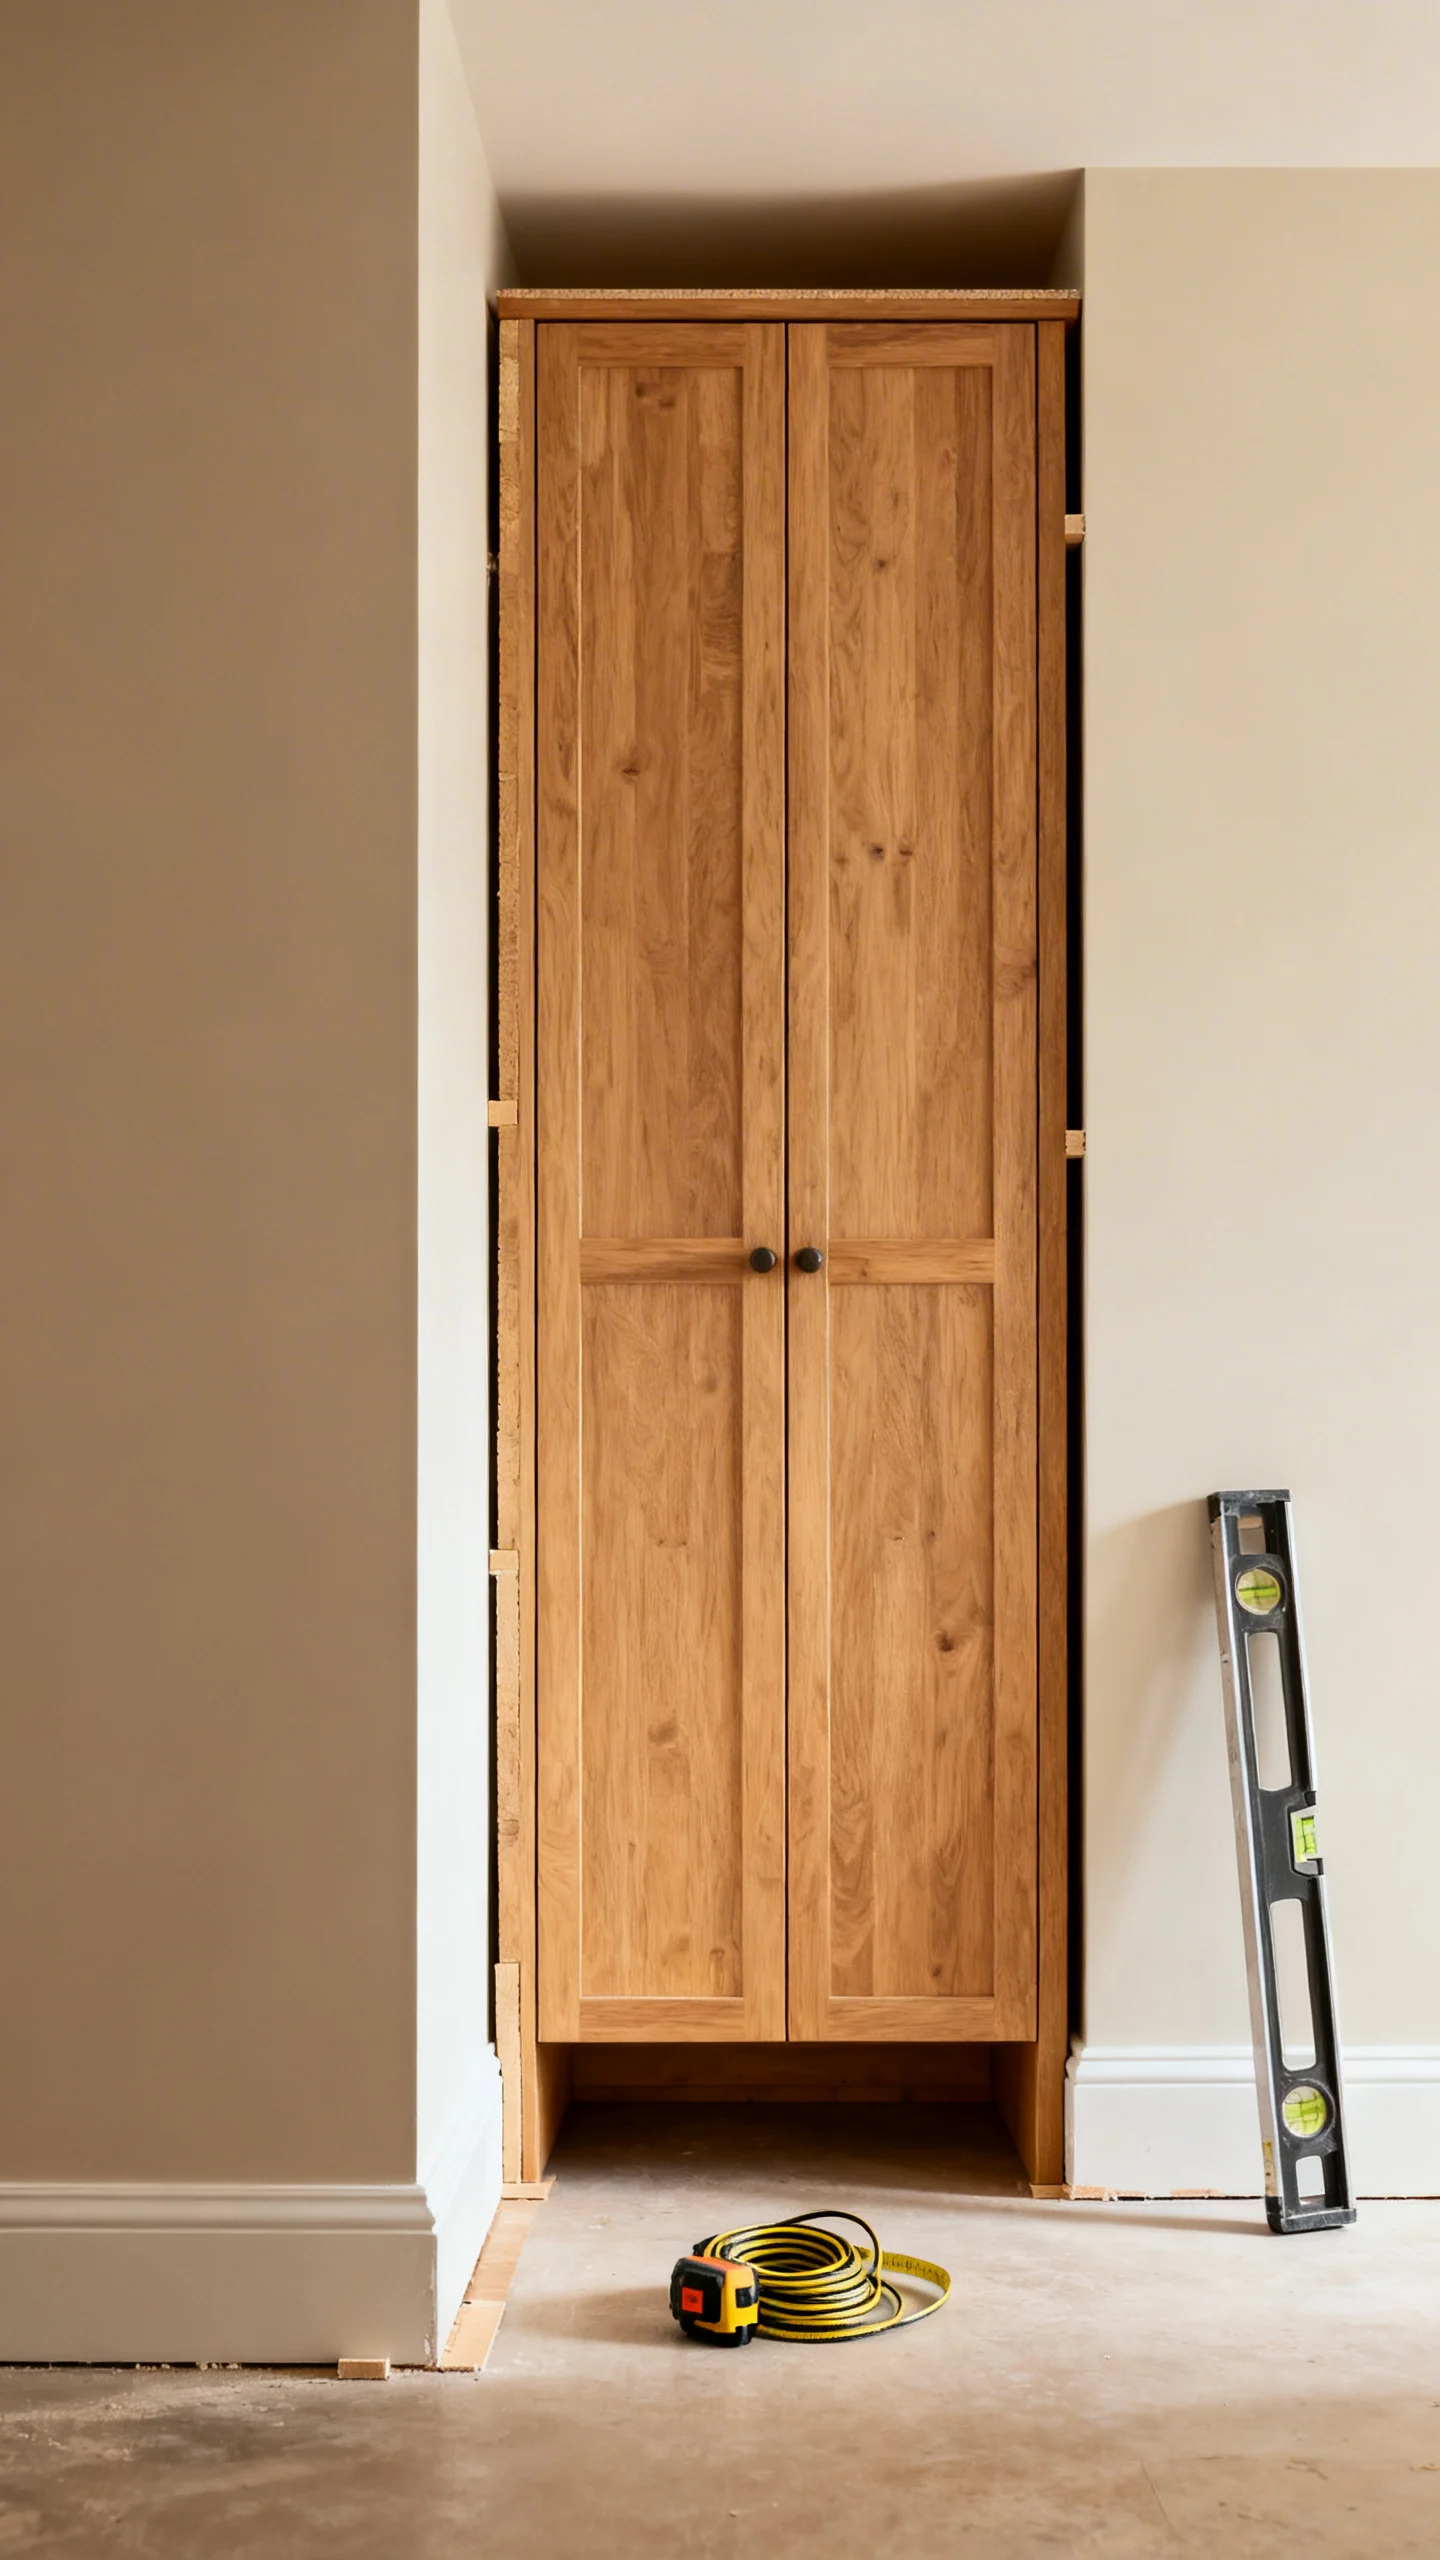
“Custom” often comes down to proportions. Before you remodel, measure the room and decide how the piece should sit visually. Aim for intentional spacing: leave 2–4 inches of breathing room from adjacent walls for stand-alone pieces, or go tight and symmetrical if you’re mimicking a built-in.
If you’re adding a top (wood, stone-look, or thicker trim), plan for overhang: 1/2 inch to 1 inch on the sides and front reads polished without looking bulky. For door and drawer gaps (“reveals”), consistency is everything—try to keep gaps even, around 1/8 inch where possible. If you’re placing a dresser under a TV or art, centerlines matter: mark the wall center and align the furniture to it for an instantly more tailored look.
3) Swap Hardware With the “Same Hole” Rule to Avoid Repairs
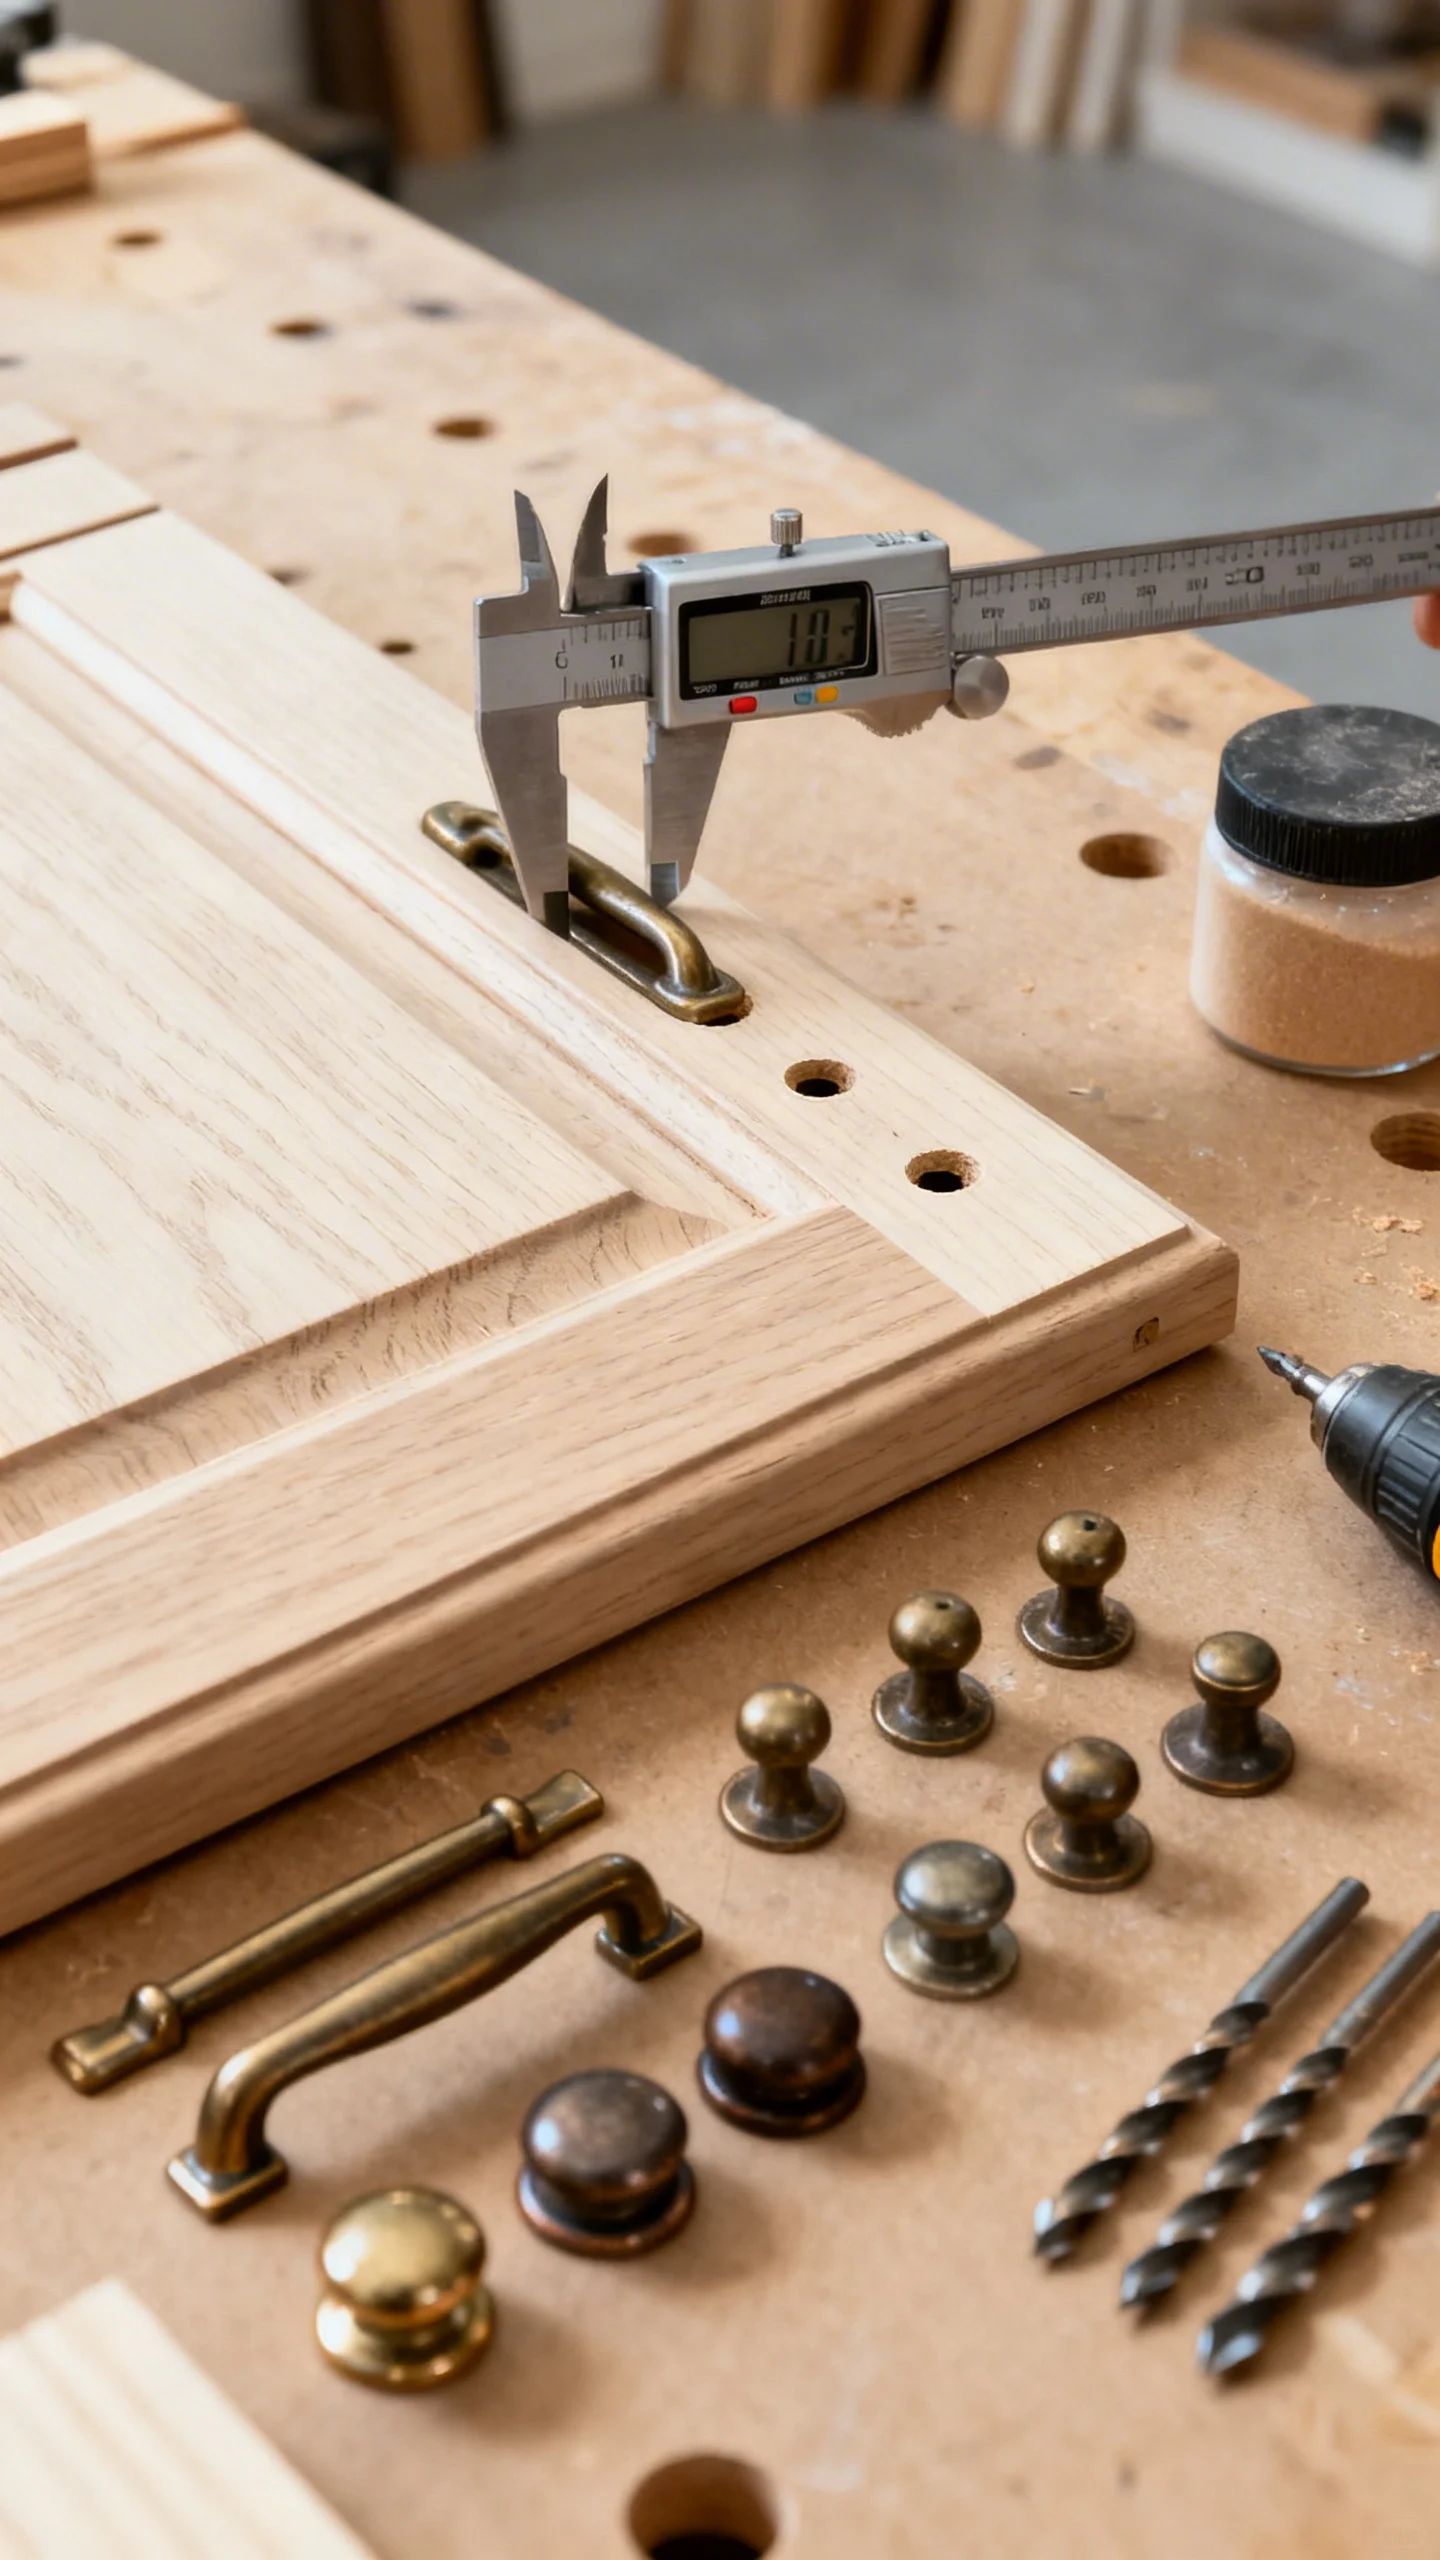
Hardware is the fastest way to make budget furniture look custom, but the real money saver is choosing pulls that fit existing holes. Measure the center-to-center spacing (common sizes: 3 inches, 3.75 inches, 5 inches, 128 mm). Reusing the same spacing prevents wood filler, sanding, and repainting—especially helpful on laminate or veneer.
If you do need to change spacing, use a wood dowel and glue to plug old holes (more durable than filler alone), then drill new ones with a simple template or a scrap piece of wood as a jig. For a designer look on a budget, go larger: slightly oversized pulls can make standard drawer fronts feel more substantial.
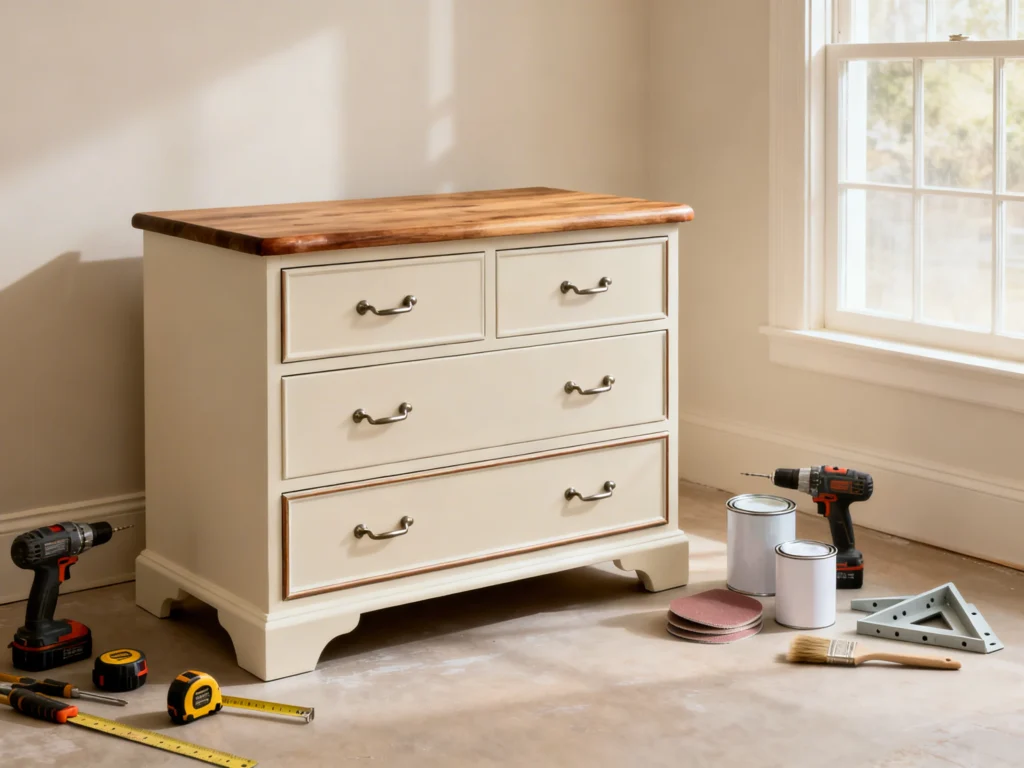
4) Upgrade the Top Surface: Wrap, Cap, or Skin It
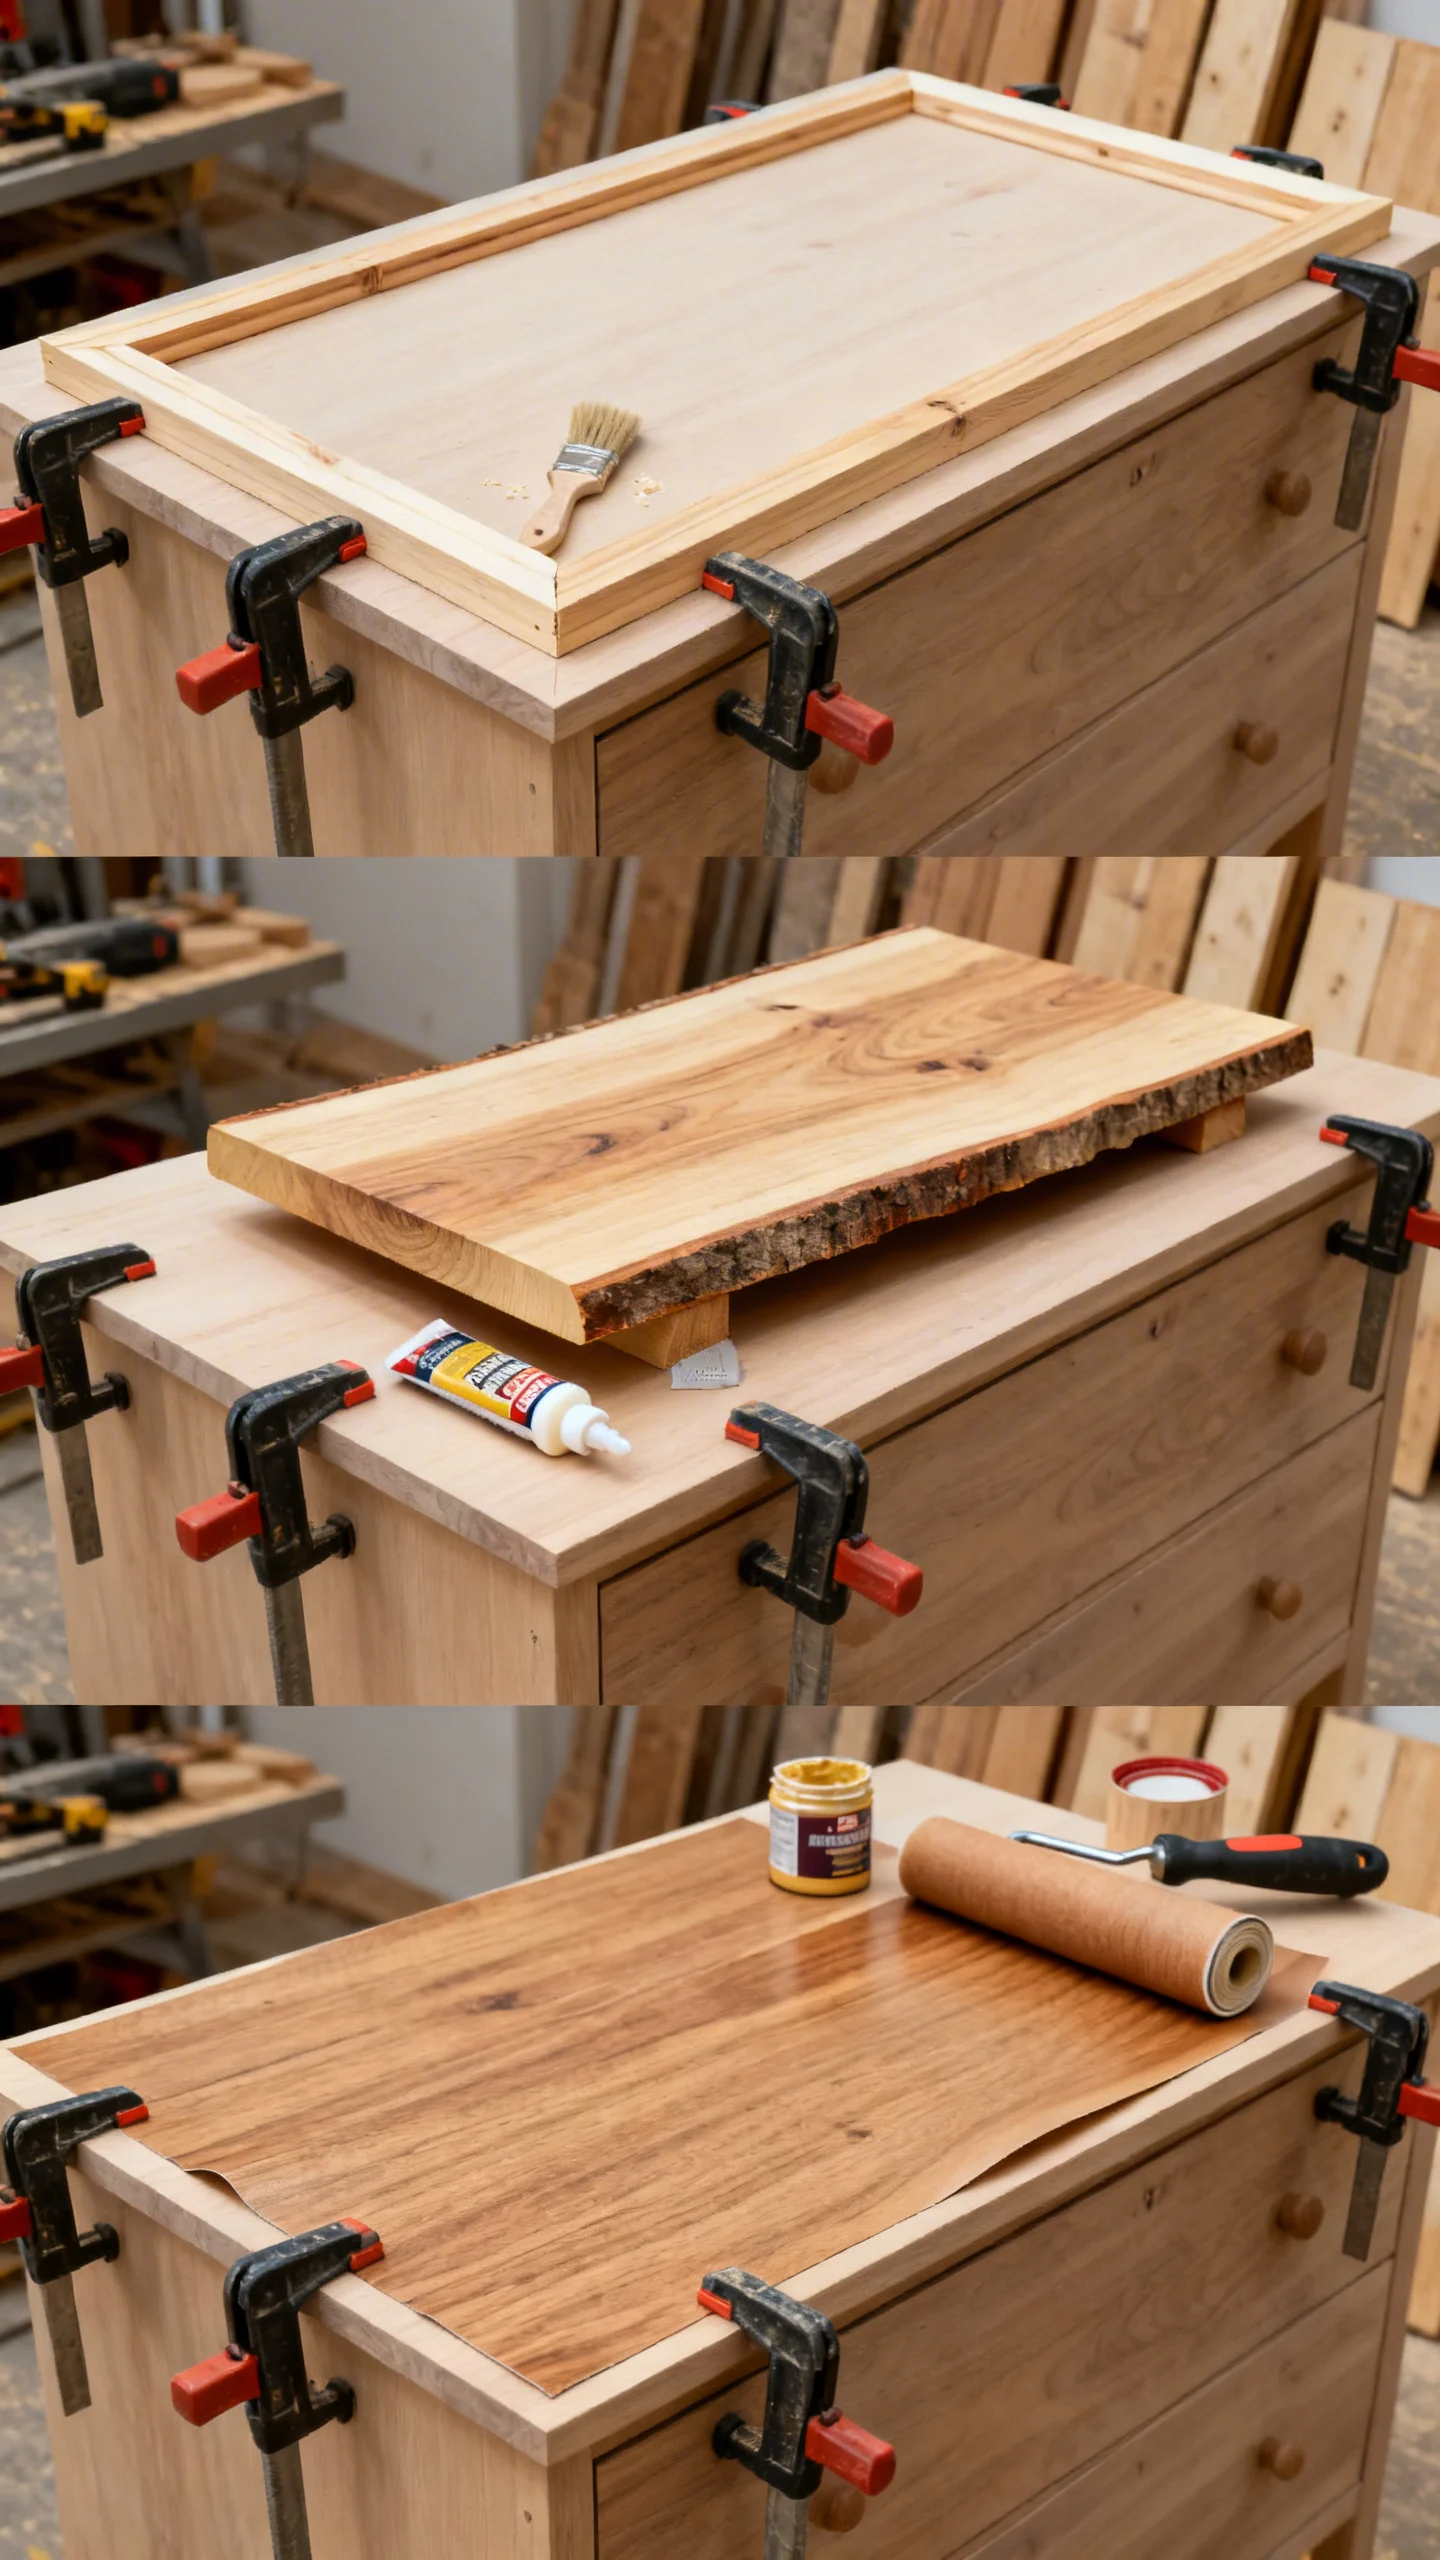
A custom piece usually has a top that feels finished and intentional. You can fake this affordably in three ways: wrap (add trim around the existing top), cap (add a new slab on top), or skin (cover the top with a new material).
For a cap, 3/4-inch plywood with edge banding is sturdy and cost-effective. For a wrap, 1×2 or lattice trim can create a thicker profile—miter corners for a clean frame. For a skin, consider peel-and-stick countertop vinyl for low-traffic pieces, or thin hardboard (1/8 inch) glued down and painted for a seamless new surface. If the piece will see water (entry, bathroom), seal edges carefully with primer and a durable topcoat.
5) Add Trim Strategically to Create Custom Paneling
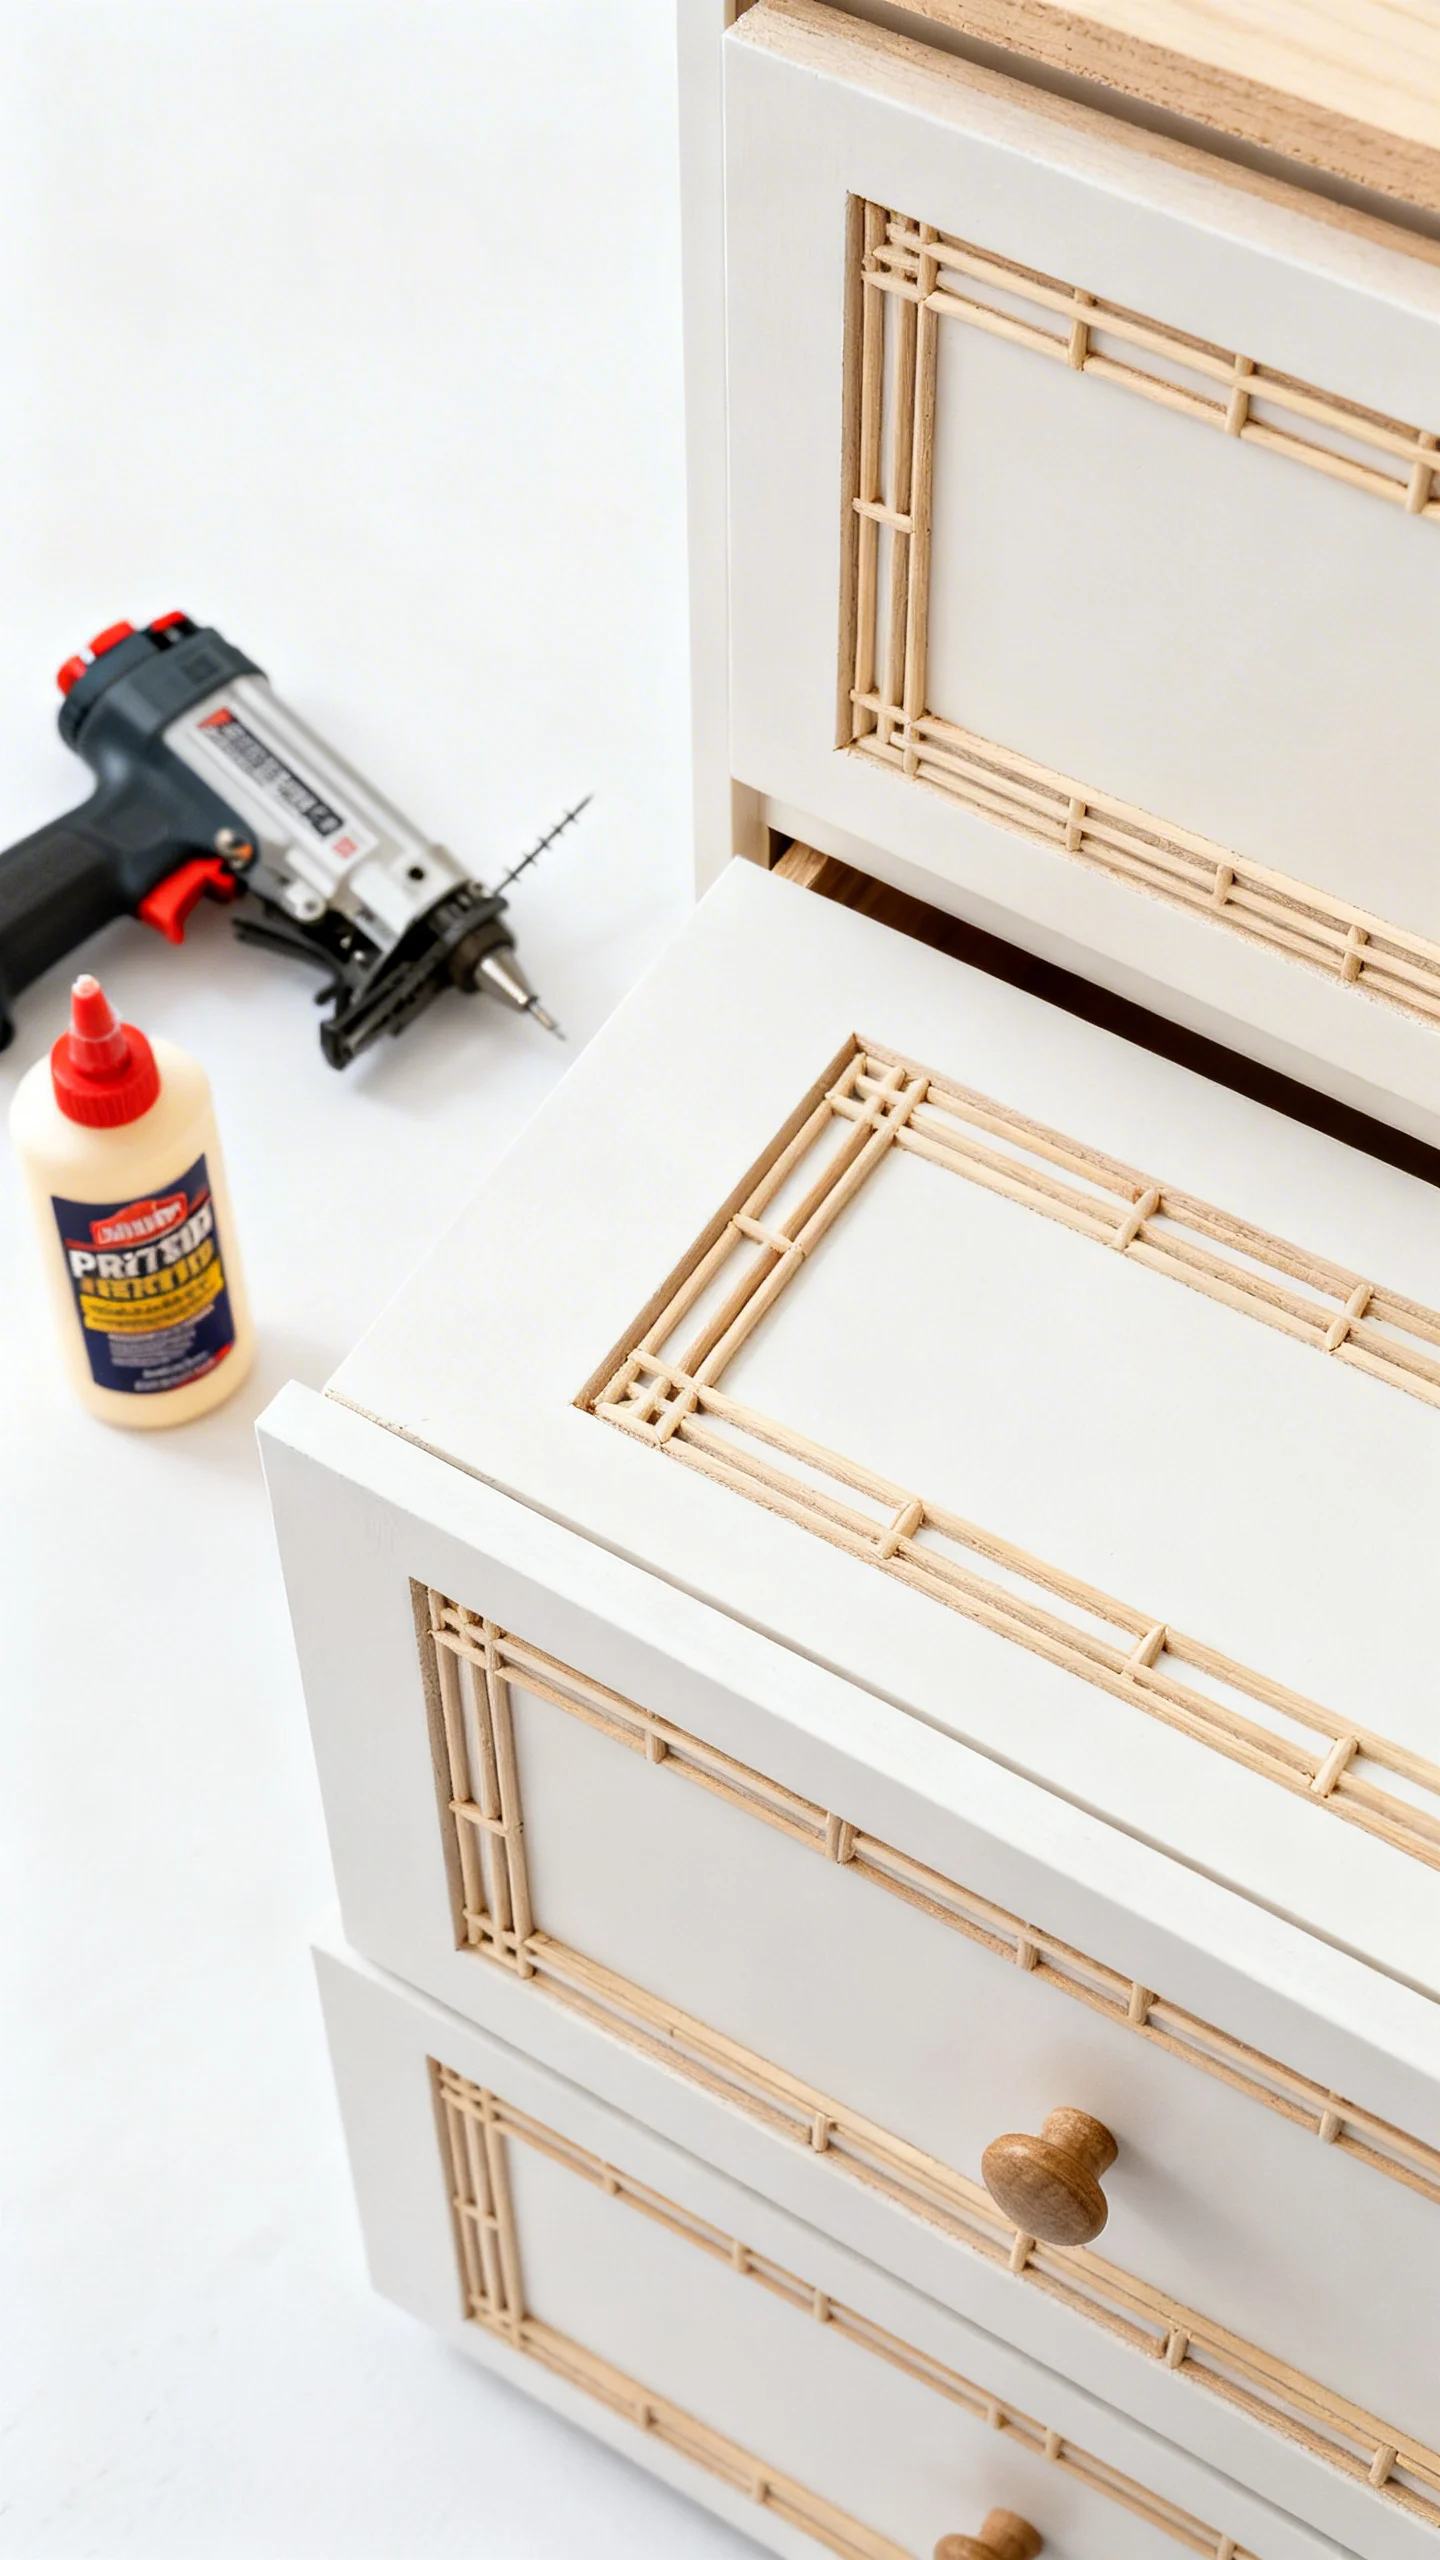
Trim is where “budget” starts looking bespoke. Flat drawer fronts and plain doors can be transformed with simple applied molding. Use thin lattice, half-round, or square dowels to create a recessed-panel illusion—especially effective on dressers, media consoles, and nightstands.
Keep it symmetrical: measure and mark guidelines with painter’s tape before gluing. Wood glue works well on raw wood; for slick factory finishes, lightly scuff-sand and use a strong construction adhesive. Proportion tip: leave a consistent border (often 1.5–2.5 inches from edges on medium drawers) so panels look intentional, not crowded. Once painted, these details read expensive fast.
6) Fix Wobbles and Drawer Drag Before You Paint
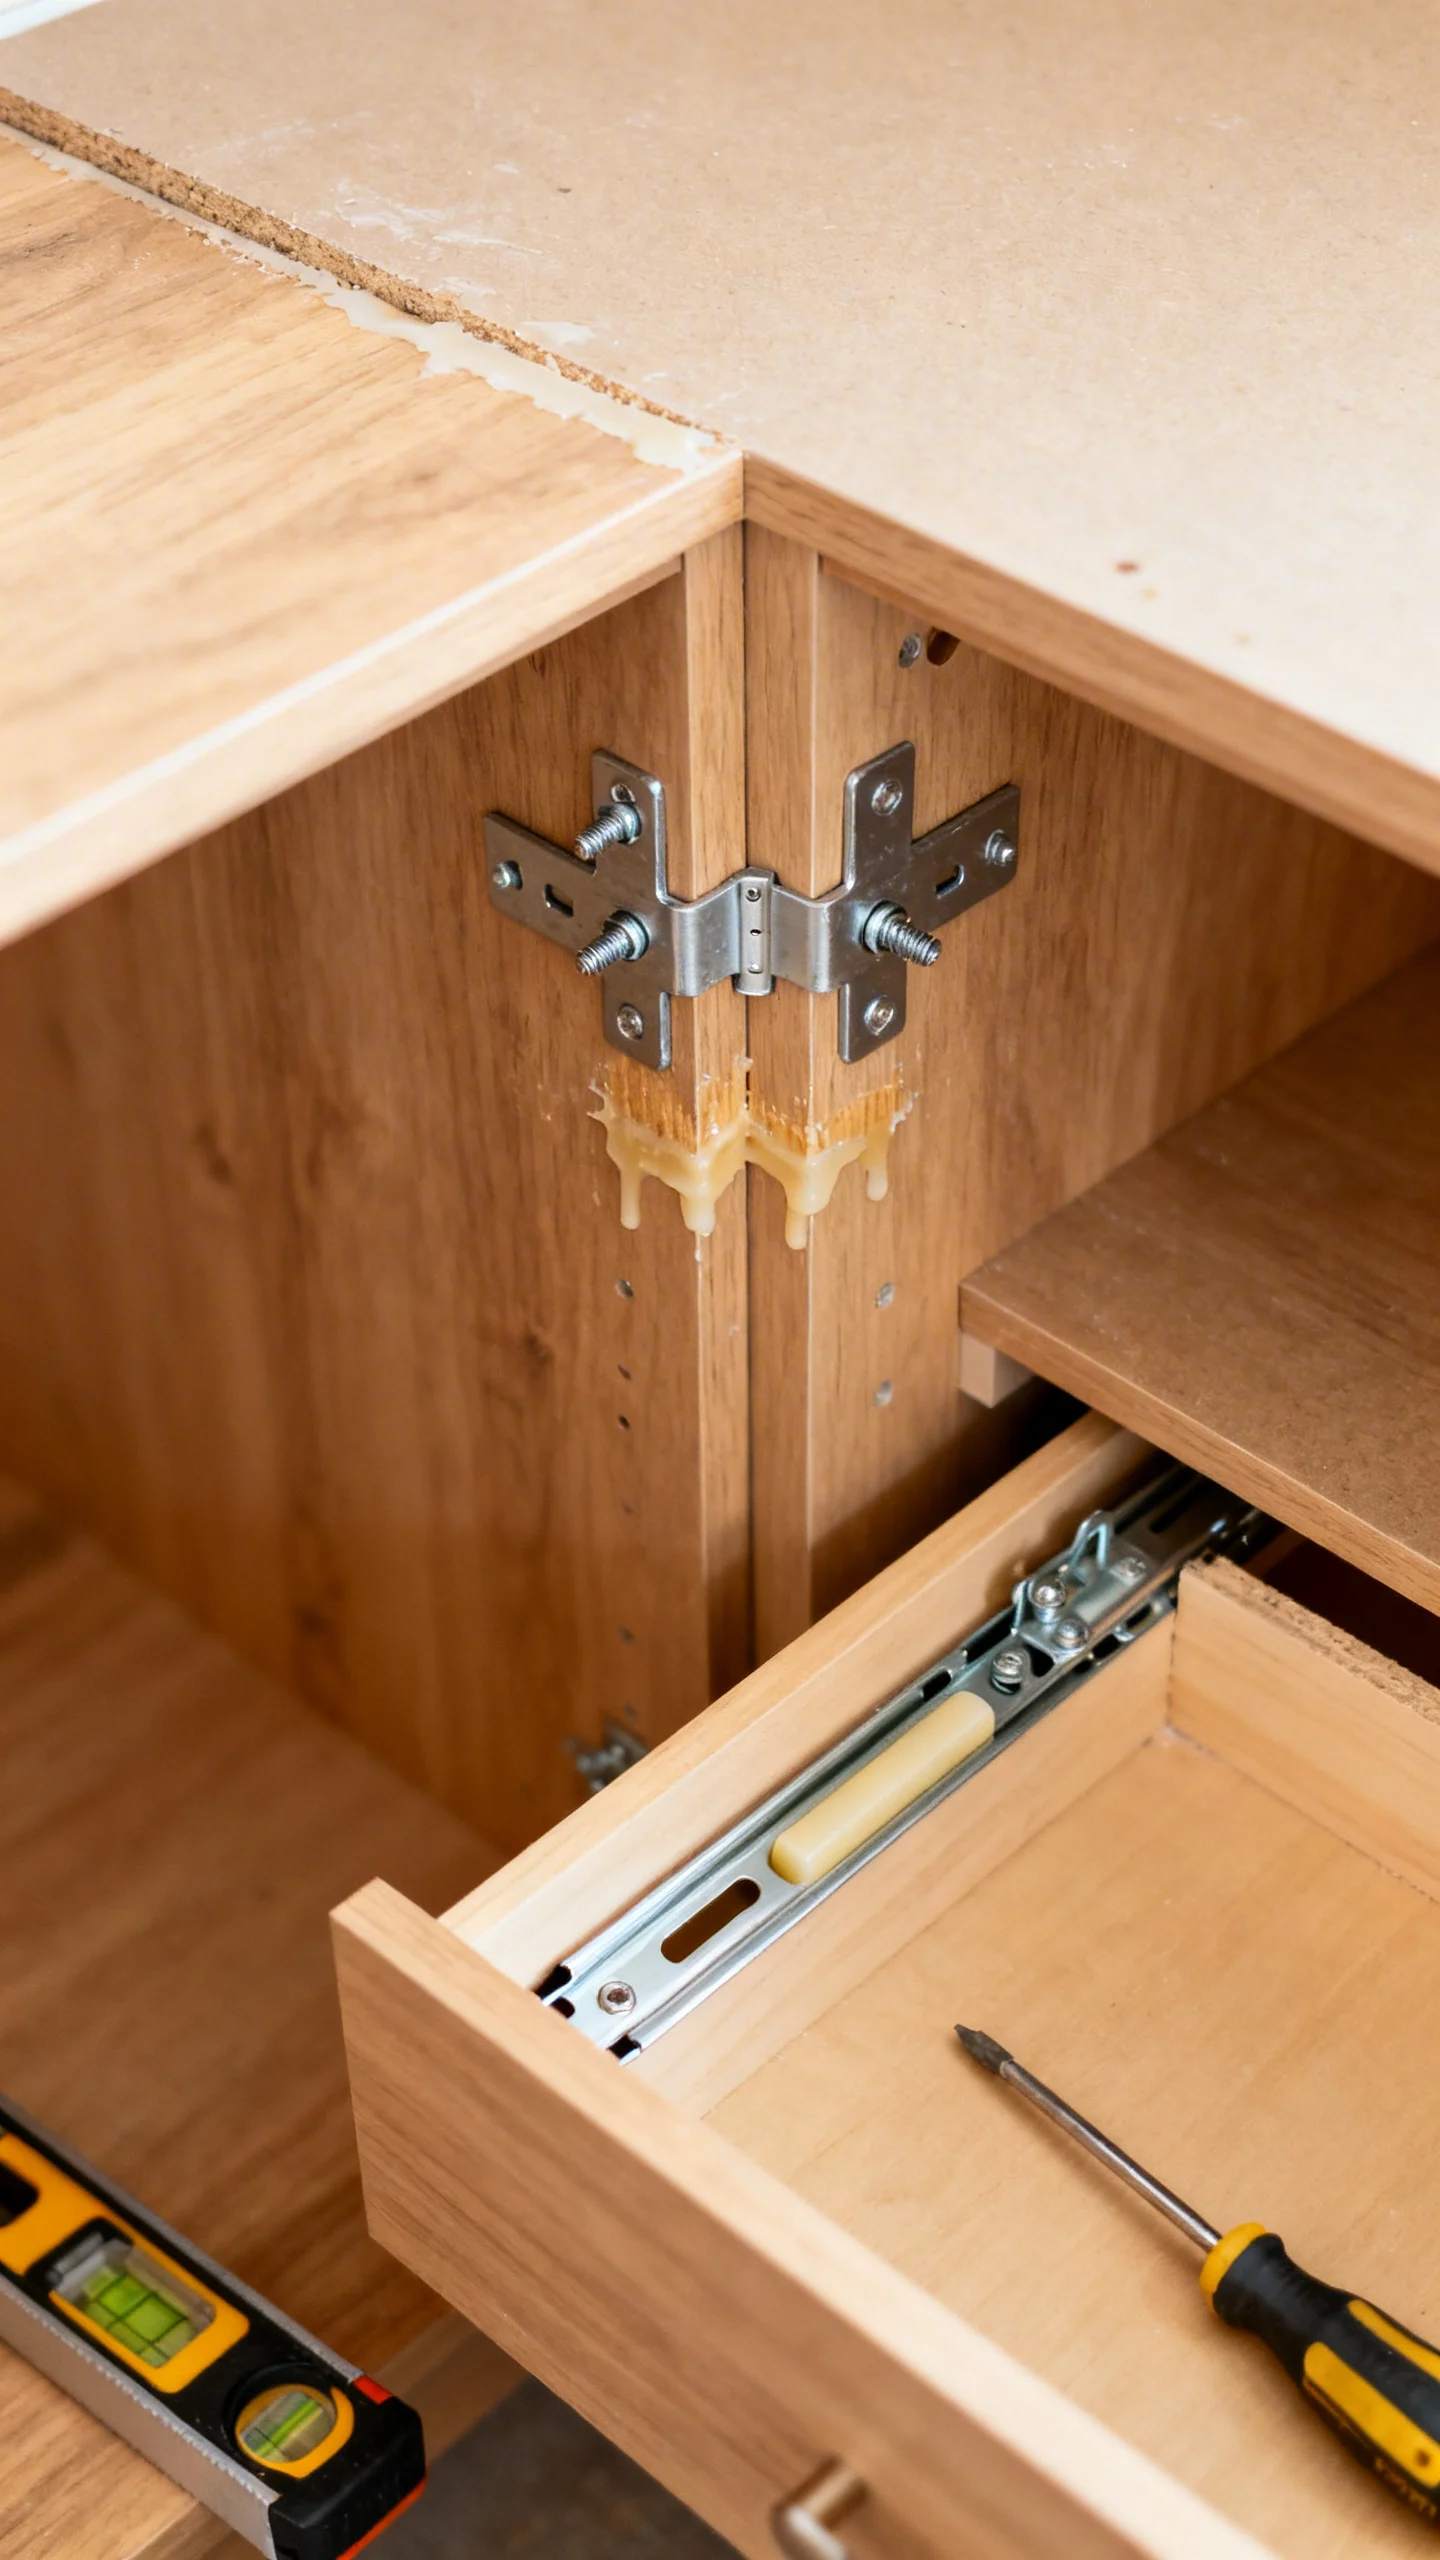
Nothing ruins a “custom” impression like sticky drawers or a shaky frame. Before any cosmetic work, tighten screws, add corner braces inside the case, and re-glue loose joints. If legs wobble, check for uneven floors first—felt pads or adjustable levelers are inexpensive and instantly elevate the piece.
For drawers that drag, rub wax (or a bar of soap) on wood runners, or upgrade to basic side-mount slides if the drawer box is sturdy. Measure carefully: most slides need 1/2 inch clearance per side, but confirm your slide’s specs. A smooth, quiet drawer makes the remodel feel like a high-end upgrade even if you kept everything else simple.
7) Choose the Right Paint System (Primer + Paint + Topcoat)

A custom finish isn’t just color—it’s durability and sheen control. Start by identifying the surface: raw wood, stained wood, laminate, or previously painted. For stained wood, a stain-blocking primer prevents bleed-through. For laminate, a bonding primer is key.
Use a small foam roller for flat areas and a quality angled brush for edges. Satin or matte often reads more “designer” than glossy, but choose based on wear: satin is a great middle ground for dressers and nightstands. If the piece will take heavy use (kitchen carts, kids’ furniture), consider a hard-wearing cabinet enamel and a compatible topcoat if recommended by the manufacturer. Let it cure—dry isn’t the same as cured. Budget tip: patience is free and makes the finish look professional.
8) Make Cheap Furniture Look Heavier With a Plinth Base or Taller Legs
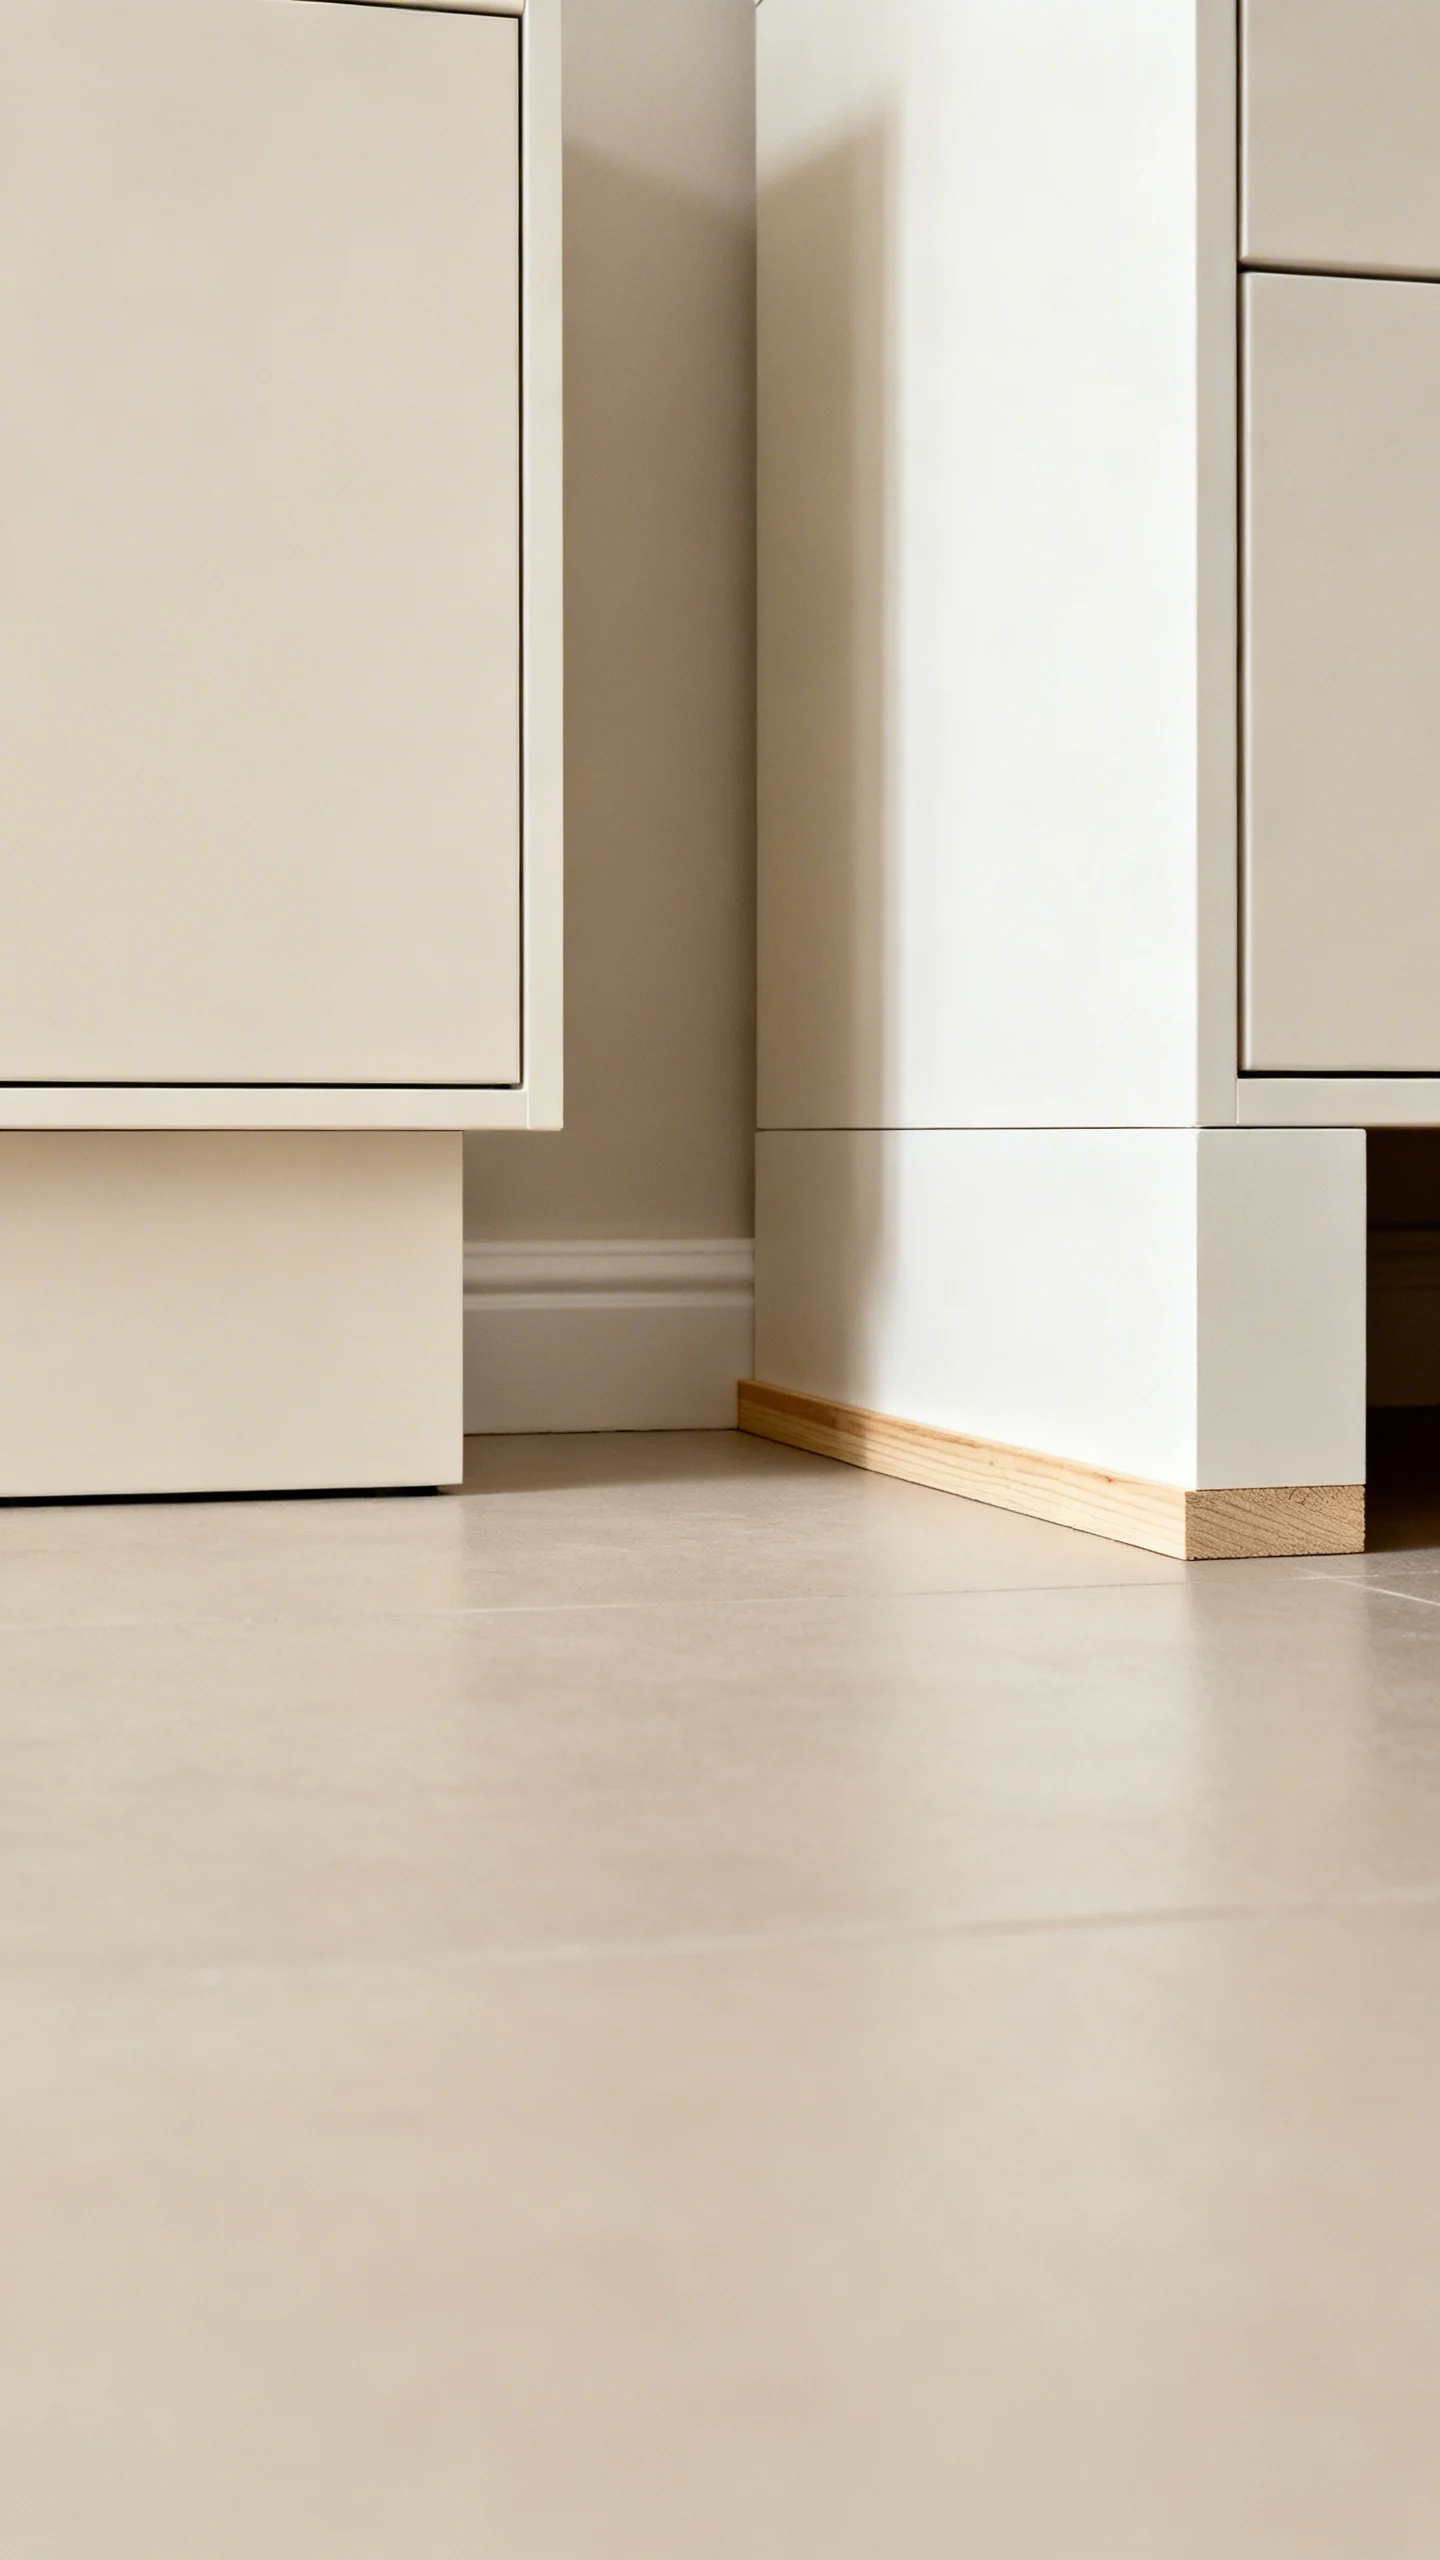
One of the most custom-looking moves is changing the “stance” of the furniture. A plinth base (a simple boxed base under the piece) can make a basic cabinet look built-in and architectural. Use 1×3 or 1×4 boards to build a rectangle, then attach it from inside the cabinet if possible for hidden fasteners.
If you prefer airier and modern, swap stubby feet for taller legs. Measure height carefully: adding 3–6 inches can improve proportions, but confirm stability. Keep at least a 1-inch inset from the front edge for a floating look, or align legs with corners for a more traditional stance. If you’re raising a media console, double-check screen height and cord clearance behind.
9) Use Contact Paper, Veneer, or Wraps in Small, High-Impact Zones
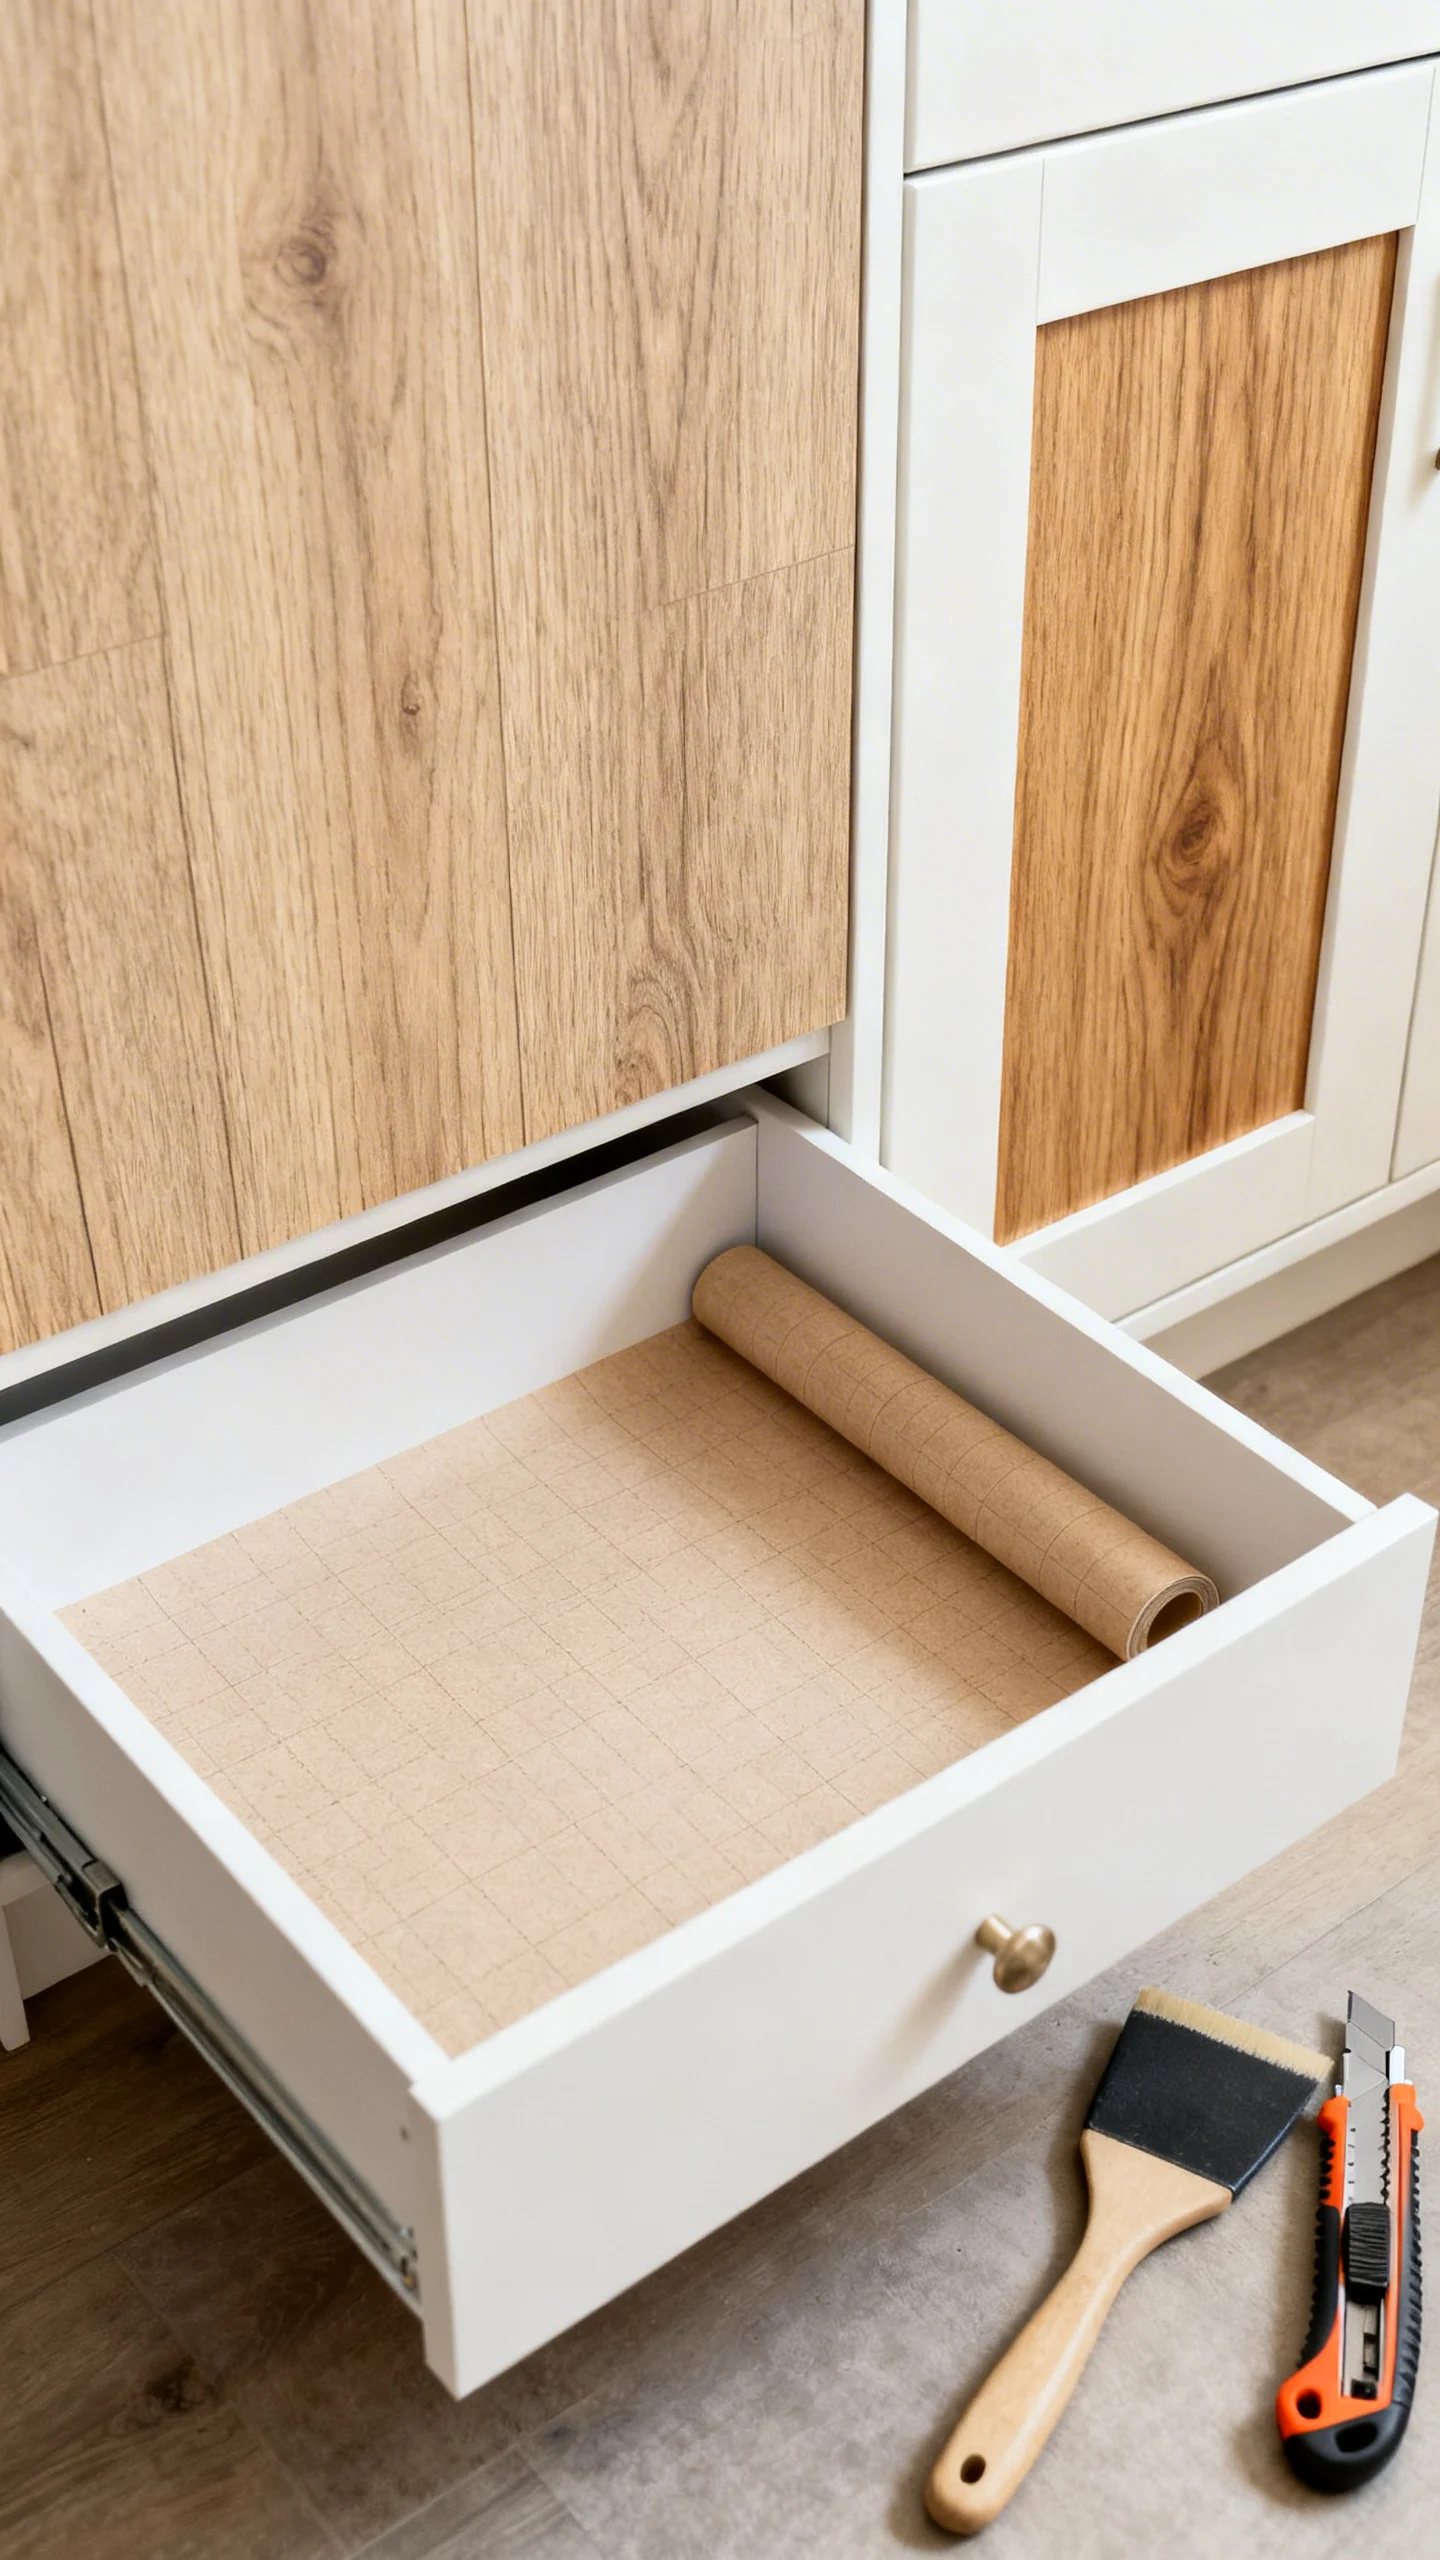
When the budget is tight, focus on small surfaces that read big: drawer interiors, a back panel, or door insets. Wood-look adhesive vinyl can add warmth behind open shelves, while peel-and-stick wallpaper can turn the inside of a dresser into a boutique detail.
For a more authentic upgrade, try real wood veneer tape or sheets on flat faces. Veneer gives that “custom woodwork” vibe, especially when finished with a clear coat. The key is prep: clean, sand lightly, and use a smoothing tool to avoid bubbles. Seal edges and trim cleanly with a sharp blade for a crisp, professional line.
10) Finish With Details That Signal “Made-to-Order”
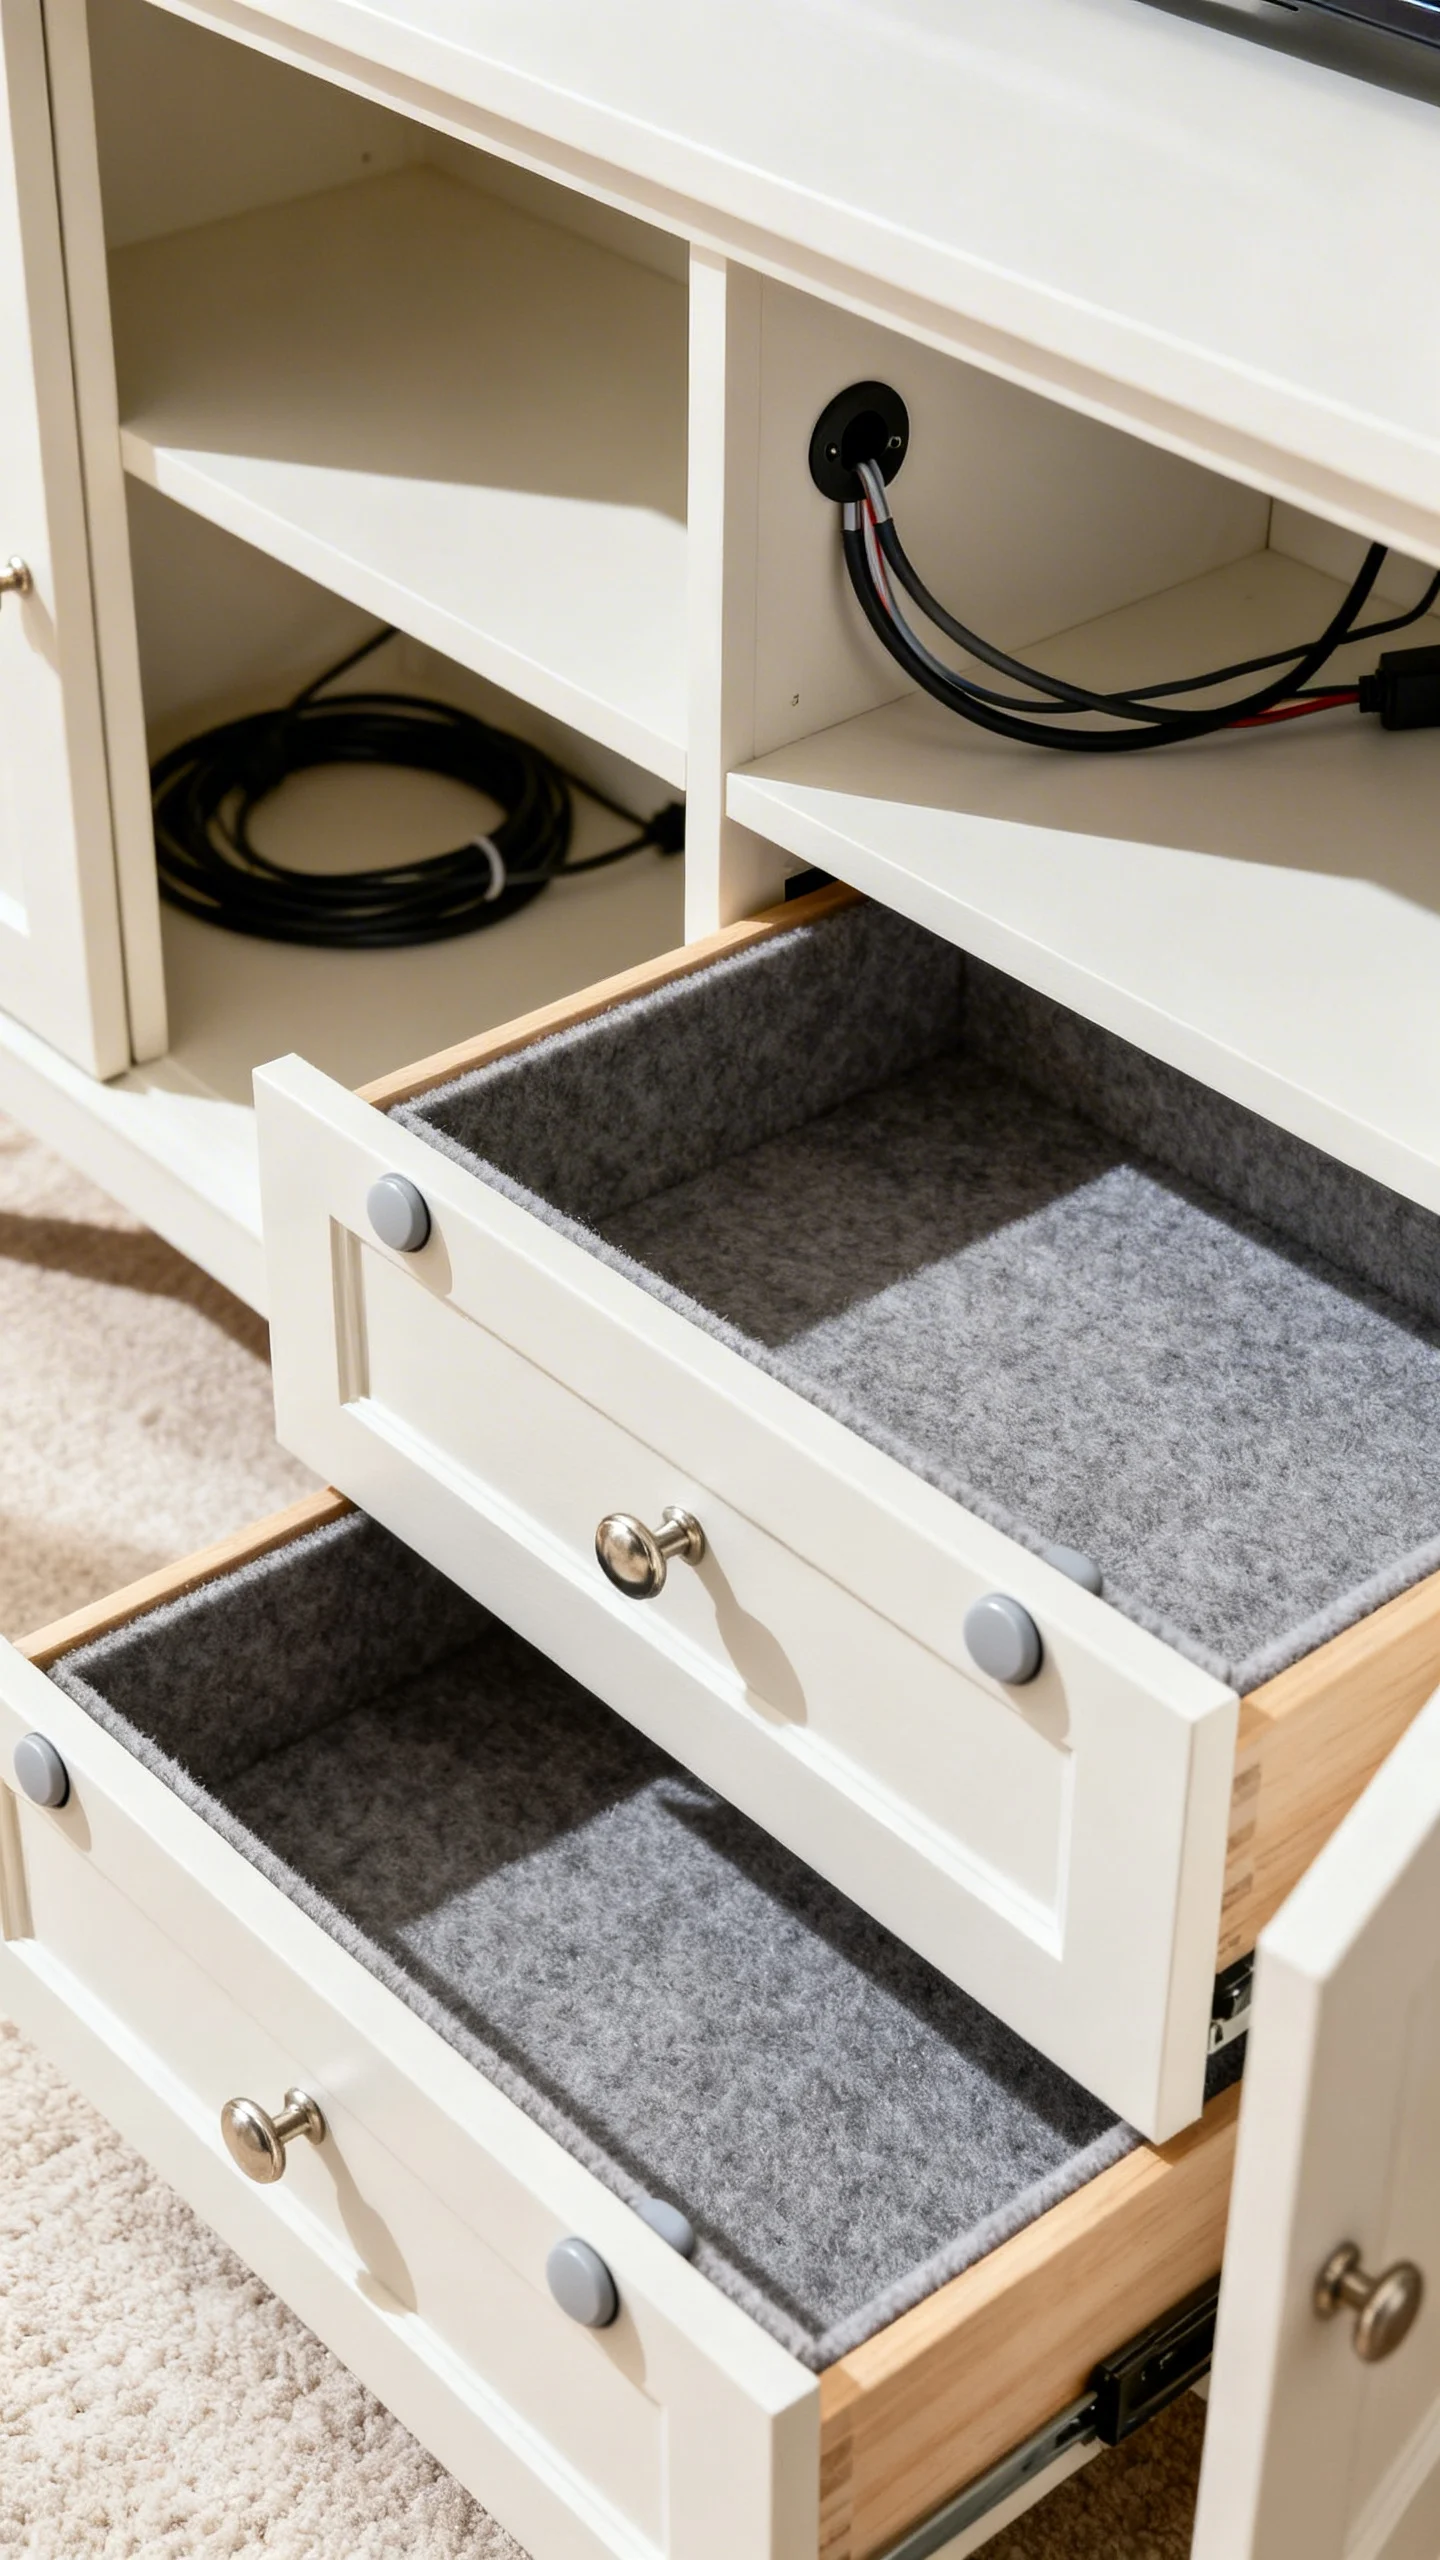
The final 10% is what makes the piece feel commissioned: aligned hardware, crisp edges, and clean interiors. Add felt liners to drawers, soft-close bumpers on doors, and cord-management grommets on media pieces (measure the grommet; common sizes are 2 and 2.5 inches). Touch up edges with a small artist brush so corners look sharp, not scuffed.
If you added trim, caulk tiny gaps before the final coat—this is a low-cost step that instantly looks high-end. Then step back and check symmetry: are pulls level, are panels centered, are feet aligned? Custom furniture looks calm and intentional because everything lines up.
FAQ
What’s the cheapest way to make furniture look custom?
Swap hardware (matching the existing hole spacing) and update the finish with the right primer and paint. If you can add one more upgrade, apply simple trim to drawer fronts for a paneled look.
Can I paint laminate furniture and have it last?
Yes, if you clean thoroughly, scuff-sand lightly, use a bonding primer, and apply a durable paint system. Let it cure fully before heavy use, and avoid harsh cleaners for the first couple of weeks.
Is it worth replacing drawer slides on a budget remodel?
If the piece is structurally solid, upgrading slides can be one of the most “custom-feeling” improvements. Just confirm clearances (many slides require 1/2 inch per side) and make sure drawer boxes are sturdy enough to support the new hardware.
How do I keep added trim from looking DIY?
Measure carefully for consistent spacing, use a level and guidelines, and fill/caulk gaps before your final coat. Clean miters and smooth paint are what make trim look like it came from a workshop, not a weekend project.
What finish sheen looks most high-end for remodeled furniture?
Matte to satin tends to look more custom than high gloss because it hides minor imperfections and feels modern. Satin is a practical choice for most pieces—it balances durability with a refined look.