

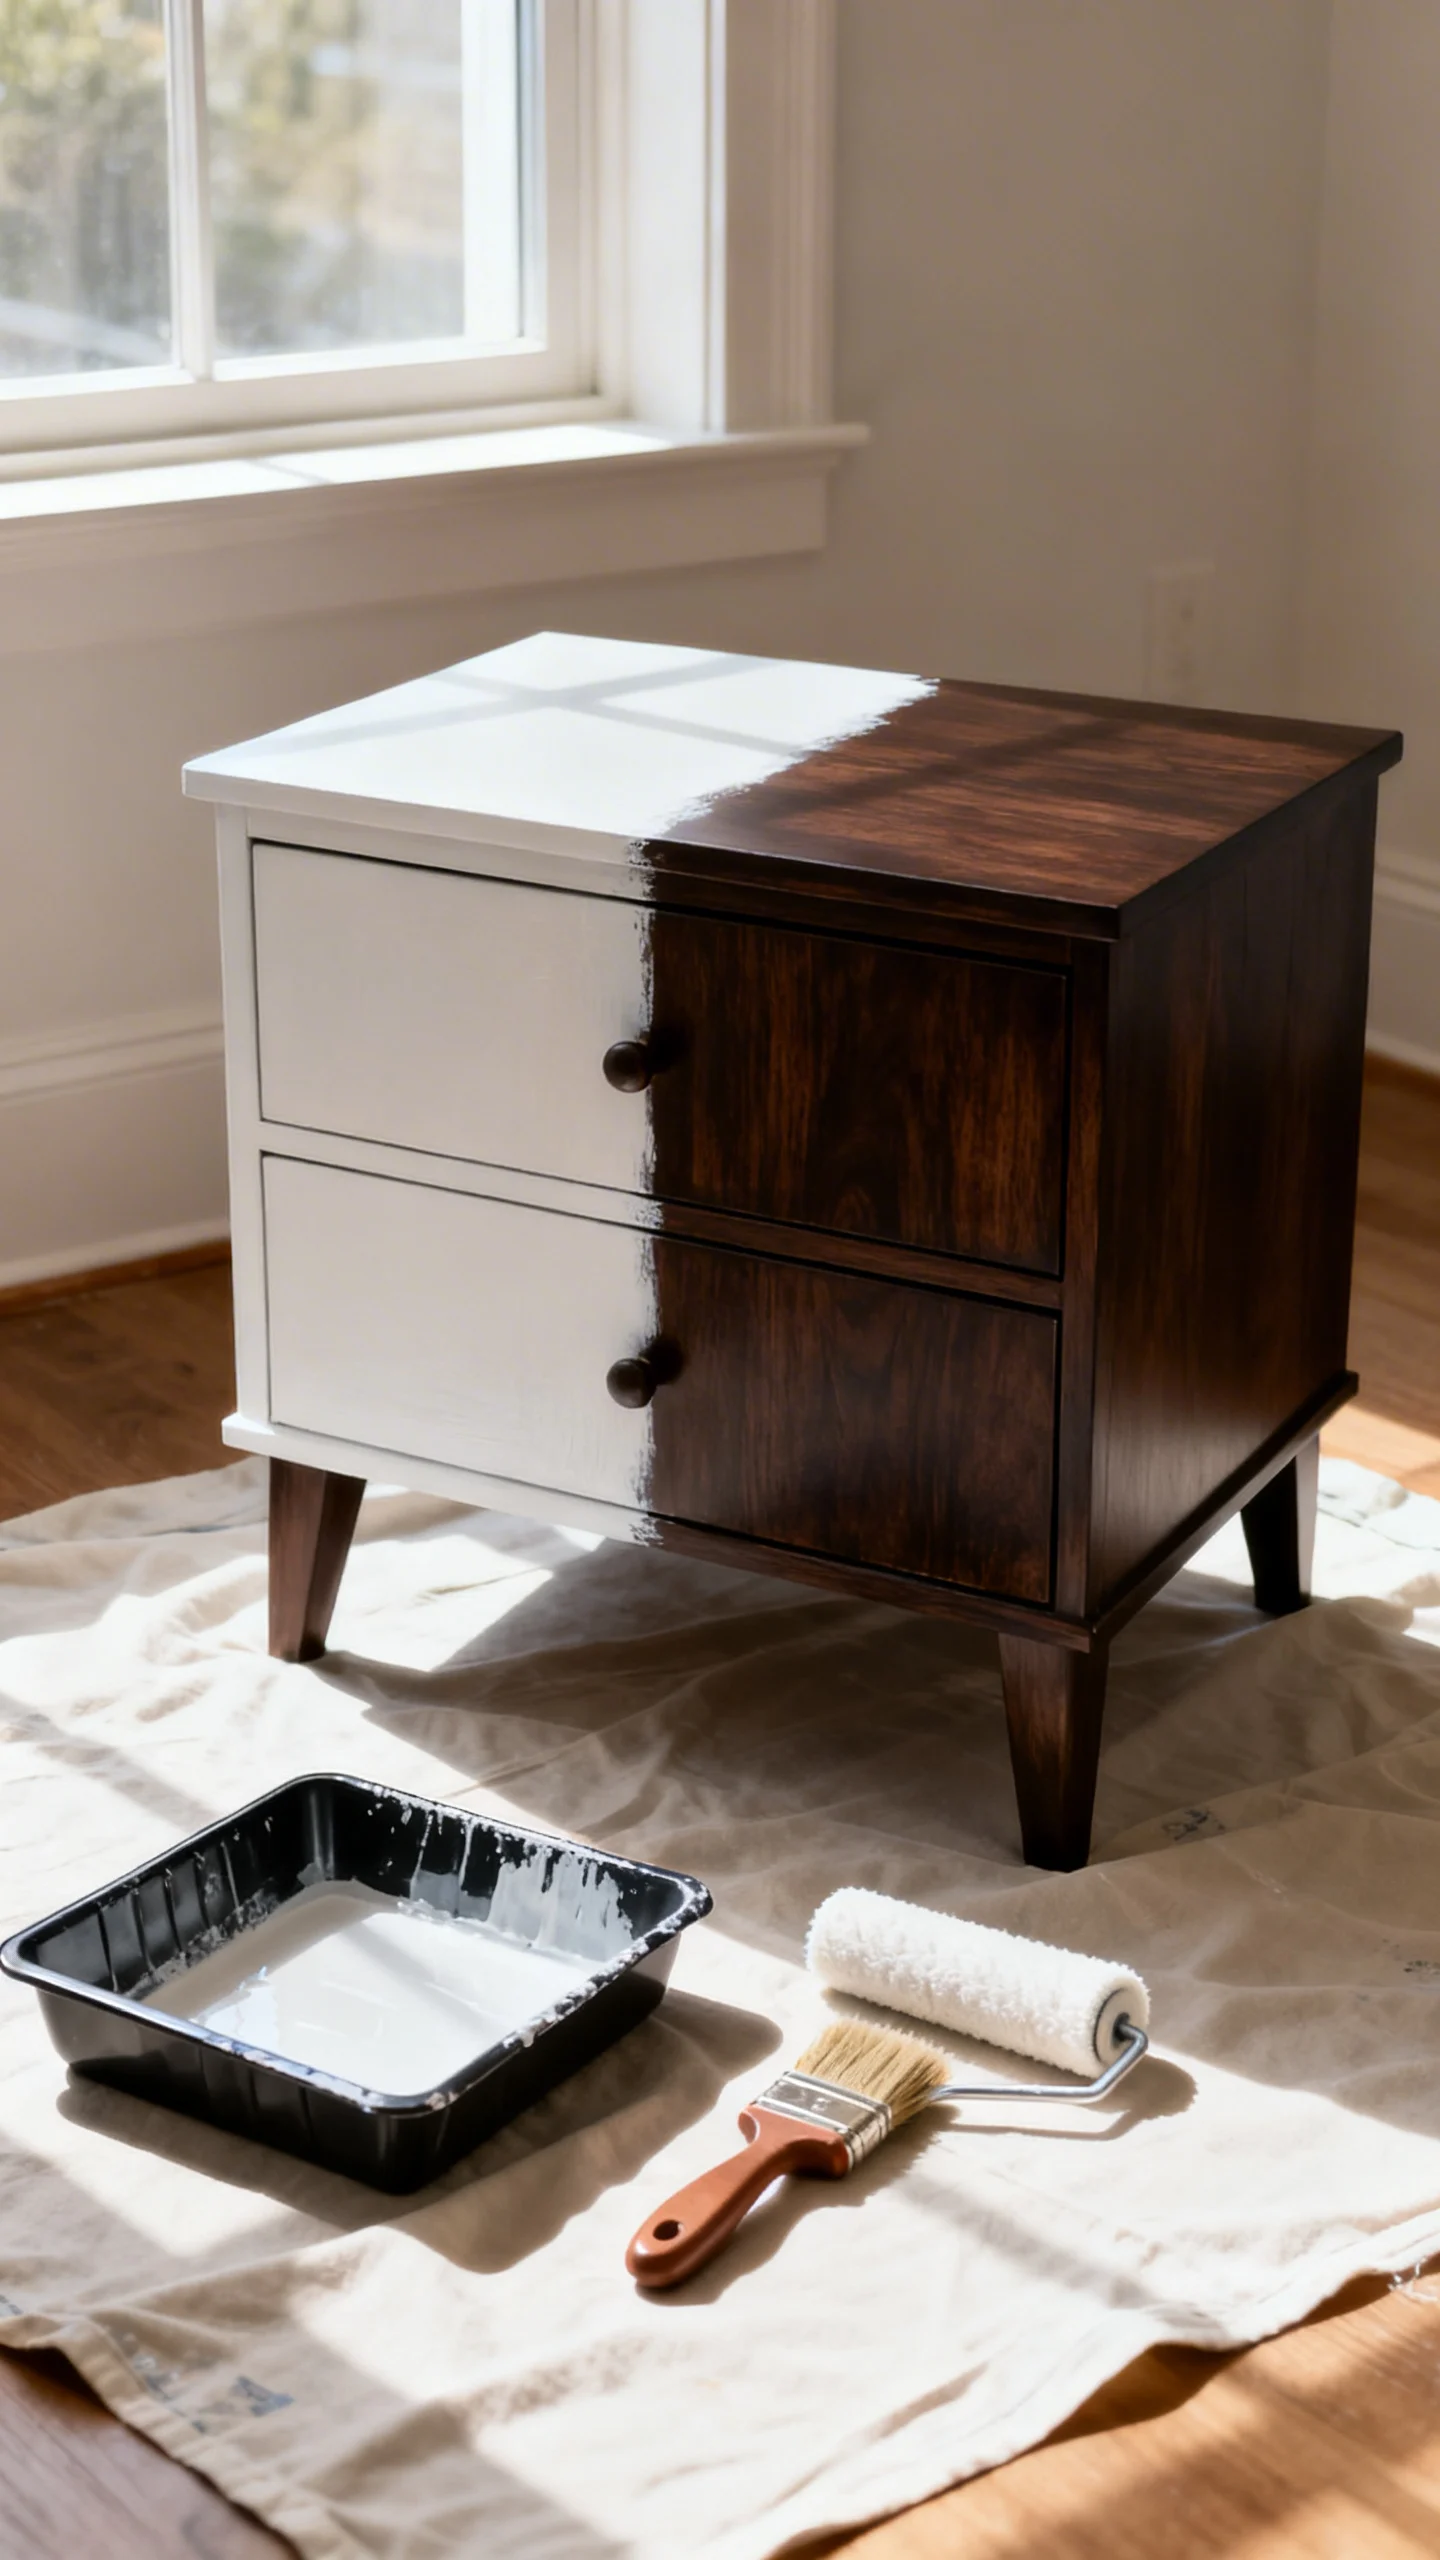
Easy Furniture Remodeling on a Budget Using Paint
Paint is the fastest, most budget-friendly way to remodel tired furniture without replacing it. With the right prep and a few smart techniques, you can make thrifted, outdated, or mismatched pieces look intentionally updated—often in a single weekend.
Below are 10 practical, paint-focused approaches that keep costs low while dramatically improving the finish, durability, and overall “new furniture” feel.
1) Start With a Quick Condition Check (So Paint Actually Lasts)
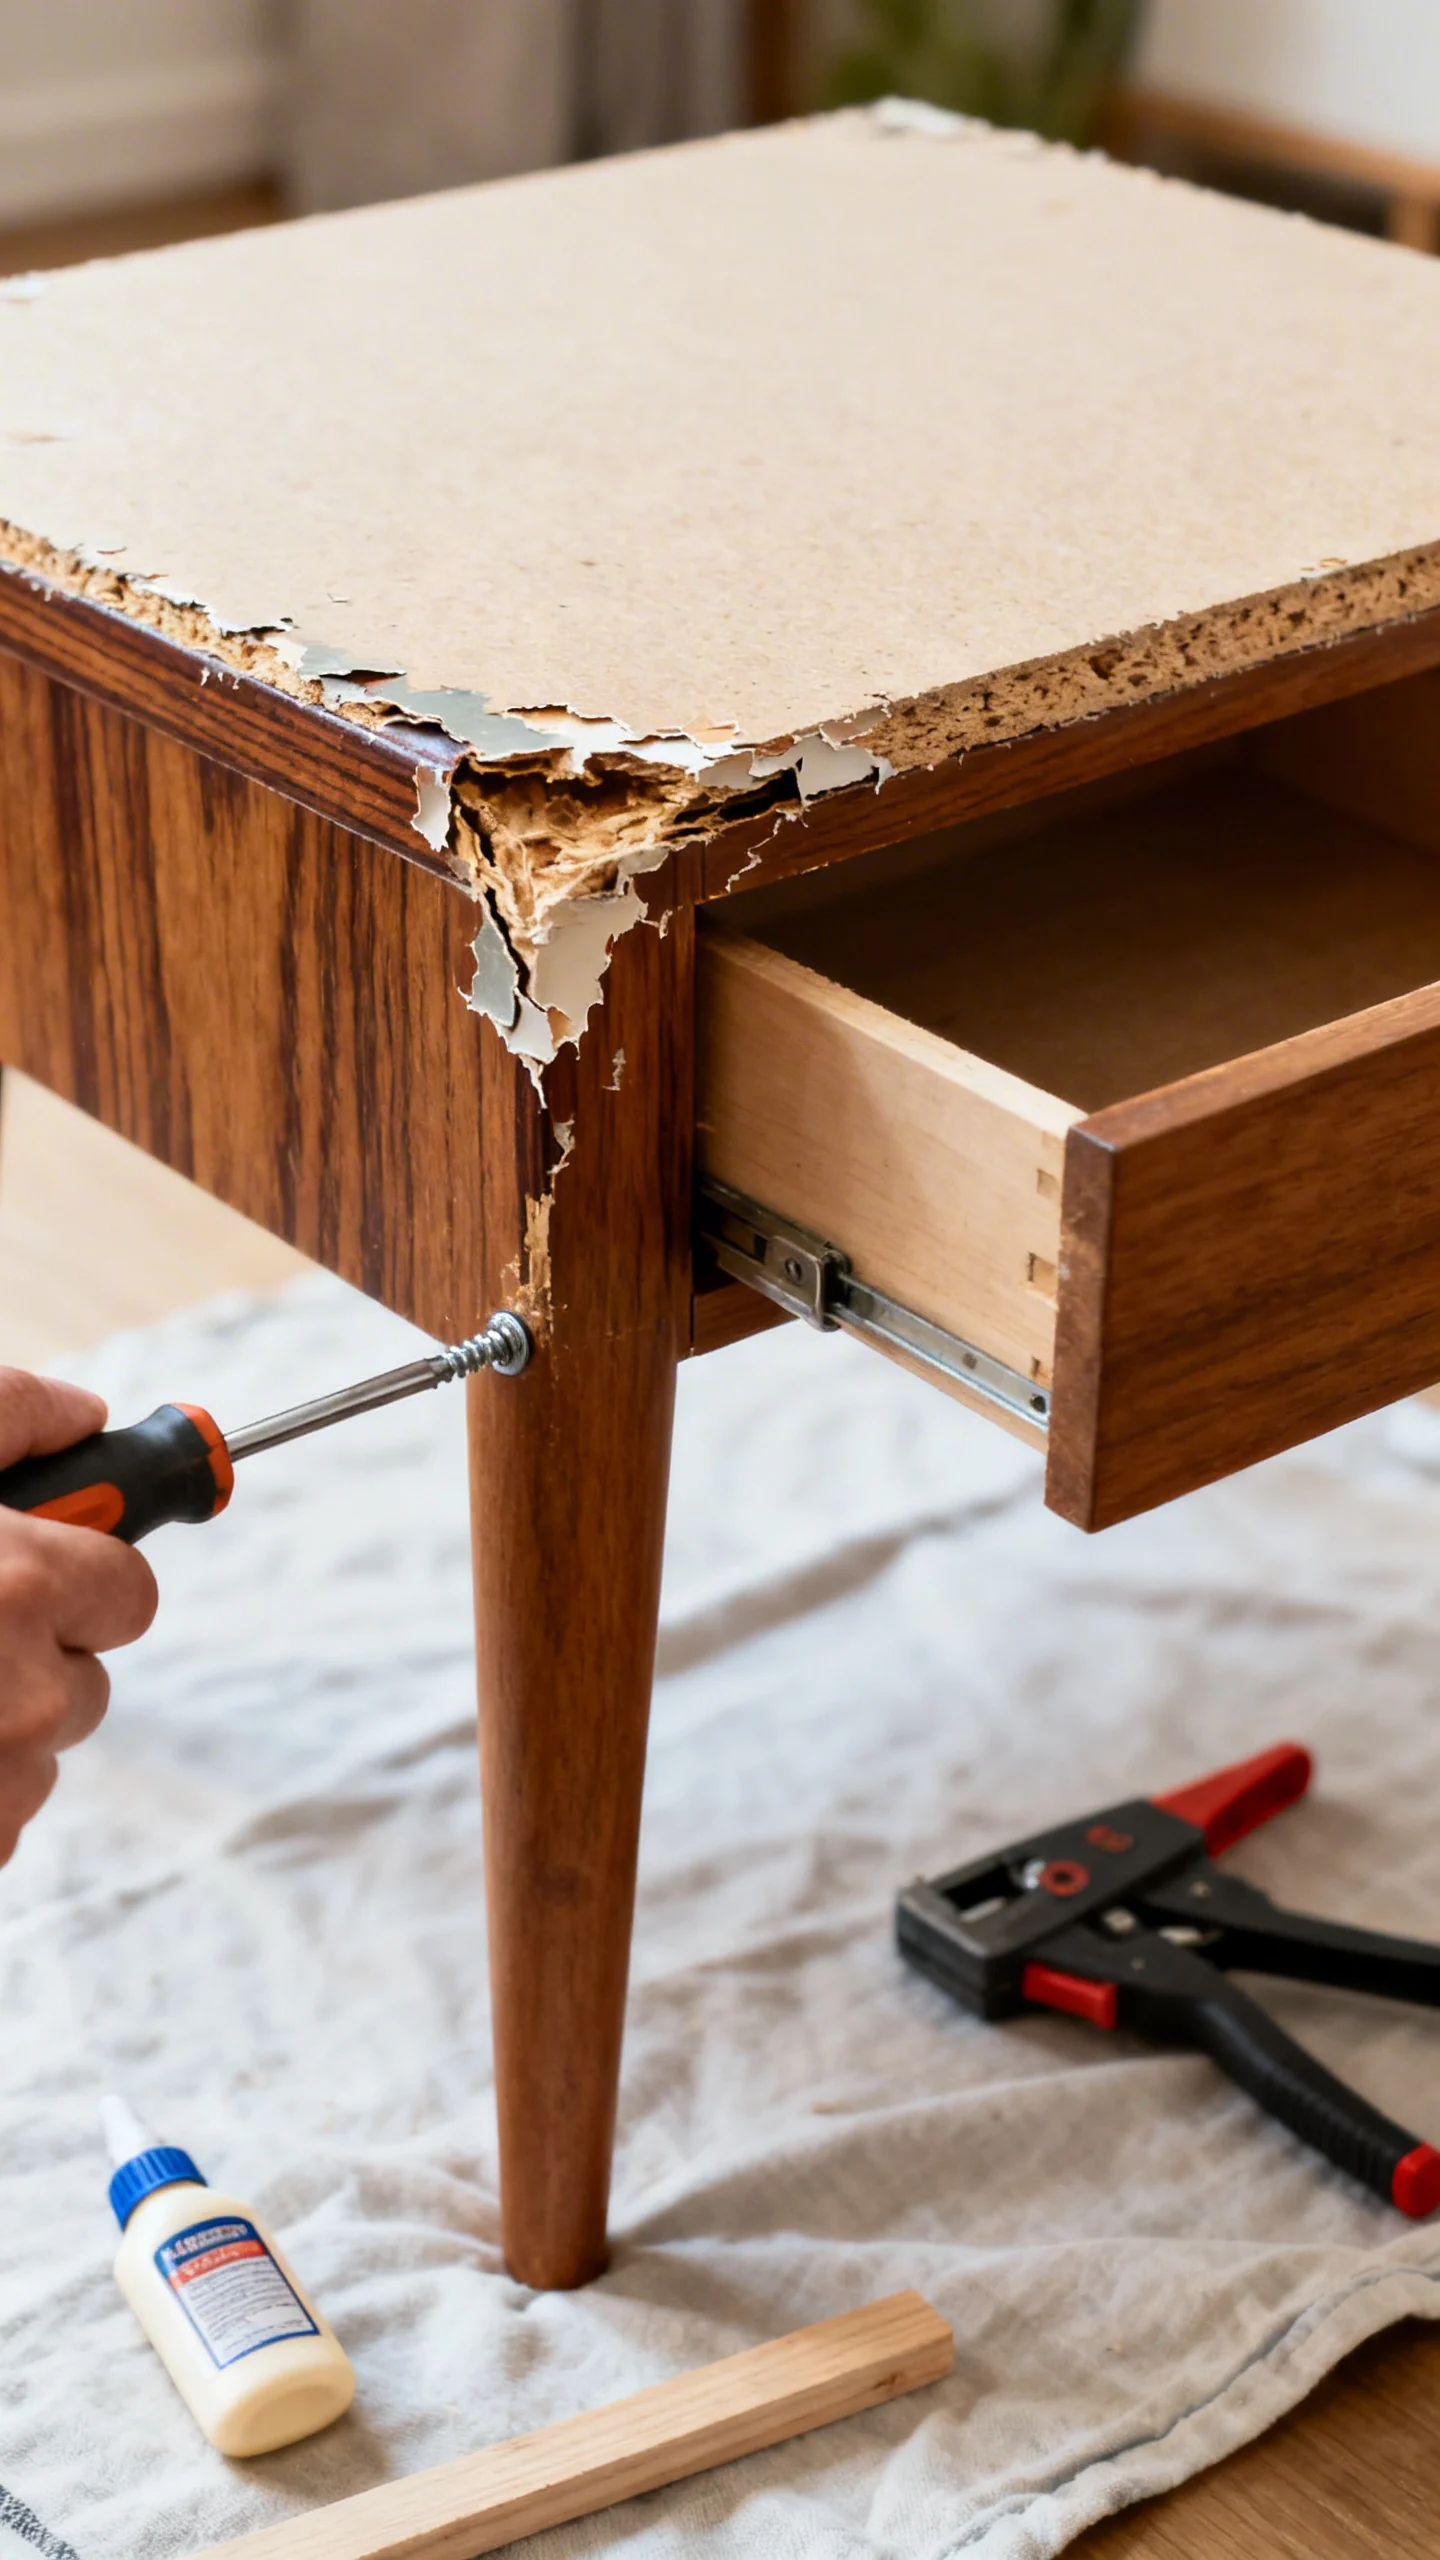
Before buying paint, do a two-minute assessment that prevents peeling and wasted supplies. Tighten loose hardware, check for wobble, and look for swollen particleboard, oily residues, or flaking old finish.
Budget-friendly fixes: Fill small chips and dents with lightweight spackle or wood filler (let dry, then sand). For loose joints, wood glue plus clamps (or heavy books) can stabilize a chair or side table overnight. If a piece is structurally failing—like crumbling particleboard around screw holes—paint won’t solve it, so focus your budget on a sturdier candidate.
2) Clean Like You Mean It: Degrease Before You Sand
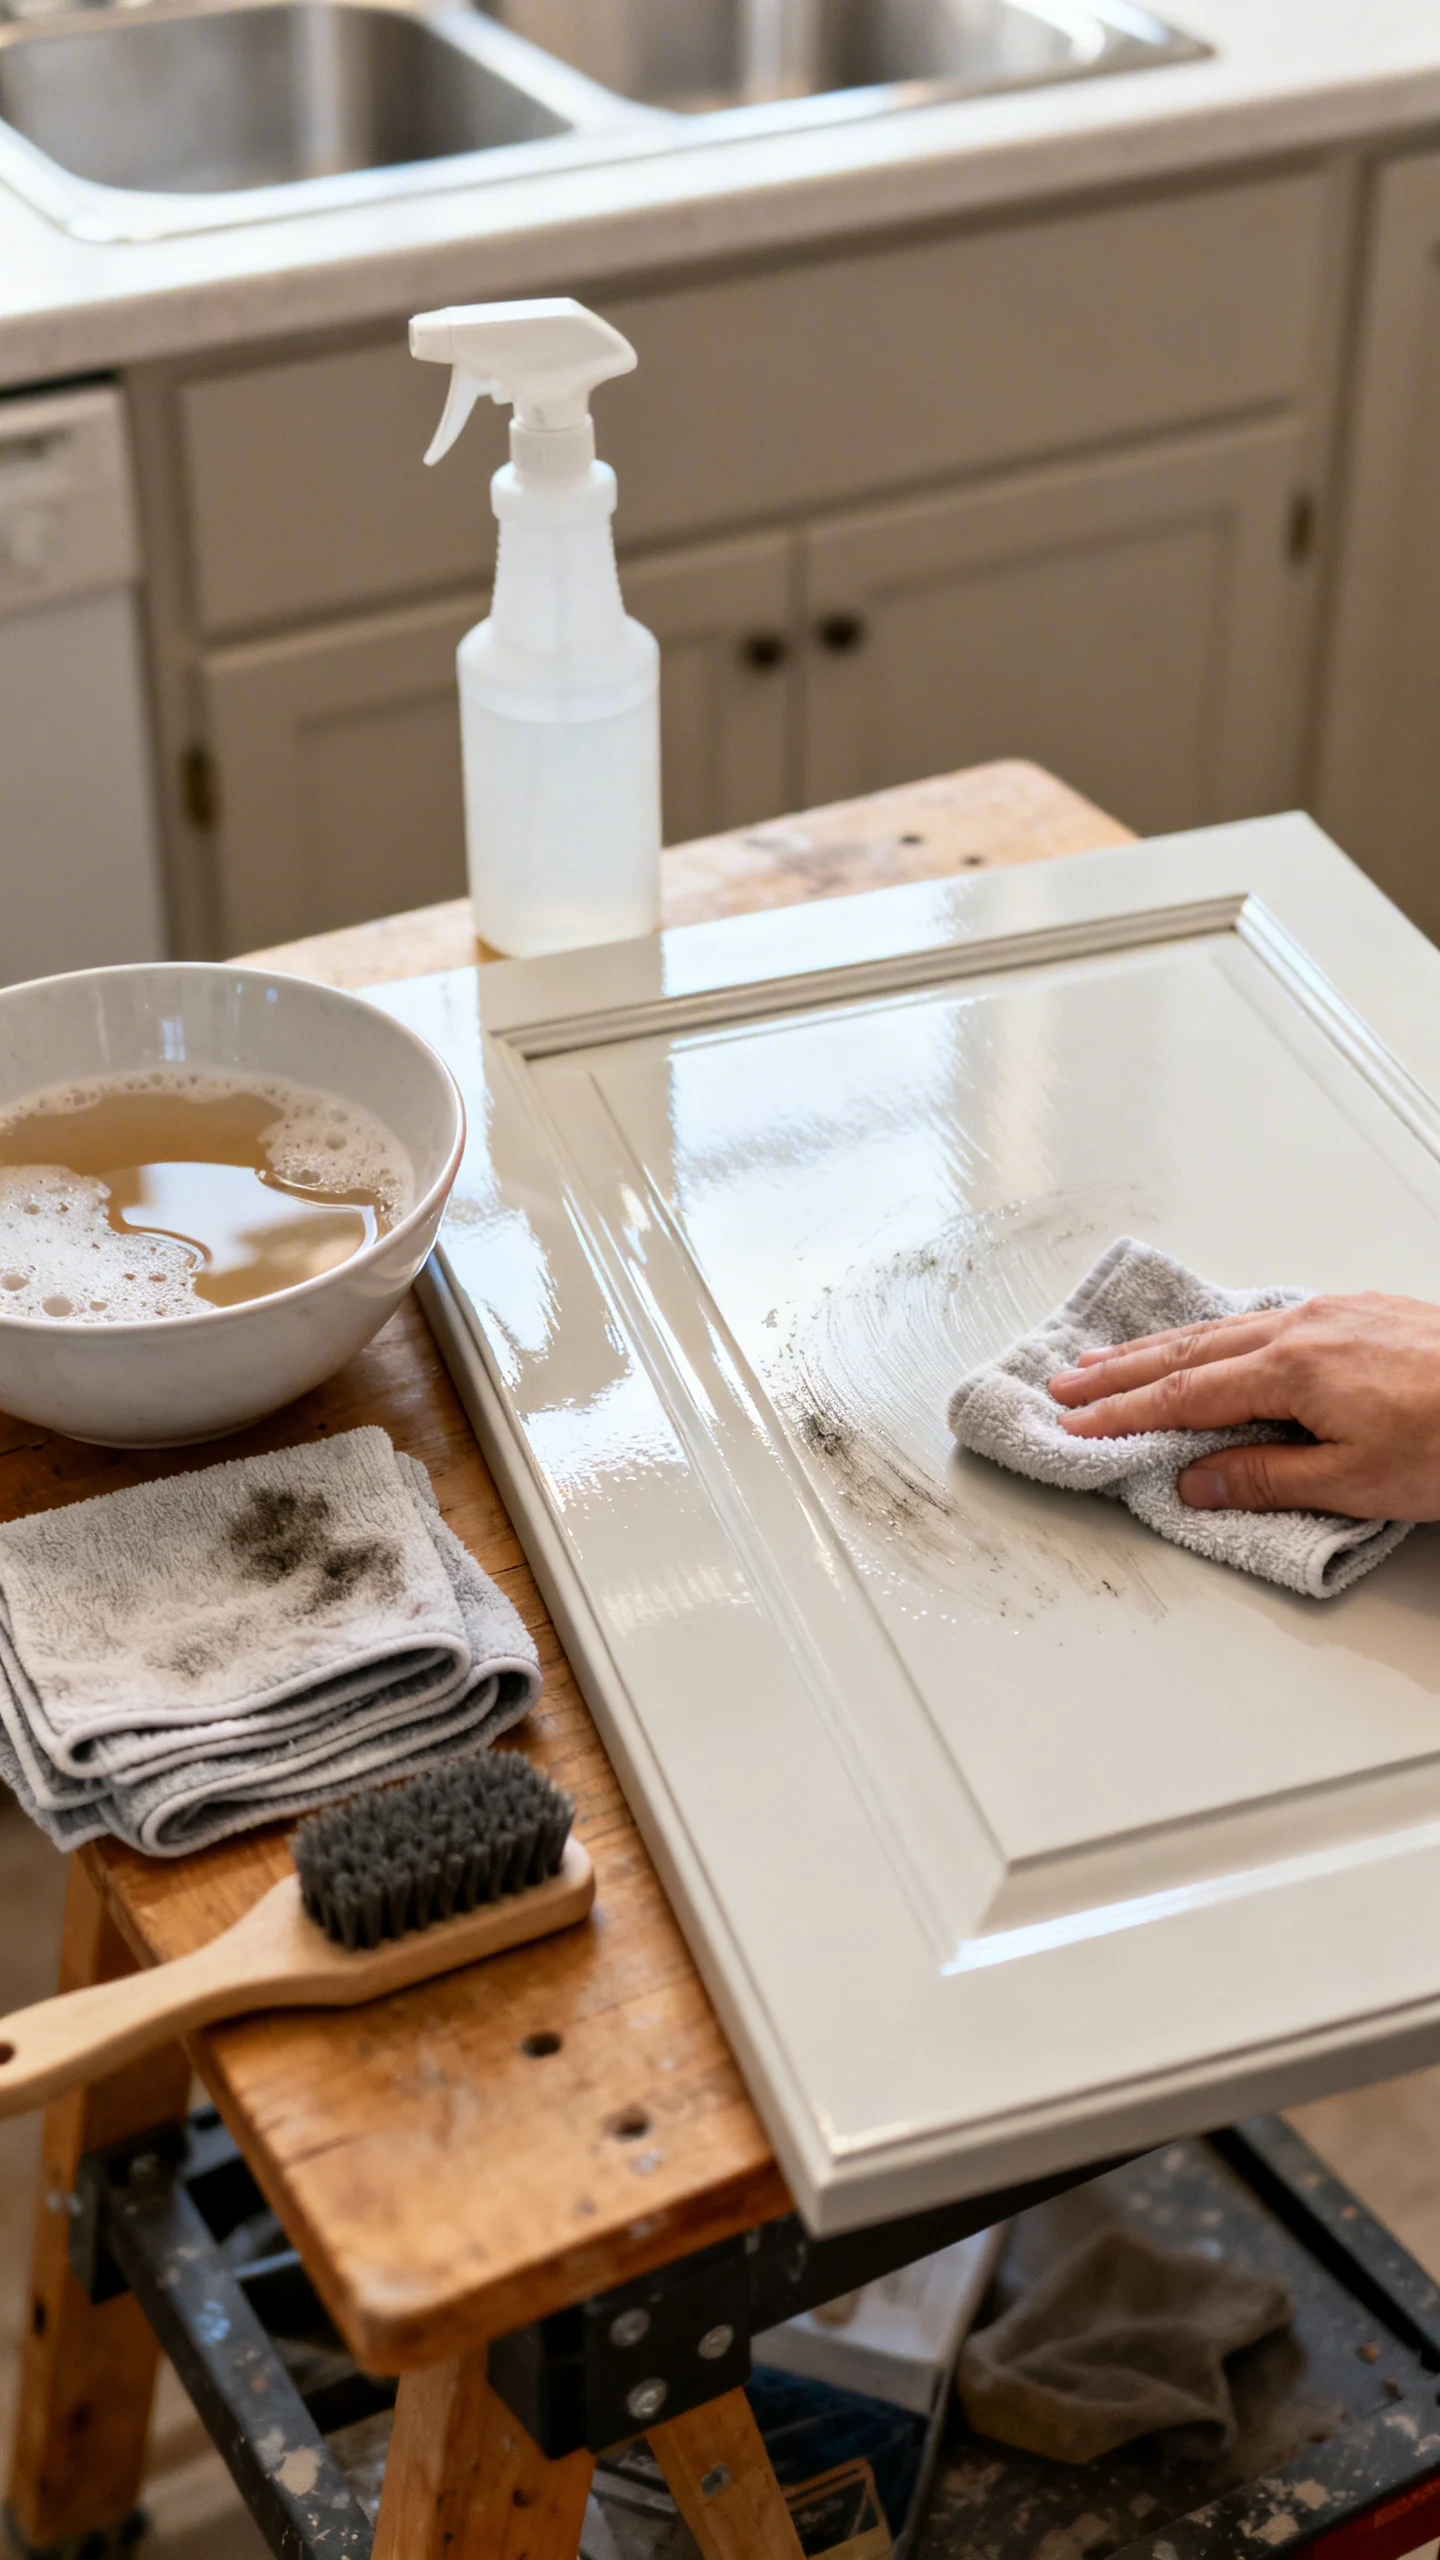
Most paint failures happen because grime, wax, or kitchen grease blocks adhesion. Wash furniture with warm water and a degreasing cleaner (dish soap works for light soil; a stronger degreaser is better for kitchen pieces). Rinse with clean water and let it dry completely.
Tip: Pay extra attention to drawer pulls, edges, and anywhere hands touch. If you suspect furniture polish or wax buildup, wipe down with mineral spirits (in a ventilated area) before sanding.
3) Sand Smarter, Not Harder (Use the Right Grit)
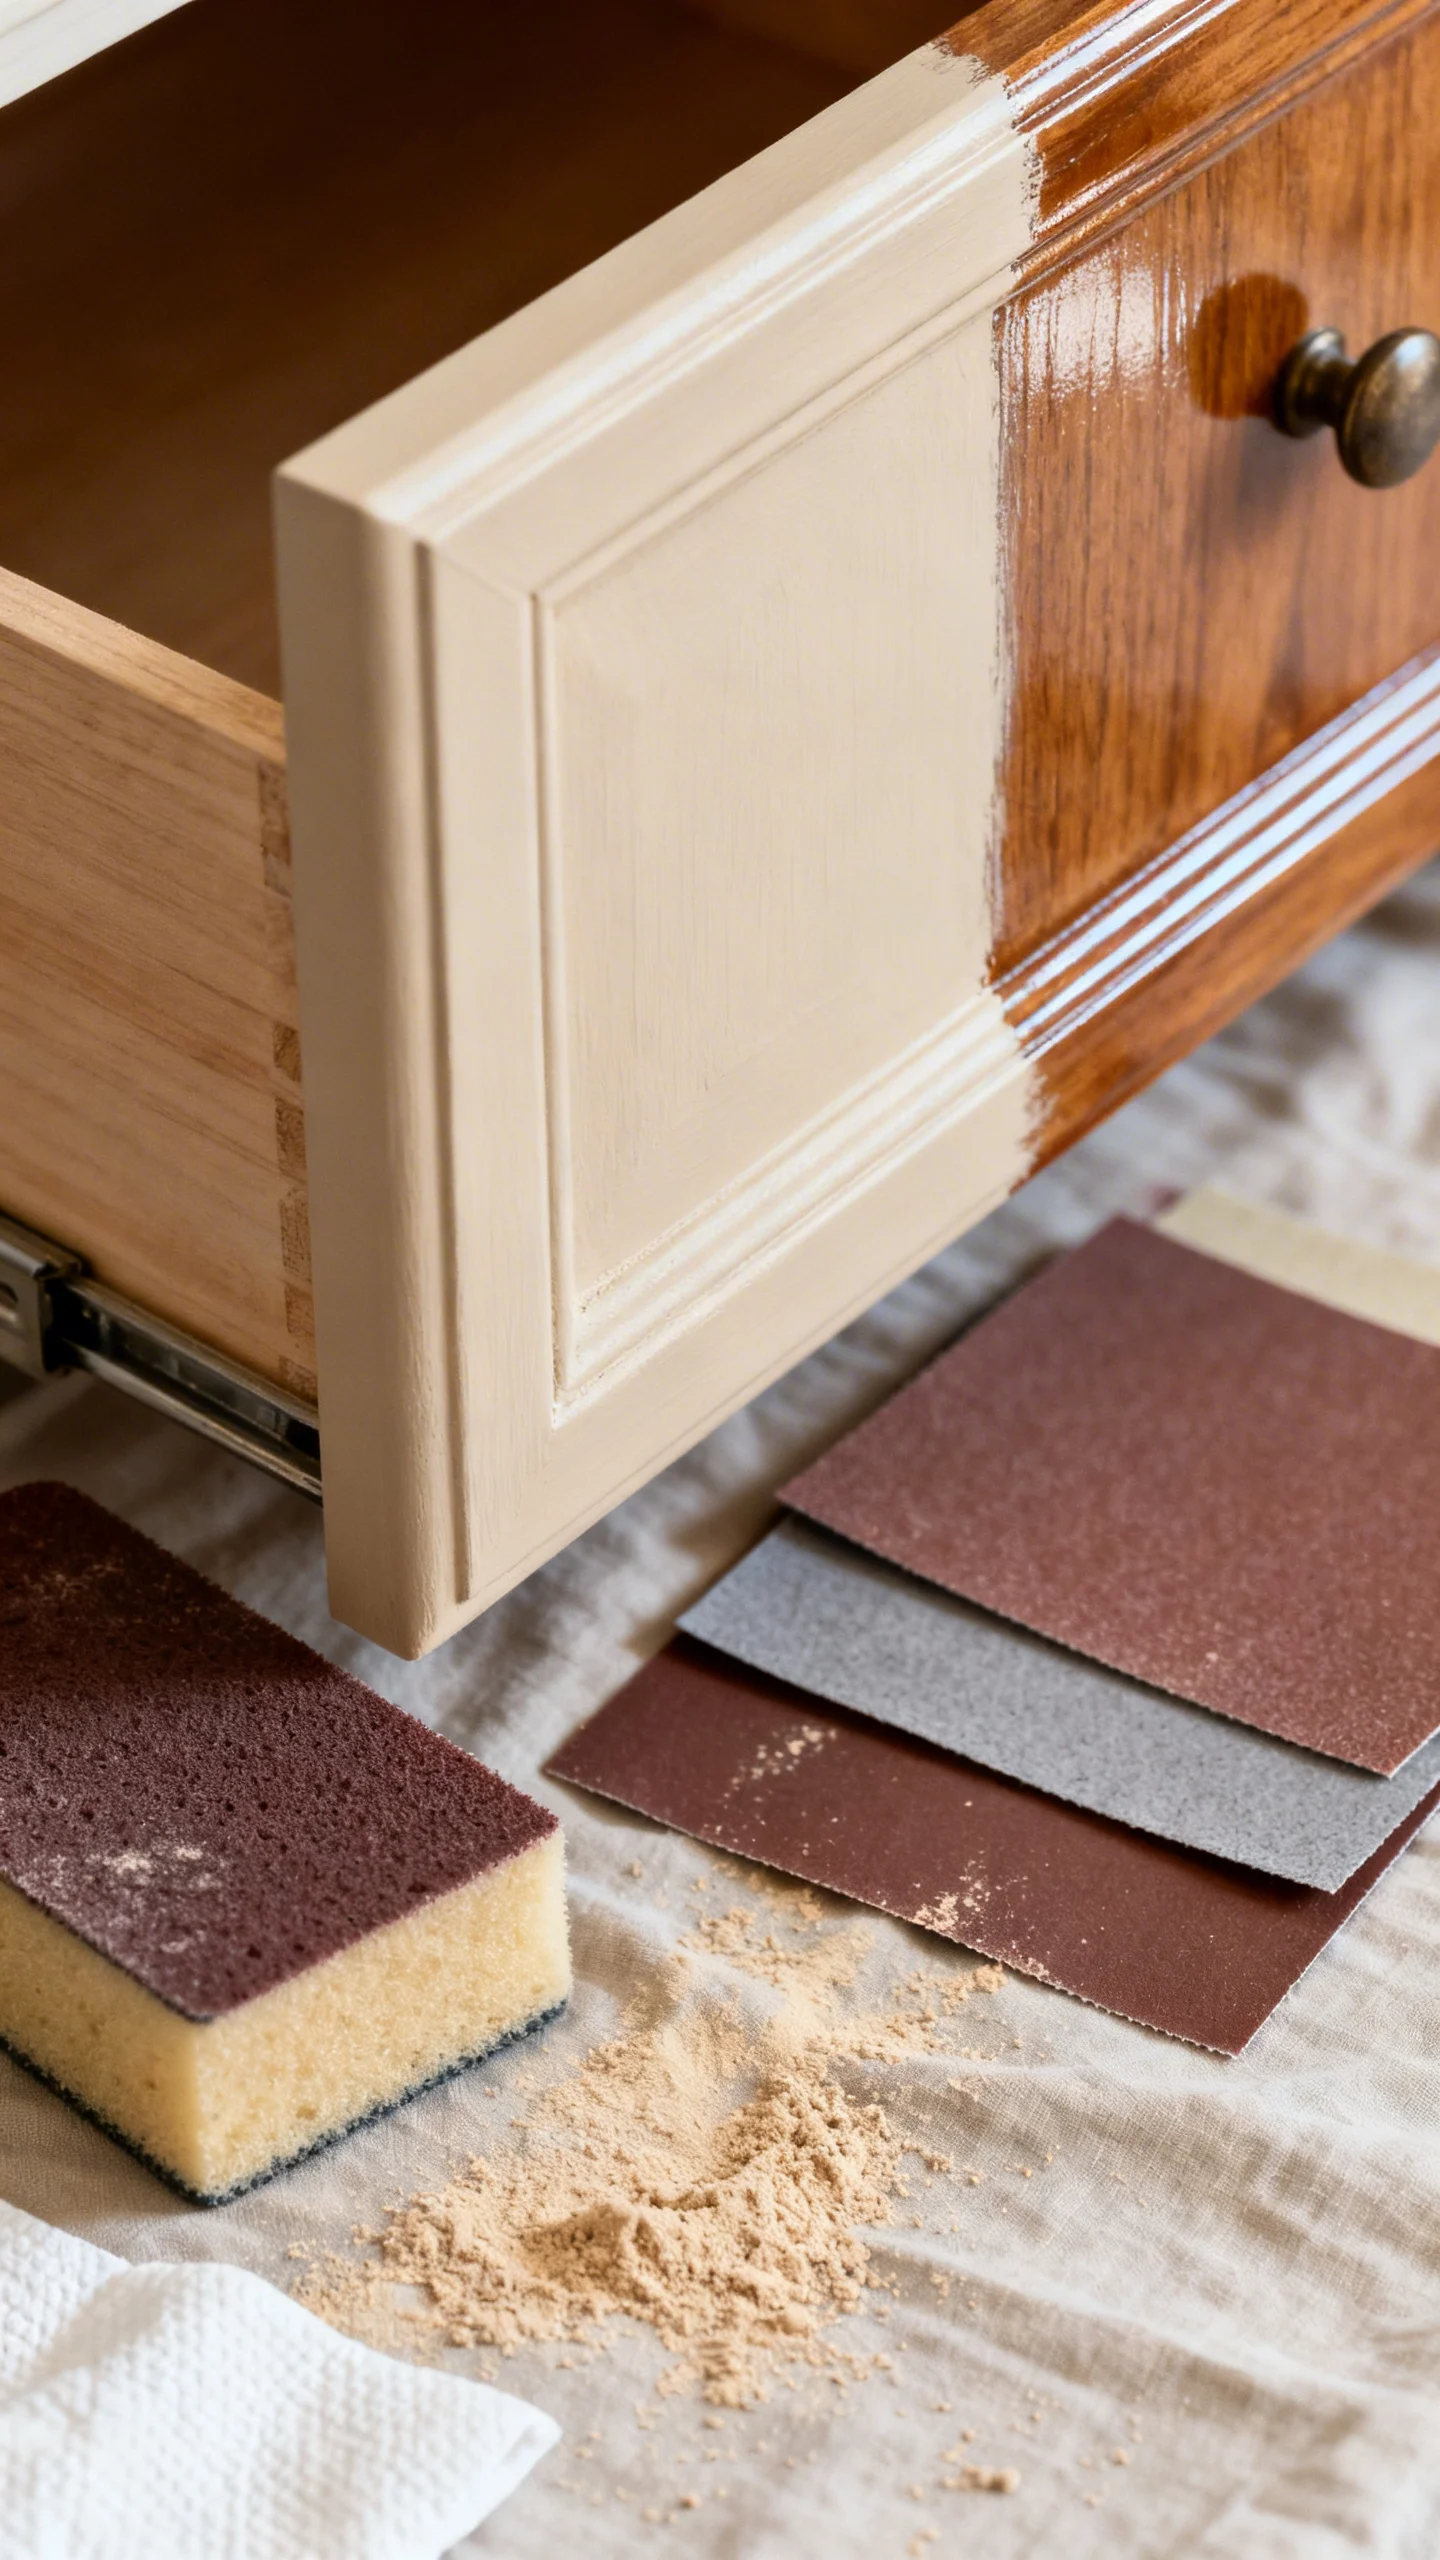
You don’t always need to sand down to bare wood—especially on a budget. Your goal is to scuff the surface so primer or paint can grip.
Simple grit guide: Use 120–150 grit to knock down glossy finishes and level small rough spots. Switch to 180–220 grit to smooth before painting. For curvy details, a sanding sponge is inexpensive and faster than folded paper.
Budget saver: After sanding, vacuum dust and wipe with a damp cloth (or a tack cloth if you have one). Dust left behind equals gritty paint, which often leads to extra coats.
4) Choose the Cheapest “Right Paint” for the Surface
Picking the correct paint type is more important than picking the most expensive brand. Match paint to how the furniture is used.
Best budget options:
Water-based acrylic enamel (often labeled cabinet/trim paint): great durability for dressers, tables, and cabinets. Typically costs more than wall paint but saves money by resisting chips.
Chalk-style paint: beginner-friendly with minimal prep, but it usually needs a protective topcoat on high-touch surfaces. Good for low-traffic pieces if you want a matte look.
Spray paint: ideal for metal, rattan, and detailed carvings. More expensive per square foot, but it can be cost-effective for small pieces and saves time on intricate shapes.
Avoid: Standard interior wall paint for tabletops, chairs, and drawers. It’s not designed for abrasion and can feel “draggy” or mark easily.
5) Don’t Skip Primer—Use It Strategically to Save Coats
Primer can feel like an “extra,” but it often reduces the number of paint coats you need, especially when changing from dark to light or painting over glossy laminate.
Which primer when:
Bonding primer for laminate, slick finishes, and previously varnished surfaces.
Stain-blocking primer for knots, water stains, and tannin-heavy woods (like oak) that can yellow through paint.
Budget technique: Spot-prime only where needed—knots, repairs, stains, and slick areas—then do one thin overall coat if coverage looks uneven. Let primer dry fully per label; rushing is a common cause of peeling.
6) Use a Mini Foam Roller + Brush Combo for a Pro Finish
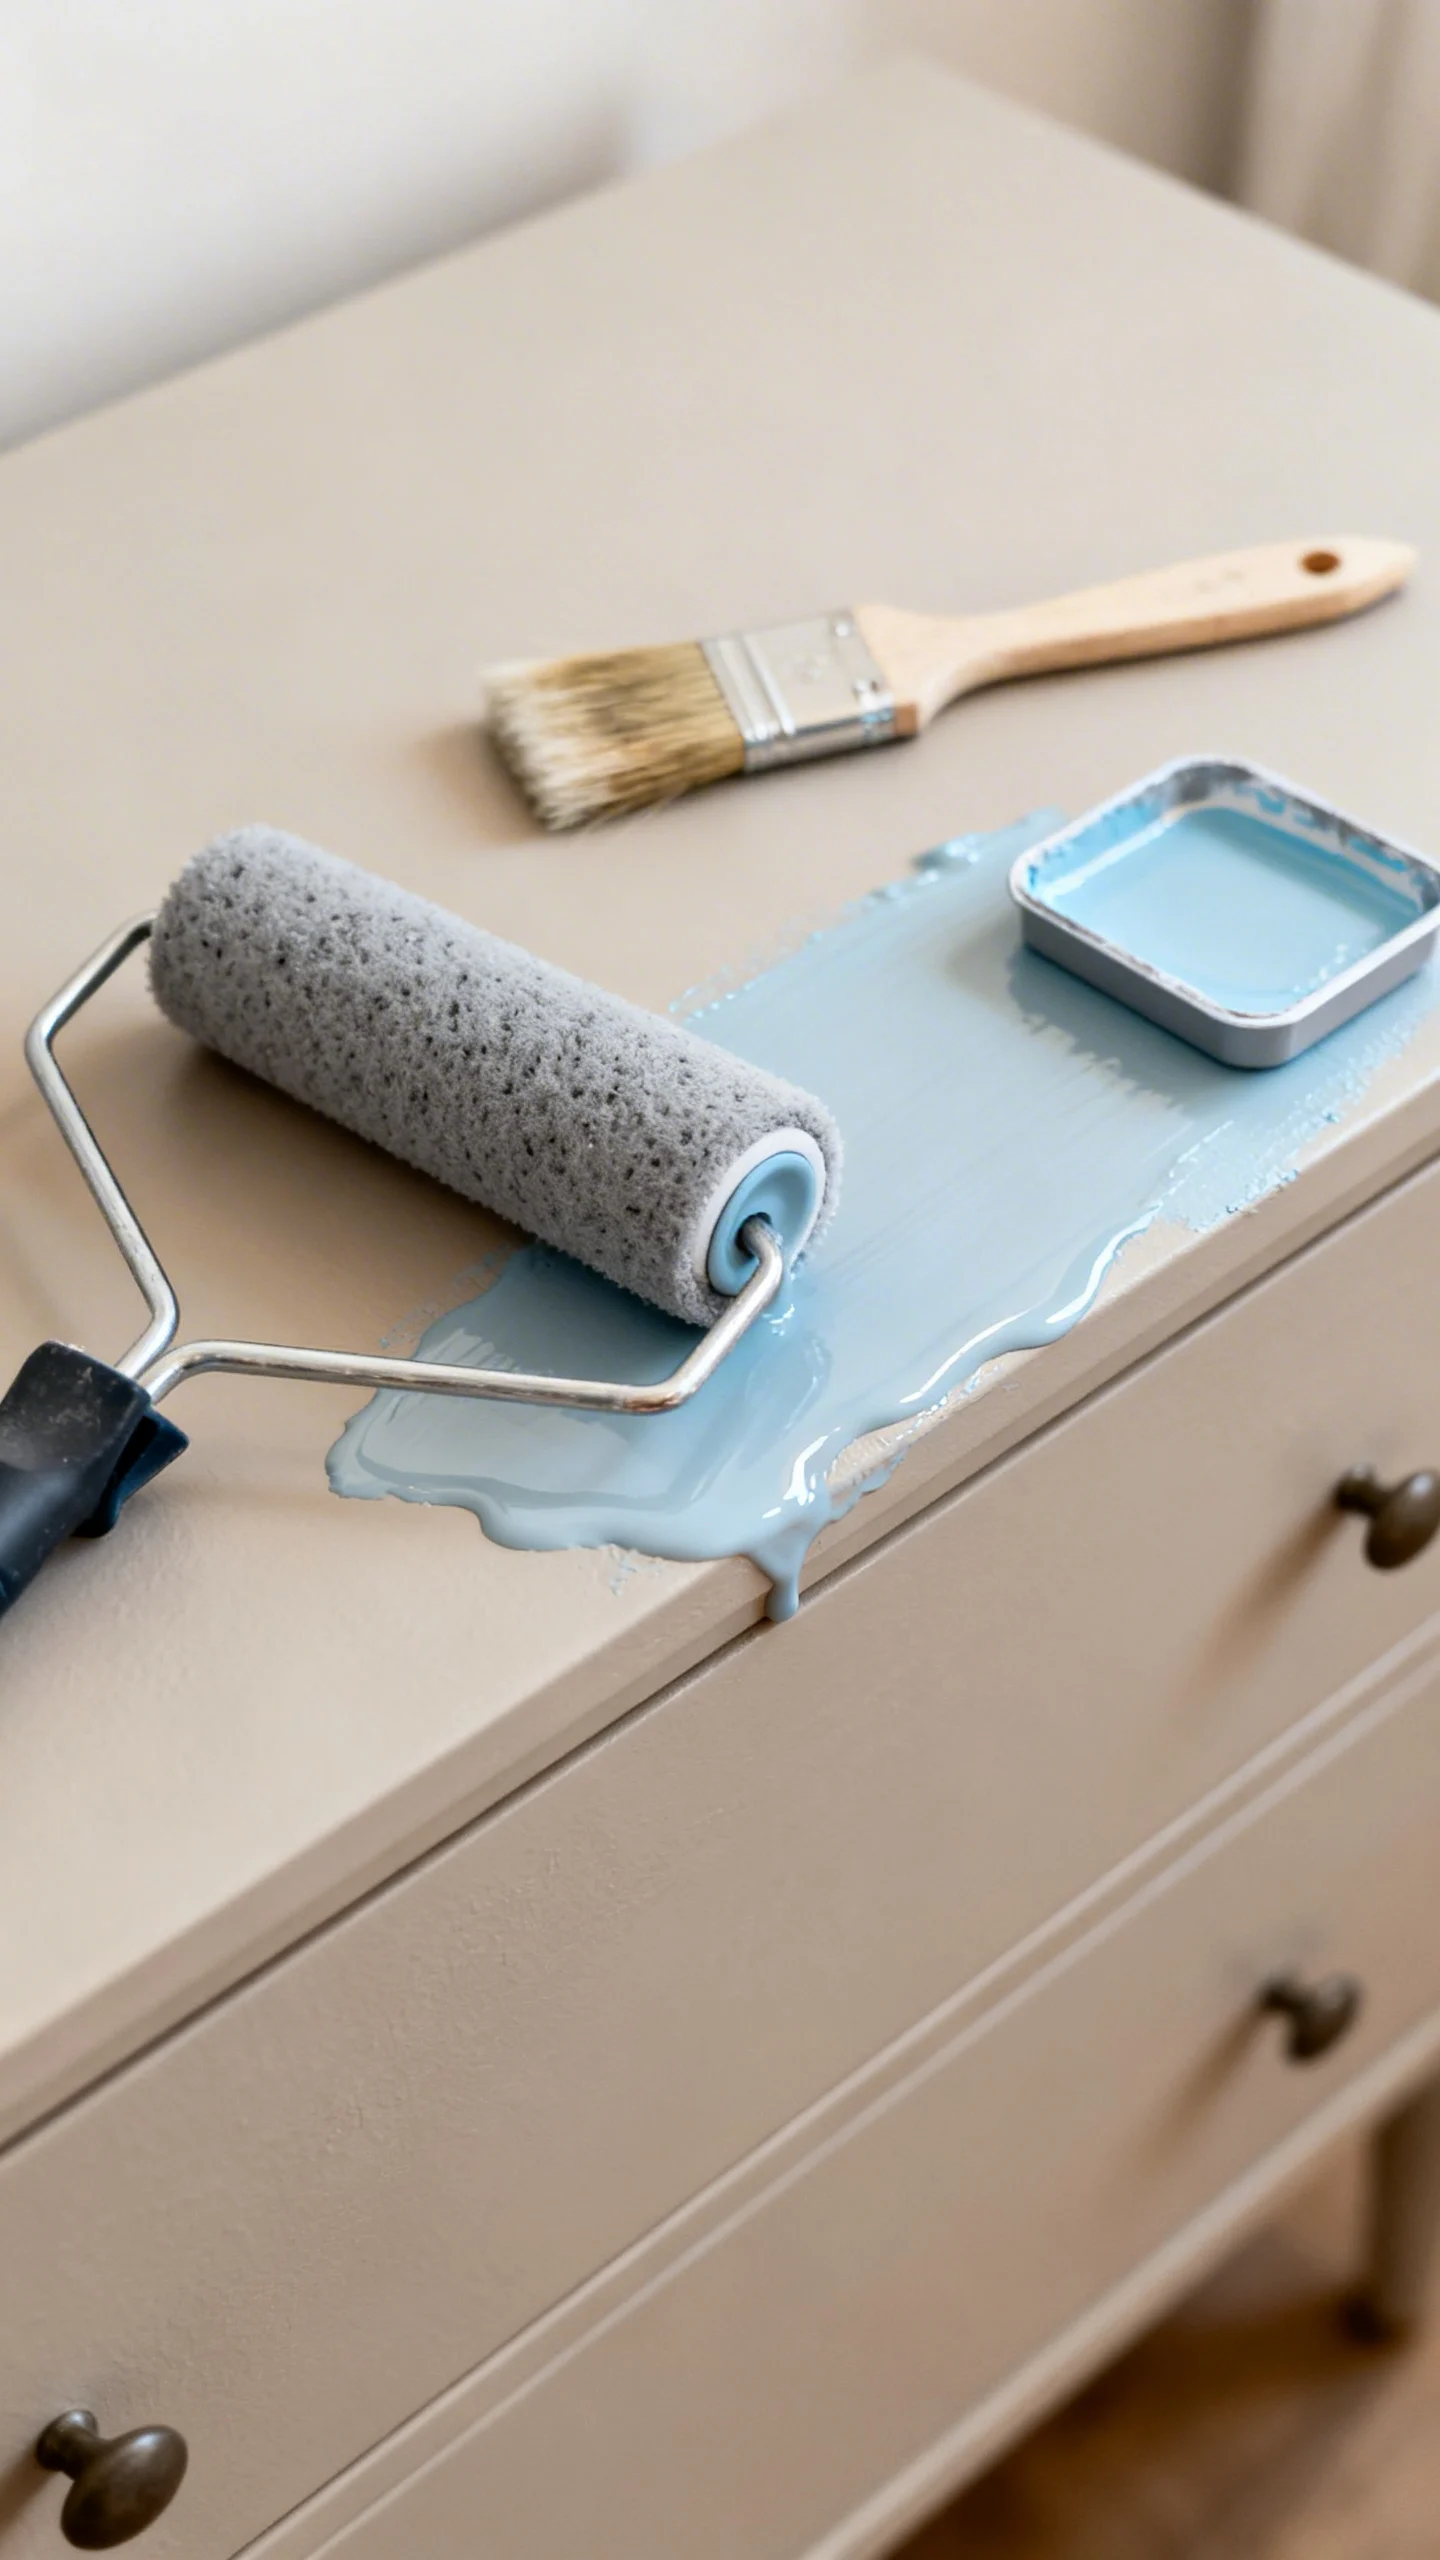
A small toolkit can deliver a smooth finish without a sprayer. For flat areas, a 4-inch mini foam roller lays down paint evenly. Use an angled synthetic brush for corners, edges, and details.
How to prevent brush marks: Load the brush lightly, keep a wet edge, and don’t overwork drying paint. Roll first, then “tip off” lightly with the brush in one direction if needed.
Budget win: This combo reduces texture, which can cut down on sanding between coats—and sanding between coats is where DIY timelines (and patience) often blow up.
7) Apply Thin Coats and Respect Dry Times (It’s Cheaper Than Fixing Drips)
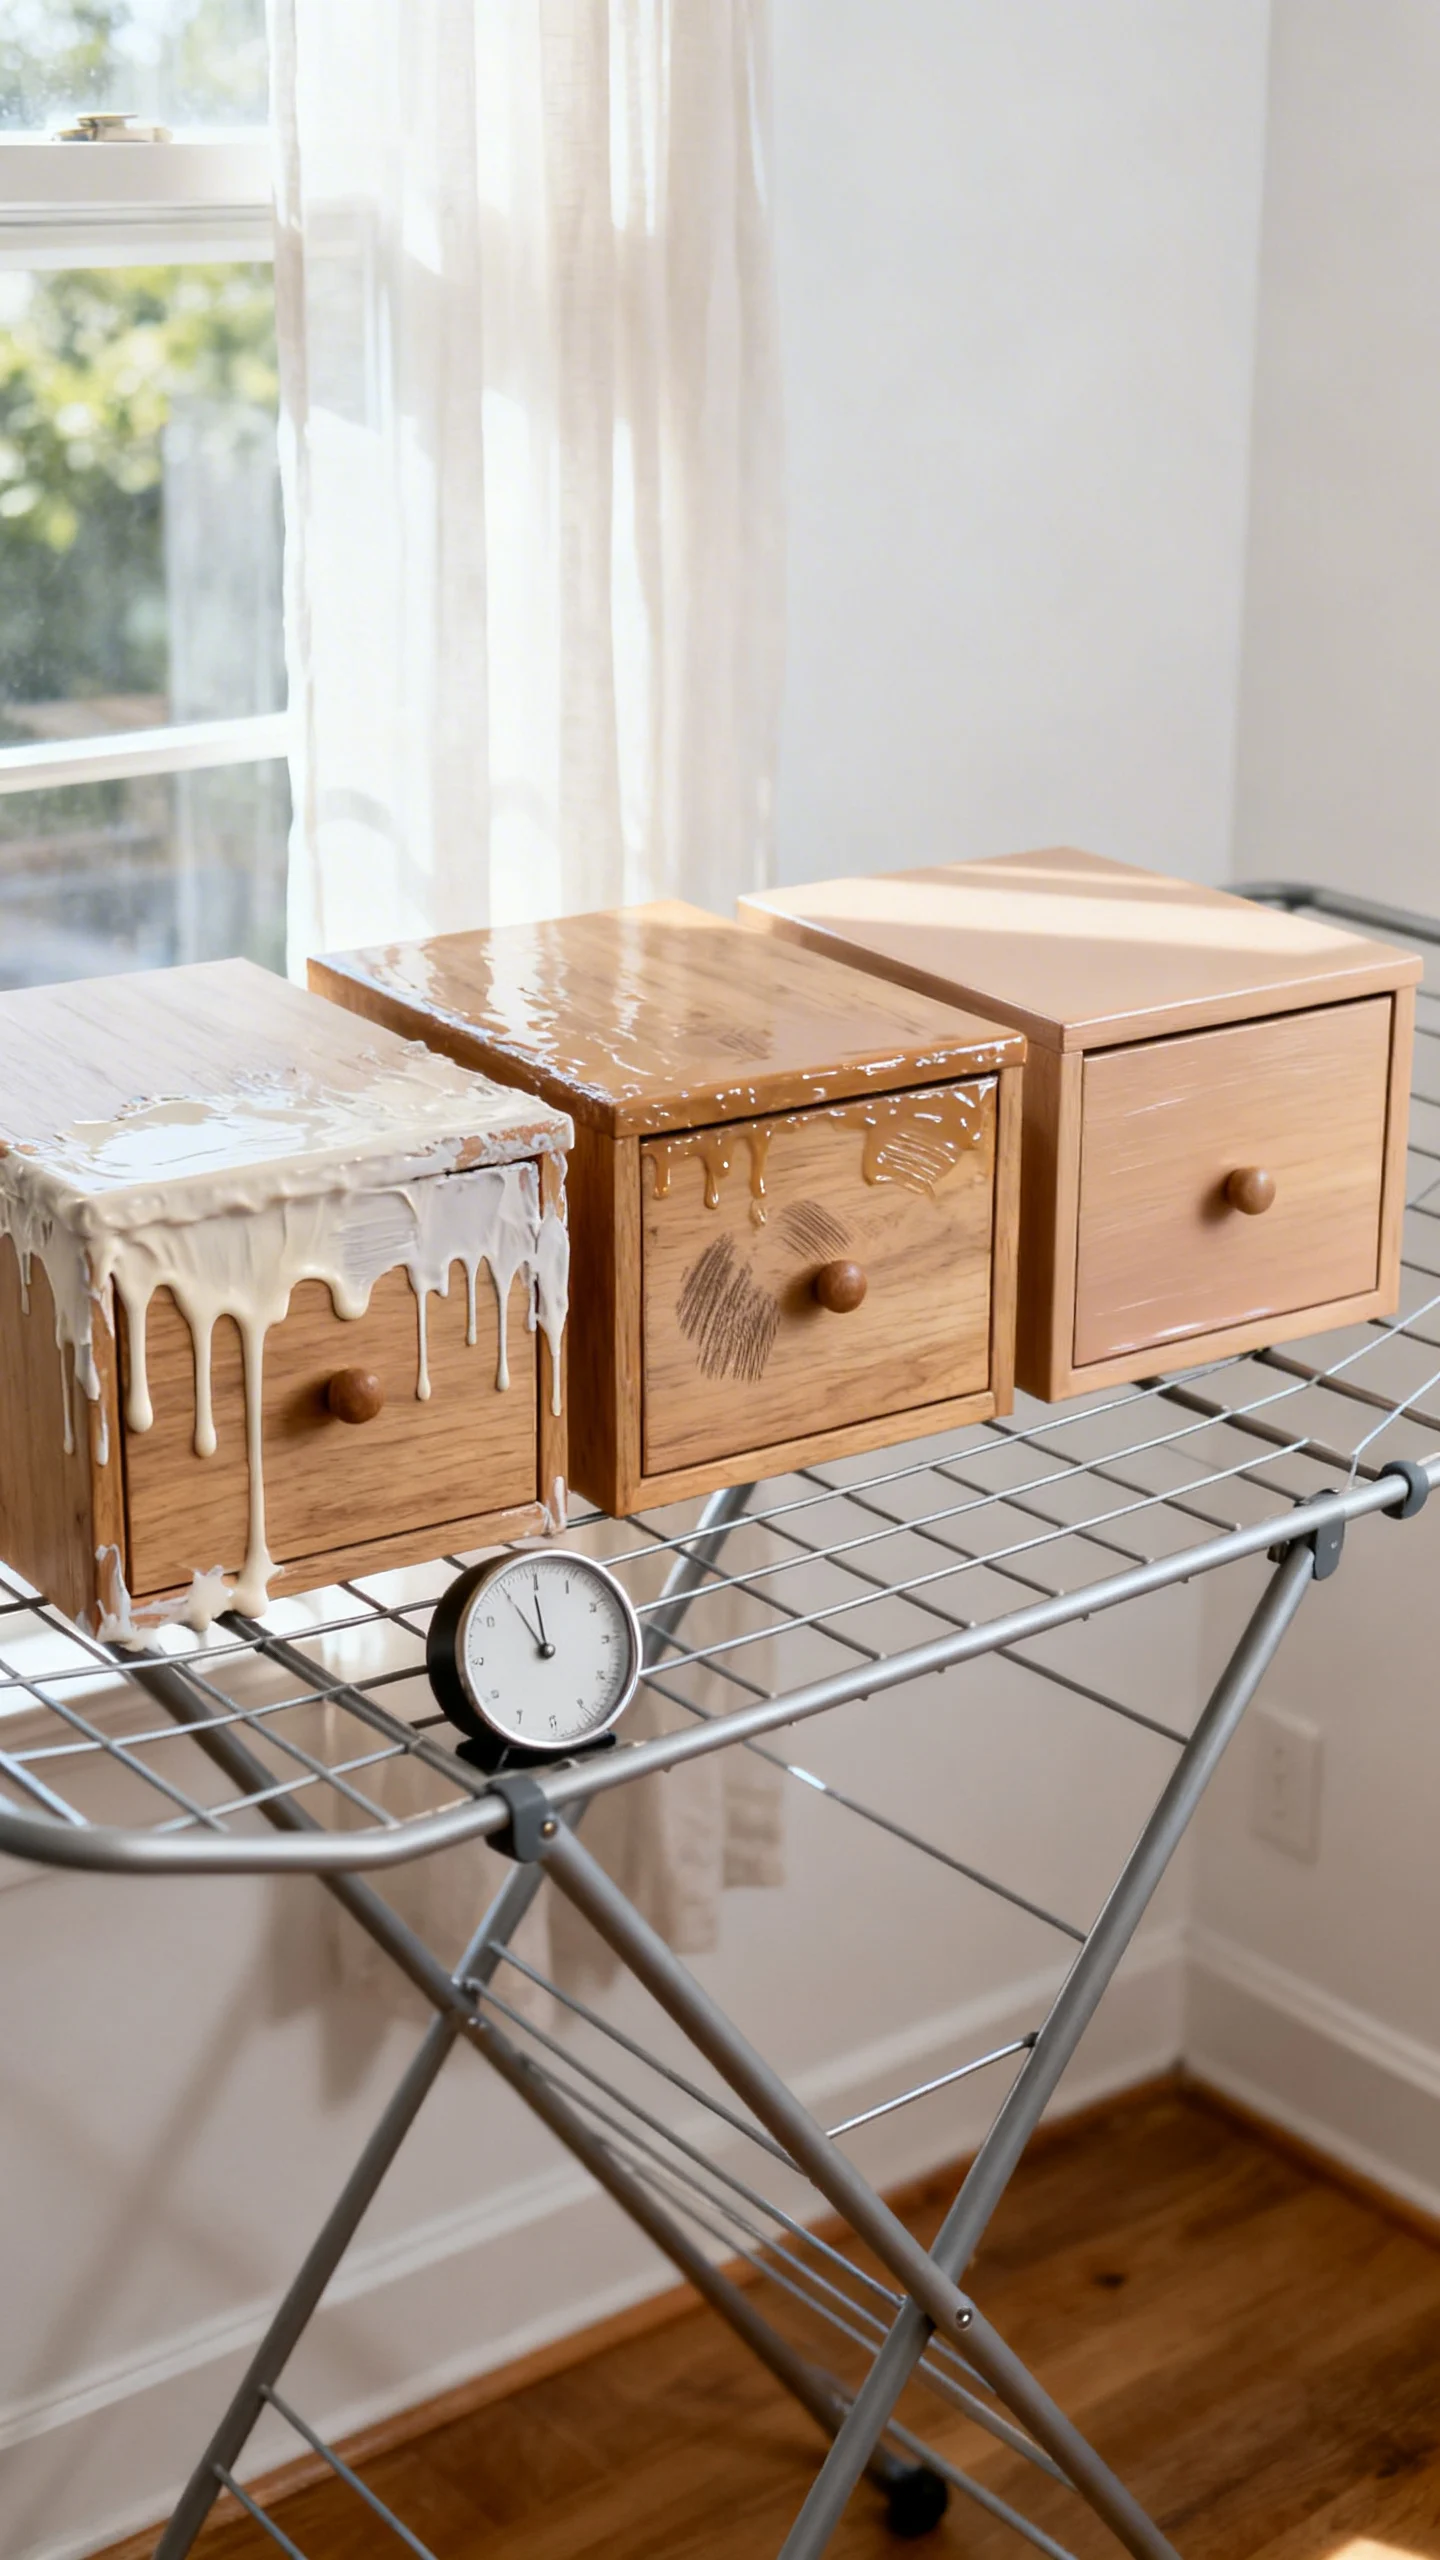
Thick coats feel faster, but they cause drips, sticky drawers, and fingerprints that force do-overs. Thin coats cure harder and look smoother.
Practical method: Two to three thin coats beat one thick coat every time. Lightly sand with 220 grit between coats if you feel bumps or dust nibs, then wipe clean.
Dry vs. cure: Paint can feel dry in an hour but still be soft underneath. For heavy-use surfaces like tabletops and drawer fronts, give it at least 24–48 hours before reassembling, and longer if the label recommends it.
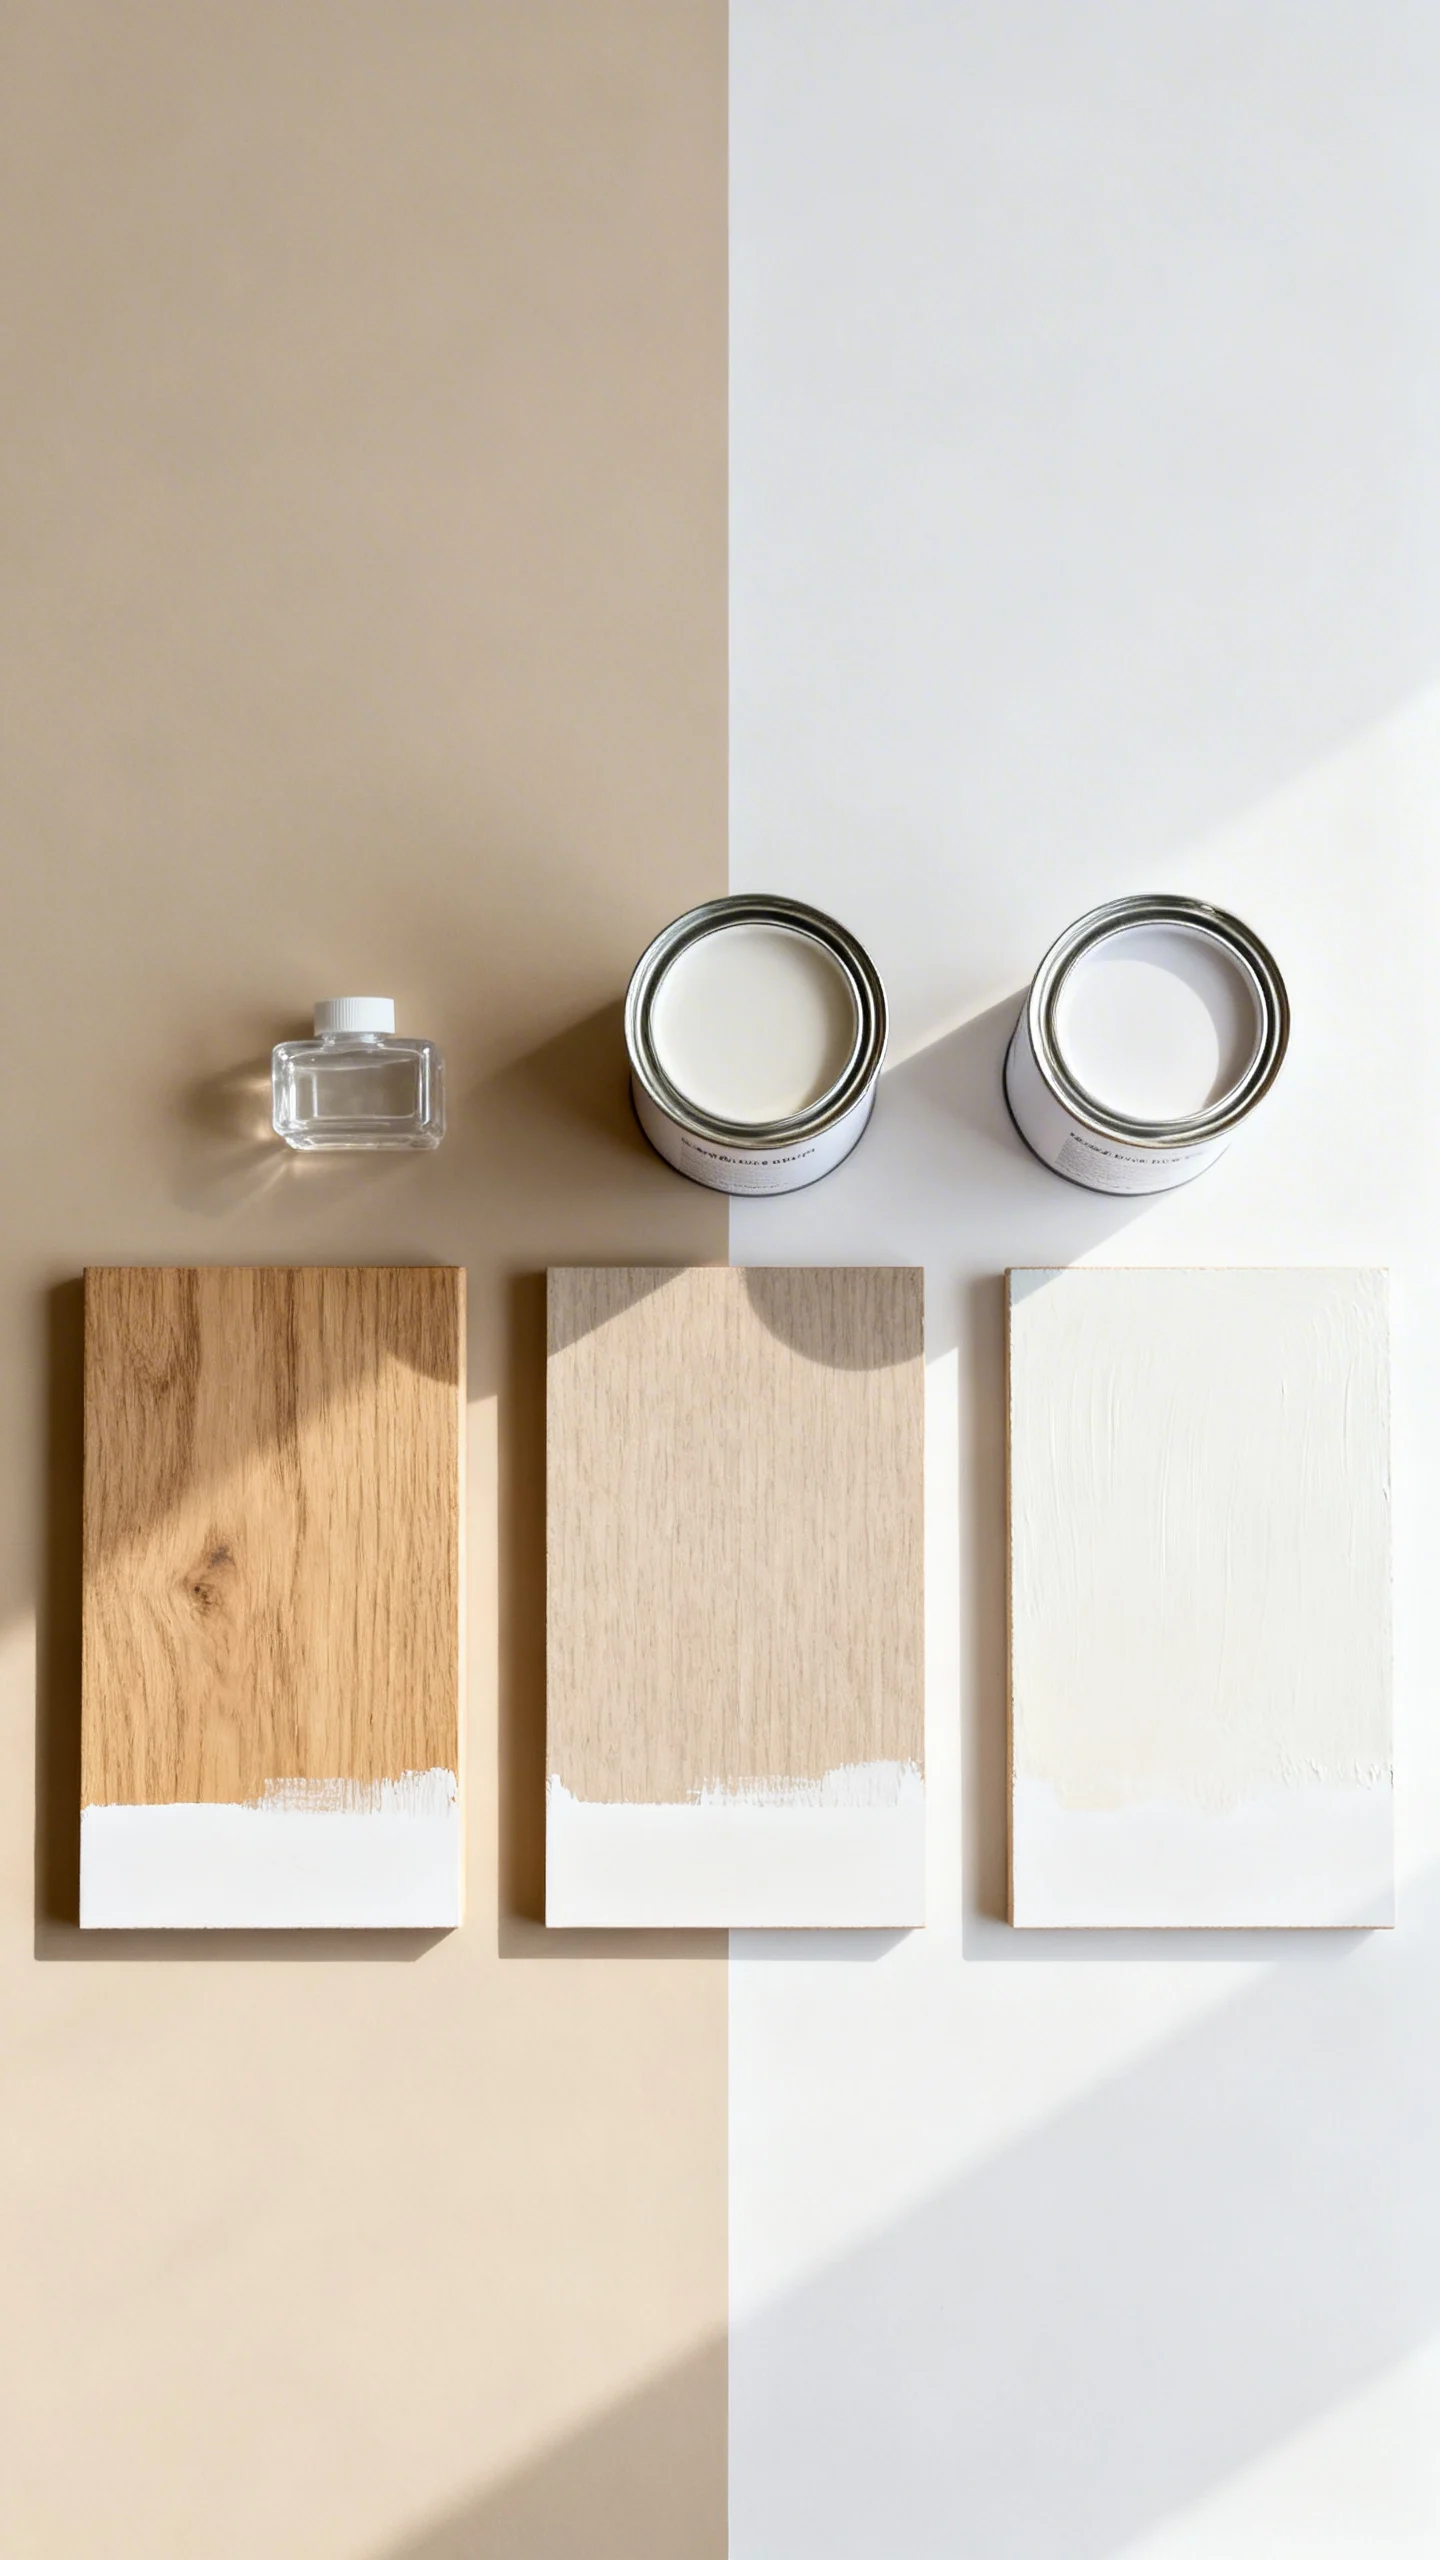
8) Upgrade the Look With Two-Tone Paint (No Extra Materials Needed)
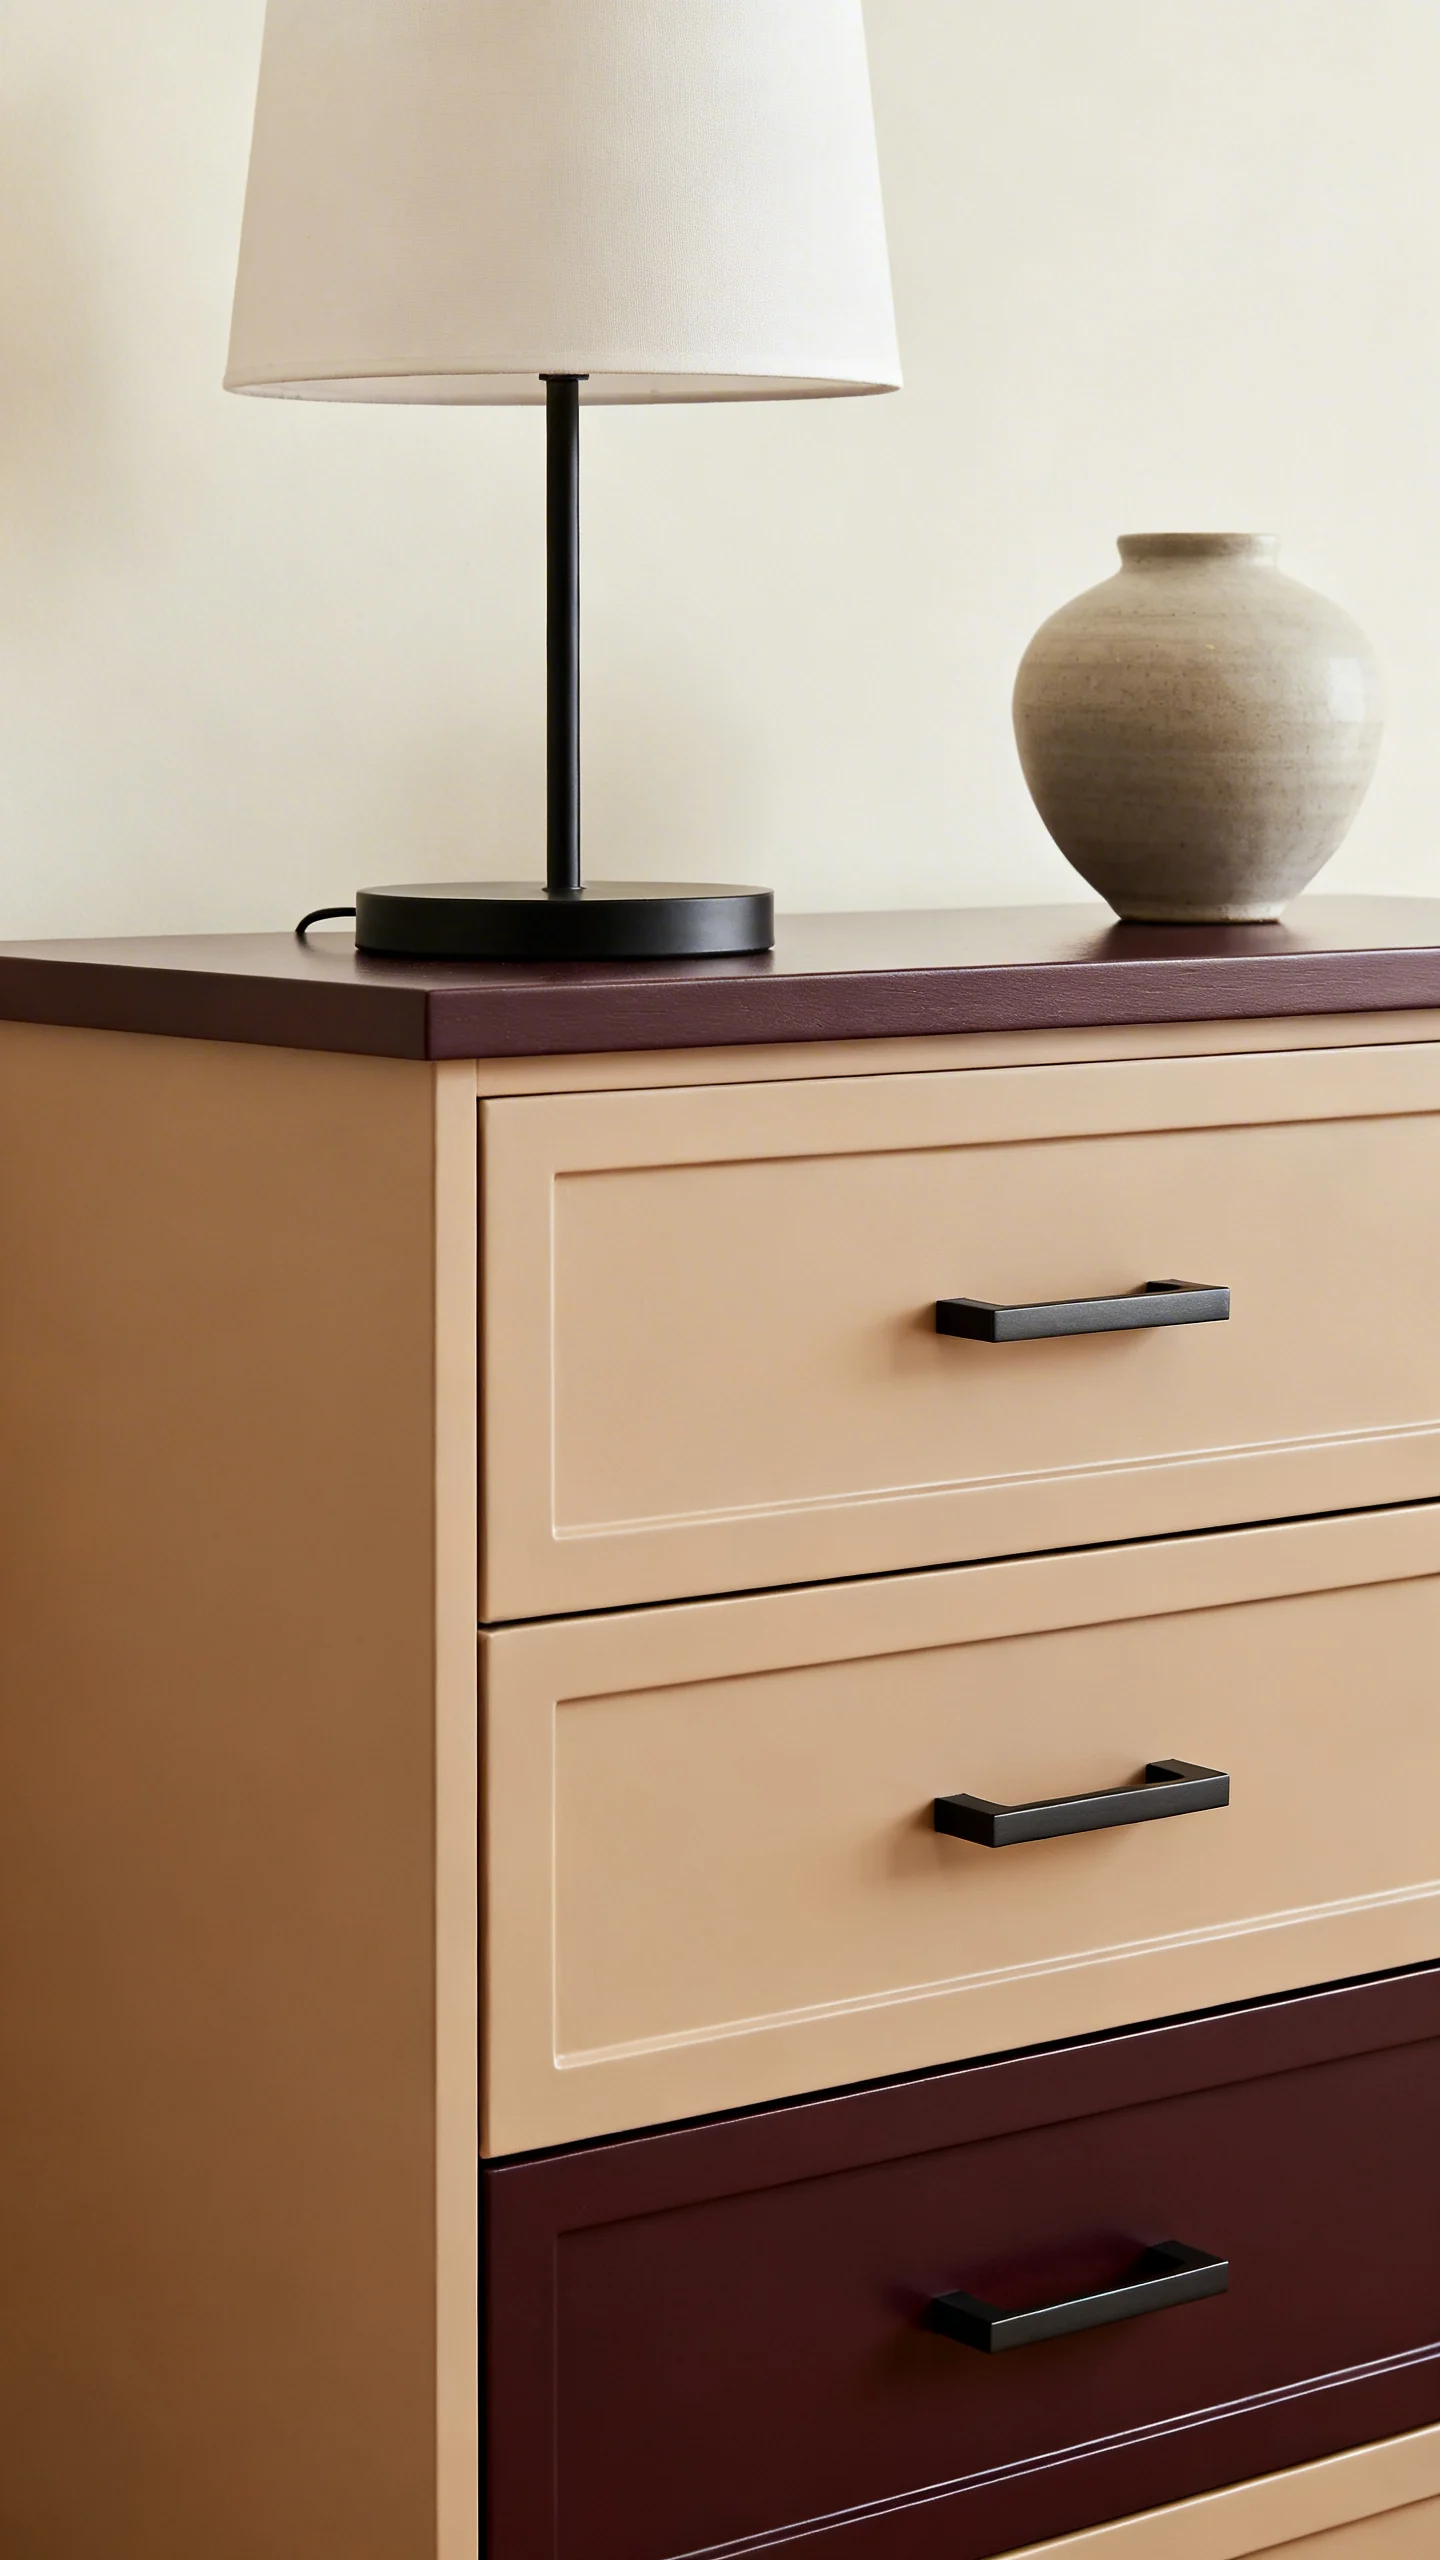
Two-tone painting is a budget remodeling trick that makes basic furniture look custom. You can paint the body one color and the top/drawers/legs another.
Easy combinations: Light body + darker drawers, neutral body + black legs, or painted base + “faux wood” top (painted to mimic wood tones).
Clean line tip: Use painter’s tape only after the base coat cures enough not to peel (often 24 hours). Burnish tape edges with a credit card, then paint away from the tape line with a nearly dry brush to reduce bleed.
9) Add a Painted Pattern or Stripe With Simple Measuring
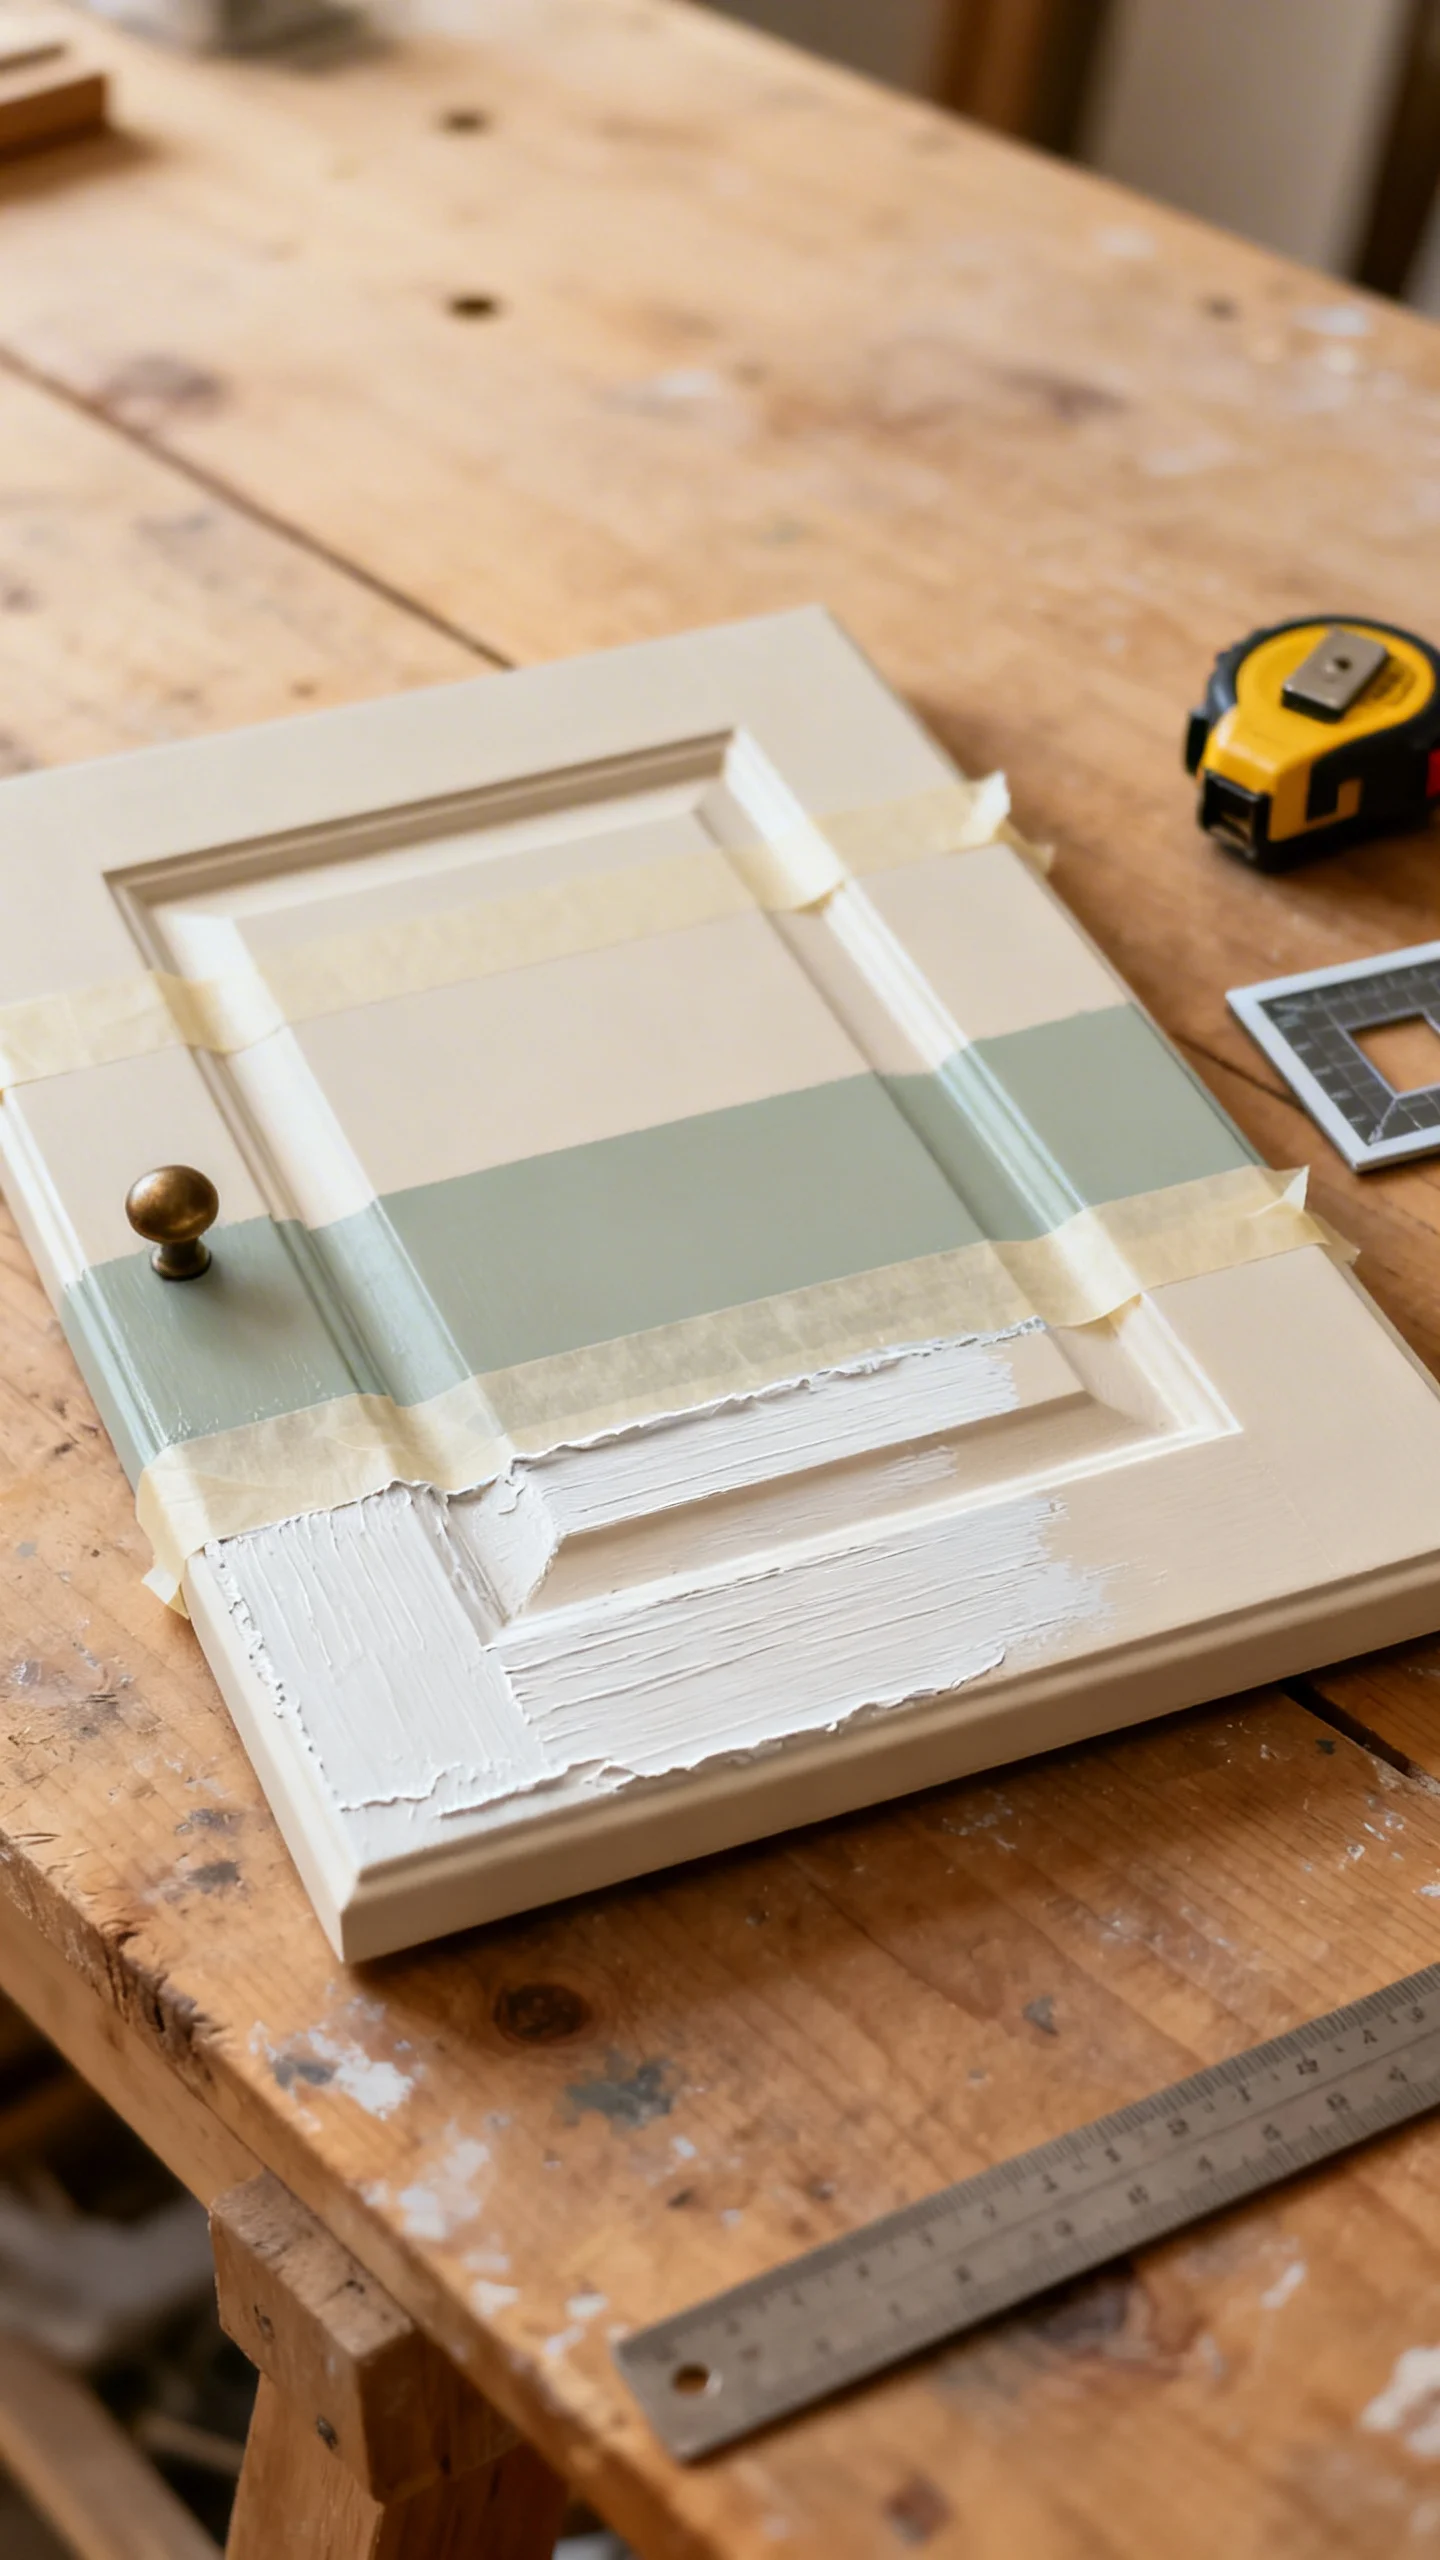
Patterns make budget pieces look designer, and you don’t need special tools. Stripes, color-blocking, and simple grids are beginner-friendly and high impact.
Measuring basics: For evenly spaced stripes, measure the full width, subtract any border you want, then divide by the number of stripes. Mark lightly with pencil, tape, and step back before painting to confirm it reads straight.
Paint order tip: Paint the lightest color first, let it dry, then tape for the darker color. This reduces coats and helps prevent raised tape ridges.
10) Seal (When Needed) and Reassemble Without Scratching
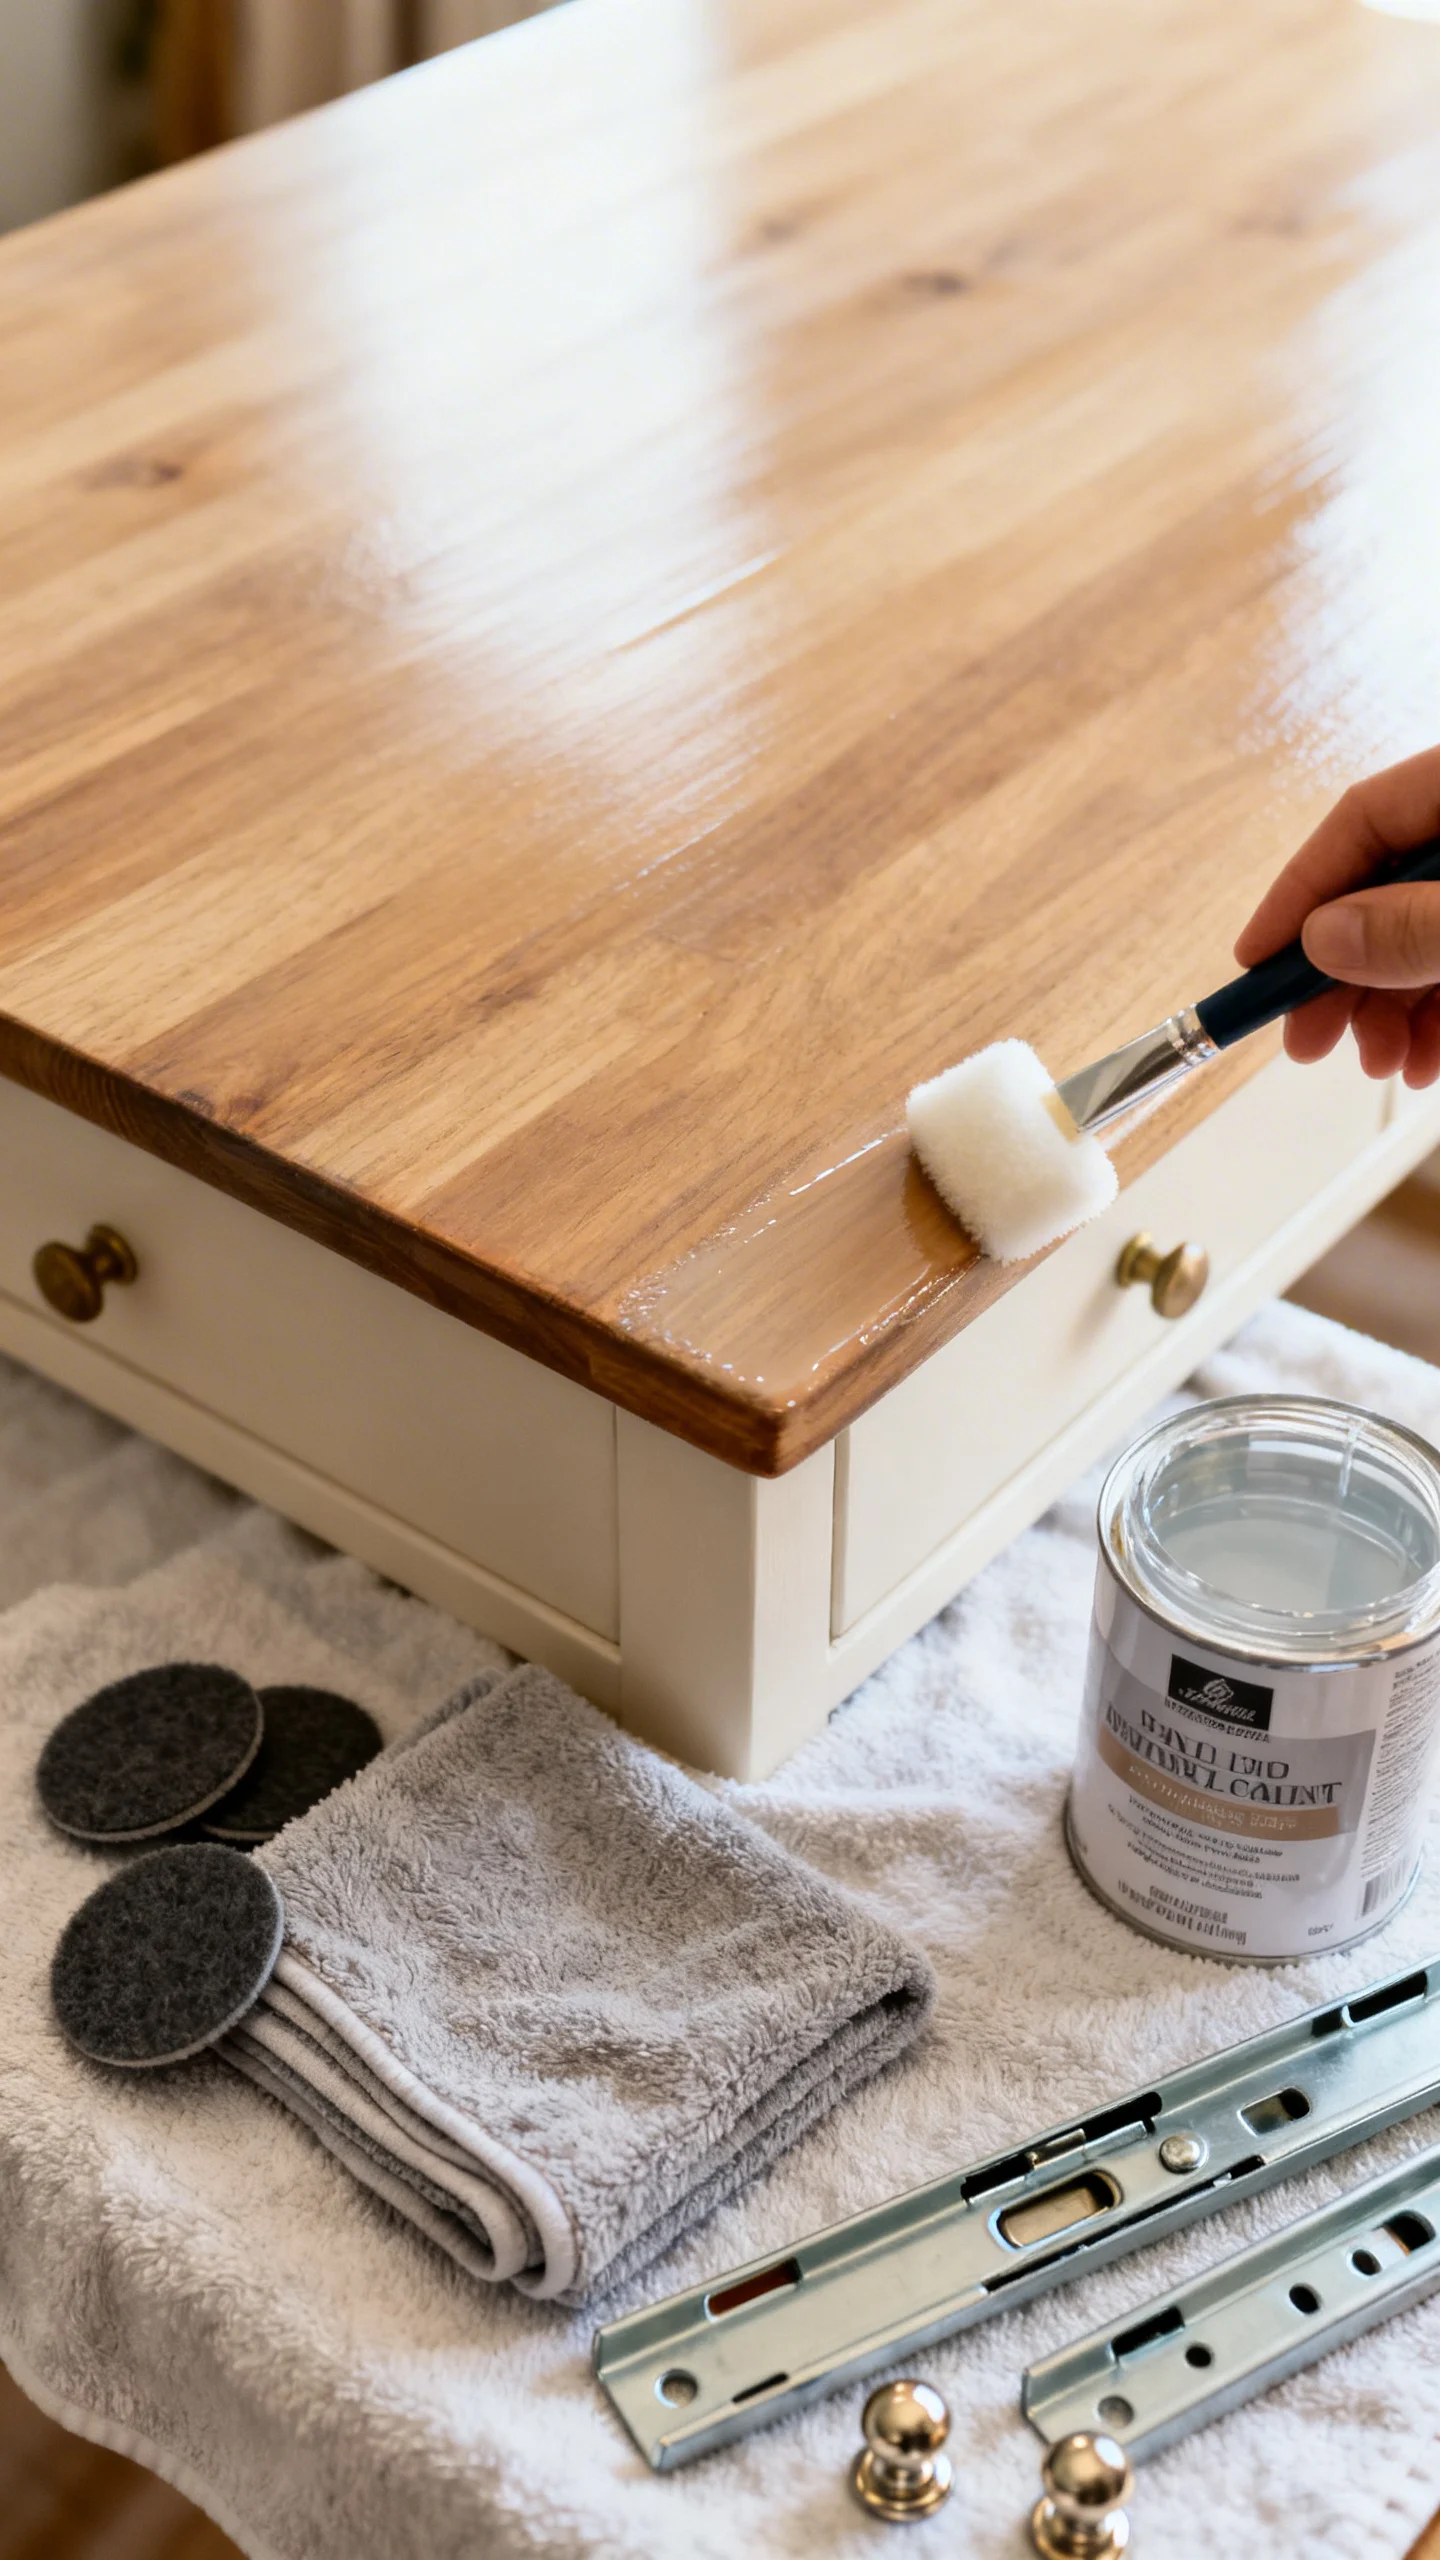
Not every paint job needs a topcoat, but many budget remodels benefit from one—especially tabletops, chairs, and anything that gets wiped often.
Topcoat options:
Water-based polyurethane: clear and durable; choose matte/satin for a modern look. Best for tabletops and high-use surfaces.
Wax (for chalk-style paint): soft, matte, and easy, but less protective against water and heat. Better for low-wear pieces.
Reassembly tip: Add small felt pads under hardware contact points or on the underside of objects that sit on the surface. When reinstalling drawers and pulls, tighten gently—over-tightening can dent fresh paint.
FAQ
What’s the cheapest way to repaint furniture without it looking cheap?
Spend your budget on prep and tools rather than fancy paint: degrease thoroughly, scuff sand, use a bonding primer when needed, and apply thin coats with a mini foam roller. Smooth application and clean edges make the biggest visual difference.
Do I have to sand if I use chalk-style paint?
Not always, but you still need to clean well. For glossy or slick surfaces, a quick scuff sand (or a bonding primer) greatly improves durability. If you skip sanding entirely, expect more wear on edges and high-touch areas.
How do I stop brush marks when painting furniture?
Use a mini foam roller on flat surfaces, don’t overload the brush, and avoid going back over paint as it starts to dry. Thin coats help, and a light sand with 220 grit between coats can remove texture before the final coat.
How long should I wait before using painted furniture?
Most pieces can be gently reassembled after 24–48 hours, but full cure can take 7–30 days depending on the paint. Be careful with heavy objects, stacking, or scrubbing until the finish feels hard and no longer tacky.
Can I paint laminate or IKEA-style furniture on a budget?
Yes—clean well, scuff sand lightly, then use a bonding primer designed for slick surfaces. Follow with a durable acrylic enamel or cabinet paint in thin coats. Skipping the bonding primer is the most common reason laminate paint jobs peel.