
DIY Furniture Remodeling on a Budget for Beginners
That “almost cute” dresser from a thrift store. The hand-me-down nightstand that doesn’t match anything. The coffee table that’s the right size but the wrong vibe. DIY furniture remodeling on a budget is how beginners turn those pieces into save-worthy statements—without needing a garage workshop or a big spend.
Below are 10 beginner-friendly, decor-first approaches that focus on high-impact finishes, color, texture, and styling. Think: glossy paint moments, cozy textiles, elevated neutrals, and details that look boutique—even when your budget is very much not.
1) Paint It Like a “New” Piece: Soft Neutrals or Moody Contrast
The fastest budget remodel is a color reset that makes a dated piece look intentional. Picture a thrifted dresser in creamy off-white that reads airy and modern, or a basic side table in deep charcoal that feels high-end and architectural. The visual goal: smooth, even color that looks like it came that way.
Try one beginner-friendly move: pick a single “whole-home” shade (warm white, putty beige, dusty taupe) and use it across multiple pieces for a coordinated look. Or go moody with one accent piece in inky navy or espresso to anchor a room and make everything around it feel curated.
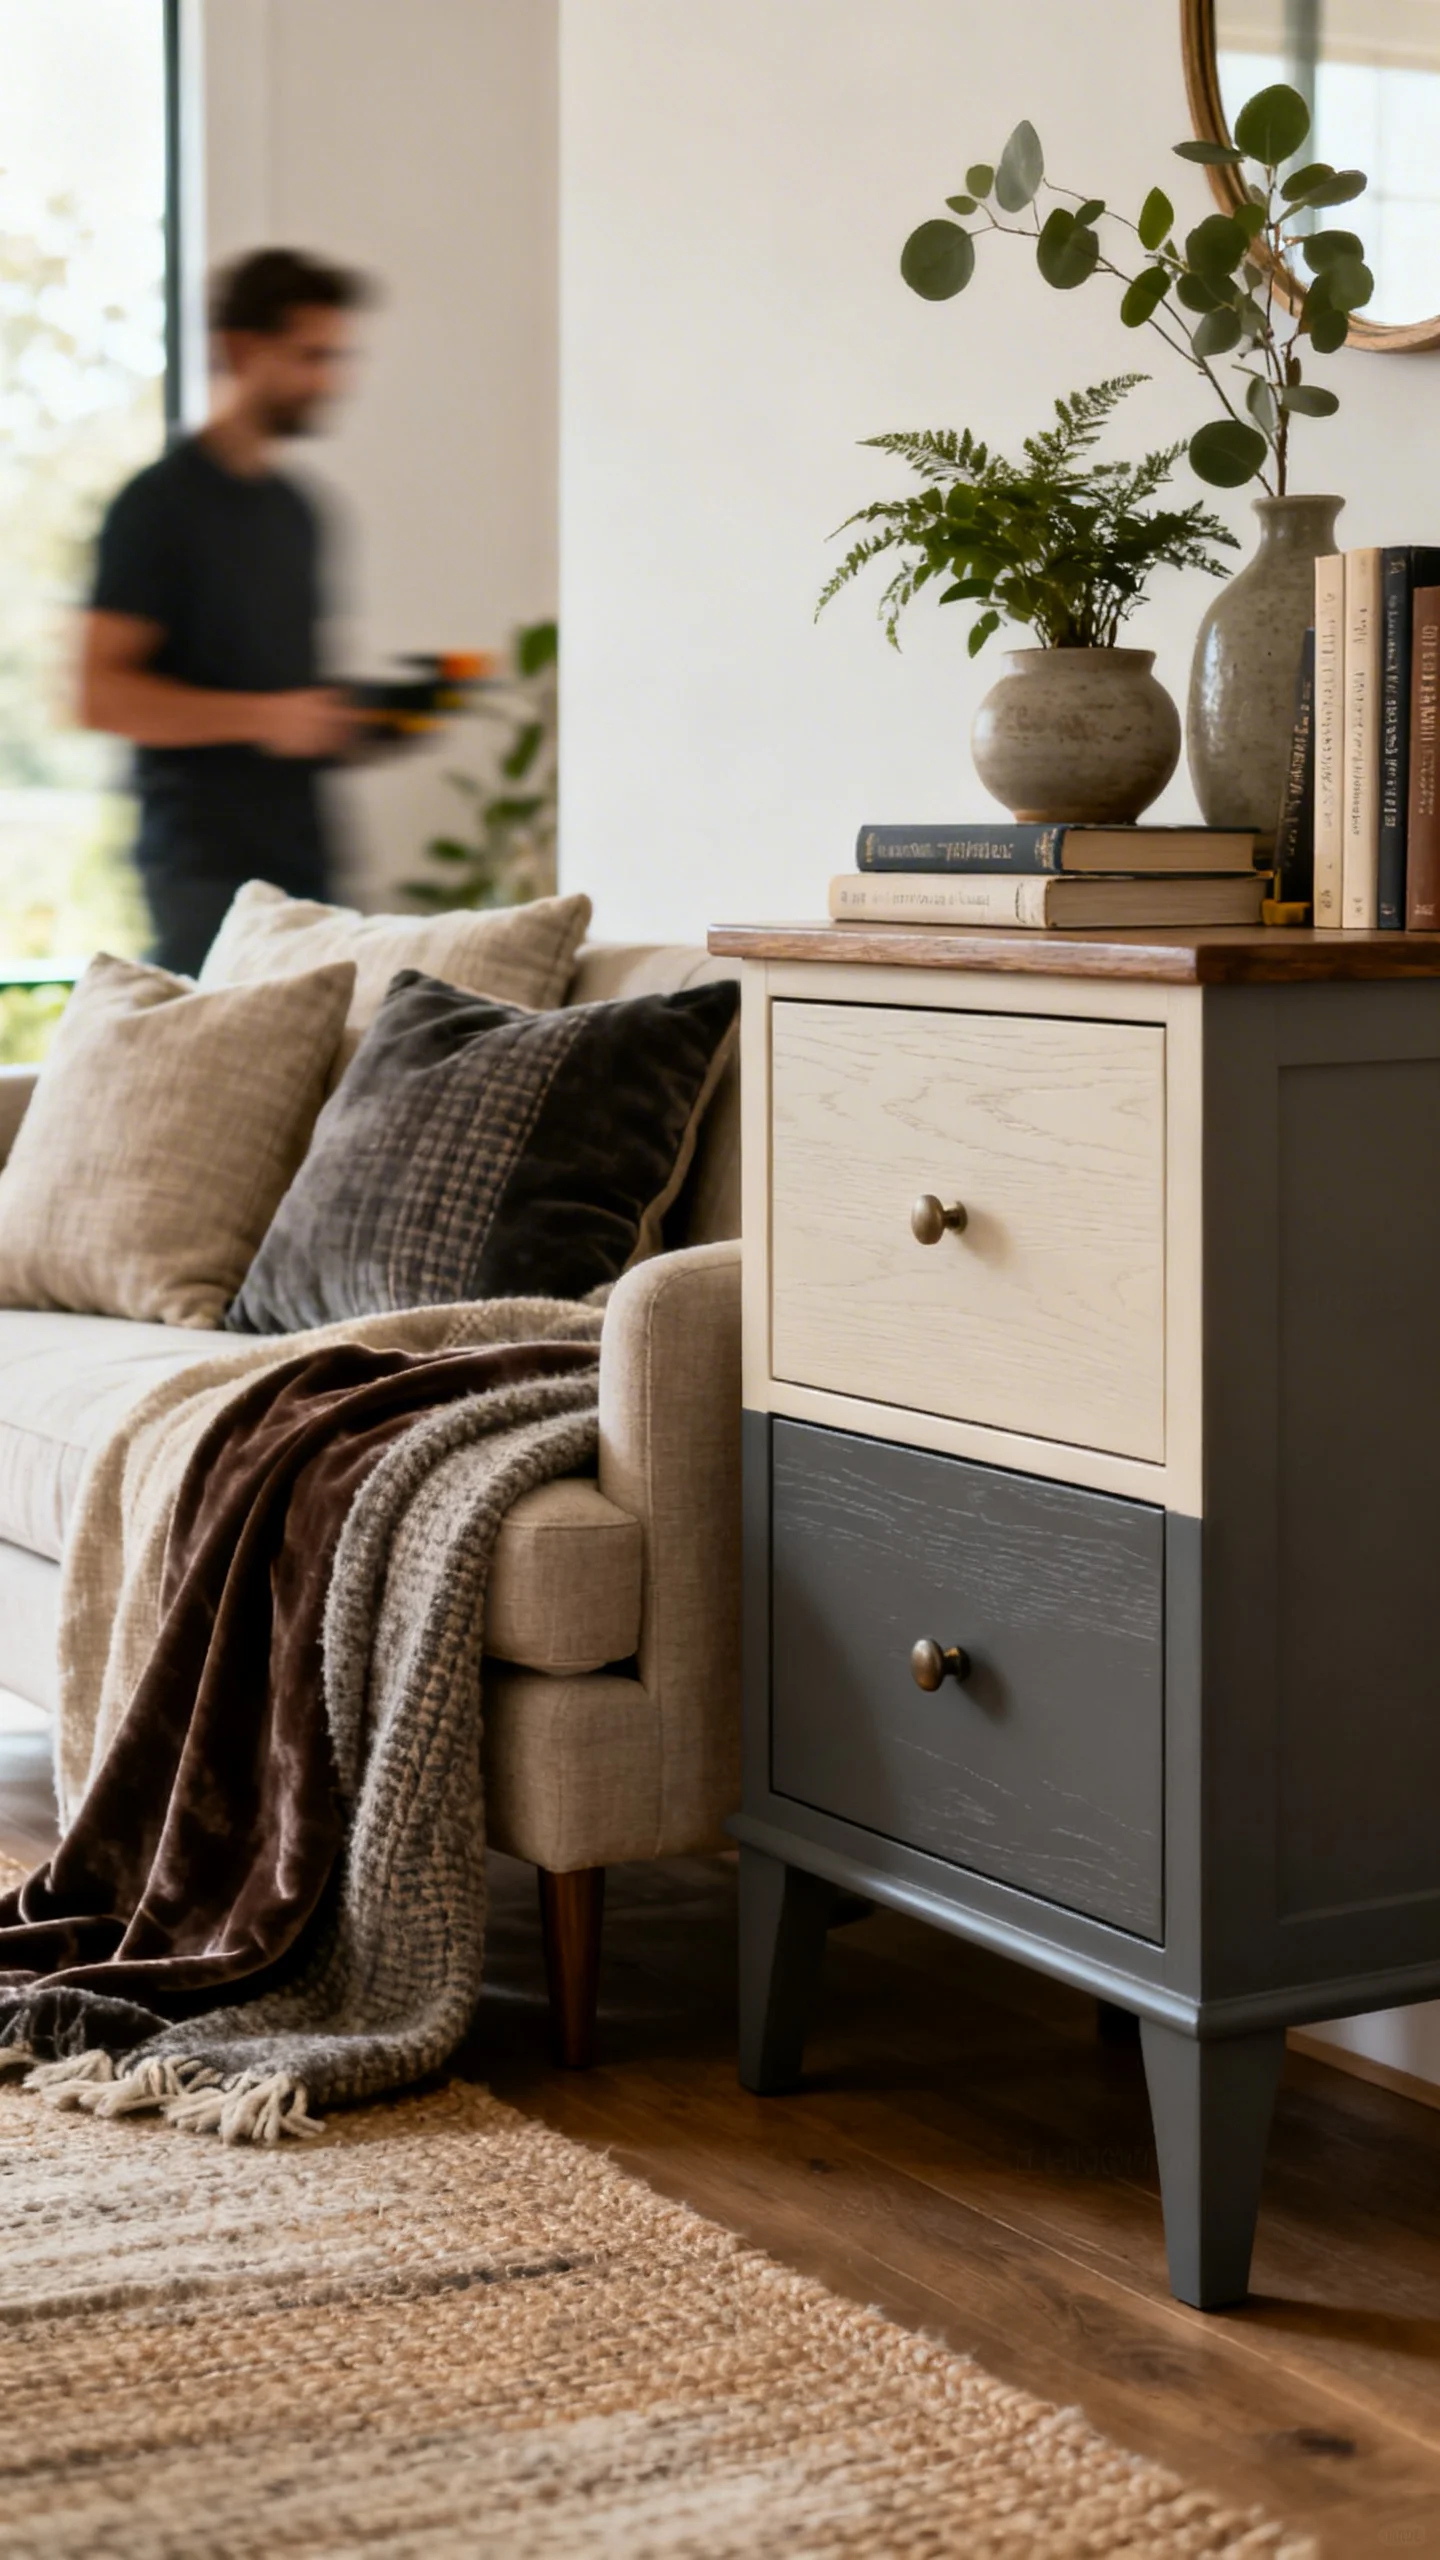
2) Add a Two-Tone Moment for Instant Designer Energy
Two-tone furniture looks custom, but it’s a budget beginner secret. Imagine a console with a warm wood-toned top and a matte black base, or a nightstand with a creamy body and a soft greige drawer front. The contrast adds depth and makes even simple shapes feel special.
Keep it easy: choose one area to highlight—just the legs, just the drawers, or just the top. Then repeat that accent color elsewhere in the room (a frame, a lamp base, a throw pillow) so the piece feels “styled in,” not random.
3) Upgrade the “Front Face” with Peel-and-Stick Pattern (Beginner Favorite)
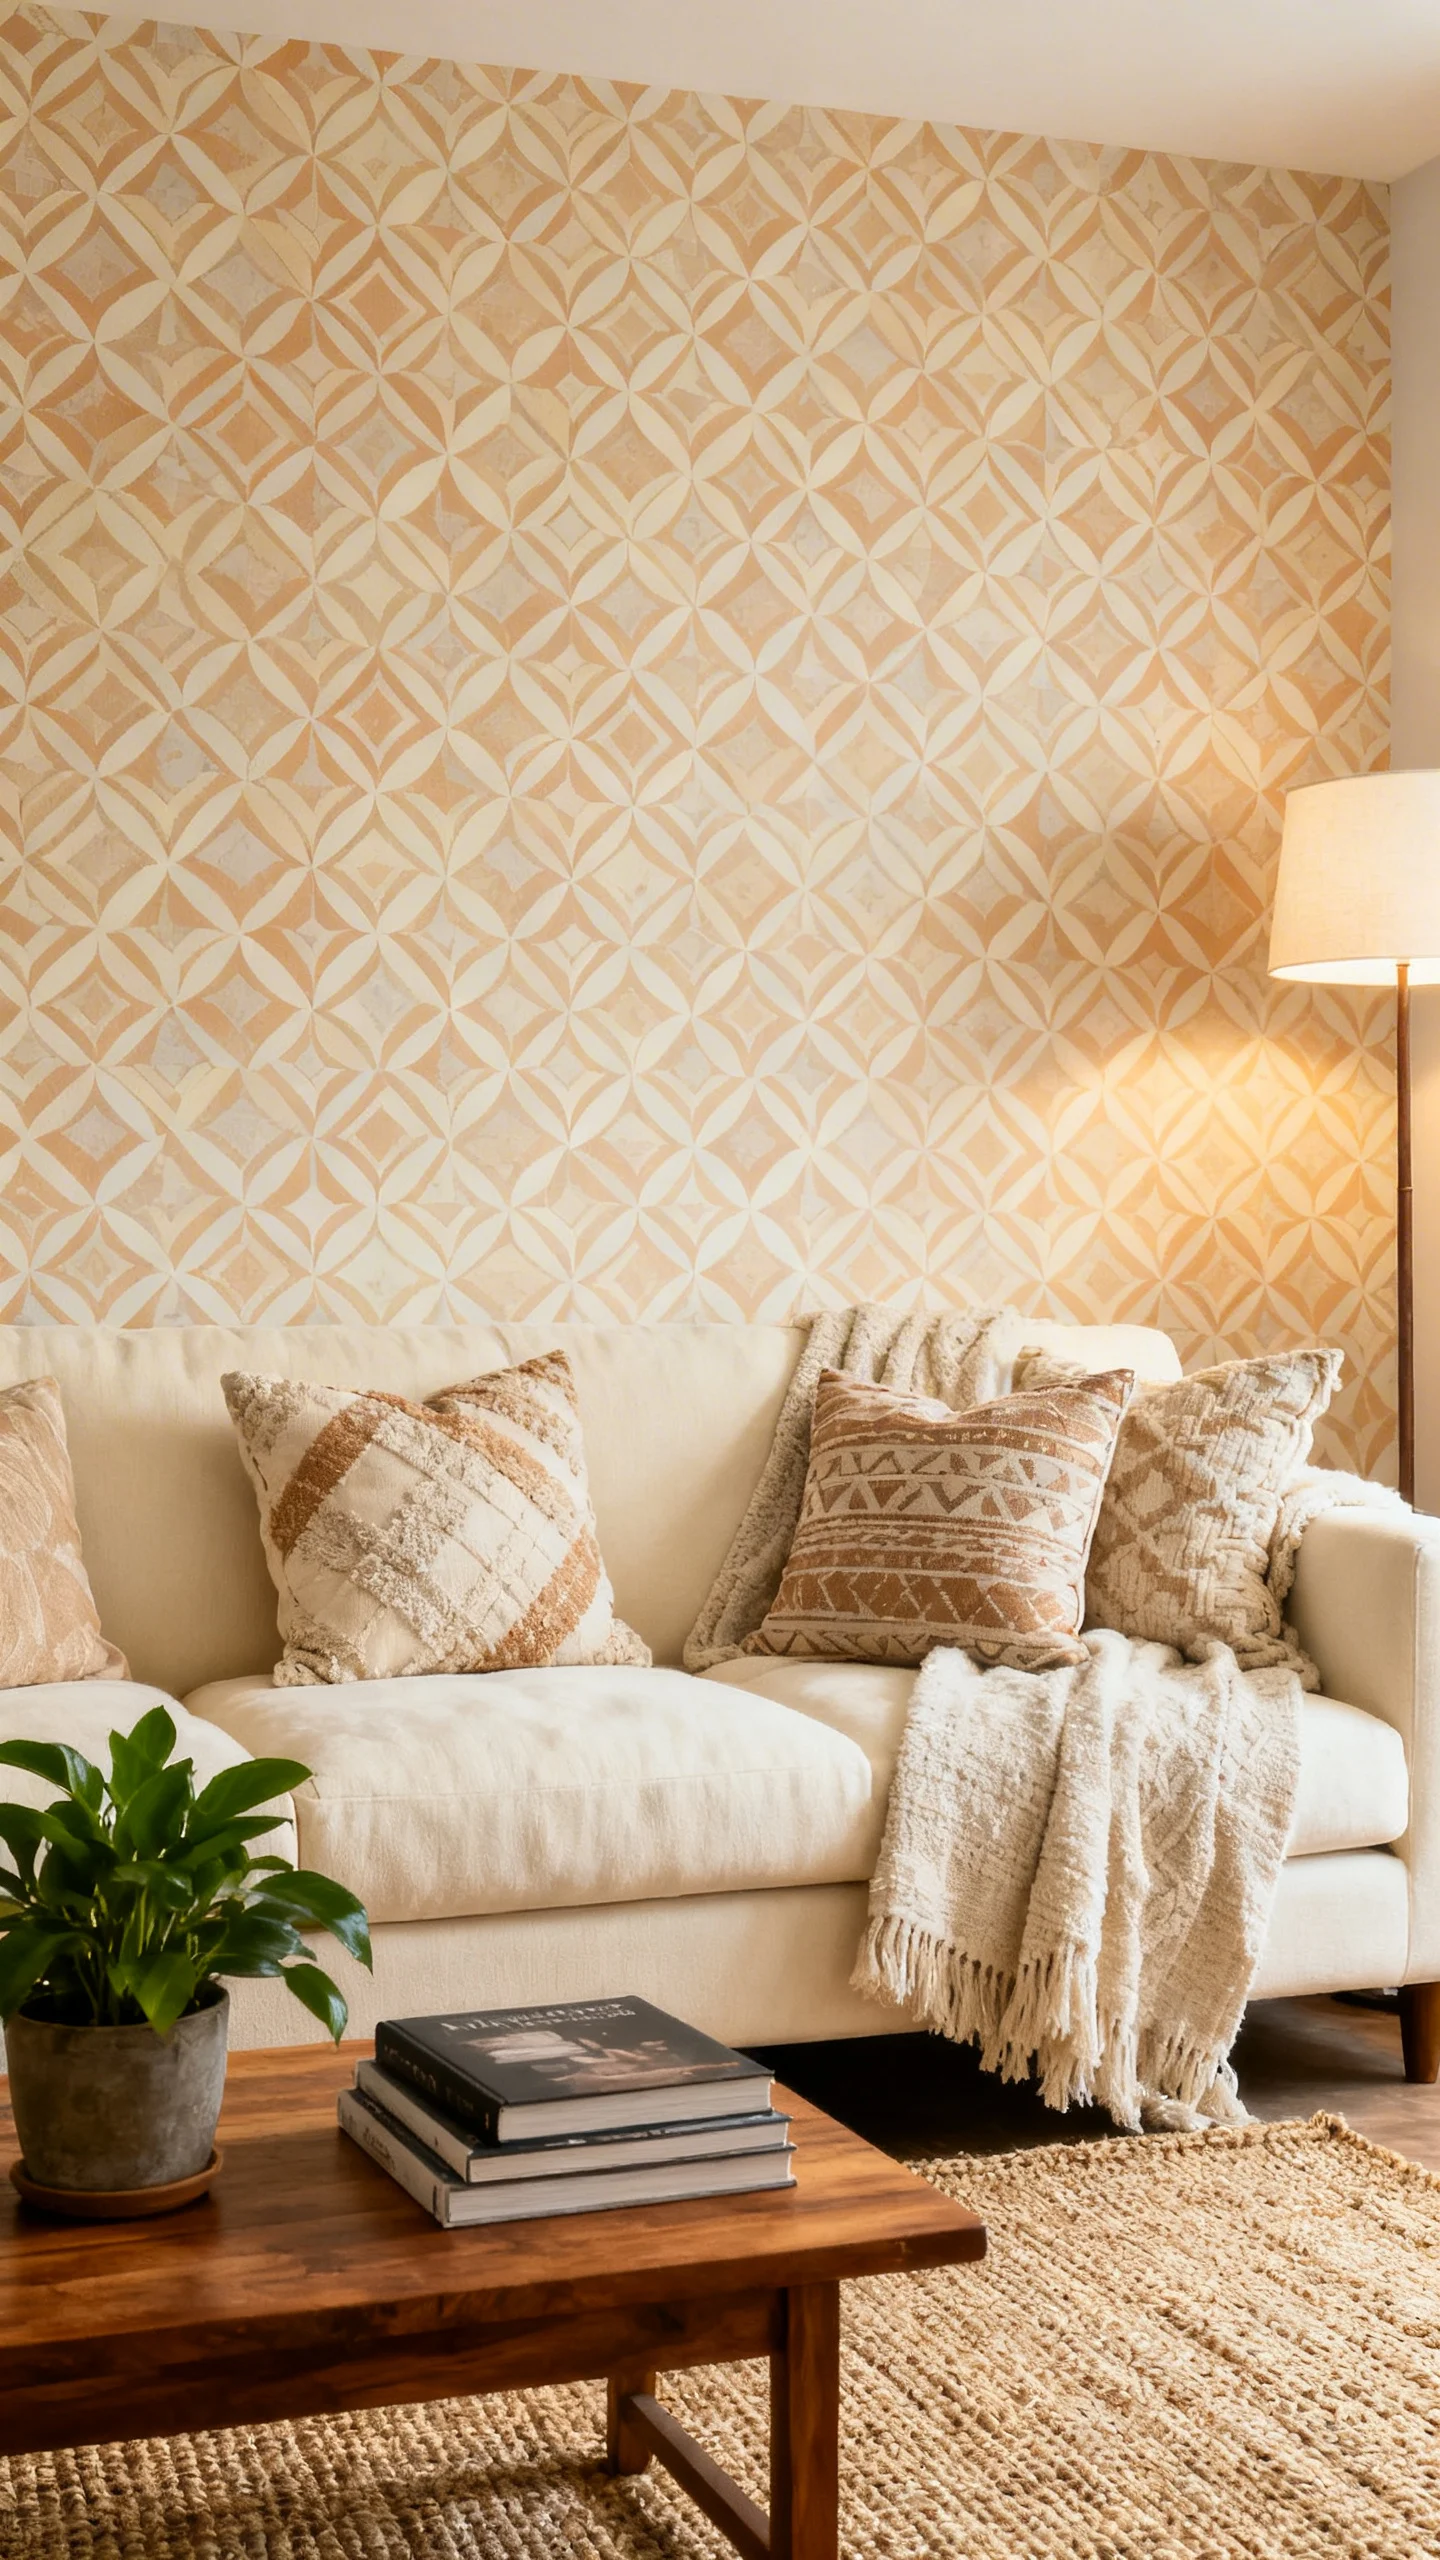
Want the look of luxe paneling, grasscloth, or vintage floral without the price tag? Peel-and-stick wallpaper or contact paper is the budget-friendly shortcut that transforms drawer fronts, cabinet doors, and open shelves into a Pinterest-worthy focal point. The result can be crisp and modern (thin stripes), romantic (soft botanicals), or elevated neutral (linen-look texture).
Two simple actions: apply it to only the drawer fronts for a boutique look, then style the top with a tray + candle + small vase. If you’re nervous about bold prints, choose a tone-on-tone pattern (ivory on beige, charcoal on black) so it reads subtle and expensive.
4) Try a “Limewash-Inspired” or Chalky Matte Finish for Soft Texture
If glossy isn’t your vibe, go for a velvety, chalky matte finish that makes furniture feel collected and calm. Visually, it’s the difference between “painted DIY” and “European cottage meets modern minimal.” This finish looks especially beautiful in warm whites, muted sage, dusty rose, and greige.
Beginner tip: keep the palette soft and style with natural textures—think a woven basket nearby, a linen lamp shade, and a simple ceramic vase. The overall look should feel quiet, layered, and touchably cozy.
5) Create Faux “Built-In” Style with Symmetry and Styling Pairs
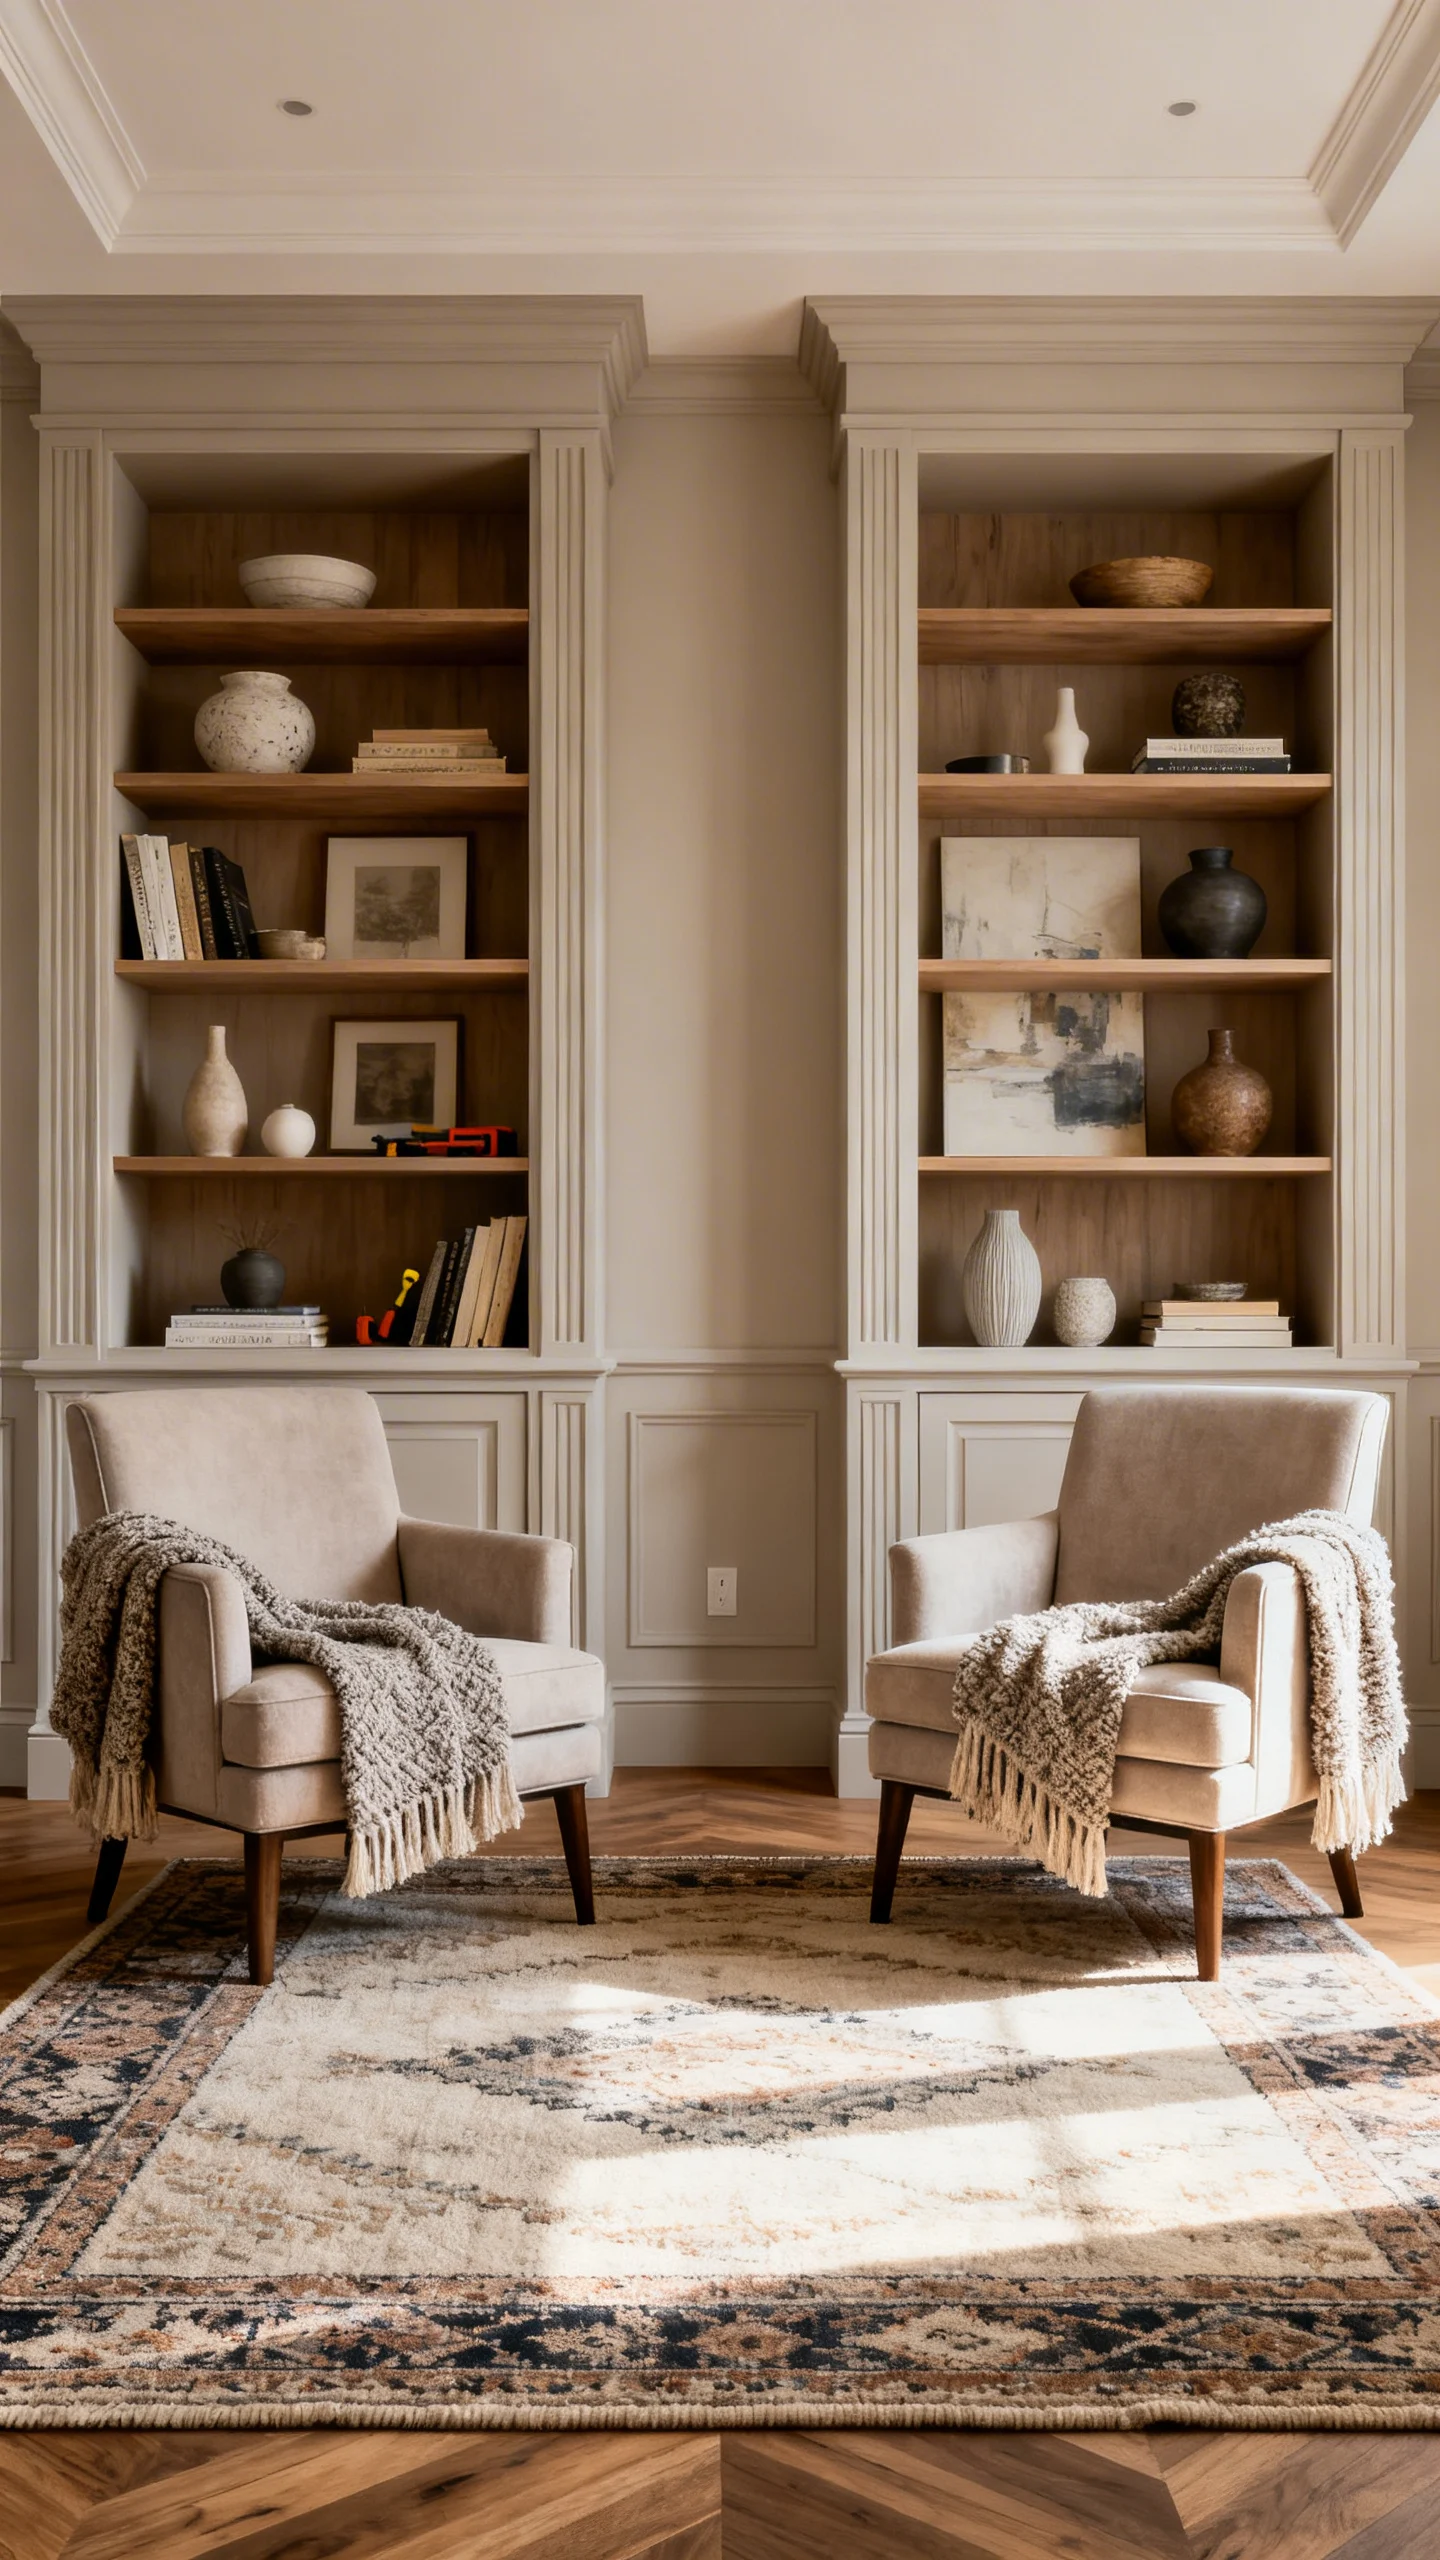
You can remodel furniture without changing the furniture—by how you place it. Two matching (or near-matching) pieces side by side instantly read like a custom setup: twin dressers as a long credenza, two nightstands flanking a sofa, or a pair of small cabinets creating a media wall look.
Two easy actions: paint both pieces the same color to unify them, then style symmetrically—matching lamps, matching frames, matching baskets. Symmetry is the secret sauce that makes “budget beginner” look “designed.”
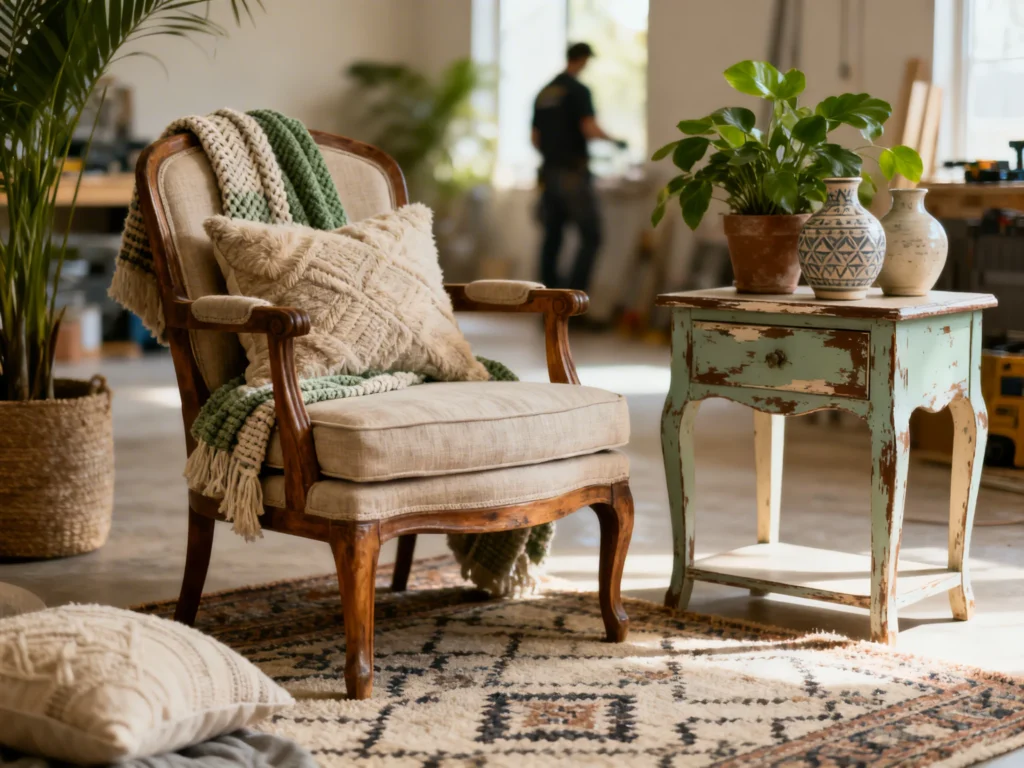
6) Make It Feel Vintage-Modern with a Light Distressed, Timeworn Look
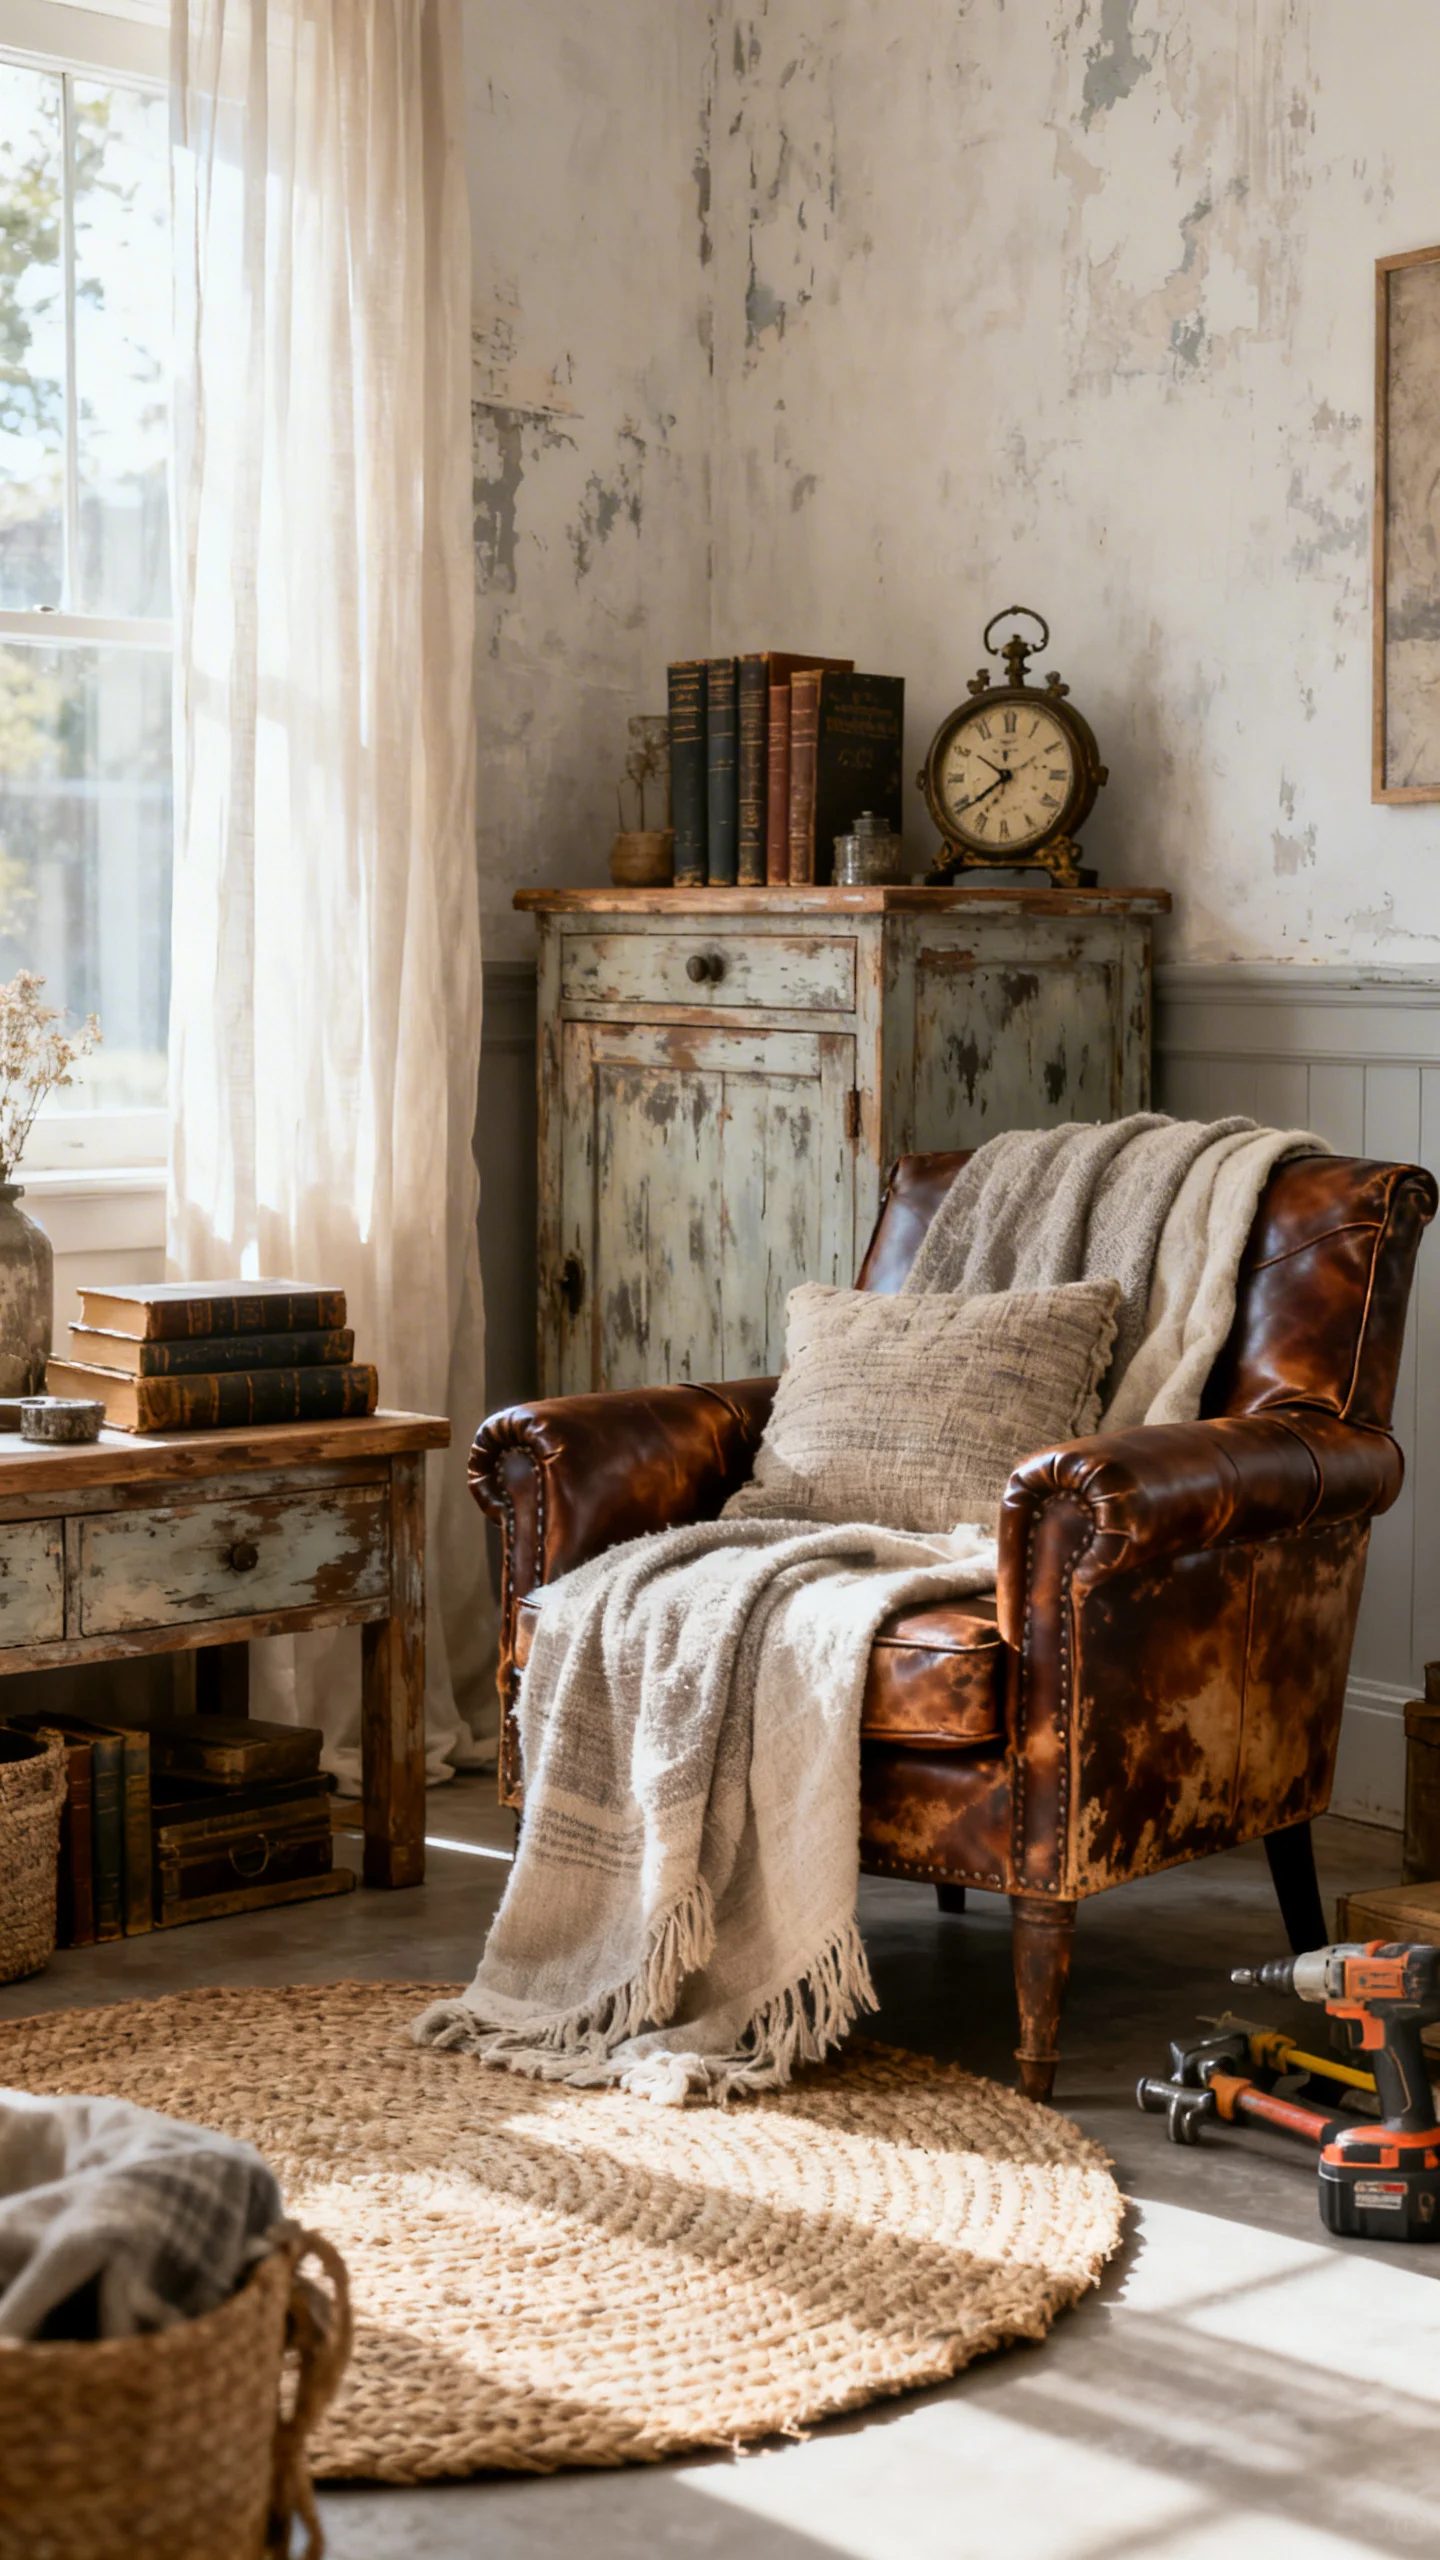
If you love antiques but shop on a beginner budget, a softly timeworn finish brings character fast. The goal is not heavy distressing—it’s gentle aging that looks authentic: edges that feel kissed by time, a slightly muted tone, and a cozy, lived-in vibe.
Keep it simple: choose a warm, historic-inspired color (smoky blue, olive gray, creamy butter, muted terracotta), then decorate with vintage-feeling accents like a brass-toned candleholder, a small landscape print, or a stack of old-looking books.
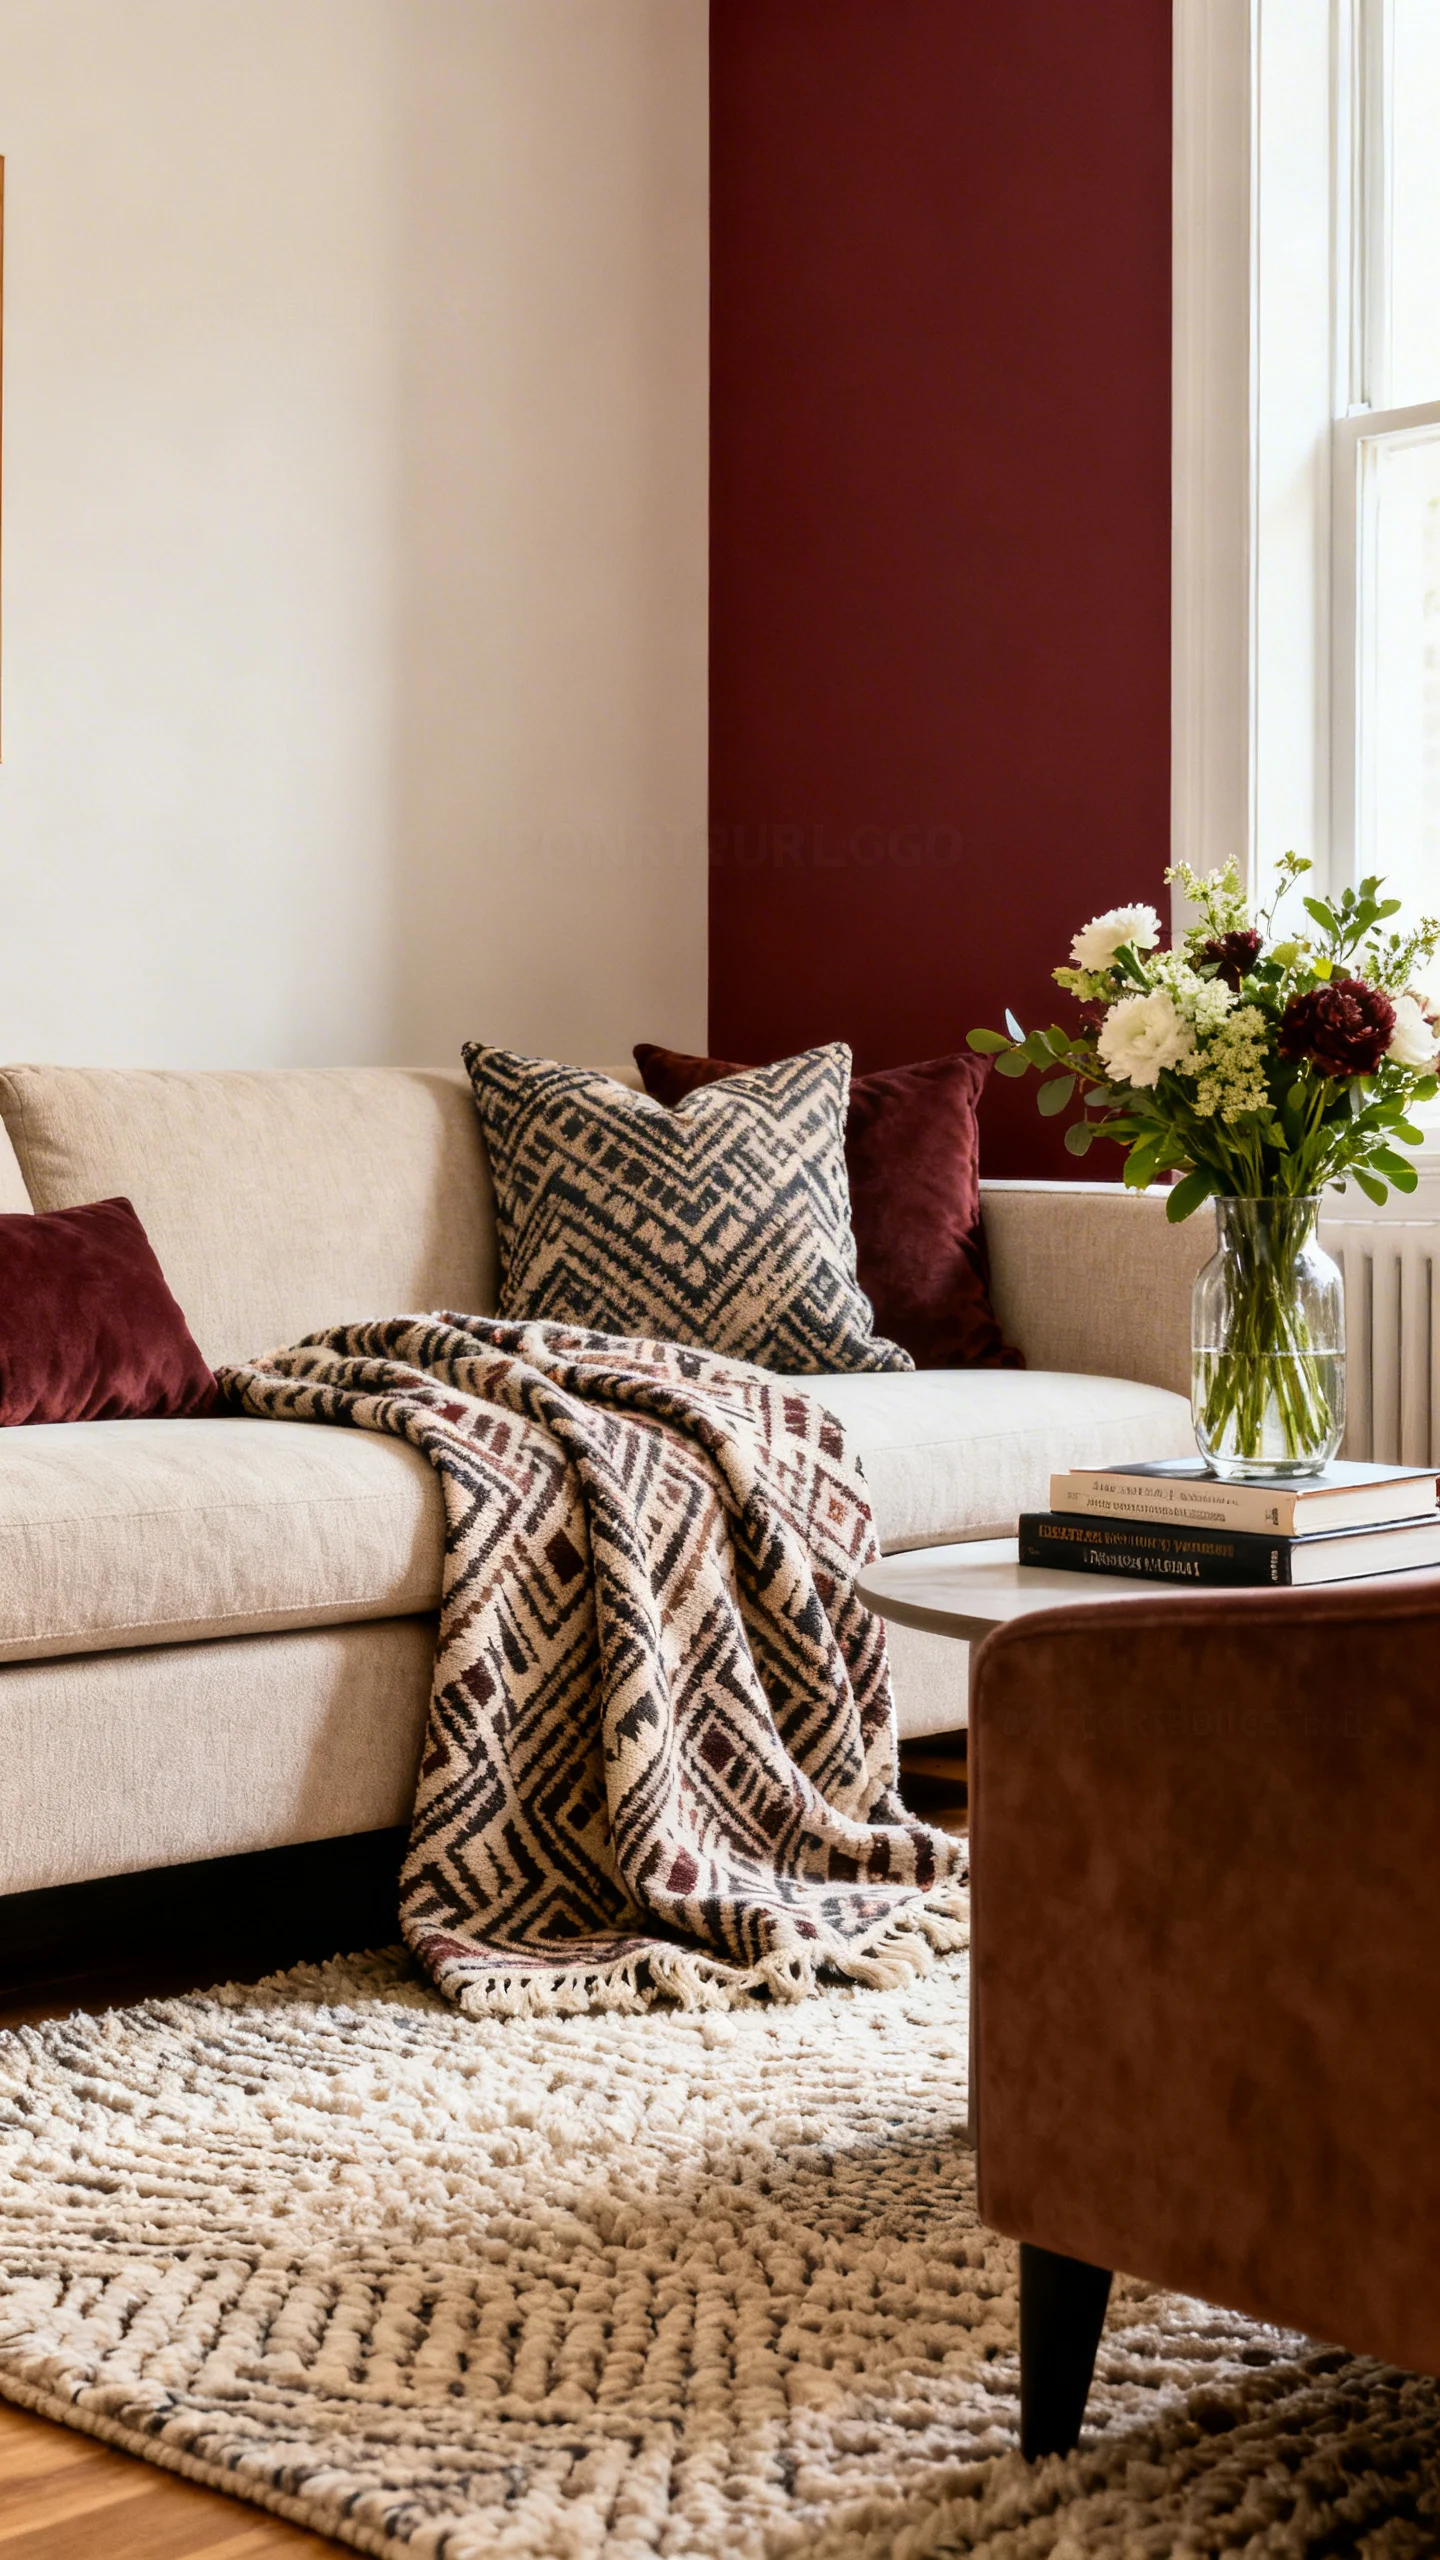
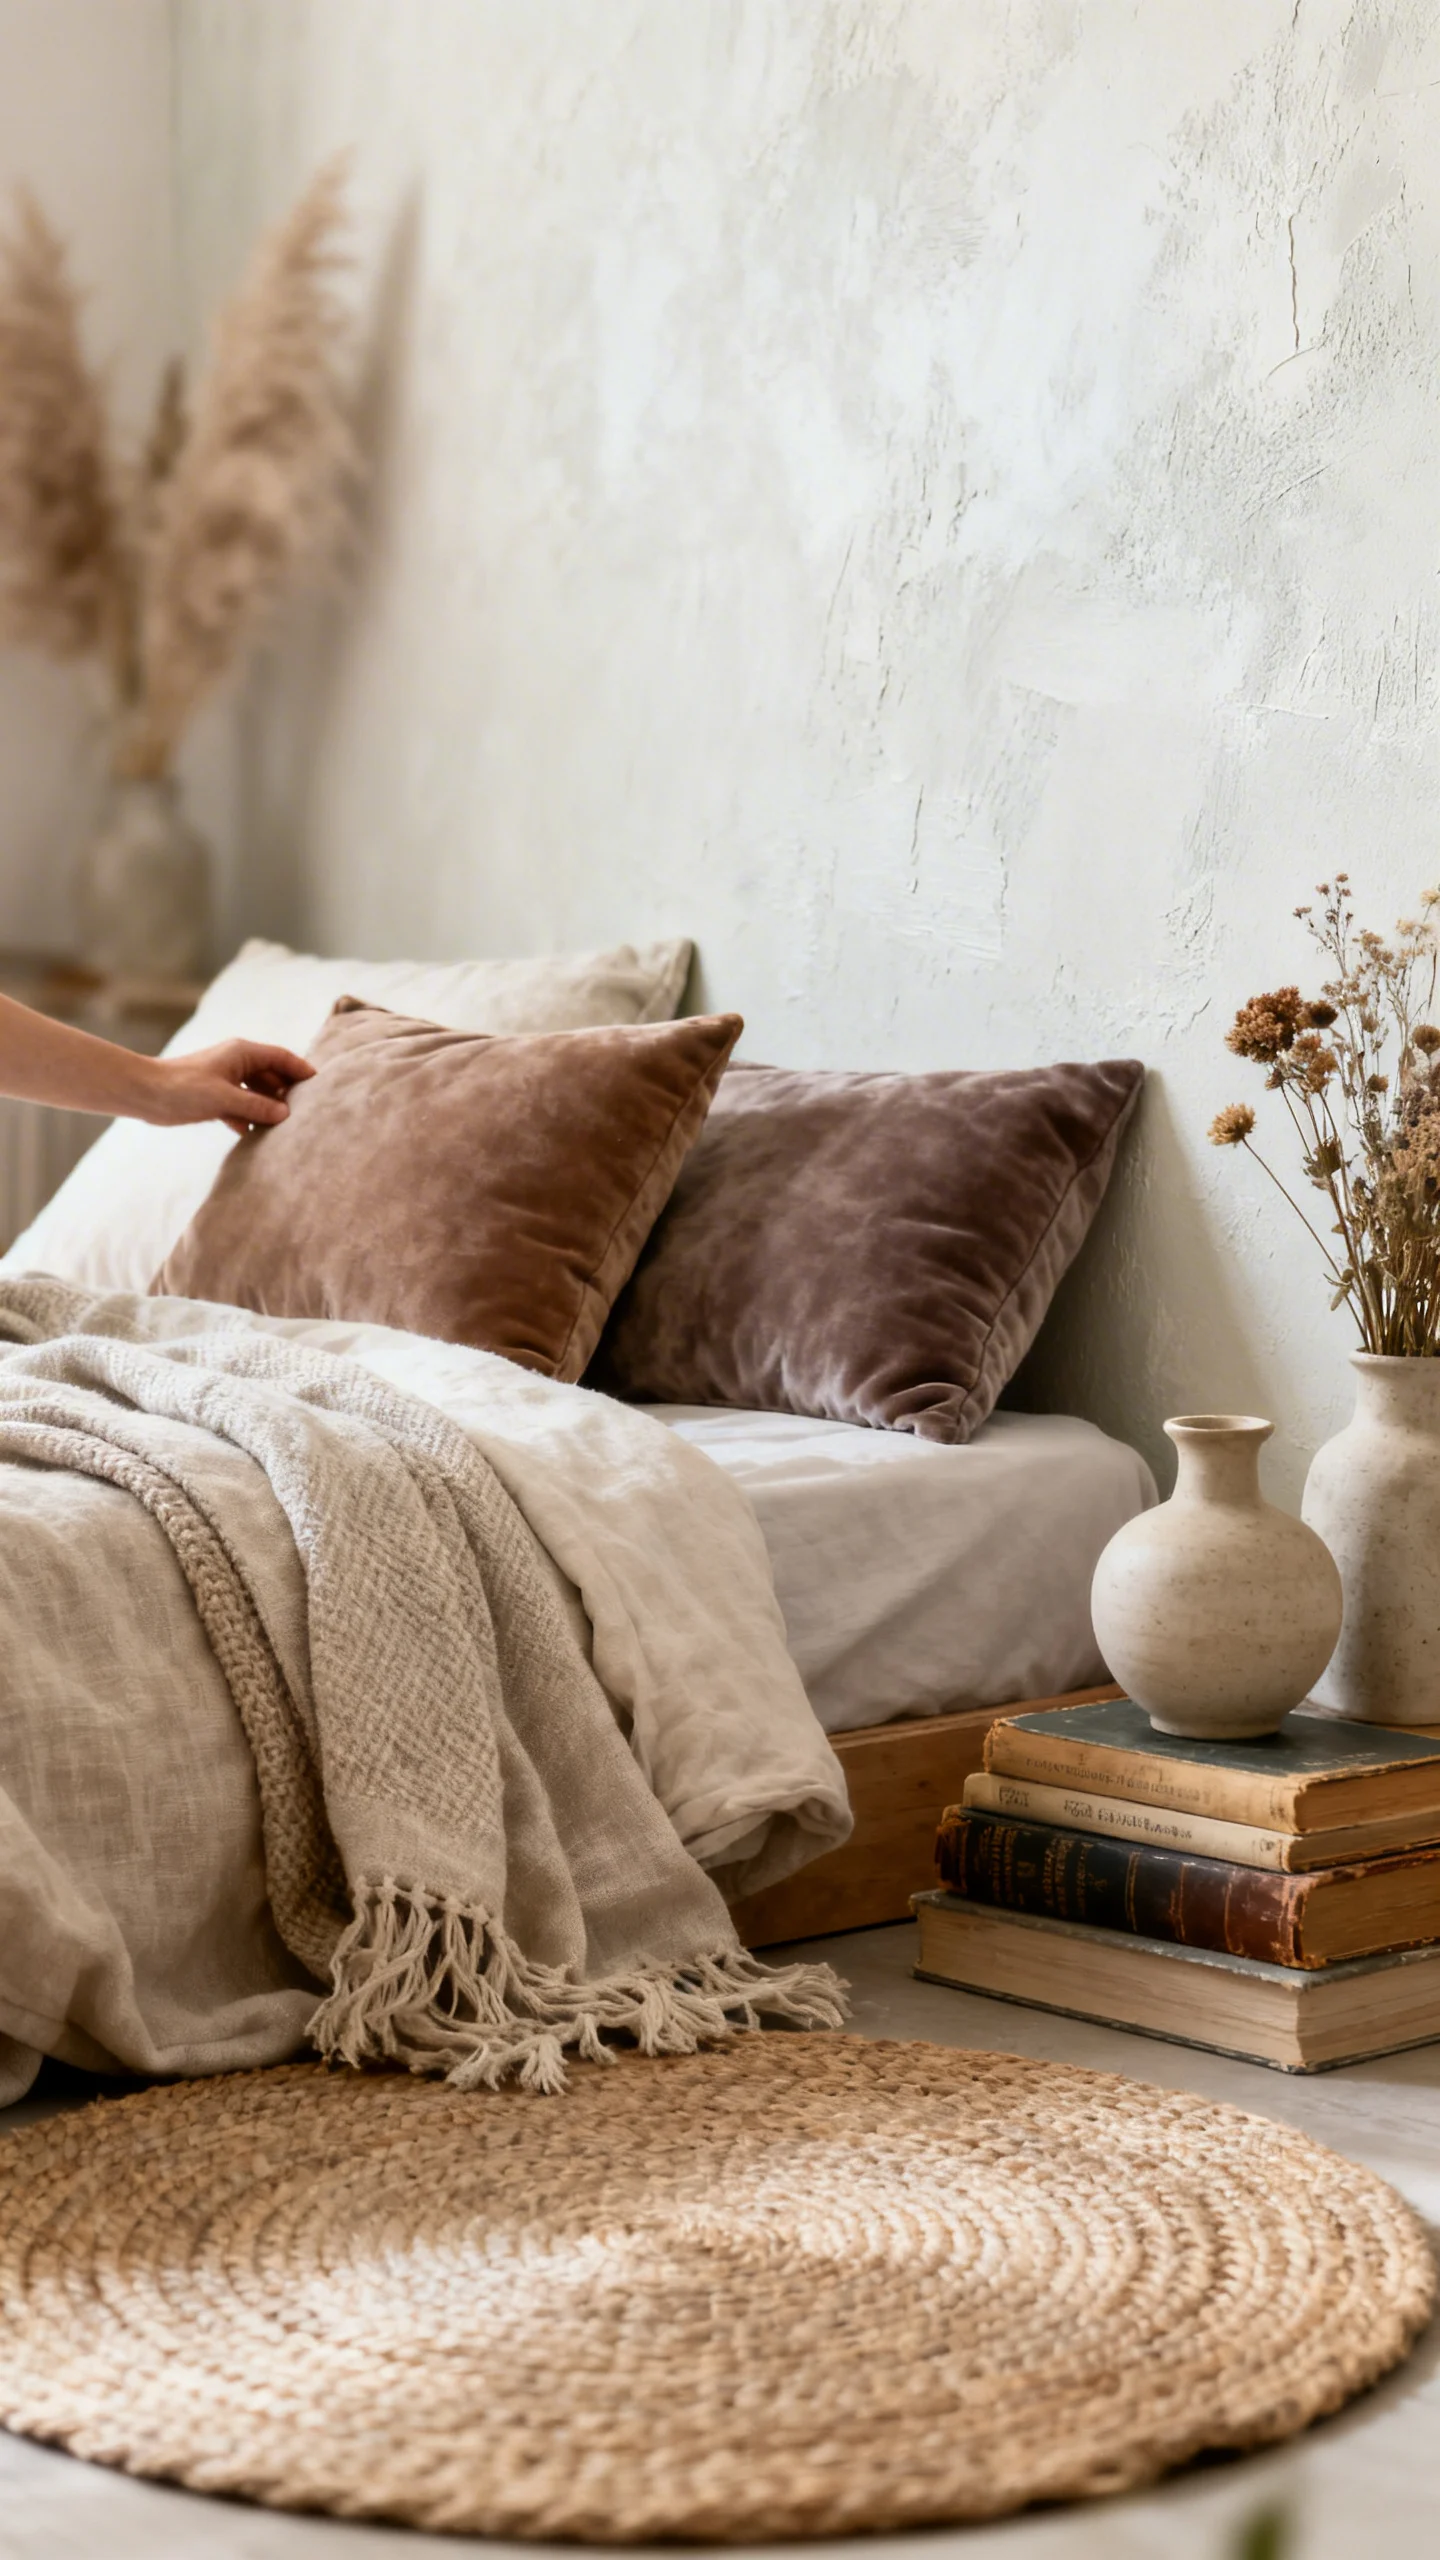
7) Refresh an Upholstered Piece with a Throw + Pillow “Slipcover” Hack
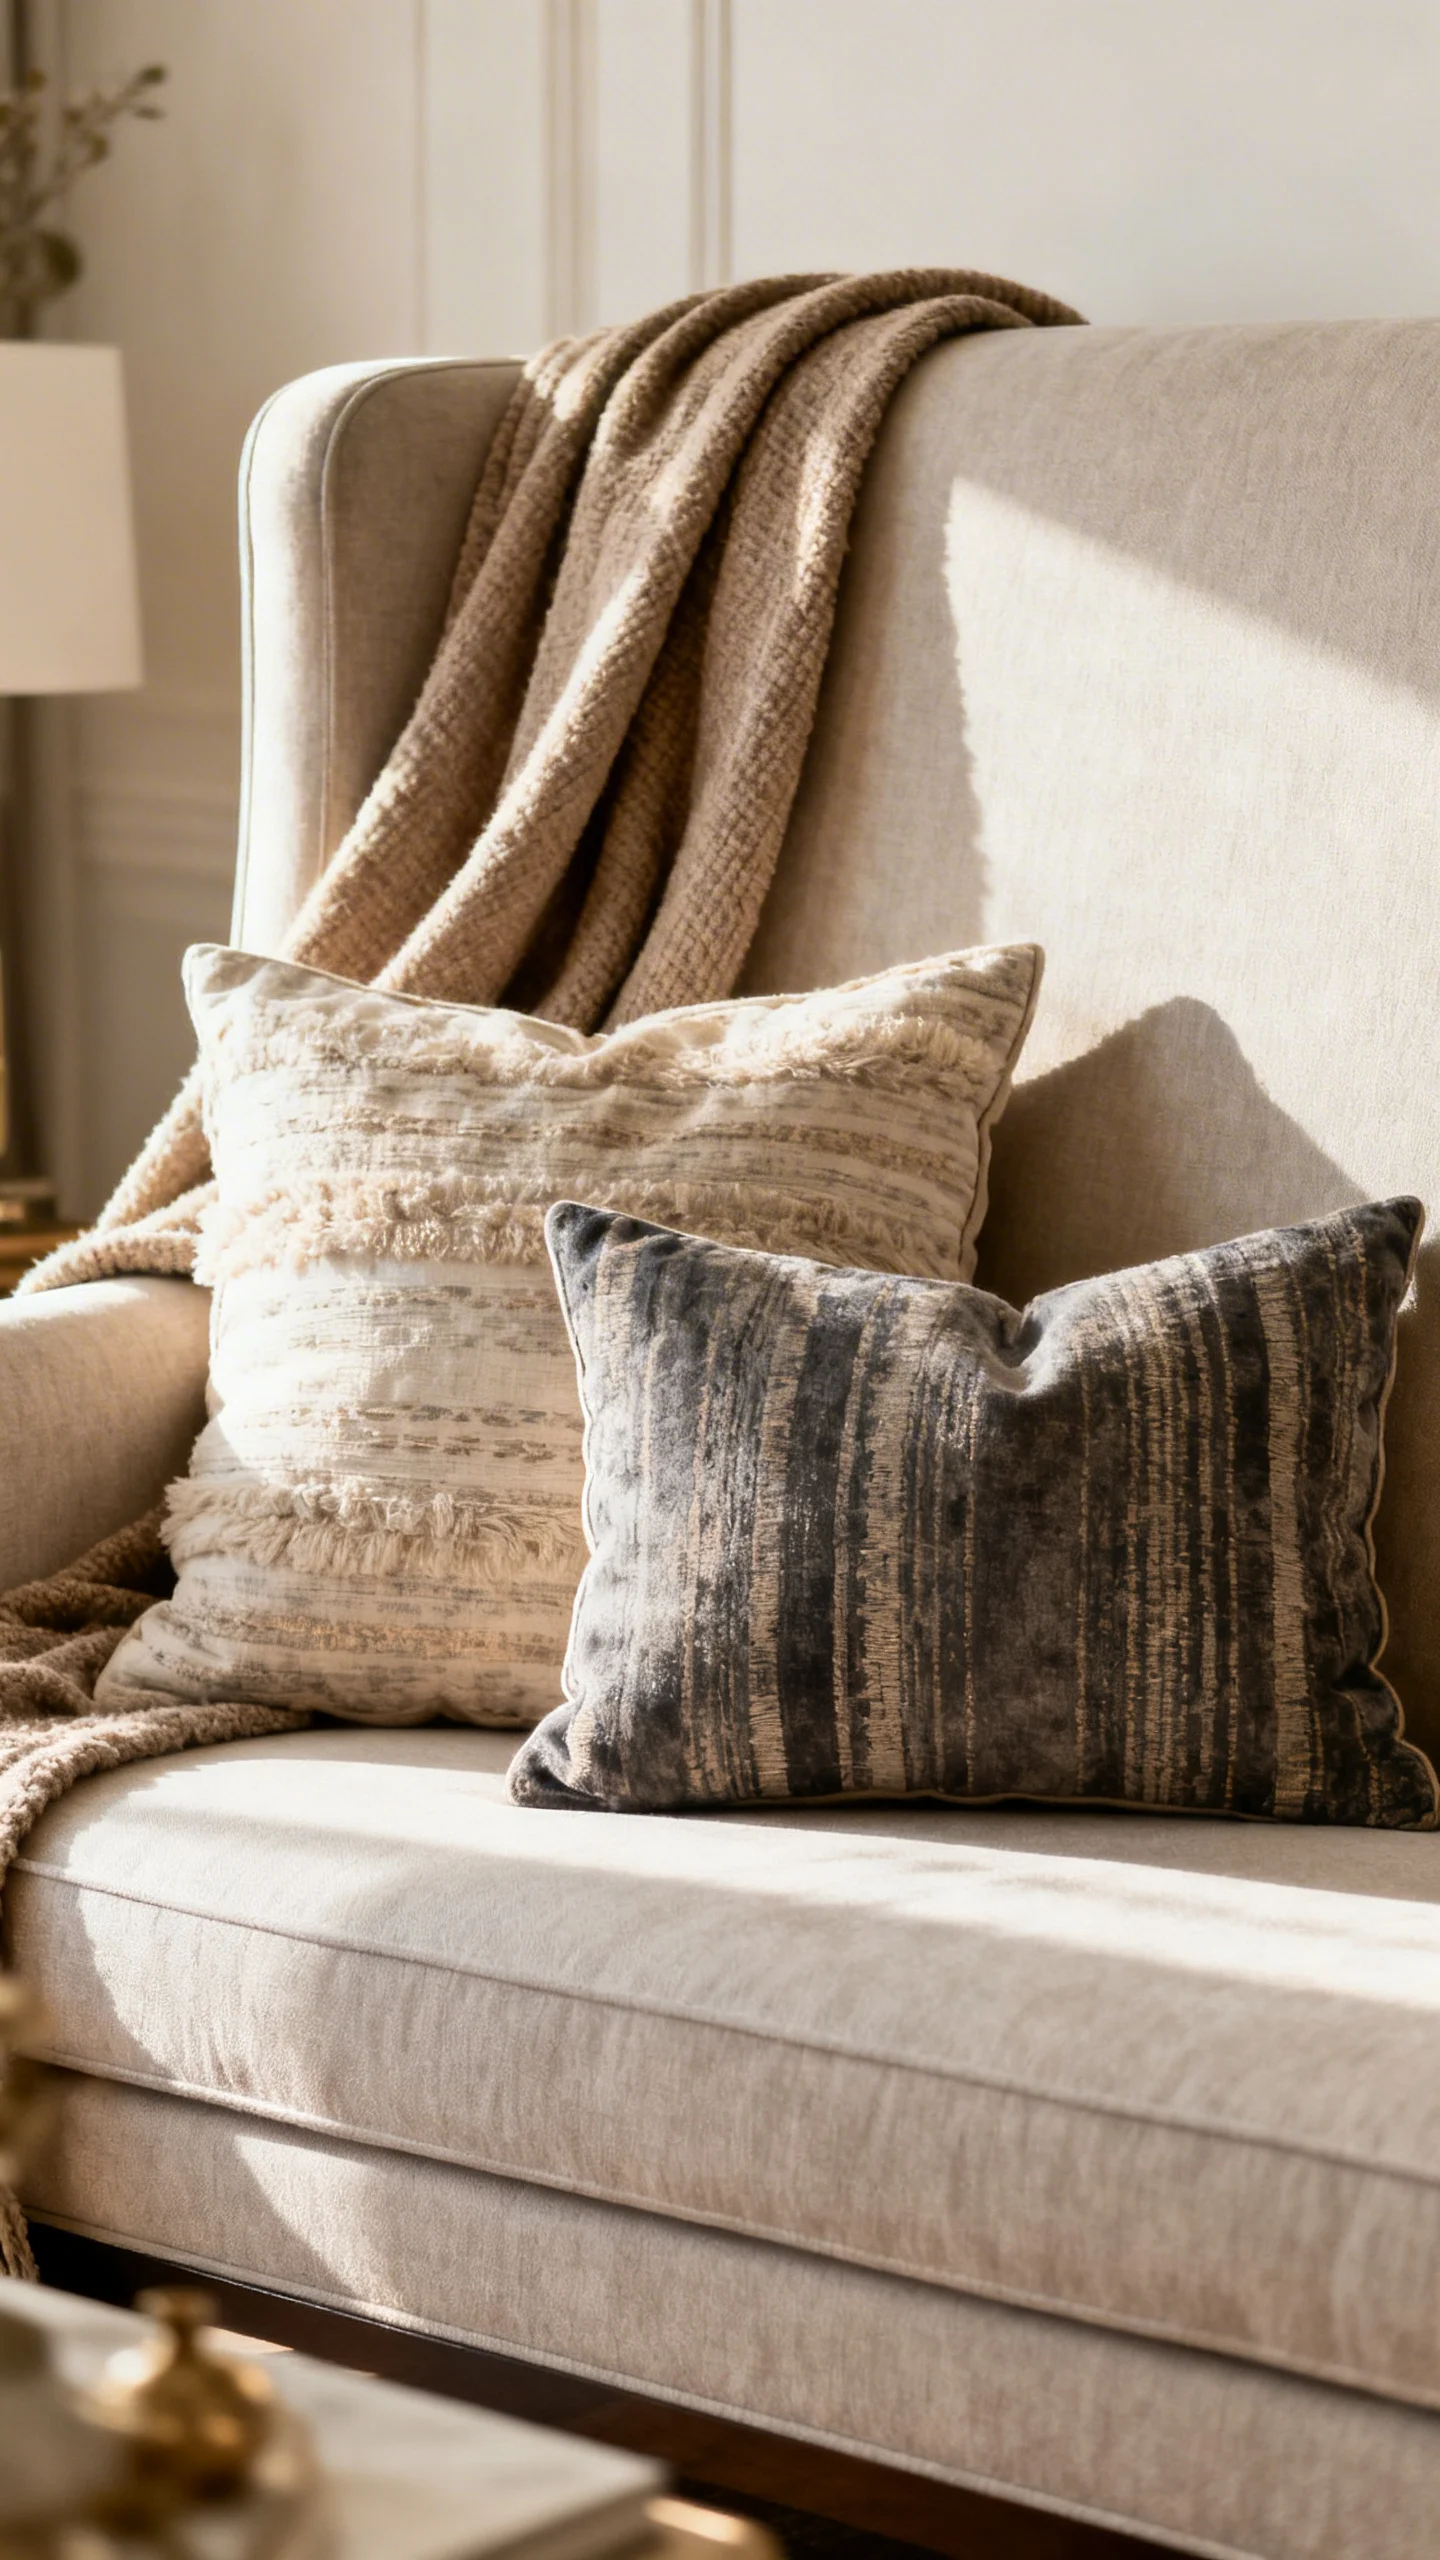
For beginners, upholstery can feel intimidating—so treat it like styling. A tired chair or bench can look remodeled with a draped throw that mimics a relaxed slipcover, plus one perfectly chosen pillow. The visual outcome: cozy, intentional, and totally updated for the season.
Try this: choose a neutral throw with texture (chunky knit, linen blend, boucle-inspired) and tuck it neatly for a tailored look. Add one pillow in a print that matches your room’s palette—block print, soft stripe, or a small-scale floral for that Pinterest “collected” finish.
8) Use Caning, Rattan, or Woven Details for Airy Texture on a Budget
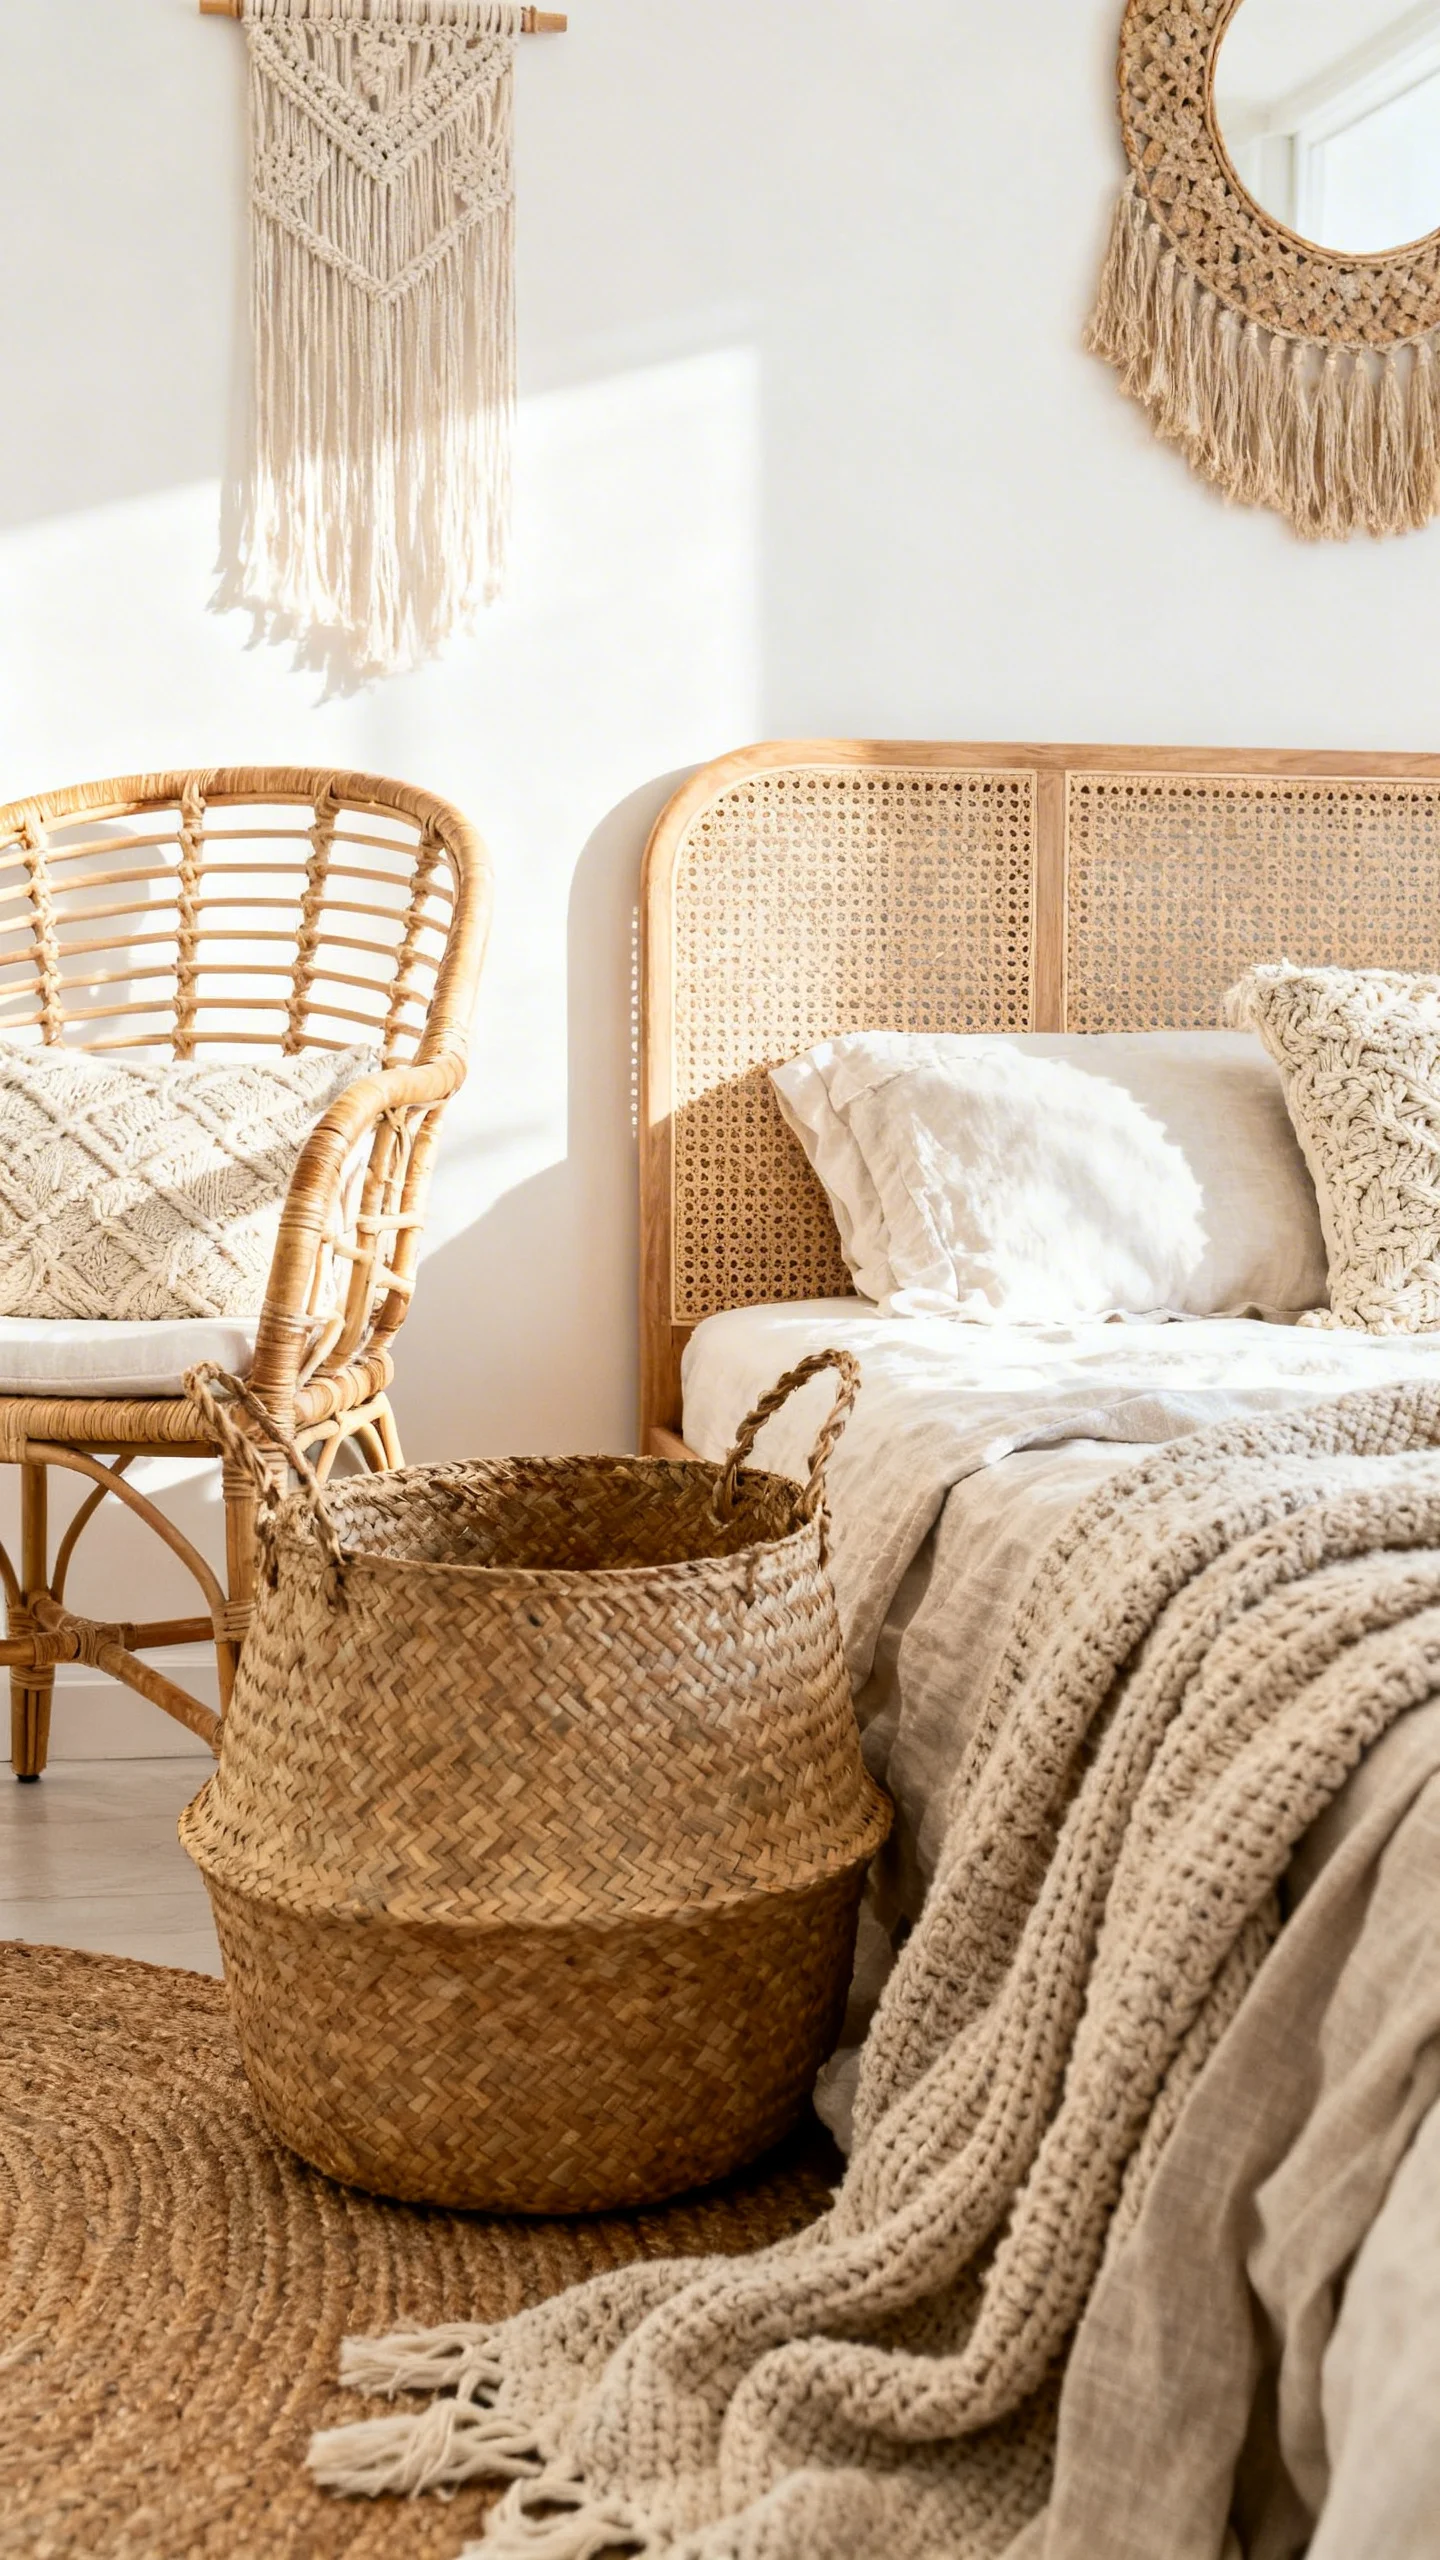
Woven texture instantly lightens bulky furniture and adds that airy, curated feel you see in bright bedrooms and calm living rooms. Picture a basic cabinet with rattan-style panels, or a plain headboard area made more interesting with a woven insert vibe. The look is warm, organic, and effortlessly chic.
Beginner-friendly approach: add a woven detail only on the most visible surface (like the cabinet doors or side panels), then echo the texture in styling—maybe a seagrass basket, a rattan tray, or a woven lamp shade to tie it all together.
9) Turn “Nothing Special” into Glam-Quiet Luxury with Metallic Accents
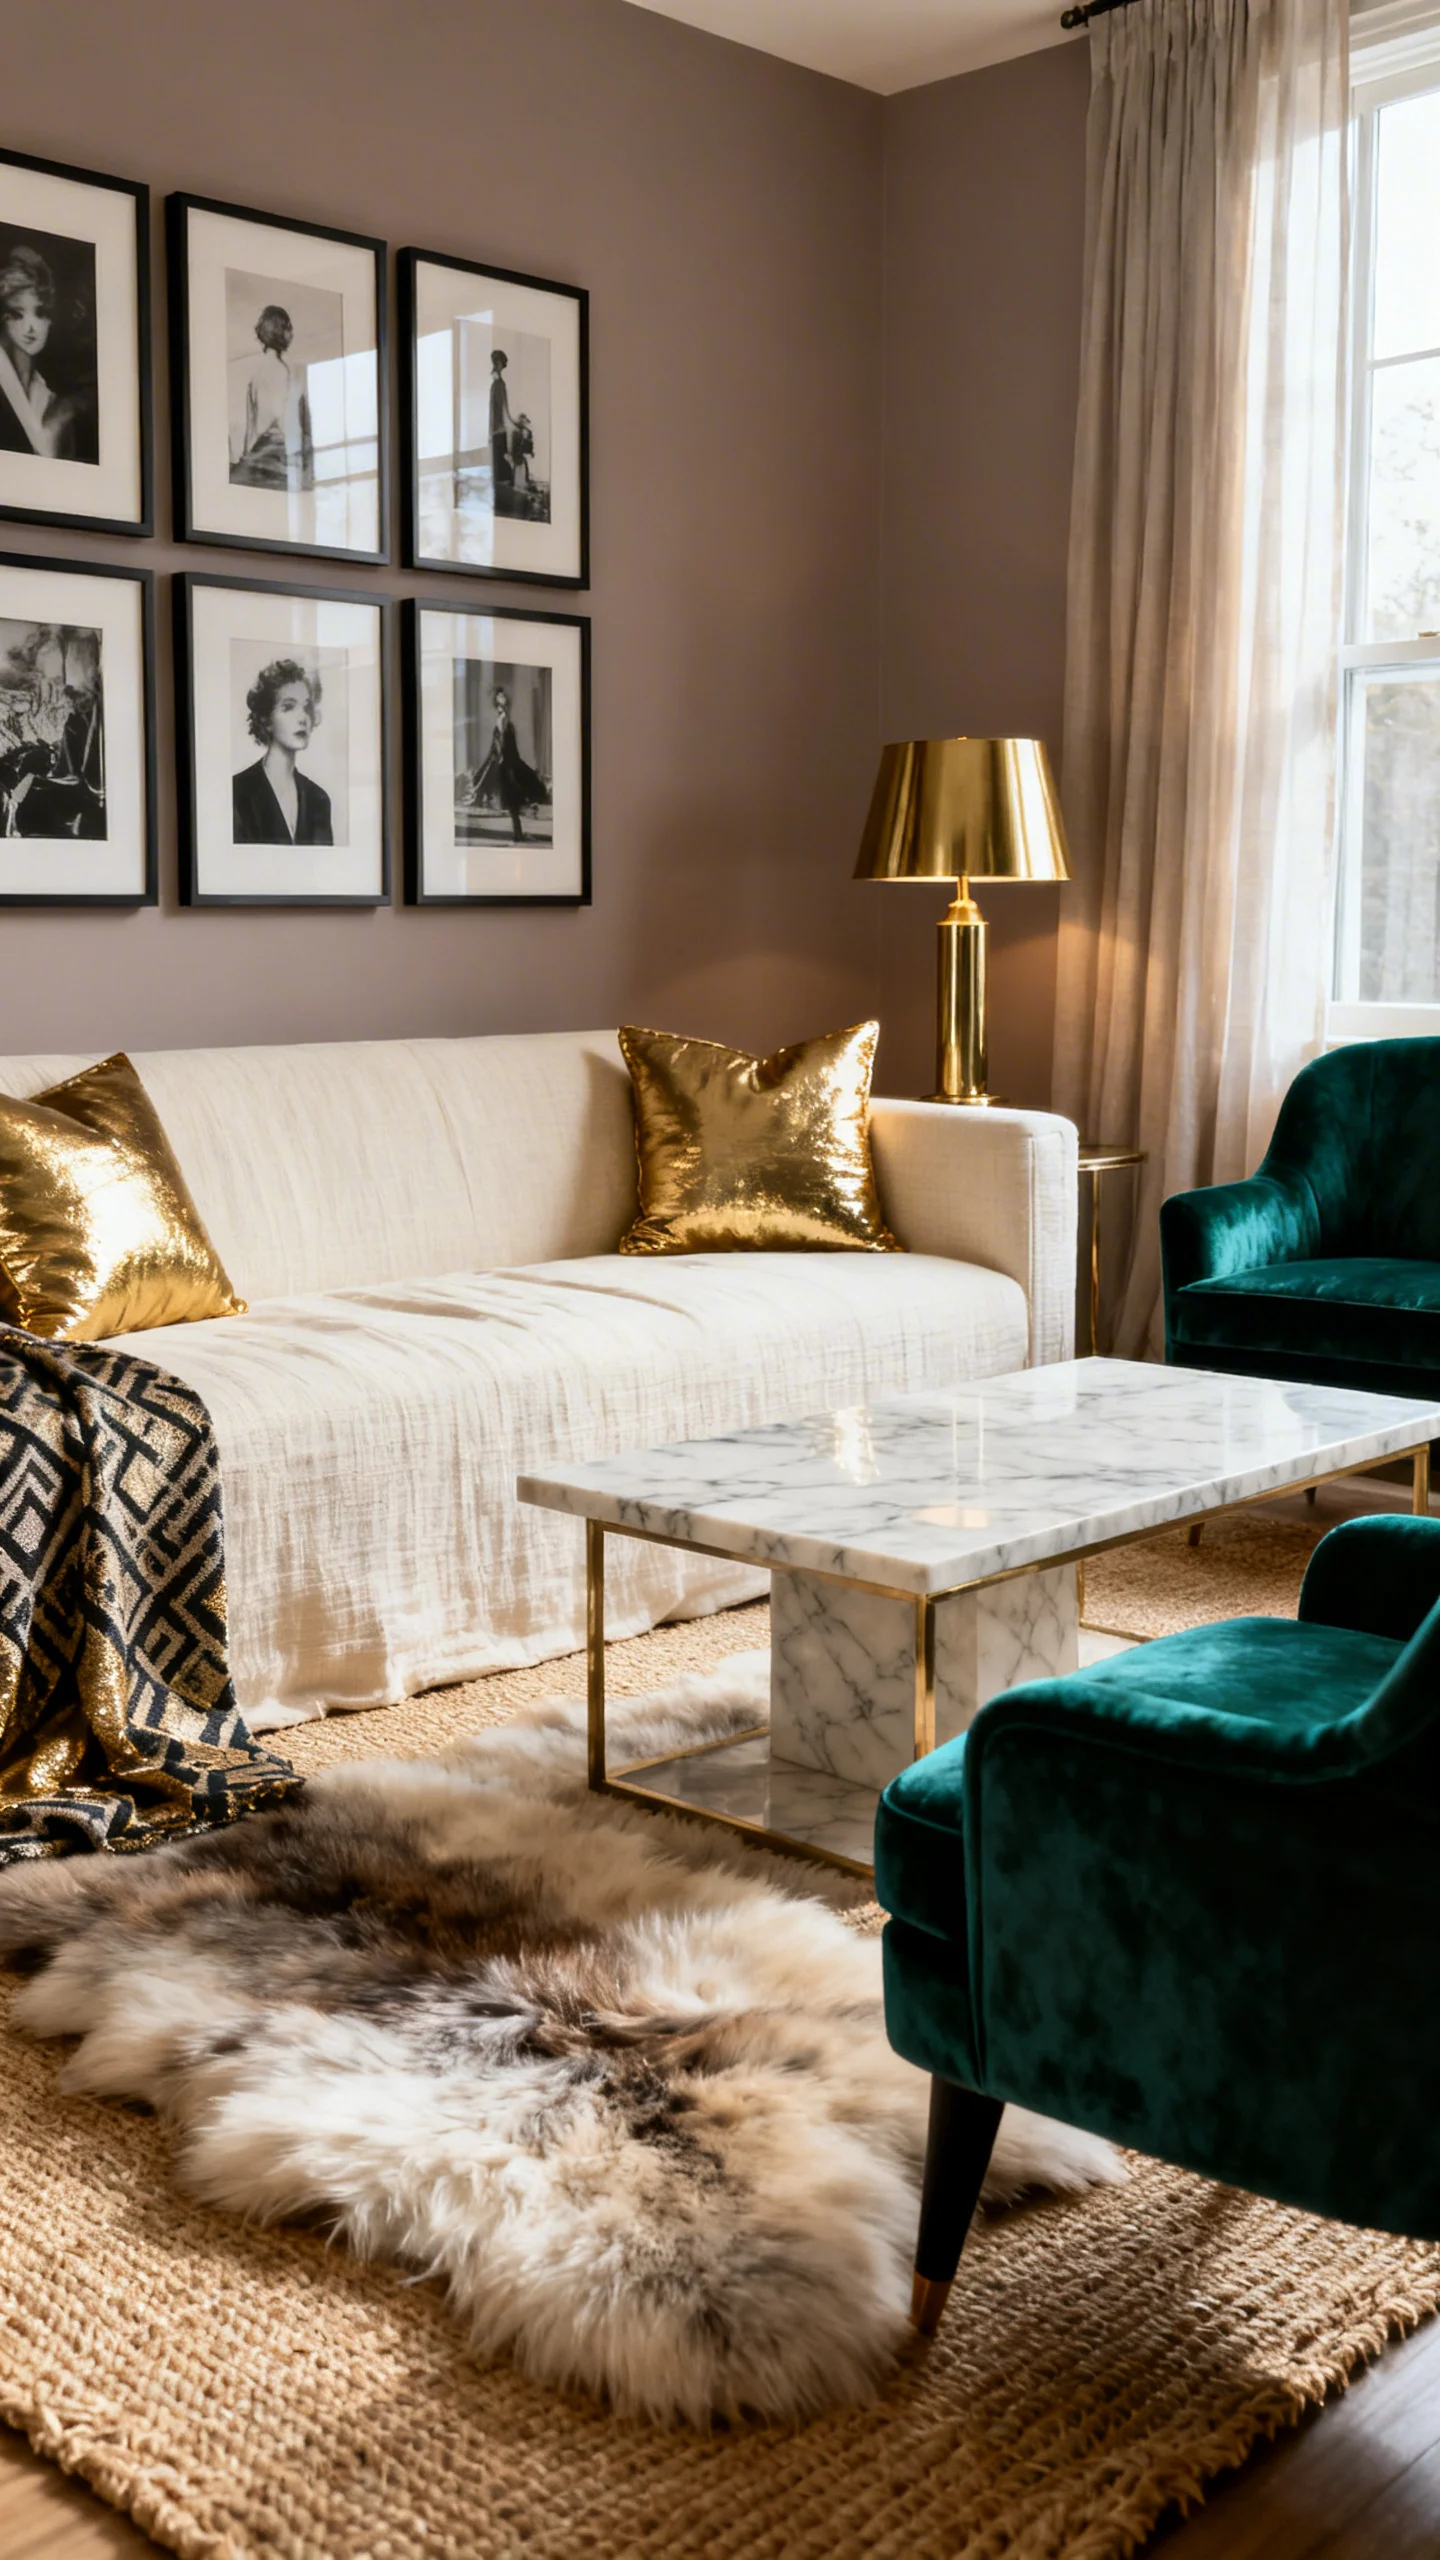
Metallic touches can make budget pieces feel elevated fast—especially when you keep the rest of the palette calm. Imagine a simple vanity in soft white with warm gold accents in the styling, or a dark dresser topped with a mirror and a few brass-toned details for a subtle glow.
Two easy actions: style with a gold-toned tray and a small lamp for instant polish. Then add one reflective element—like a thrifted mirror or glass vase—so light bounces around and your remodeled piece feels boutique-worthy.
10) Finish with a “Styled Top” Recipe: The Secret to Looking Remodeled
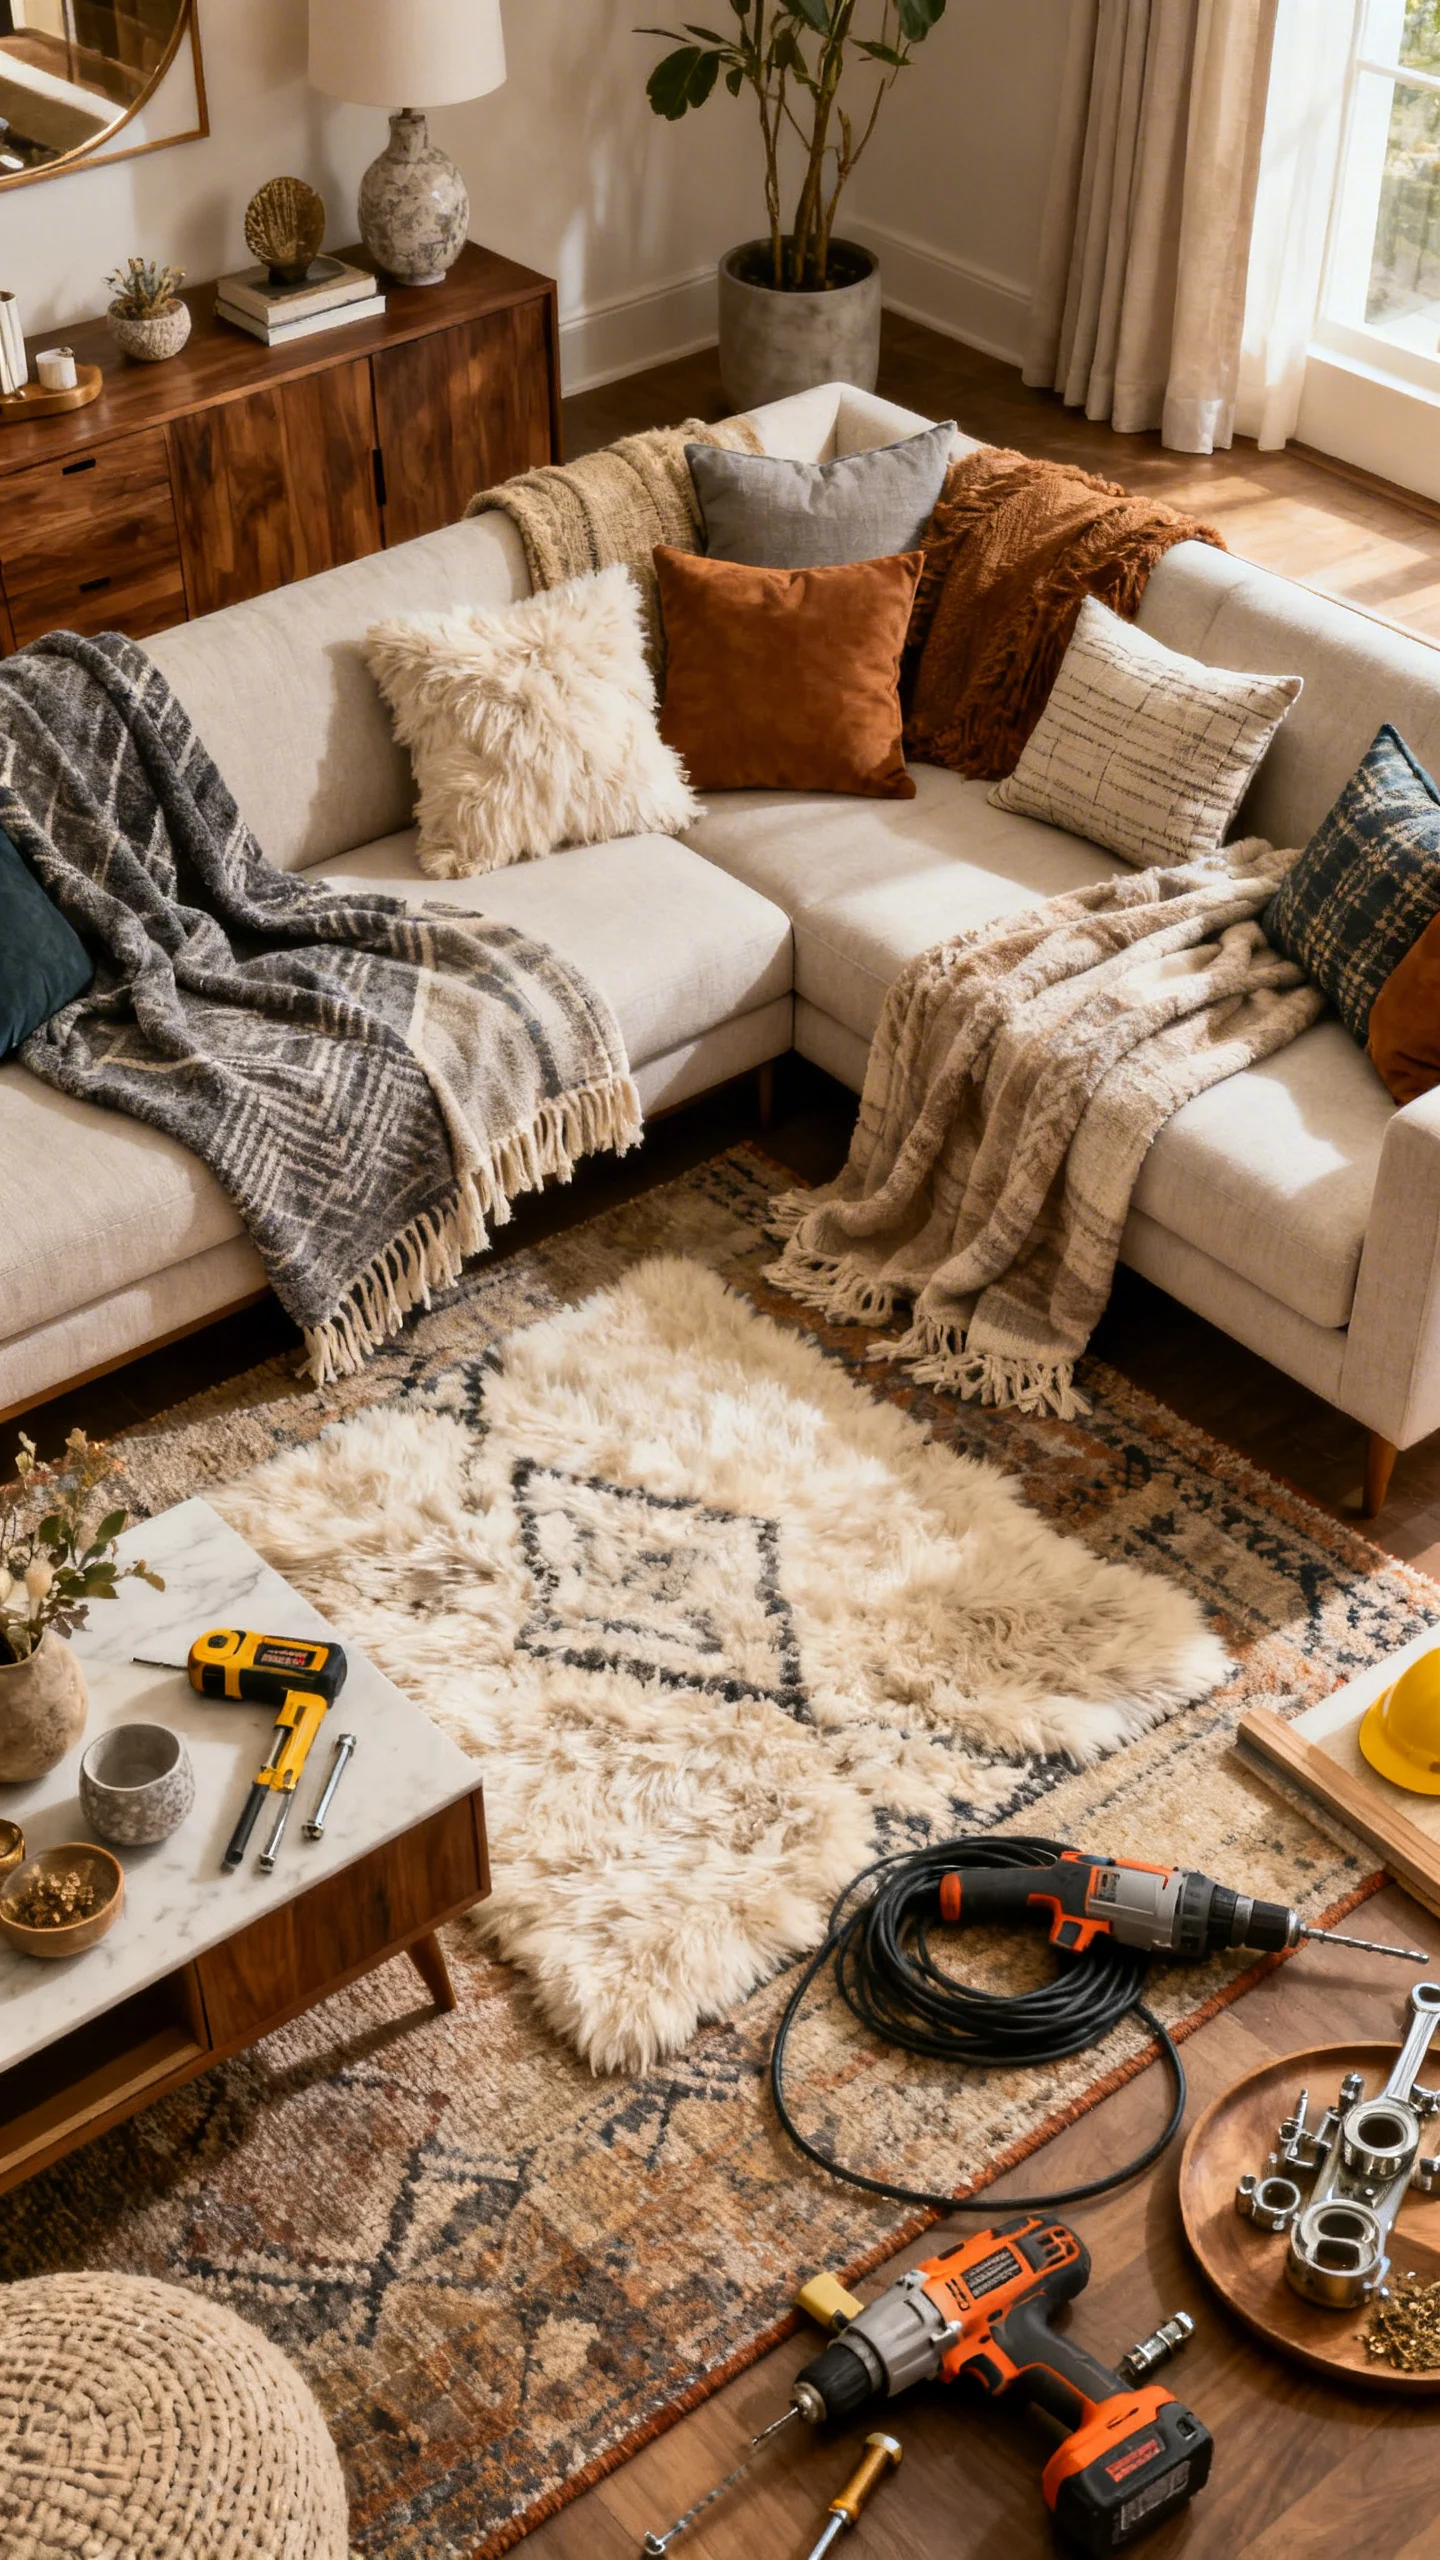
The most overlooked part of DIY furniture remodeling is the final photo-ready styling. A piece can be freshly updated, but it won’t feel done until the top (or shelf) looks intentional. The visual goal: a simple vignette with height, softness, and one personal detail—clean, not cluttered.
Use an easy recipe: (1) one tall item (lamp or vase with stems), (2) one grounding piece (tray or stack of books), and (3) one personal accent (framed photo, small sculpture, candle). Keep colors within a tight palette—two neutrals plus one accent—for that calm Pinterest finish.
FAQ
What’s the easiest beginner furniture remodel that still looks expensive?
A clean, modern paint color plus a styled top vignette is the quickest transformation. Soft warm white, greige, or charcoal instantly updates the silhouette, and a simple lamp + tray + vase makes the piece feel finished and intentional.
How do I choose a color so my remodeled furniture matches my room?
Pull from what you already have: look at your rug, curtains, or bedding and choose either a coordinating neutral (warm white, beige, taupe) or one deeper accent (navy, forest, espresso). Repeating that color in one or two accessories nearby makes the remodeled piece feel like it belongs.
What’s a budget-friendly way to add character without doing a full makeover?
Update only the most visible area: drawer fronts with peel-and-stick pattern, a two-tone top, or woven texture on doors. Then style with one statement object (a mirror or lamp) so the furniture reads like a focal point, not just storage.
How can I remodel mismatched thrifted furniture so it looks cohesive?
Unify with one consistent finish (same paint tone or same level of sheen) and repeat a texture across pieces—like woven baskets, linen shades, or black-and-white art. Cohesion comes from repetition, not perfect matching.
How do I keep DIY furniture remodeling affordable if I’m doing multiple pieces?
Choose a “collection” plan: one main paint color for everything, one accent color for small details, and a consistent styling vibe (minimal, cottage, or modern organic). Buying fewer colors and repeating accessories creates a designer look while keeping costs controlled.