
DIY Bathroom Design Ideas That Look Professionally Done
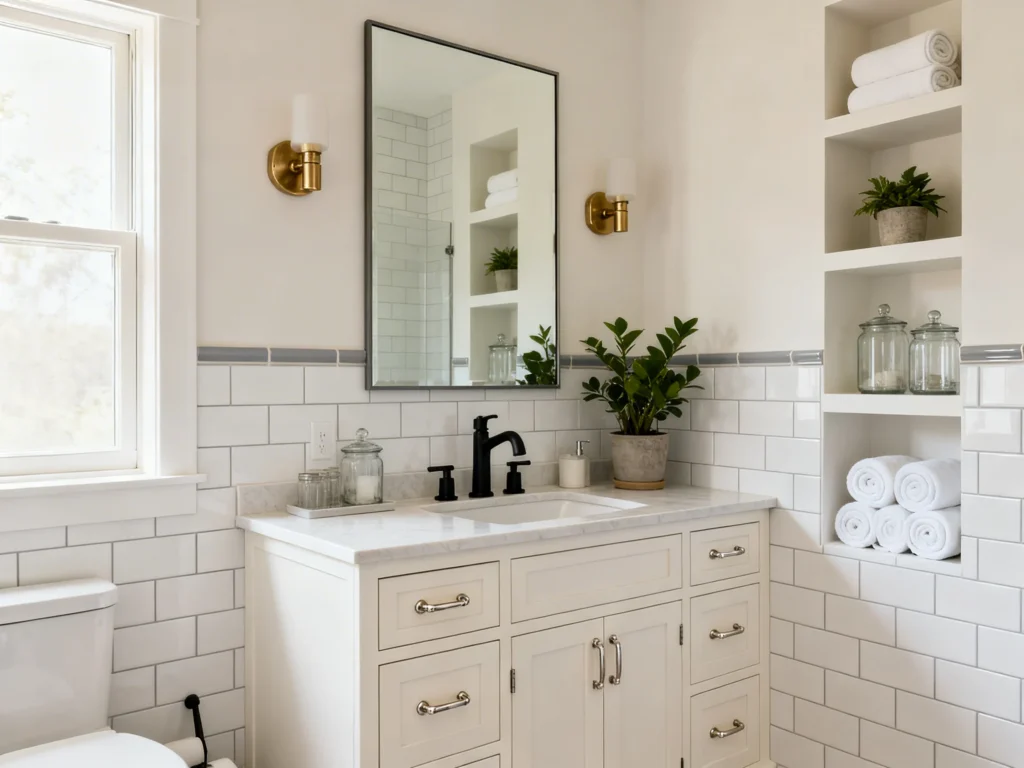
A bathroom can look “designer” without a full gut renovation—you just need a few pro-level rules and a more intentional approach to finishes, spacing, and details.
These DIY bathroom design ideas focus on the exact upgrades that read high-end on camera and in real life, with practical measurements, material notes, and step-by-step guidance you can actually use.
1) Plan Your Layout Like a Pro (Clearances First, Style Second)
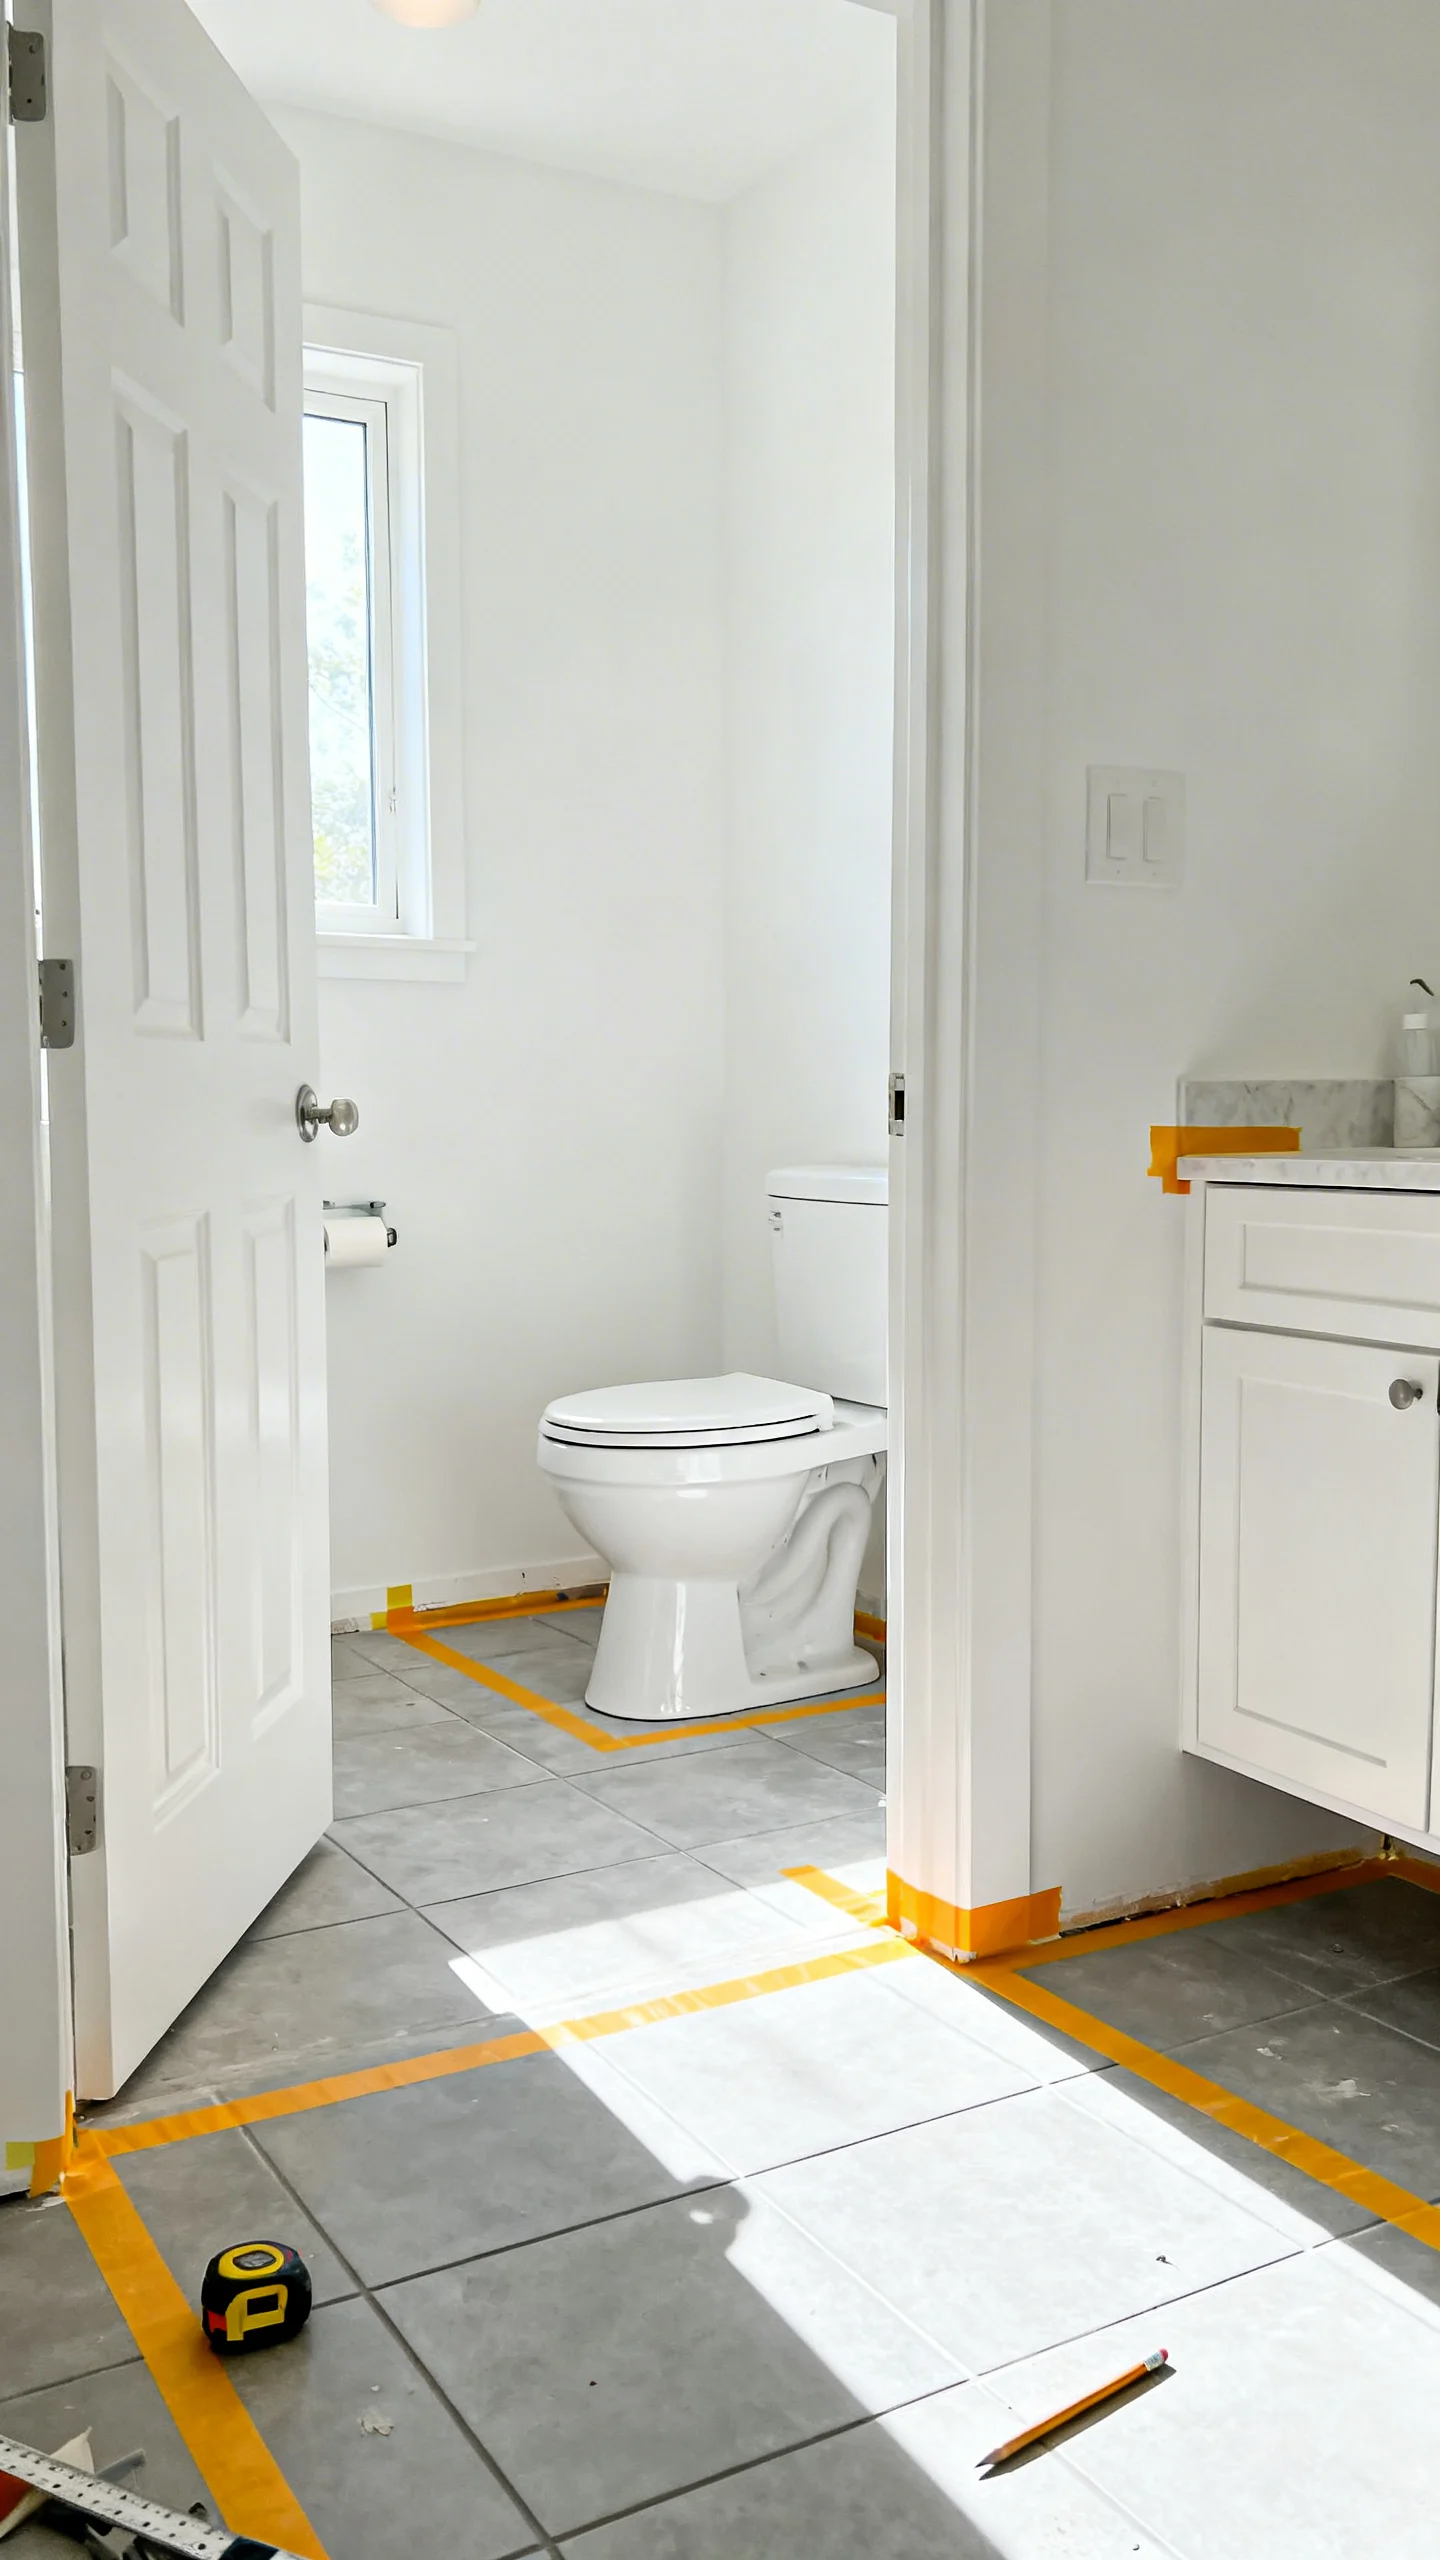
The fastest way to make a bathroom feel professionally done is getting the spacing right. Before you buy anything, measure the room and mark key clearances with painter’s tape. Aim for at least 21 inches of clear floor space in front of the toilet and vanity, and about 30 inches (or more) in front of a shower entry for comfortable movement. If you’re replacing a vanity, confirm the door swing and drawer pull clearance so nothing collides. A “pro” trick: dry-fit your plan on paper first, then tape it on the floor—if it feels tight, it will look tight.
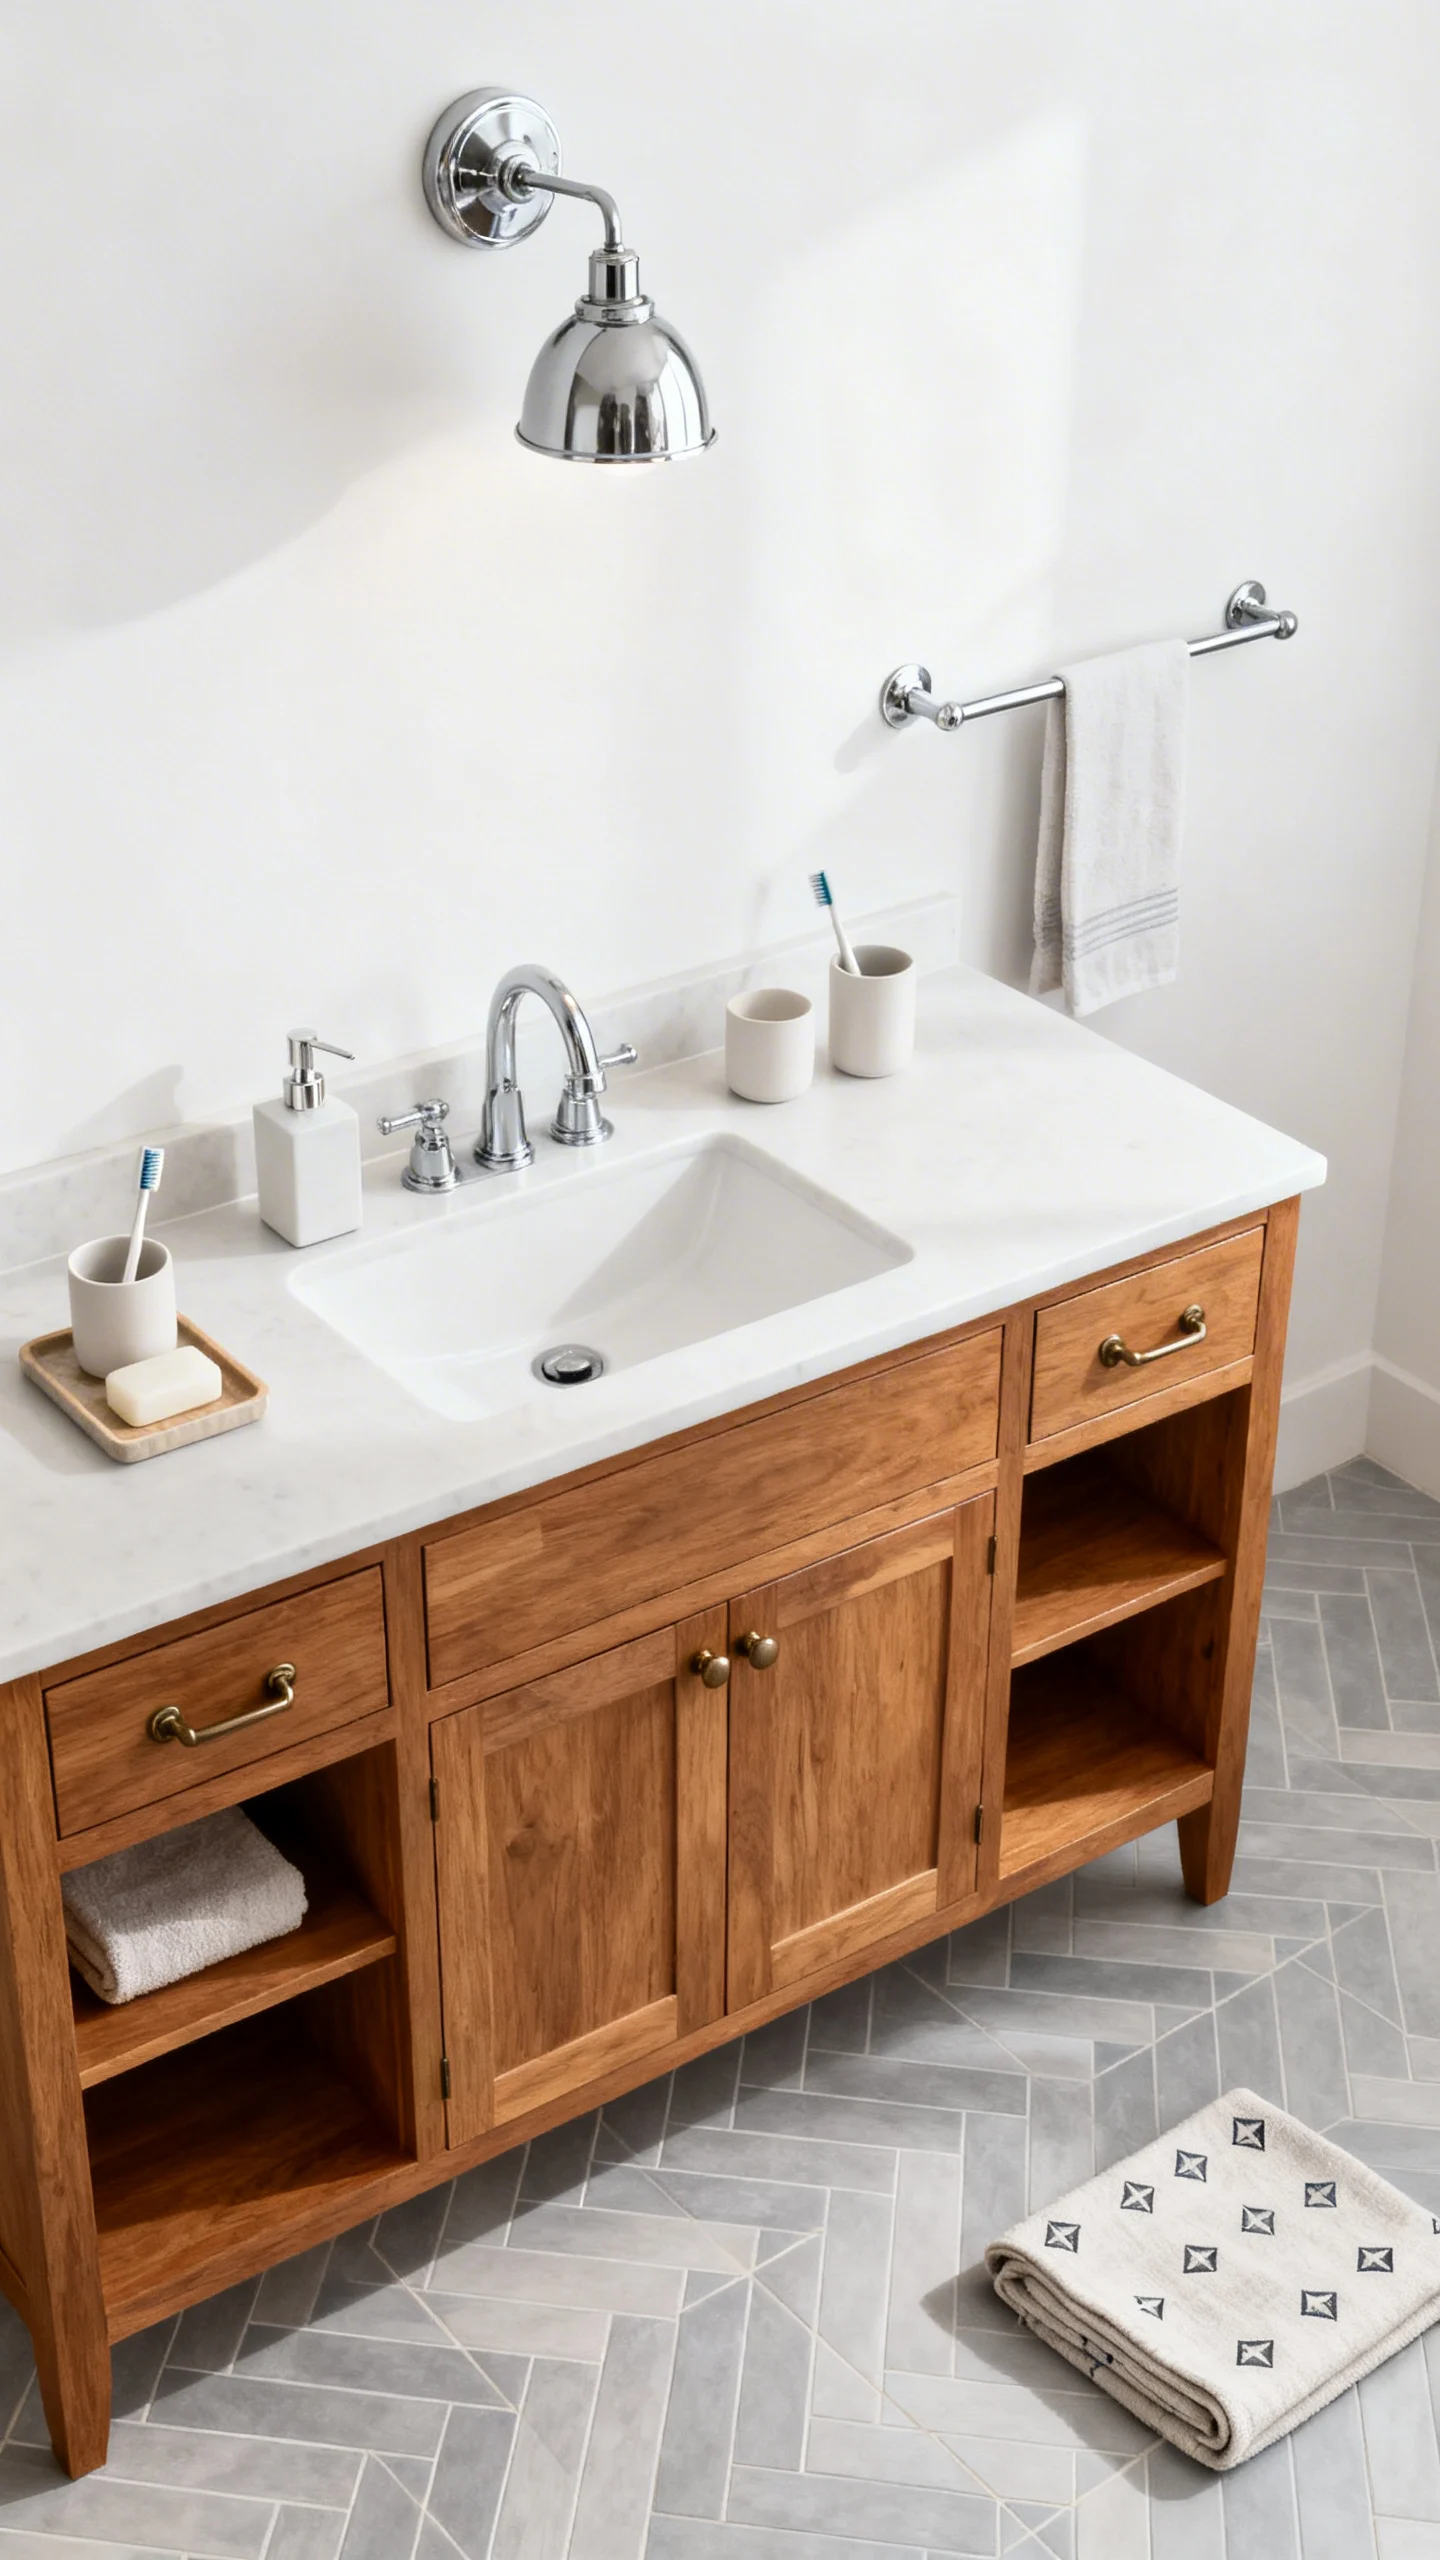
2) Upgrade the Vanity Without Replacing It (Paint + Hardware Done Right)
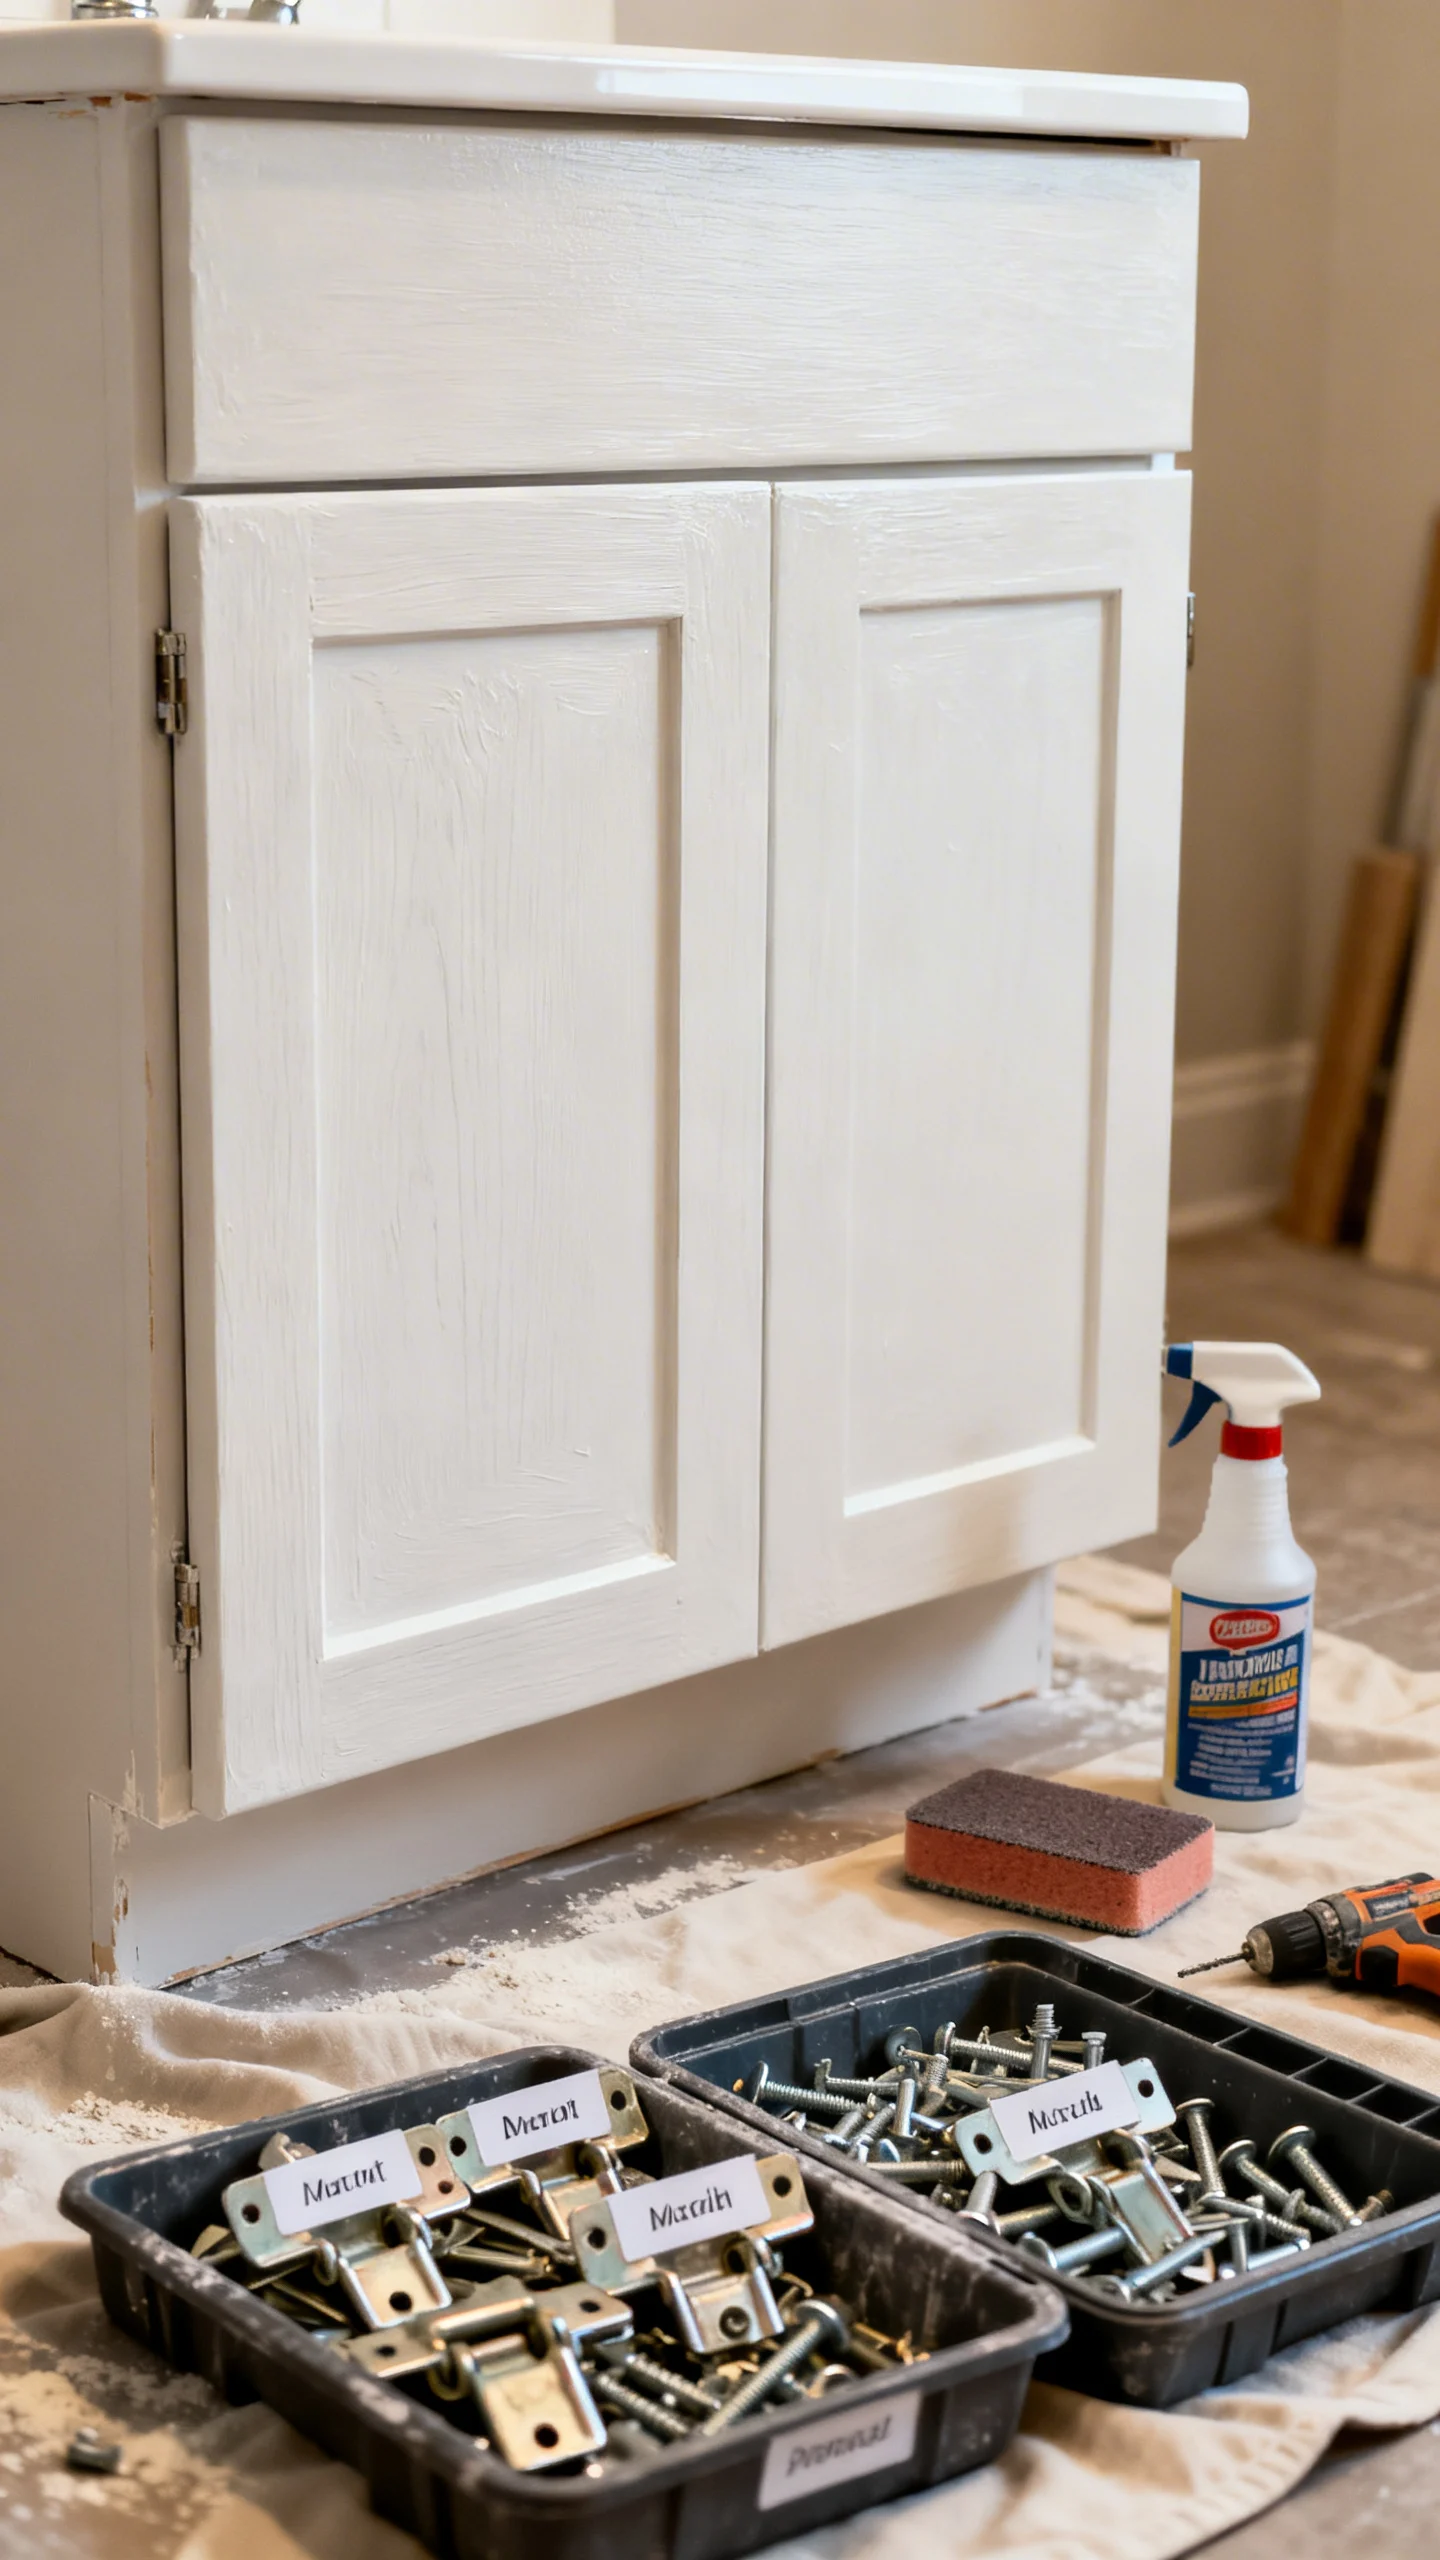
Painting an existing vanity can look custom if you treat it like cabinetry, not a craft project. Remove doors and drawers, label hinges, and clean thoroughly (degreaser matters in bathrooms). Lightly sand (typically 150–220 grit), then use a bonding primer designed for slick surfaces. For a smooth finish, use a high-quality enamel or cabinet paint and apply with a foam roller plus a fine brush for corners. Replace knobs/pulls with a coordinated set—center new pulls carefully, and use a drilling template so the spacing is consistent. If you change pull size, use wood filler and spot-prime for invisible repairs.
3) Choose a Faucet Finish Strategy (One Dominant Metal, One Supporting)
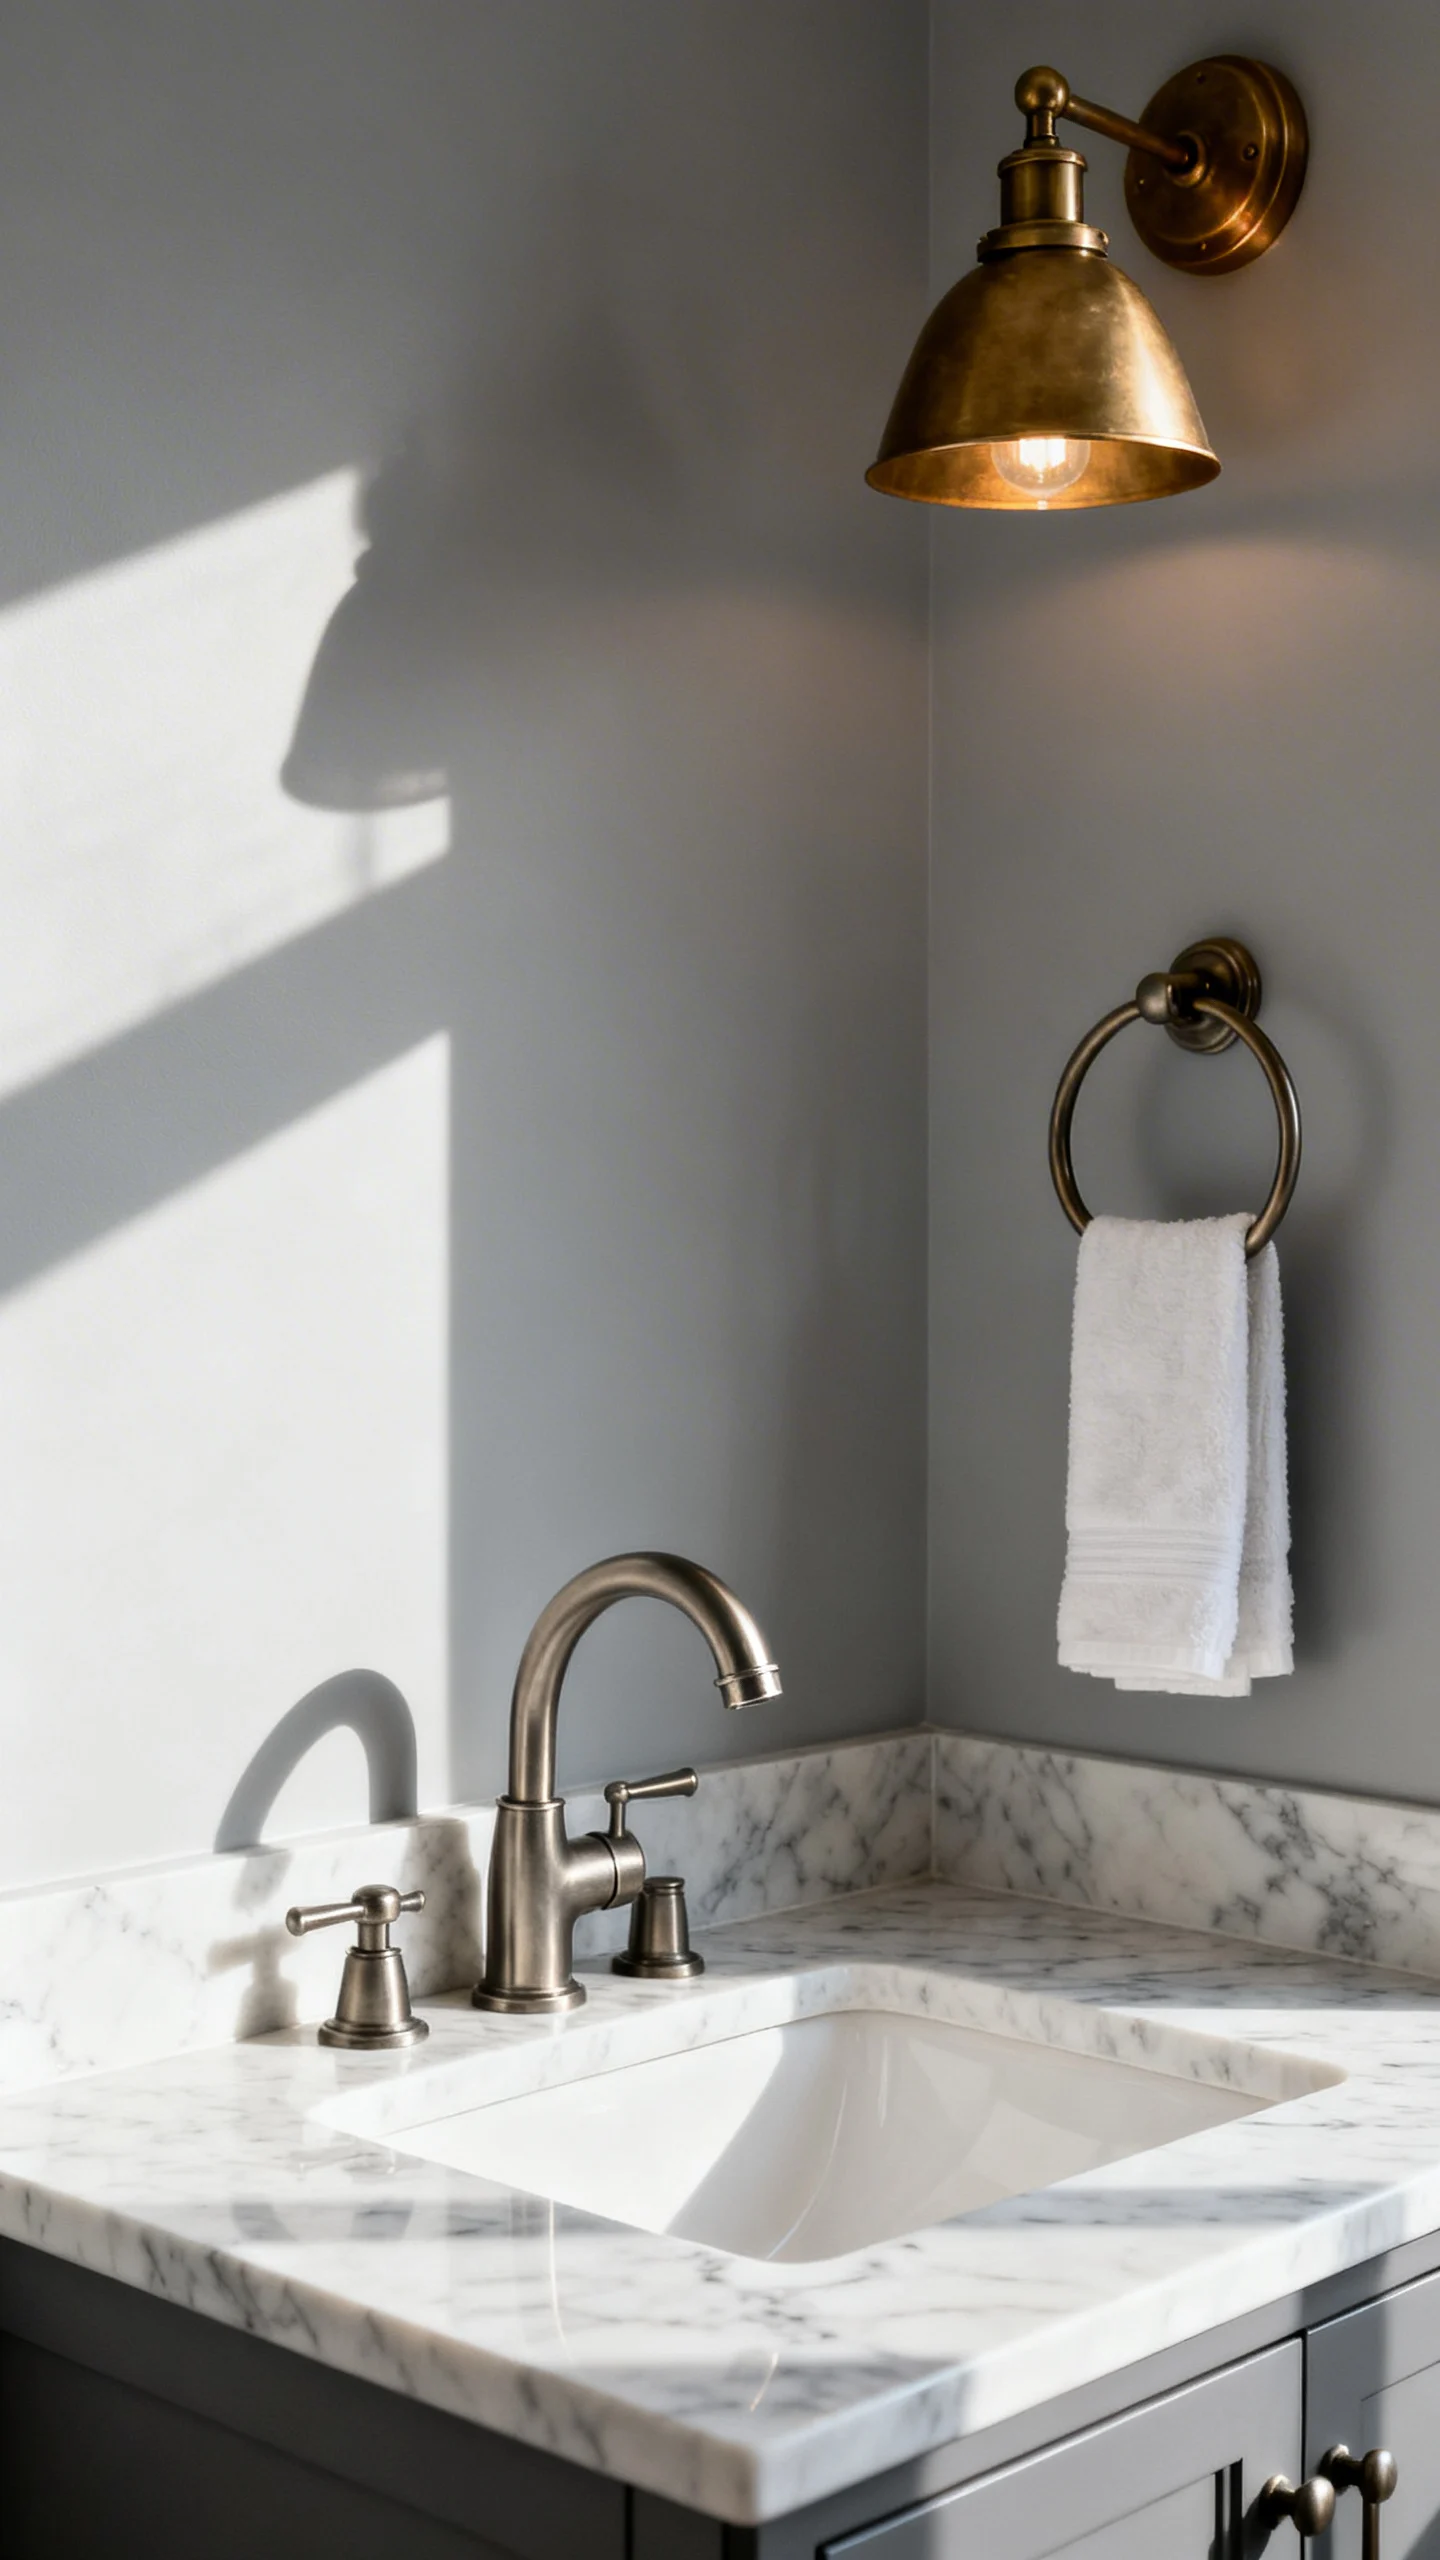
Mixed metals can look expensive—or messy. Keep it professional by choosing one dominant finish (like brushed nickel or matte black) for the faucet and main accessories, then one supporting finish (like brass) for lighting or cabinet hardware. As a rule of thumb, match the faucet and shower head finish so the bathroom reads cohesive. Consider water spotting: brushed finishes typically hide water marks better than polished. When swapping a faucet, measure the sink hole configuration (single-hole vs. 4-inch centerset vs. widespread) so you don’t end up with awkward plates or exposed holes.
4) Install a Mirror That’s Properly Sized (And Hang It at the Right Height)
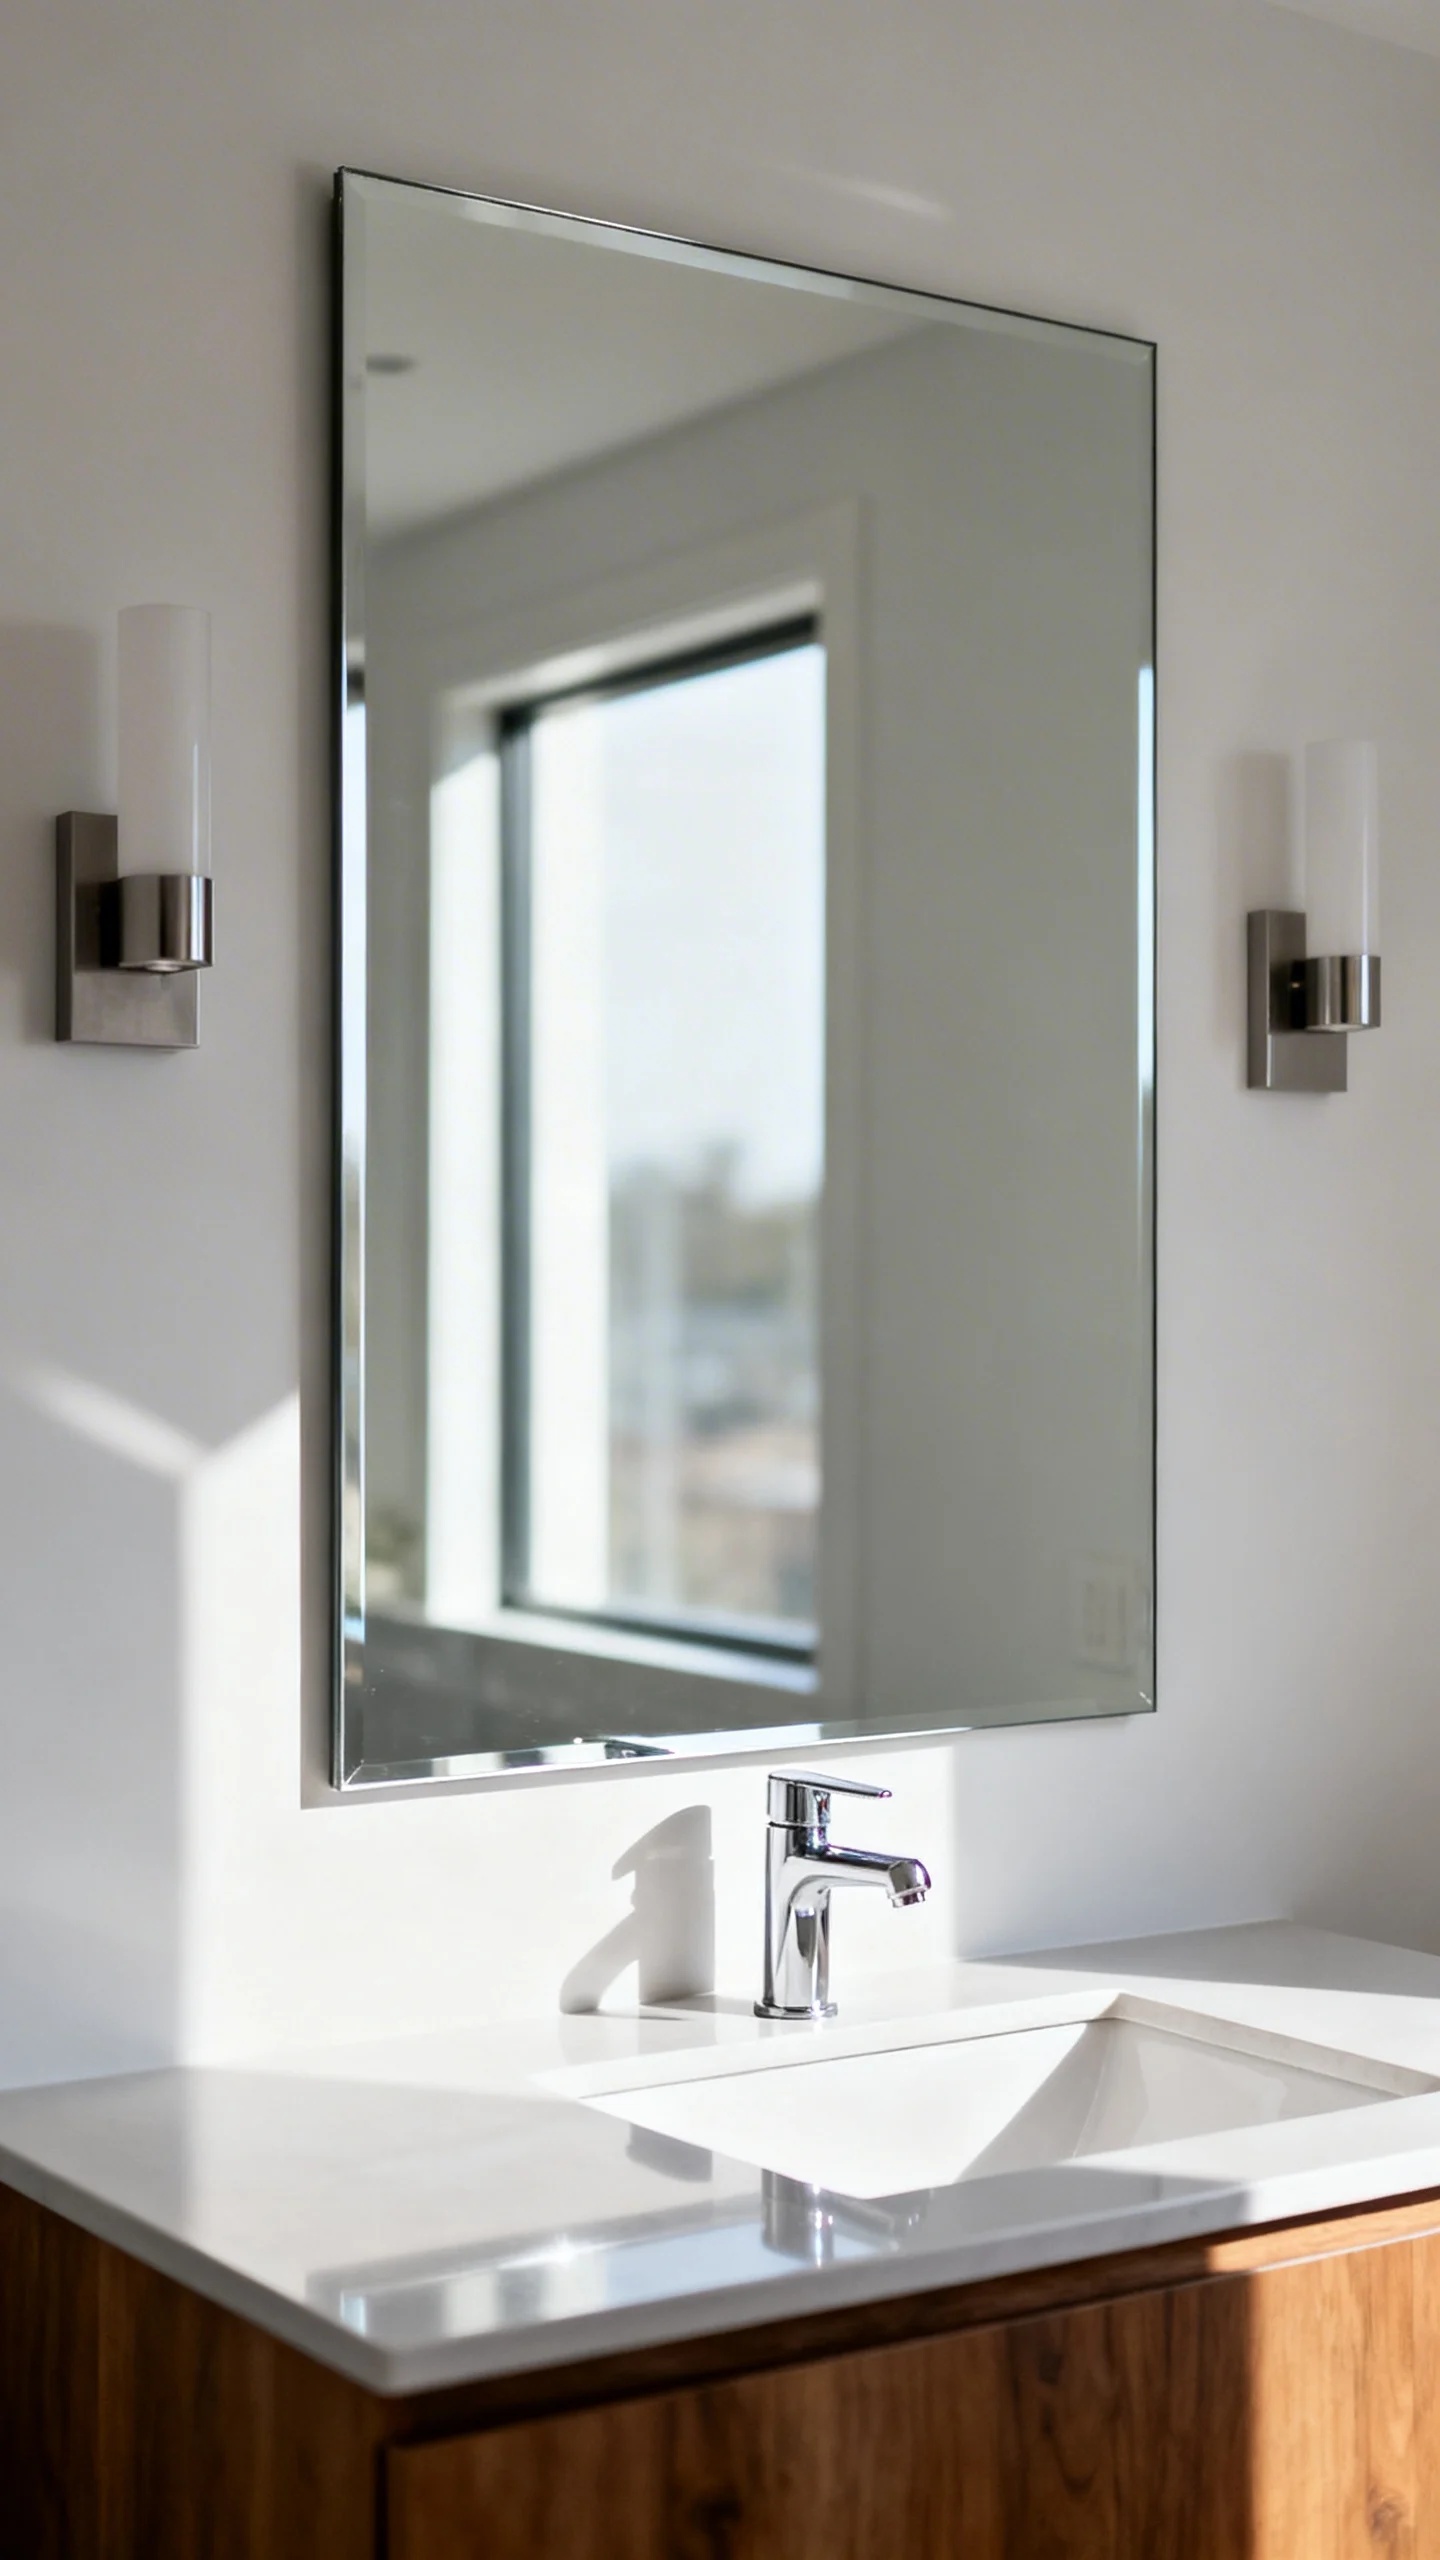
A mirror that’s the wrong scale can make an otherwise beautiful bathroom feel “DIY.” For a single vanity, aim for a mirror that’s roughly the same width as the vanity or slightly narrower (often 1–2 inches inset on each side looks intentional). Hang it so the center lands around 57–60 inches from the floor in many homes, adjusting for the users’ heights. Leave a comfortable gap above the faucet backsplash—typically 5–8 inches—so it doesn’t feel crammed. If you want instant polish, consider a framed mirror (wood or metal) rather than a basic builder sheet.
5) Use Sconces (or Better Placement) to Get Flattering, Professional Lighting
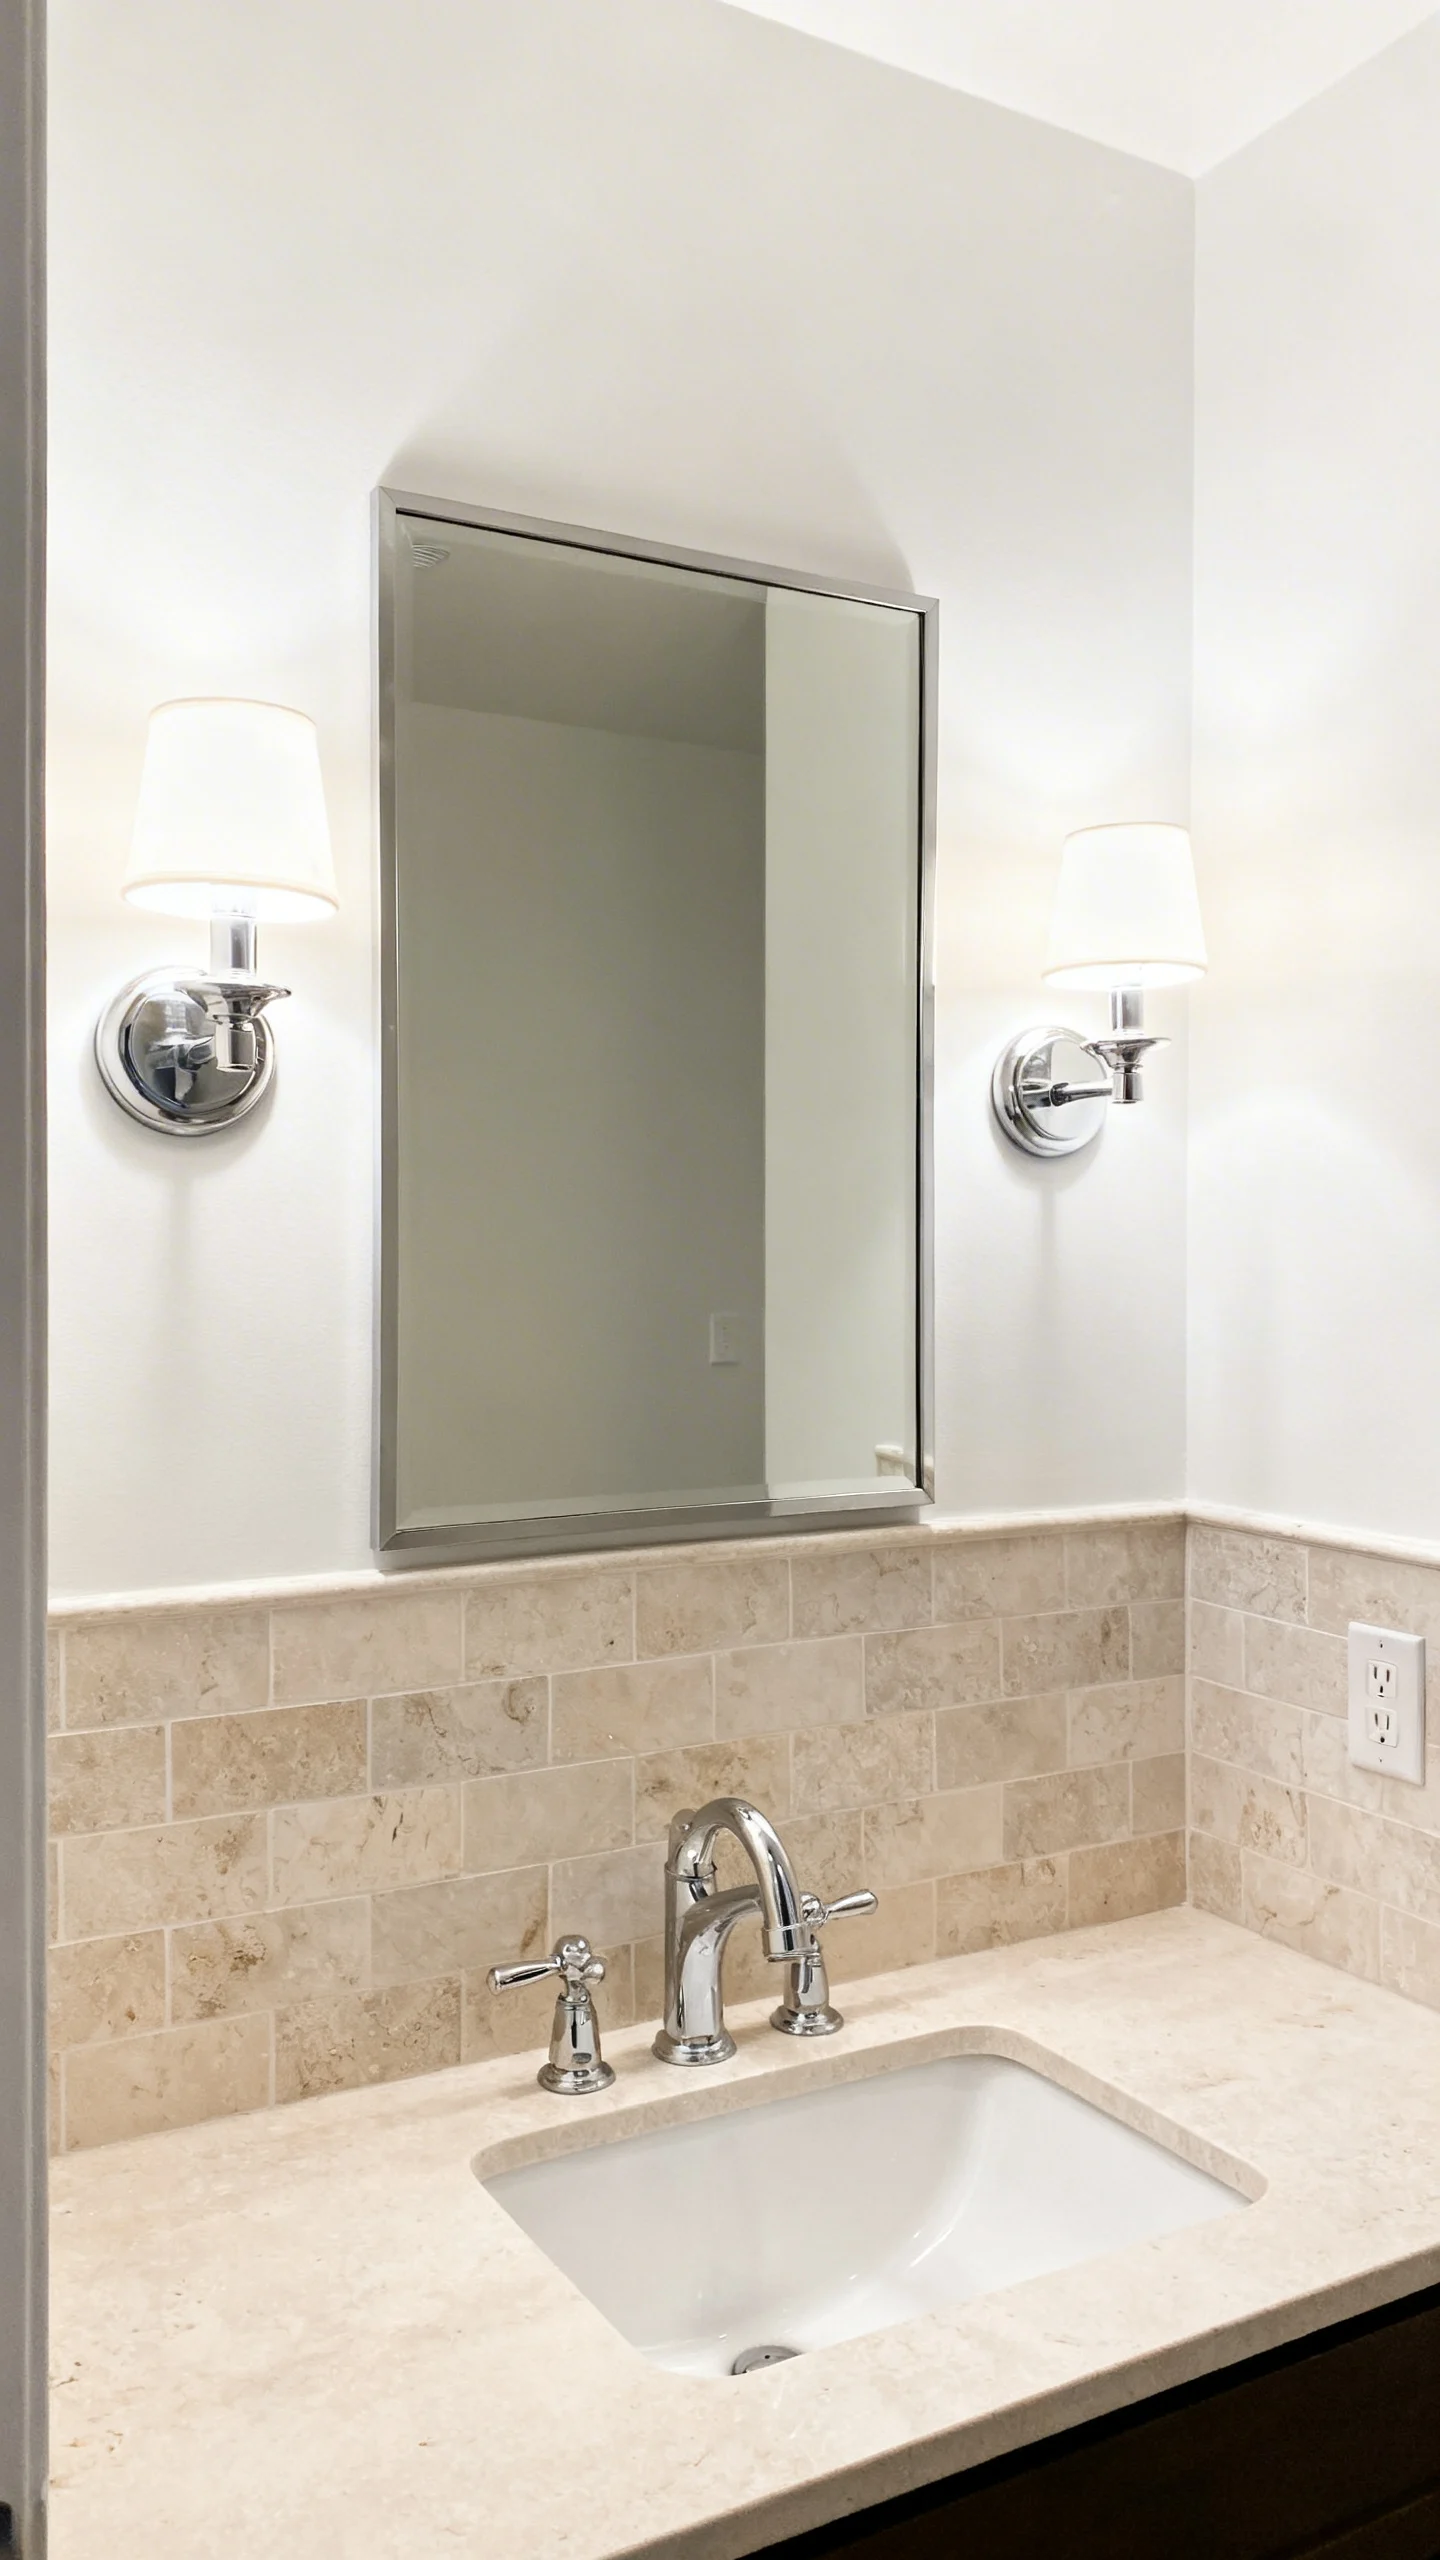
Lighting is design and function in one. The most “finished” look is balanced light around the face—ideally sconces placed on both sides of the mirror at about eye level (often 60–66 inches from the floor). If you can only do an overhead vanity light, choose one that’s about 75% of the mirror’s width for strong visual proportion. Use warm-neutral bulbs (around 2700K–3000K) for a spa feel, and pick a higher CRI (90+) if possible so skin tones look natural. Always confirm fixture rating for damp locations and follow safe electrical practices.
6) Make Tile Look Custom with Smart Layout (Even If It’s Budget-Friendly)
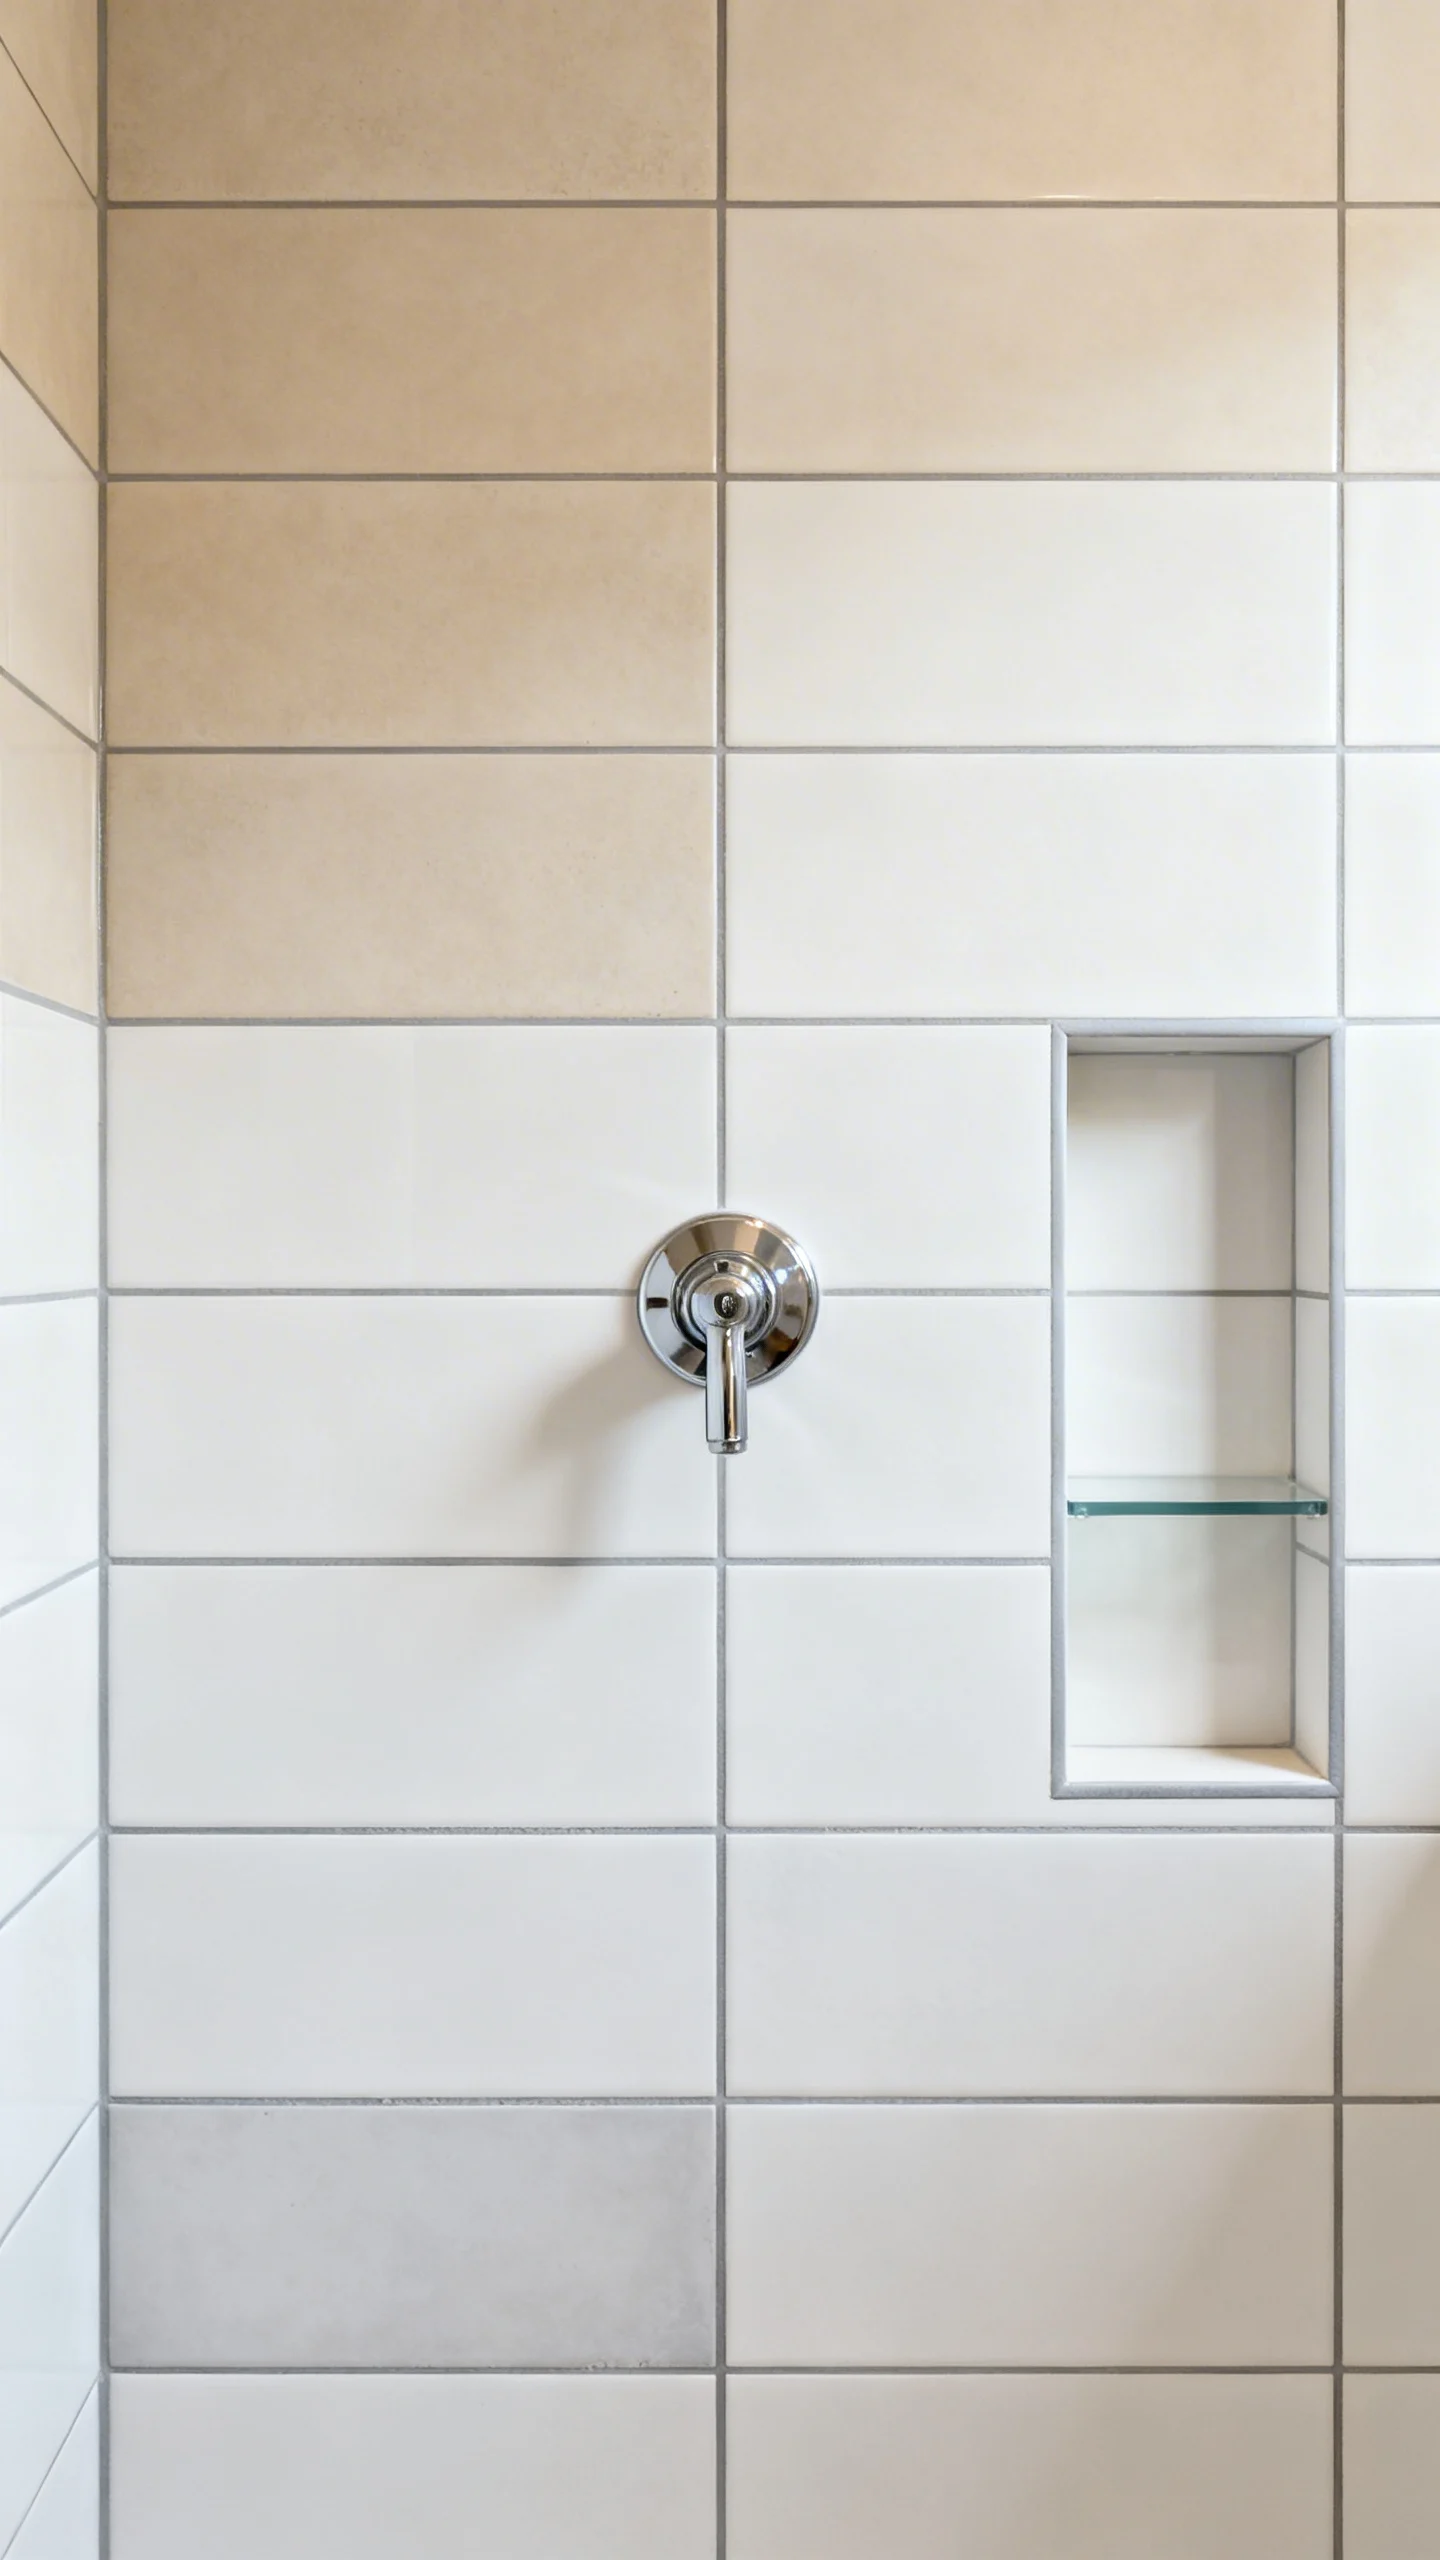
Professional tile is more about layout than price. Start with a plan: find your center lines and “dry lay” to avoid tiny slivers at edges. In a shower or backsplash area, align focal points—like the center of the faucet or mirror—with full tiles whenever possible. Use spacers consistently, and don’t skip movement joints (especially in wet zones). If you’re doing peel-and-stick tile for a quick refresh, choose a version made for bathrooms, prep the wall so it’s smooth and clean, and use a caulk bead at the edges to keep moisture from creeping behind.
7) Elevate the Shower with a Clean, Watertight Caulk Line (The Detail Pros Notice)
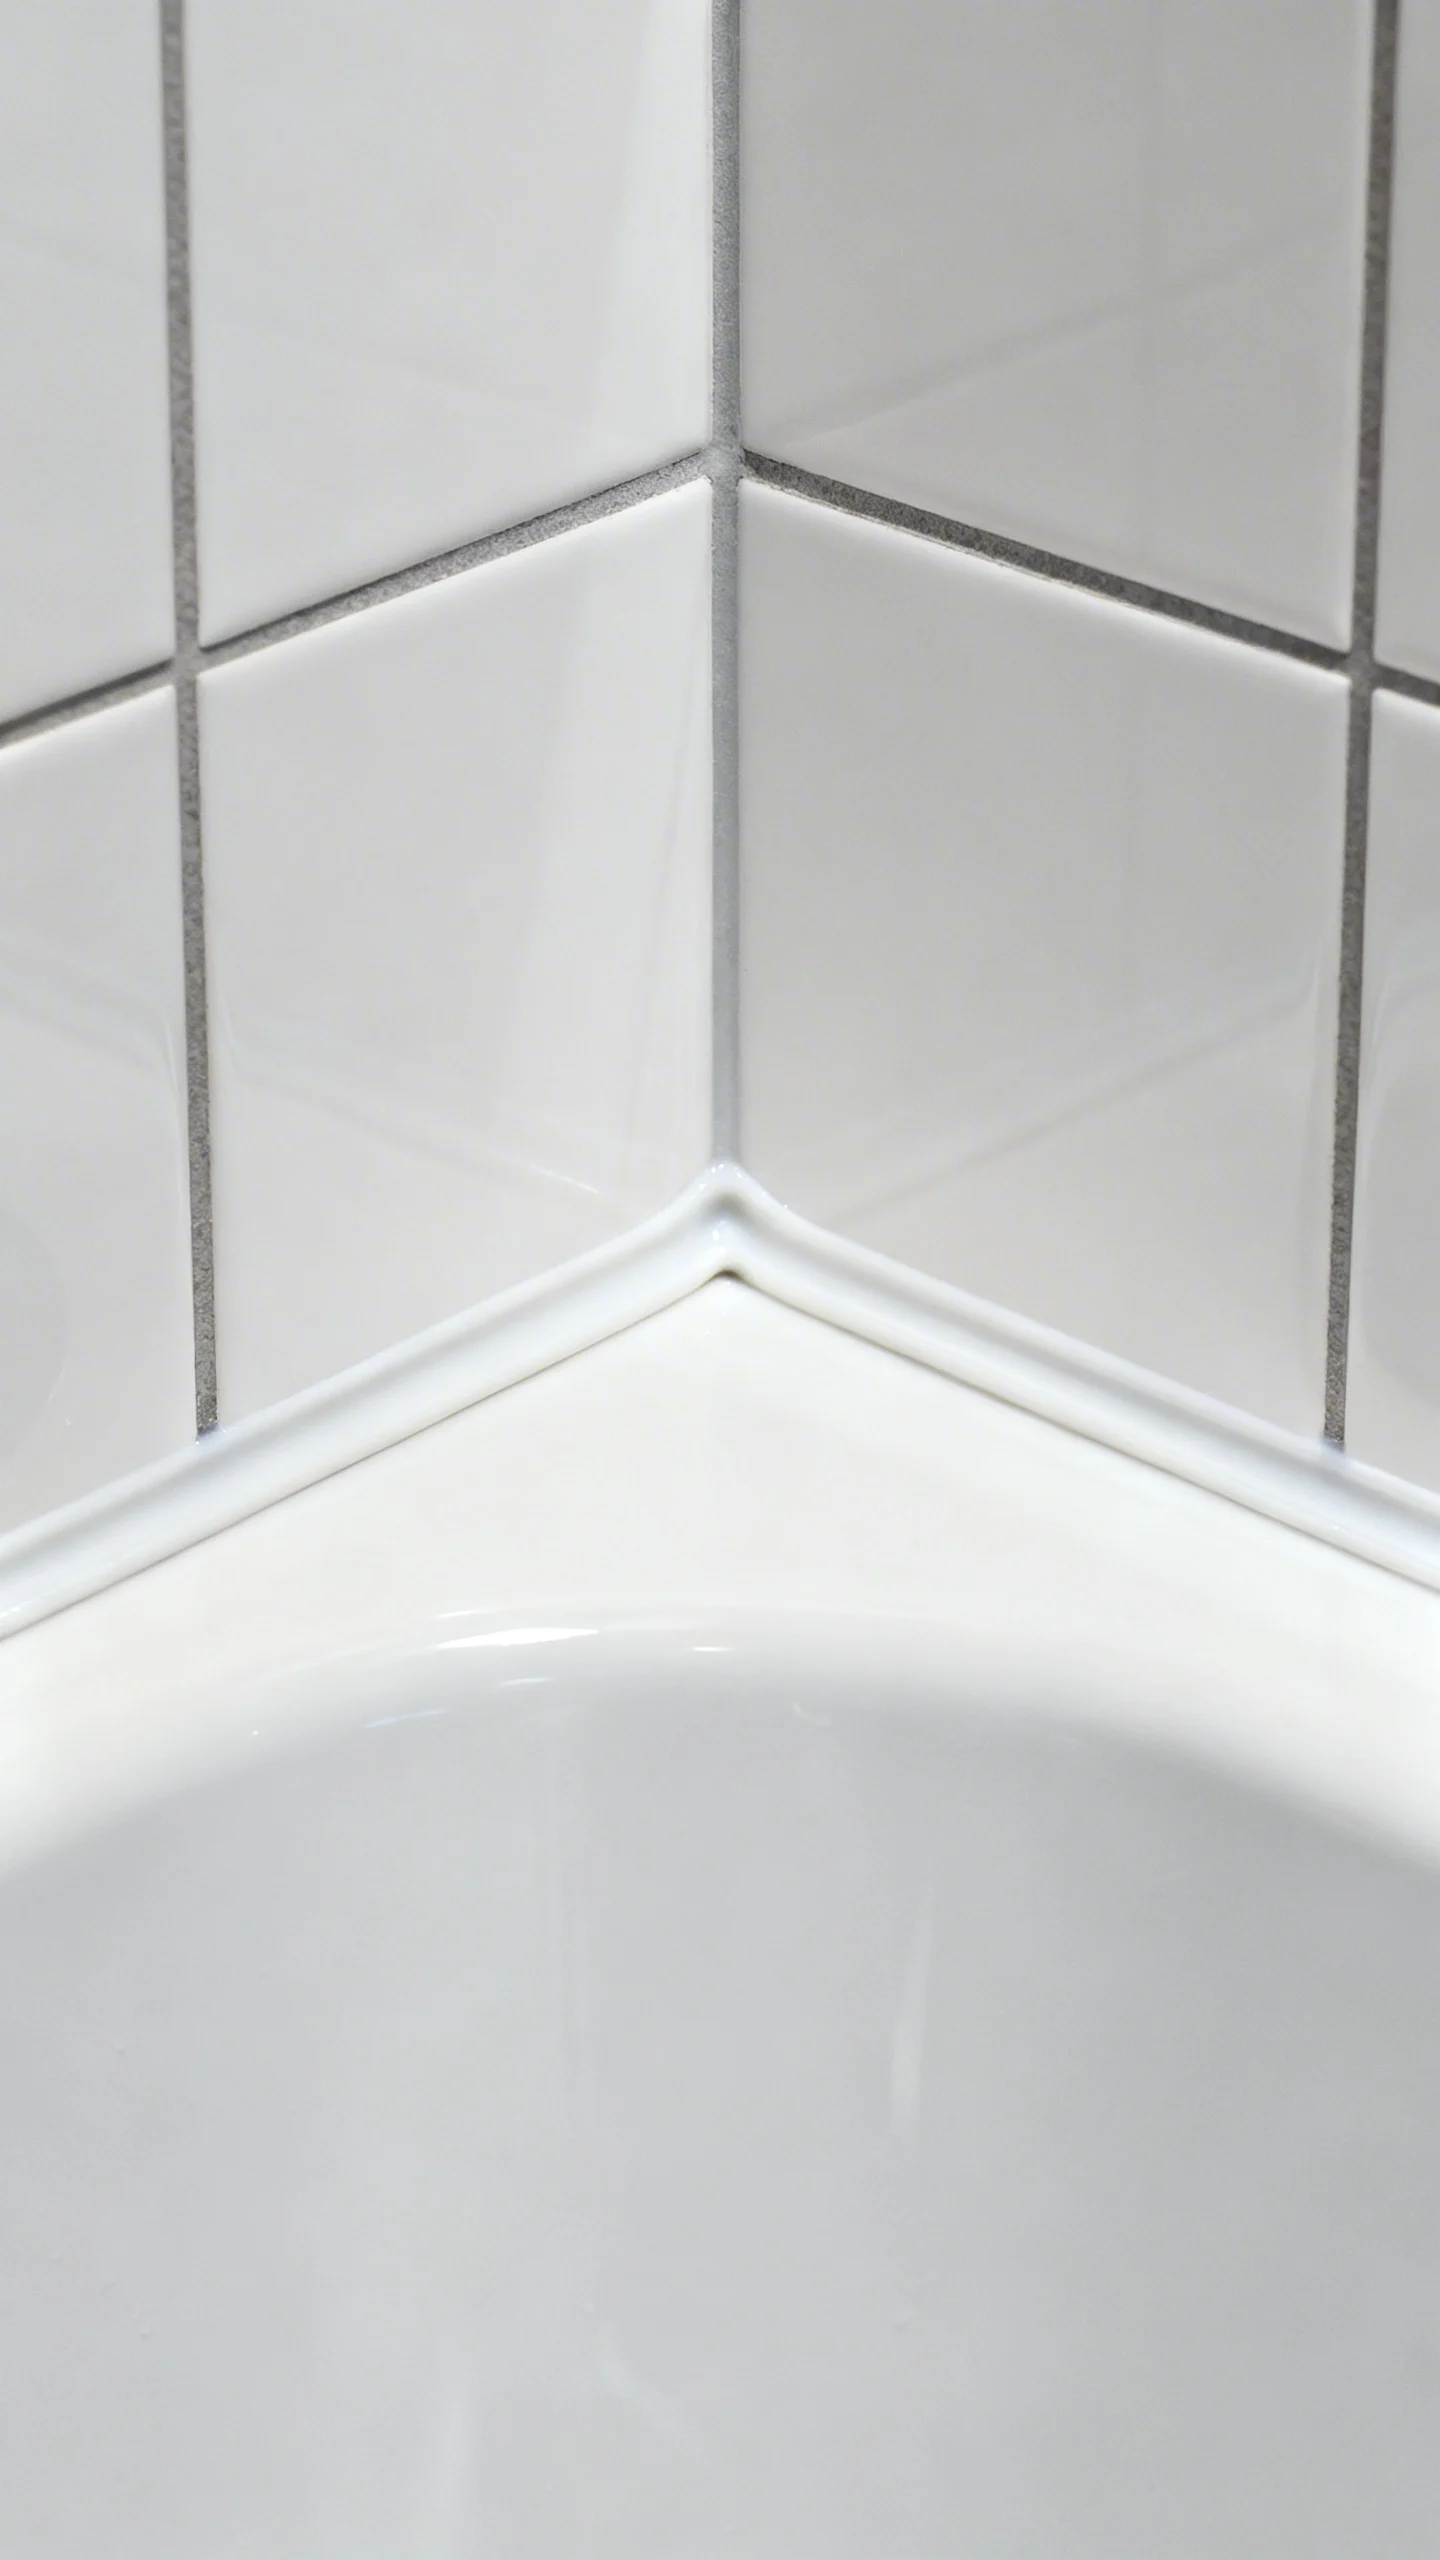
Nothing says “unfinished” like cracked or messy caulk. Remove old caulk fully (a scraper plus remover gel helps), clean and dry the joint, then tape both sides for a crisp line. Use 100% silicone in wet areas (it resists mold better than acrylic/latex). Apply a steady bead, then tool it smoothly—many DIYers prefer a caulk tool for consistent shaping. Remove tape immediately while the caulk is fresh. Keep the shower dry for the full cure time listed on the tube to avoid early failure.
8) Add Storage That Looks Built-In (Floating Shelves and Recessed Options)
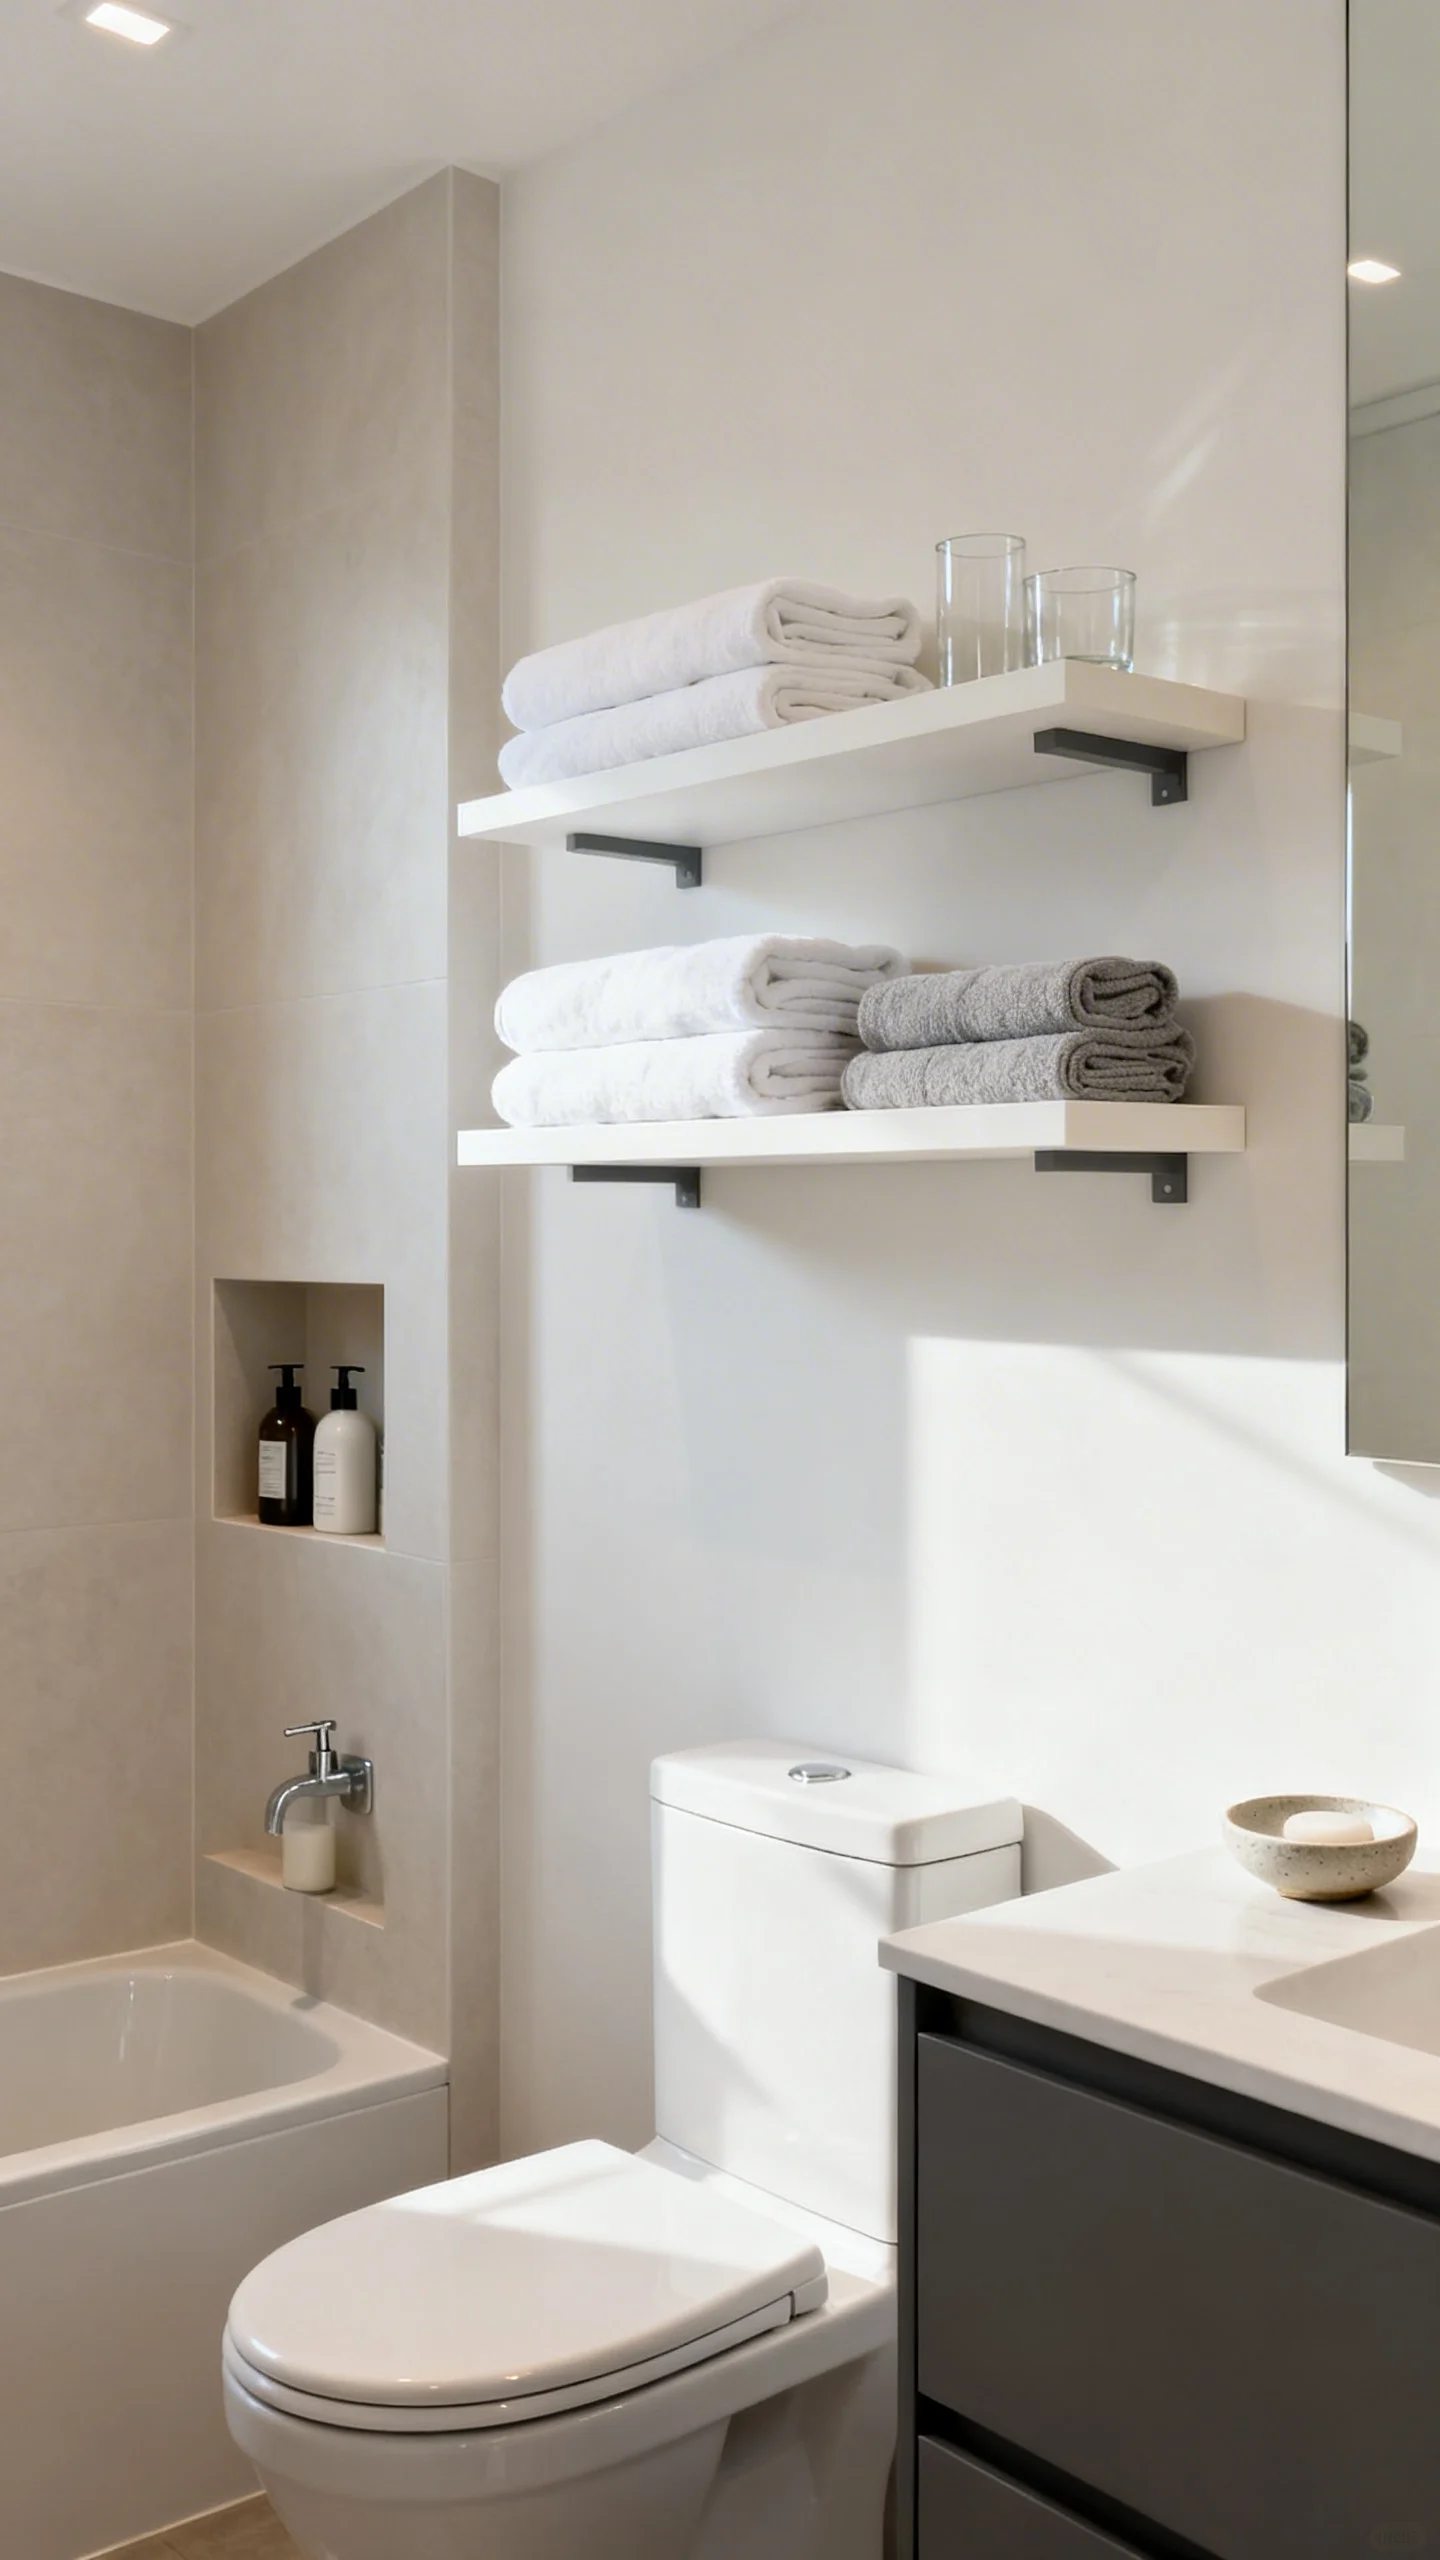
Designer bathrooms hide clutter. For a DIY upgrade, install floating shelves above the toilet or on an open wall, but anchor them properly—into studs whenever possible, or use heavy-duty wall anchors rated for the load. Keep shelves shallow (around 6–8 inches deep) so they don’t intrude into headspace. If you’re comfortable with more advanced DIY, a recessed medicine cabinet can look high-end because it sits flush and clears visual noise. Wherever you add storage, keep the finish consistent with your mirror frame or vanity color so it reads intentional.
9) Use a Shower Curtain Like a Custom Drapery Moment (Height, Fullness, and Hardware)
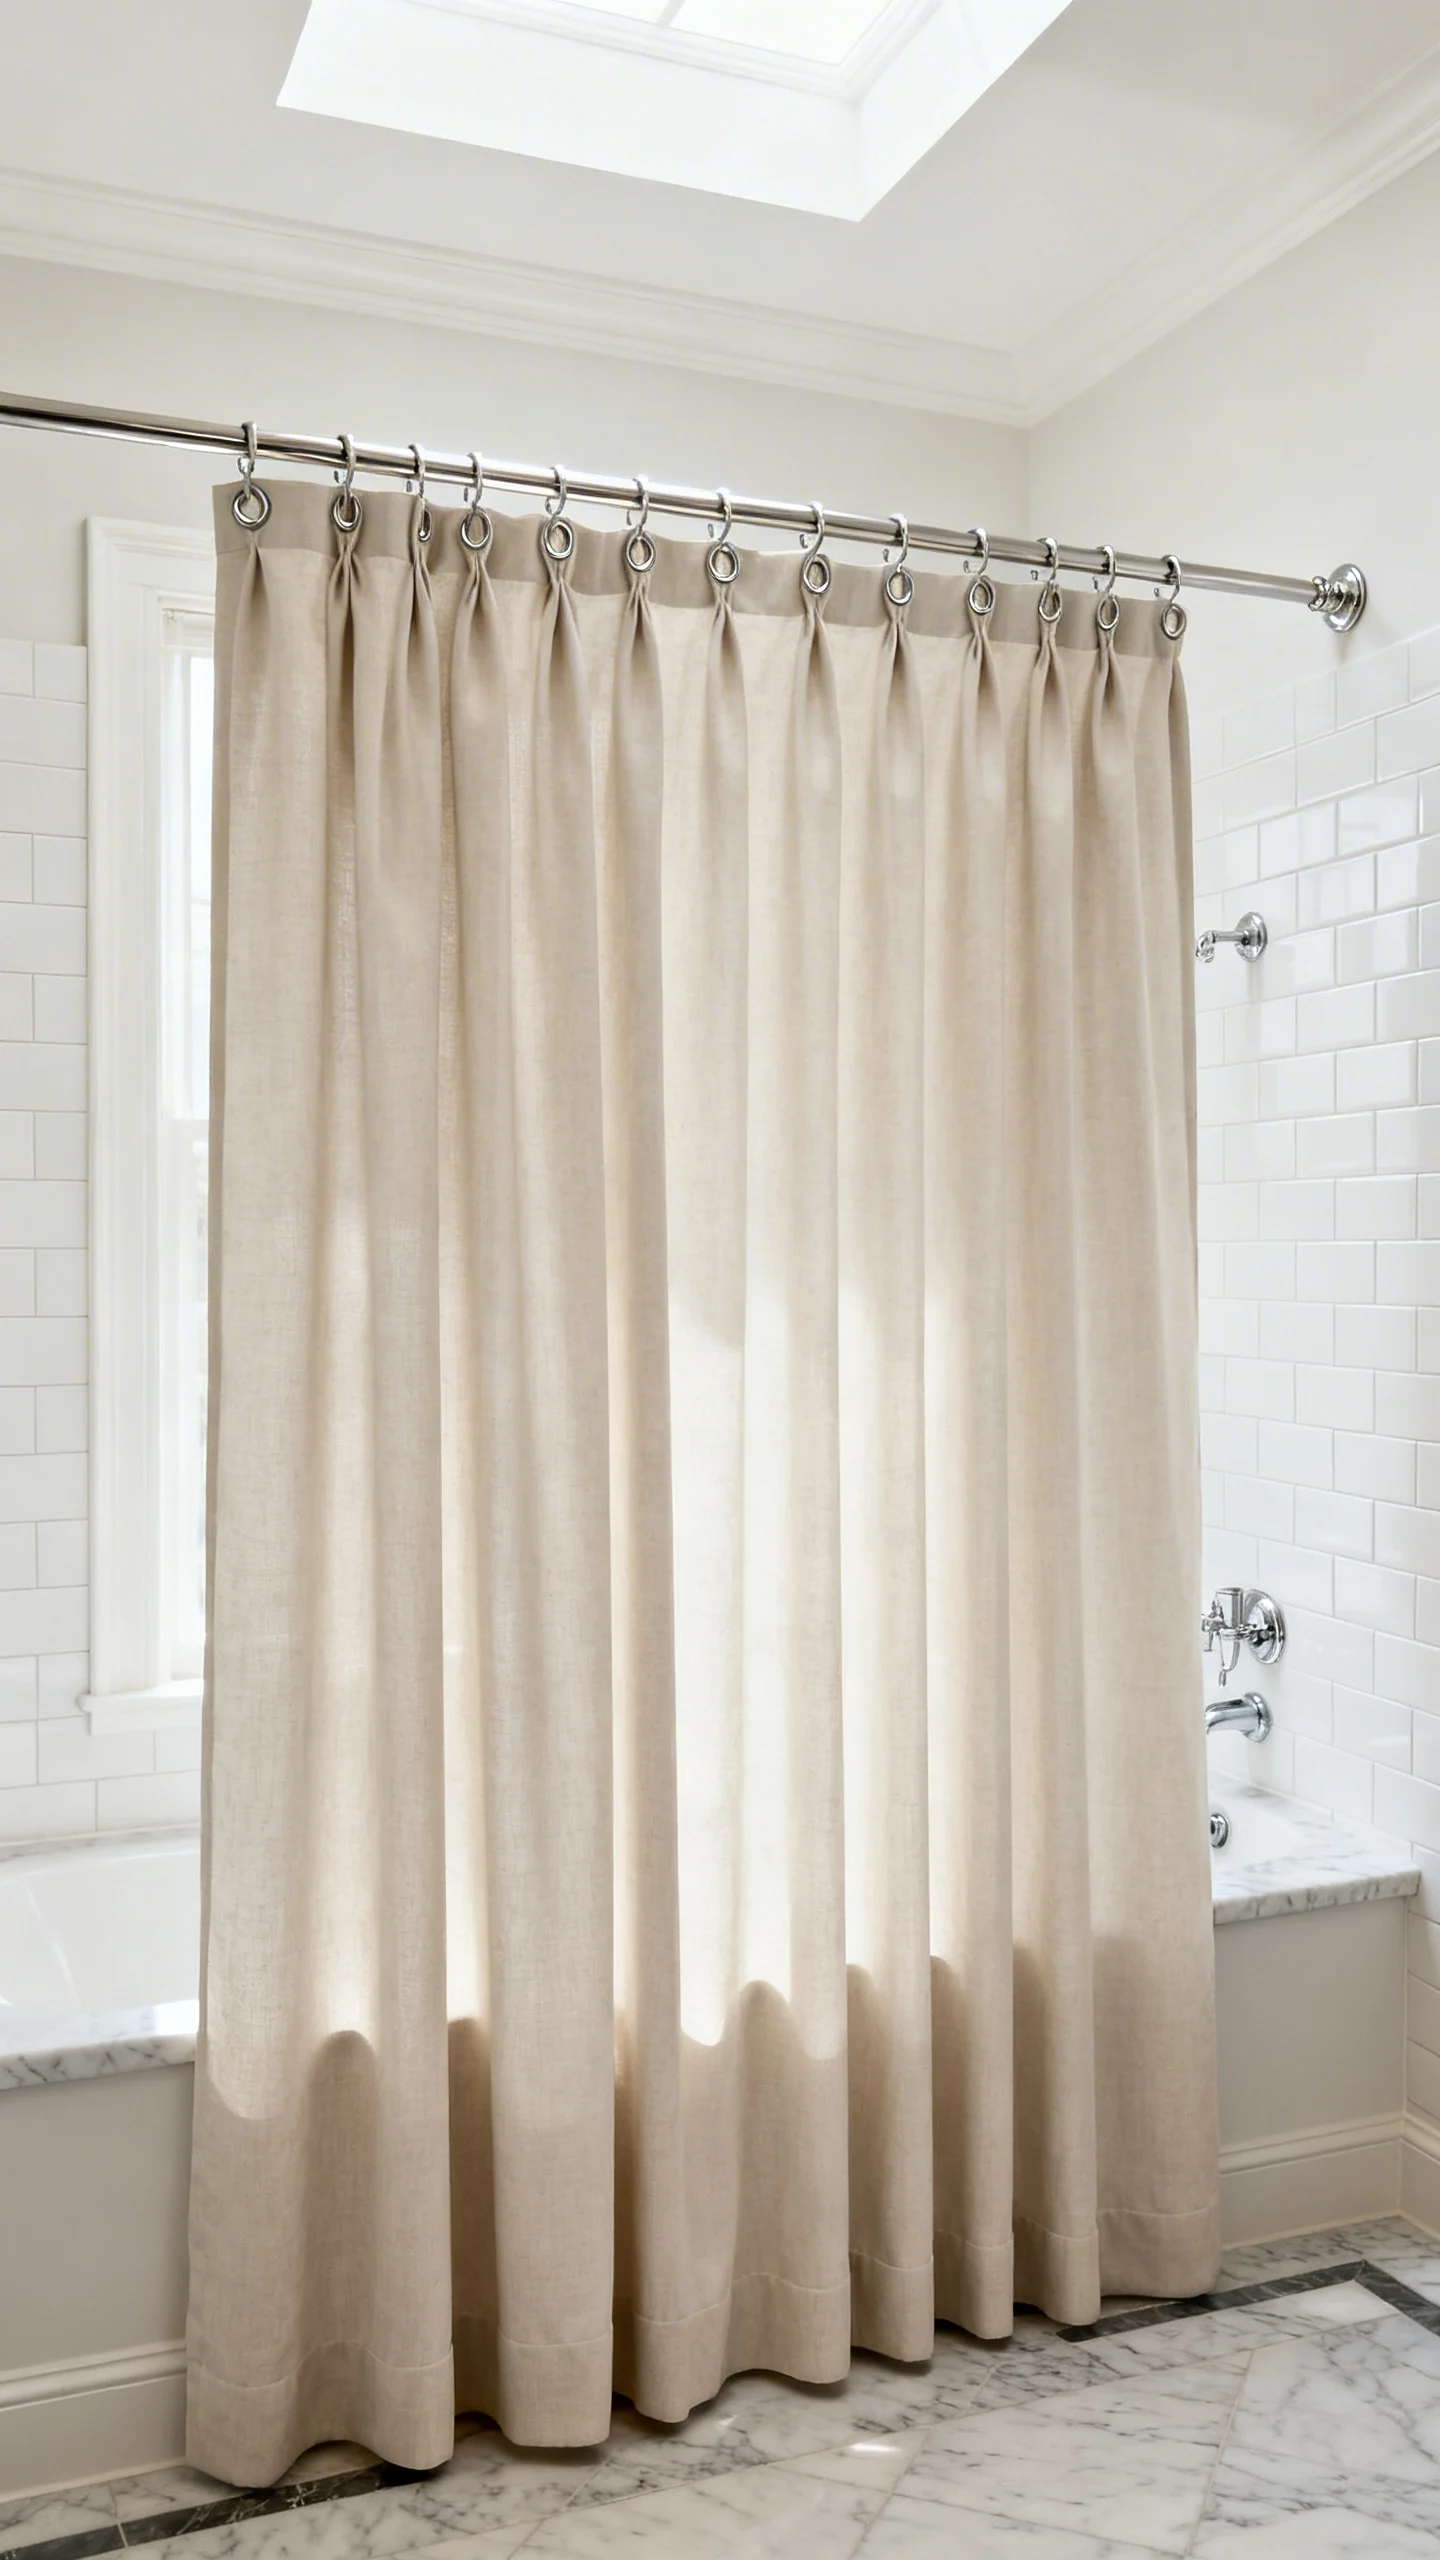
A shower curtain can look tailored, not temporary. Hang the rod high—often 2–4 inches below the ceiling (or at least several inches above the shower opening)—to make the room feel taller. Choose an extra-long liner and curtain if needed to avoid the “floating above the floor” look; the fabric curtain should hover just above the floor, while the liner sits inside the tub and ends a bit higher to dry faster. For fullness, use more hooks than you think: a standard 72-inch curtain looks more luxe with added width or by using a curved rod. Finish with quality rings and a straight, level rod for that hotel feel.
10) Create a Cohesive Finish Checklist (So Everything Looks Intentionally Designed)
The most professional DIY bathrooms follow a simple consistency checklist: match (or thoughtfully mix) metals, keep wood tones aligned, repeat shapes (rounded vs. squared), and limit competing patterns. Before you call it done, stand at the doorway and check the “big read”: vanity color, mirror style, lighting finish, towel bars/hooks, and bath hardware should feel like a set. Replace mismatched items one category at a time—like all accessories in one finish—so the update looks purposeful. A final pro detail: swap yellowed switch plates and outlet covers for fresh white or color-matched plates for a clean, new-build look.
FAQ
What’s the easiest DIY upgrade that makes a bathroom look professionally done?
Updating the mirror and lighting as a coordinated pair is usually the fastest “designer” lift. Choose a properly sized mirror and a fixture finish that matches your faucet or planned hardware for instant cohesion.
How do I choose the right vanity size without making the bathroom feel cramped?
Measure wall-to-wall and maintain comfortable clearances: aim for at least 21 inches of open space in front of the vanity, and ensure drawers/doors can open without hitting the toilet or door. If the room is tight, consider a shallower vanity depth (common options range around the high teens to low 20s inches).
Is peel-and-stick tile okay for bathrooms?
It can be, if it’s rated for bathroom use and installed on a clean, smooth, dry surface. Avoid placing it where it will be constantly soaked (like inside a shower) unless the product specifically allows it, and seal edges with appropriate caulk to help prevent moisture intrusion.
What’s the best caulk for a shower or tub surround?
Use 100% silicone in wet areas because it handles moisture and movement better than acrylic/latex caulk. Look for a kitchen-and-bath formula with mold resistance, and follow full cure times before getting the area wet.
How can I mix metal finishes without it looking accidental?
Pick one dominant finish for the main plumbing fixtures (faucet, shower head) and one supporting finish for accents (hardware or lighting). Repeat each finish at least twice in the bathroom so it reads like a plan, not a mismatch.