
DIY Bathroom Design Projects You Can Finish in a Weekend
Want a bathroom that feels more custom by Sunday night—without a full renovation timeline? These weekend-friendly DIY bathroom design projects focus on high-impact updates you can realistically finish in one or two days.
Each idea below is practical, beginner-approachable, and designed specifically for bathroom conditions (moisture, frequent cleaning, tight clearances). Measure twice, protect surfaces, and you’ll be amazed at the before-and-after.
1) Swap the Bathroom Faucet (and Refresh the Sink Area)
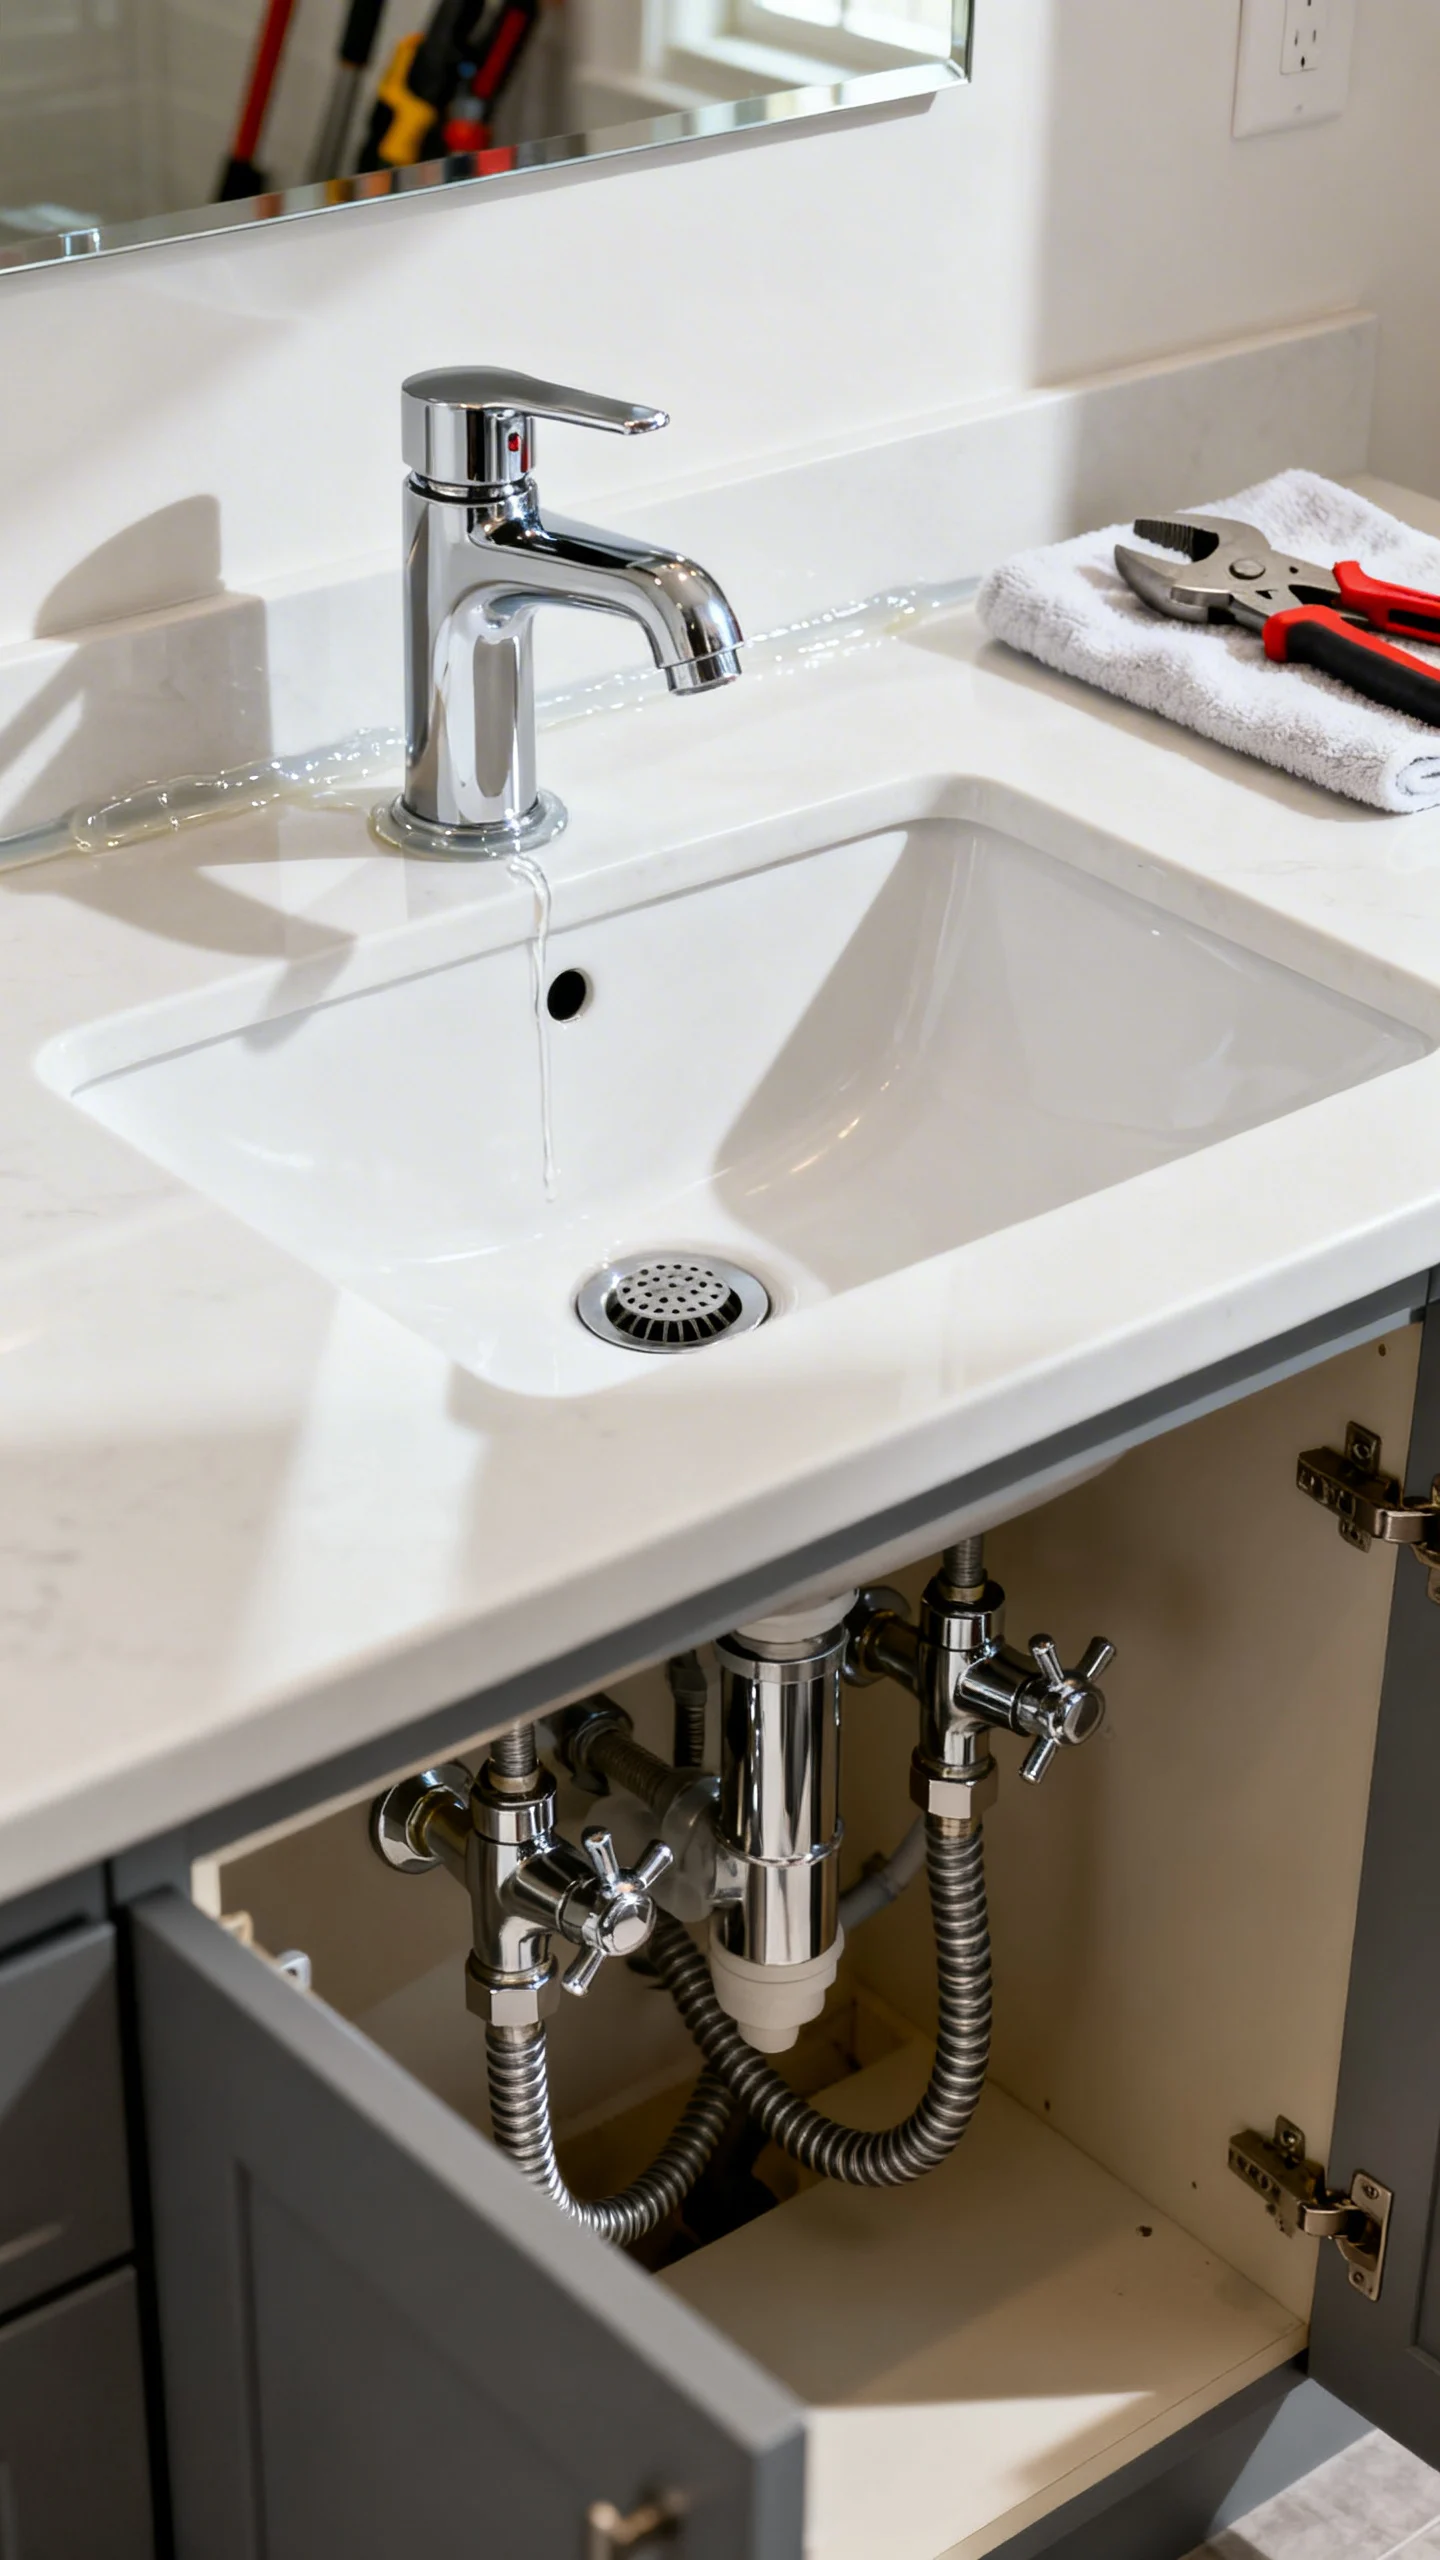
A new faucet instantly modernizes a vanity and is one of the fastest “designer” upgrades you can do in a weekend. Before buying, confirm your sink hole configuration (most common: single-hole or 4-inch centerset; some are 8-inch widespread). Measure the spout reach so water lands near the drain, not against the bowl edge (aim for the stream to hit close to the drain center).
Plan for 1–2 hours if shutoff valves cooperate. Choose a finish that works with daily wiping: brushed nickel and matte black hide fingerprints better than polished chrome. Use new braided supply lines if yours are older or corroded, and add a bead of 100% silicone under the faucet base if recommended by the manufacturer (great for preventing splash water from seeping under the deck).
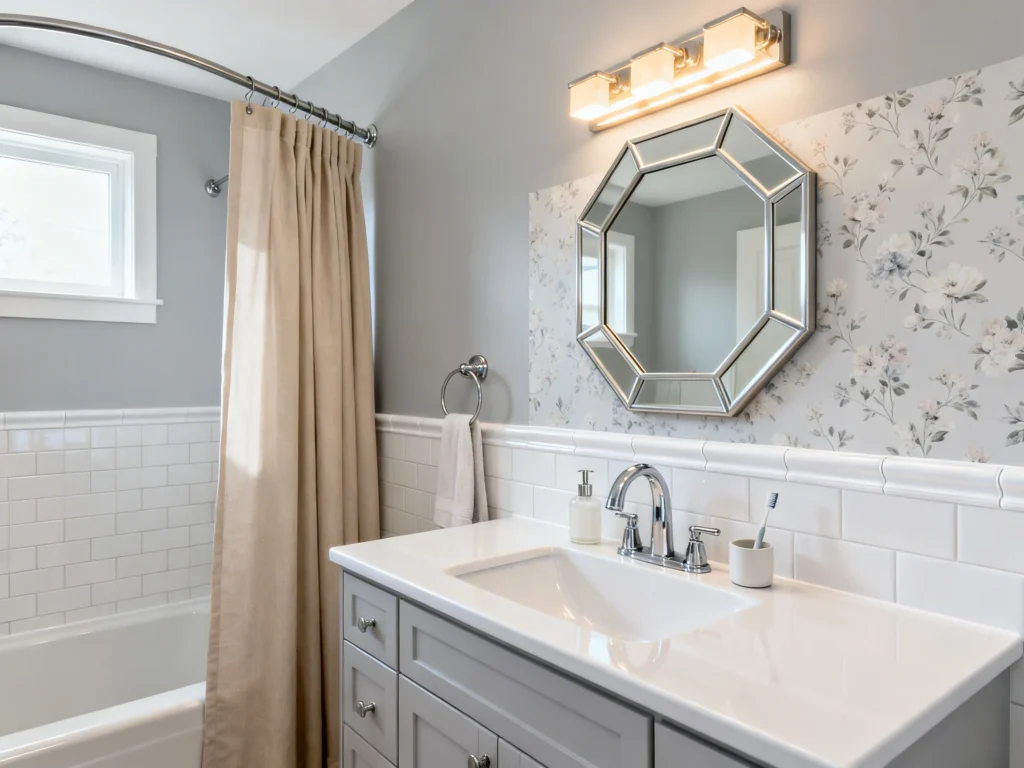
2) Replace the Vanity Mirror with a Better-Scaled Statement Mirror
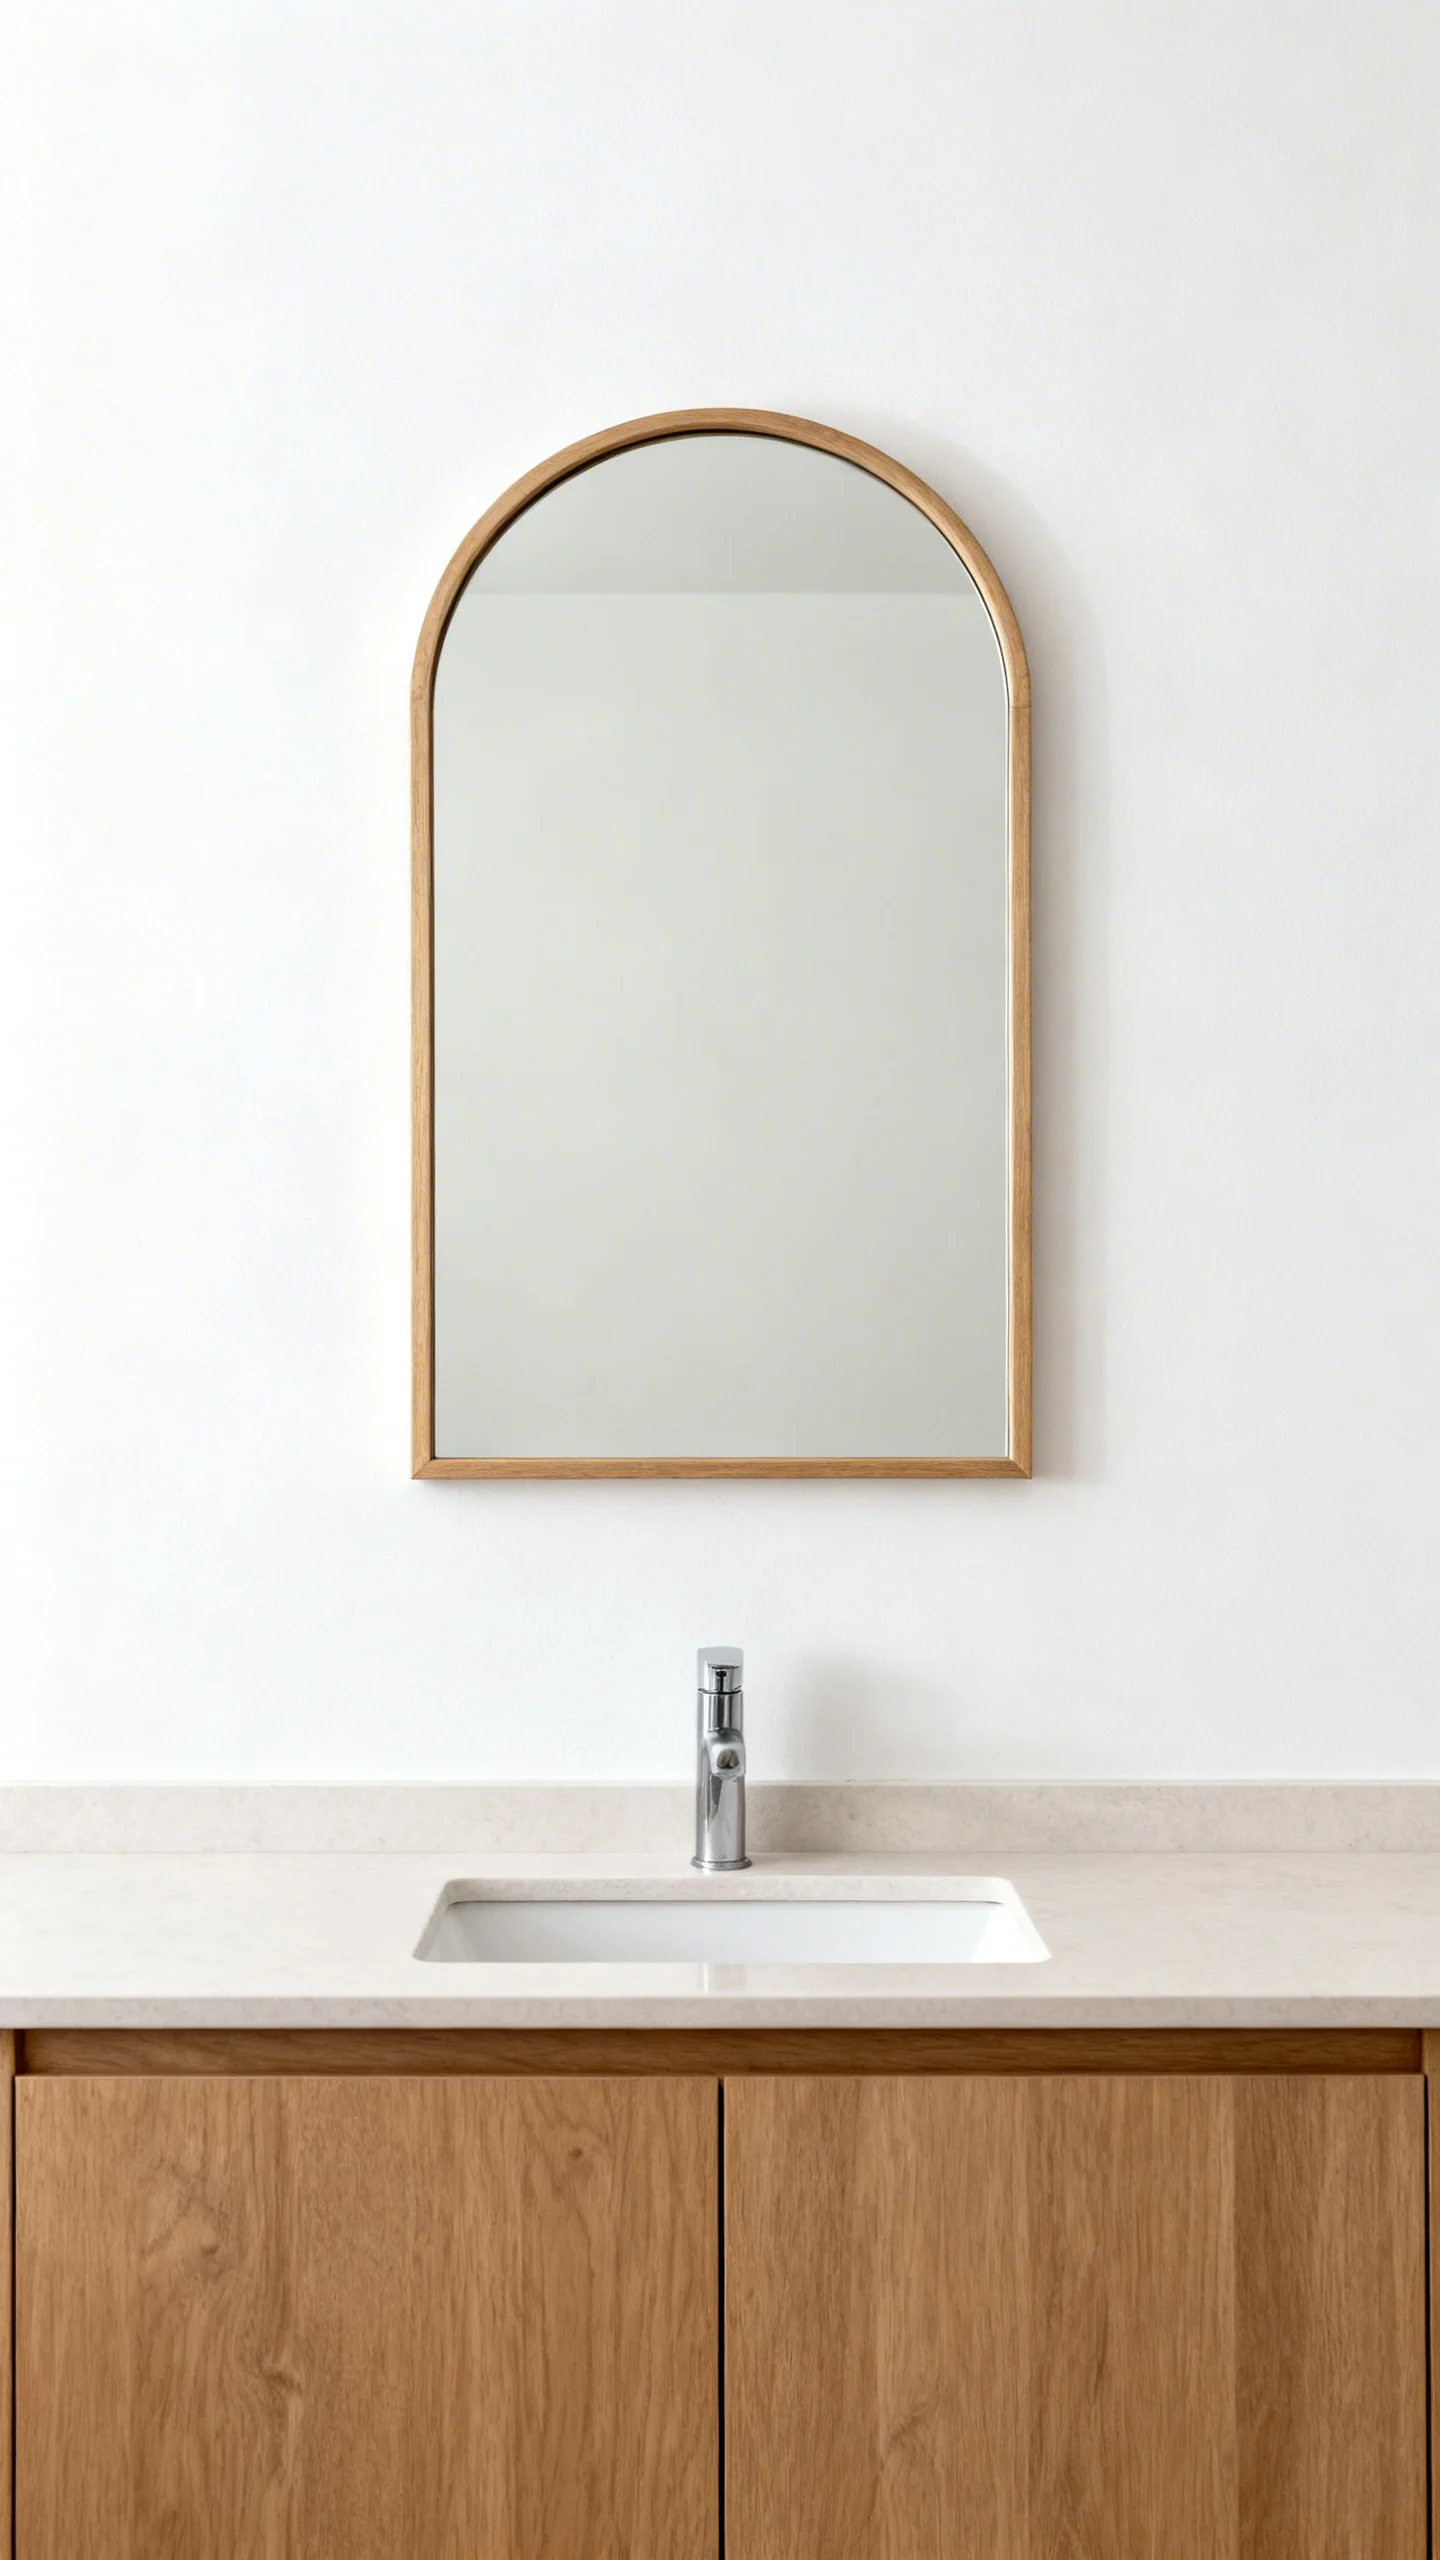
Swapping a builder mirror for a framed or rounded mirror gives the whole bathroom a curated look. For sizing, a reliable rule is to choose a mirror that’s a few inches narrower than the vanity—typically 2–4 inches less on each side. In tight bathrooms, ensure the mirror doesn’t conflict with sconces or a medicine cabinet door swing.
For hanging, find studs whenever possible; if you must use anchors, select ones rated well above the mirror weight. In humid bathrooms, pick mirrors with sealed frames (especially wood) or metal frames with a protective finish to reduce warping and corrosion. If removing a glued-on mirror, use painter’s tape in strips across the glass, work slowly with a wire or pry tool, and protect the countertop with a thick moving blanket.
3) Upgrade Bathroom Lighting (Vanity Bar or Sconces)
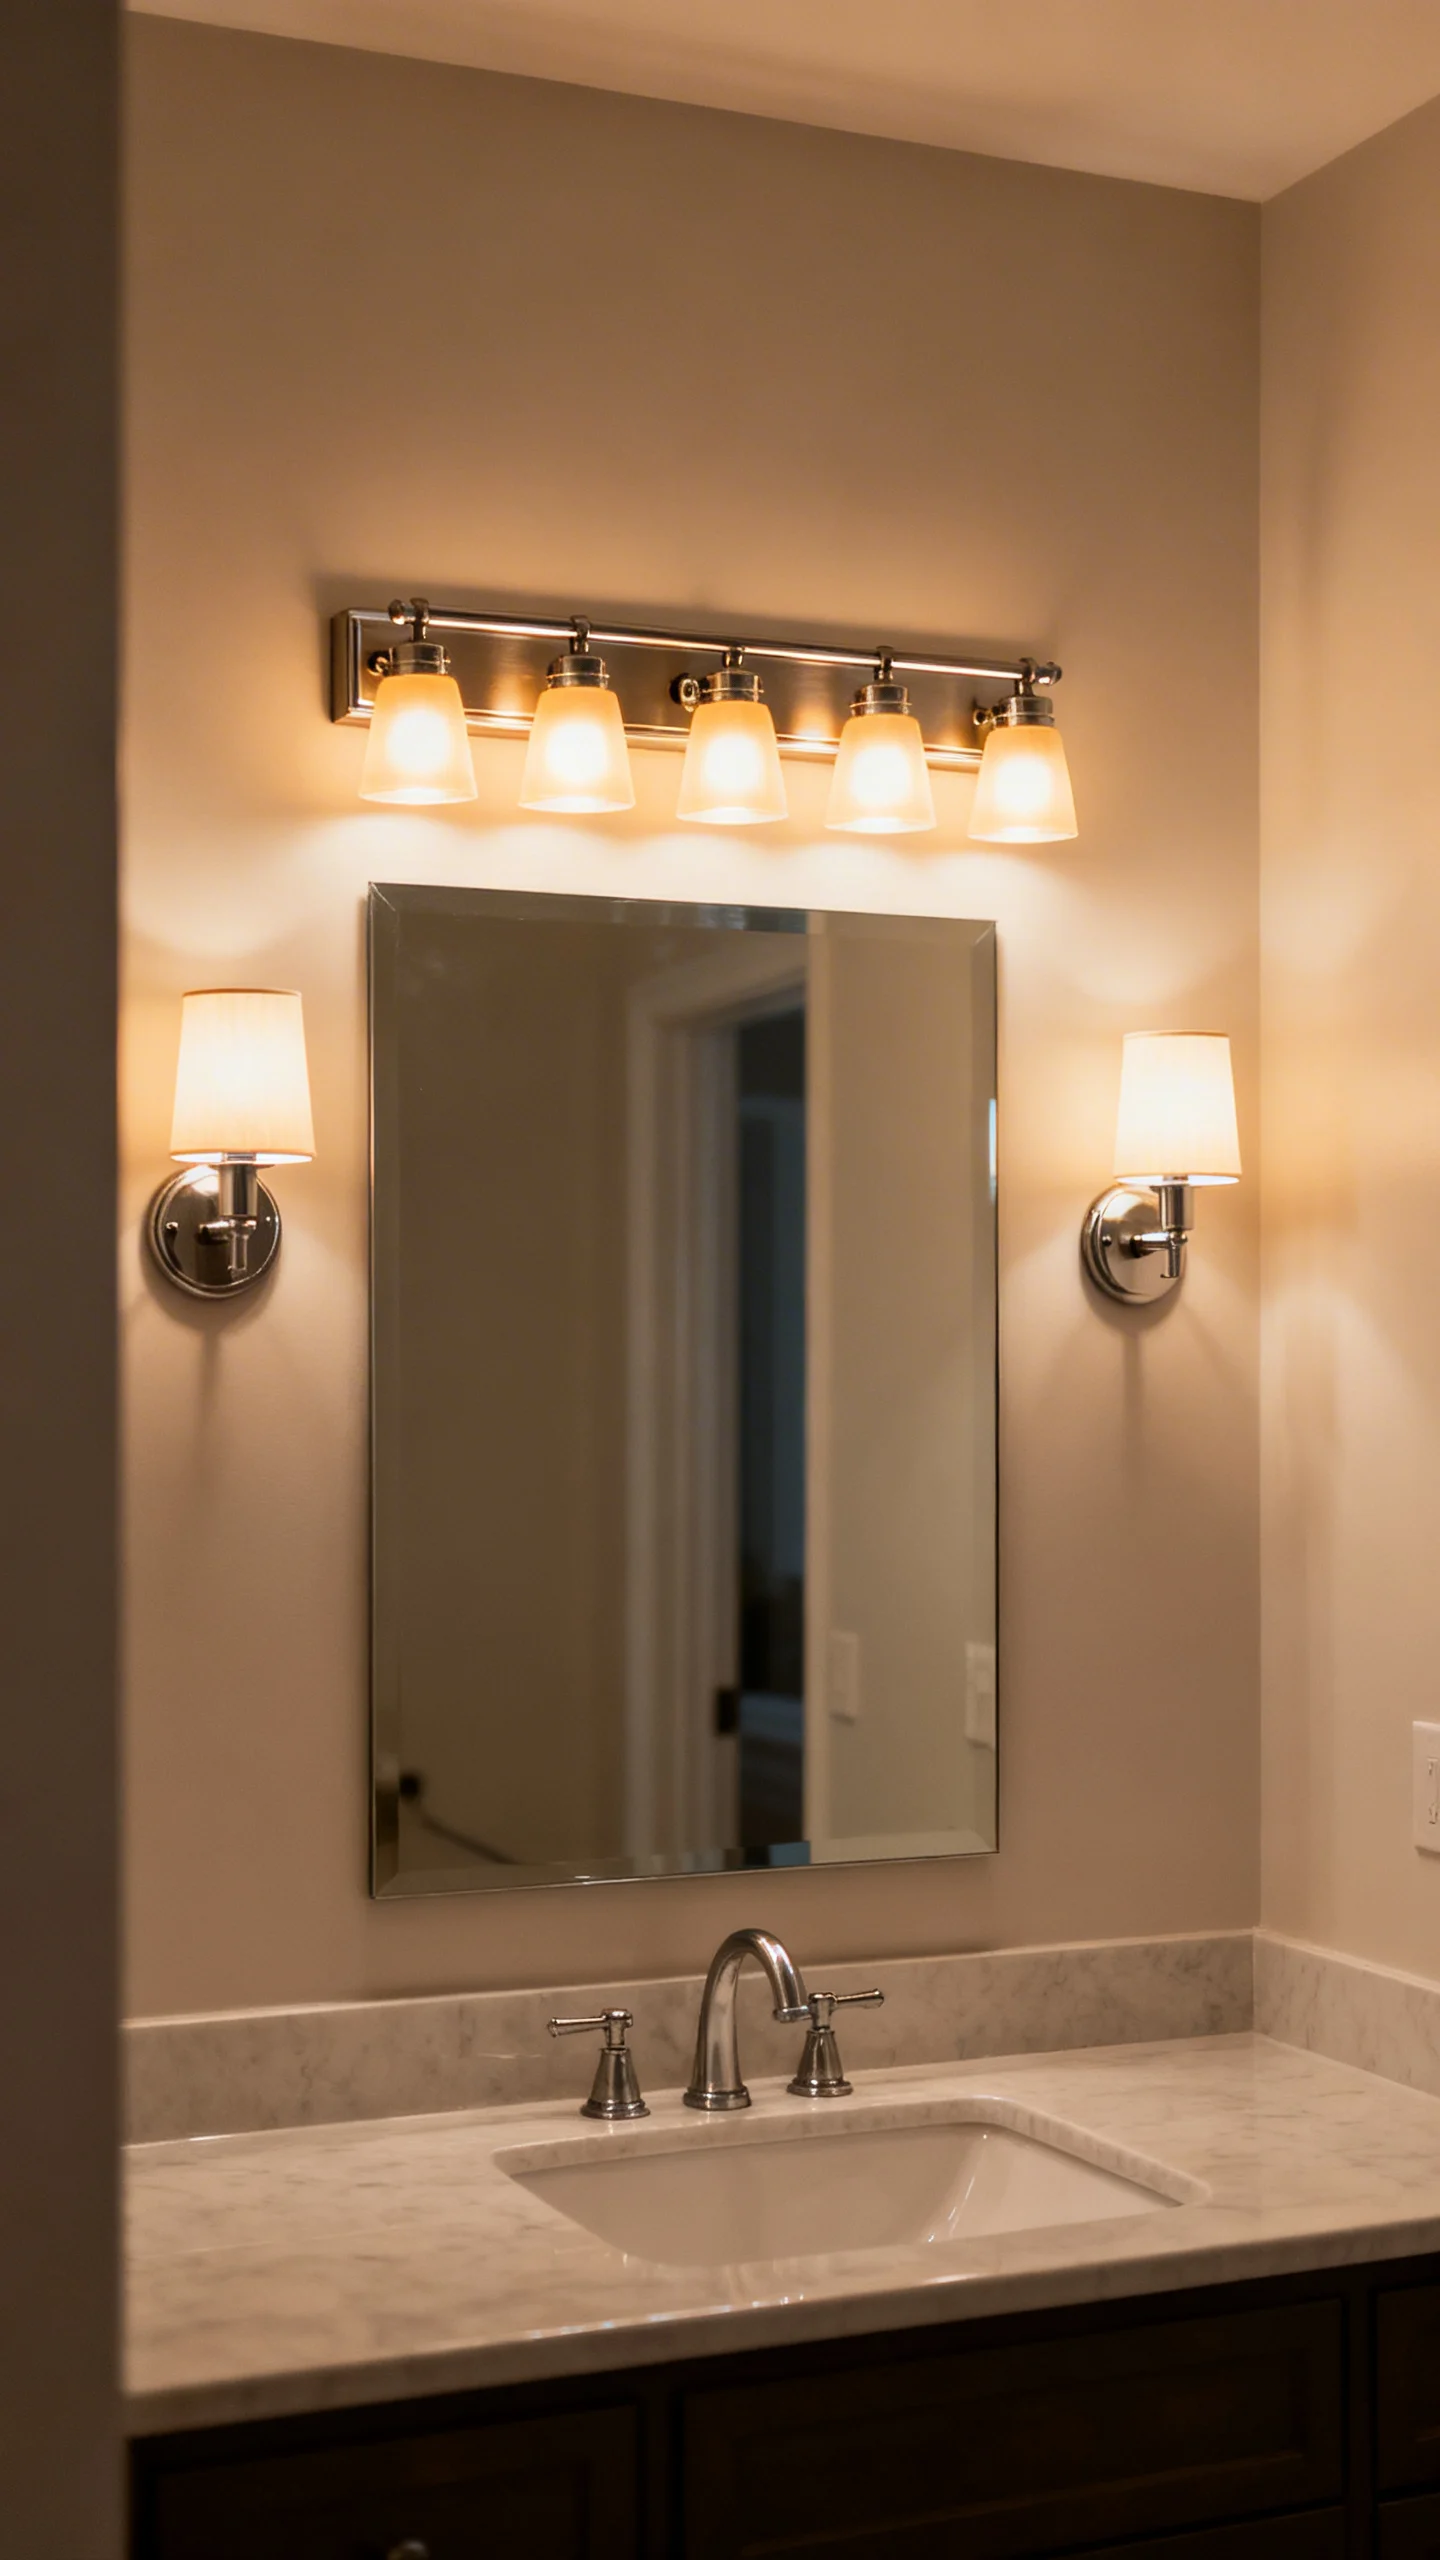
Lighting is a true weekend transformation—especially at the vanity where you need clear, flattering illumination. If you’re replacing a vanity light bar, choose a fixture that’s proportionate: many bathrooms look best with a fixture that’s about 70–80% of the mirror width.
For bulb color, 2700K–3000K is warm and inviting, while 3000K–3500K reads cleaner and more spa-like. Aim for a high CRI (90+) for accurate skin tone rendering. Confirm your bathroom’s safety requirements: damp-rated fixtures are typically suitable for vanity areas; wet-rated is needed for direct shower exposure. Always shut off power at the breaker and verify with a tester before touching wiring.
4) Install a New Showerhead (and Consider a Handheld Combo)
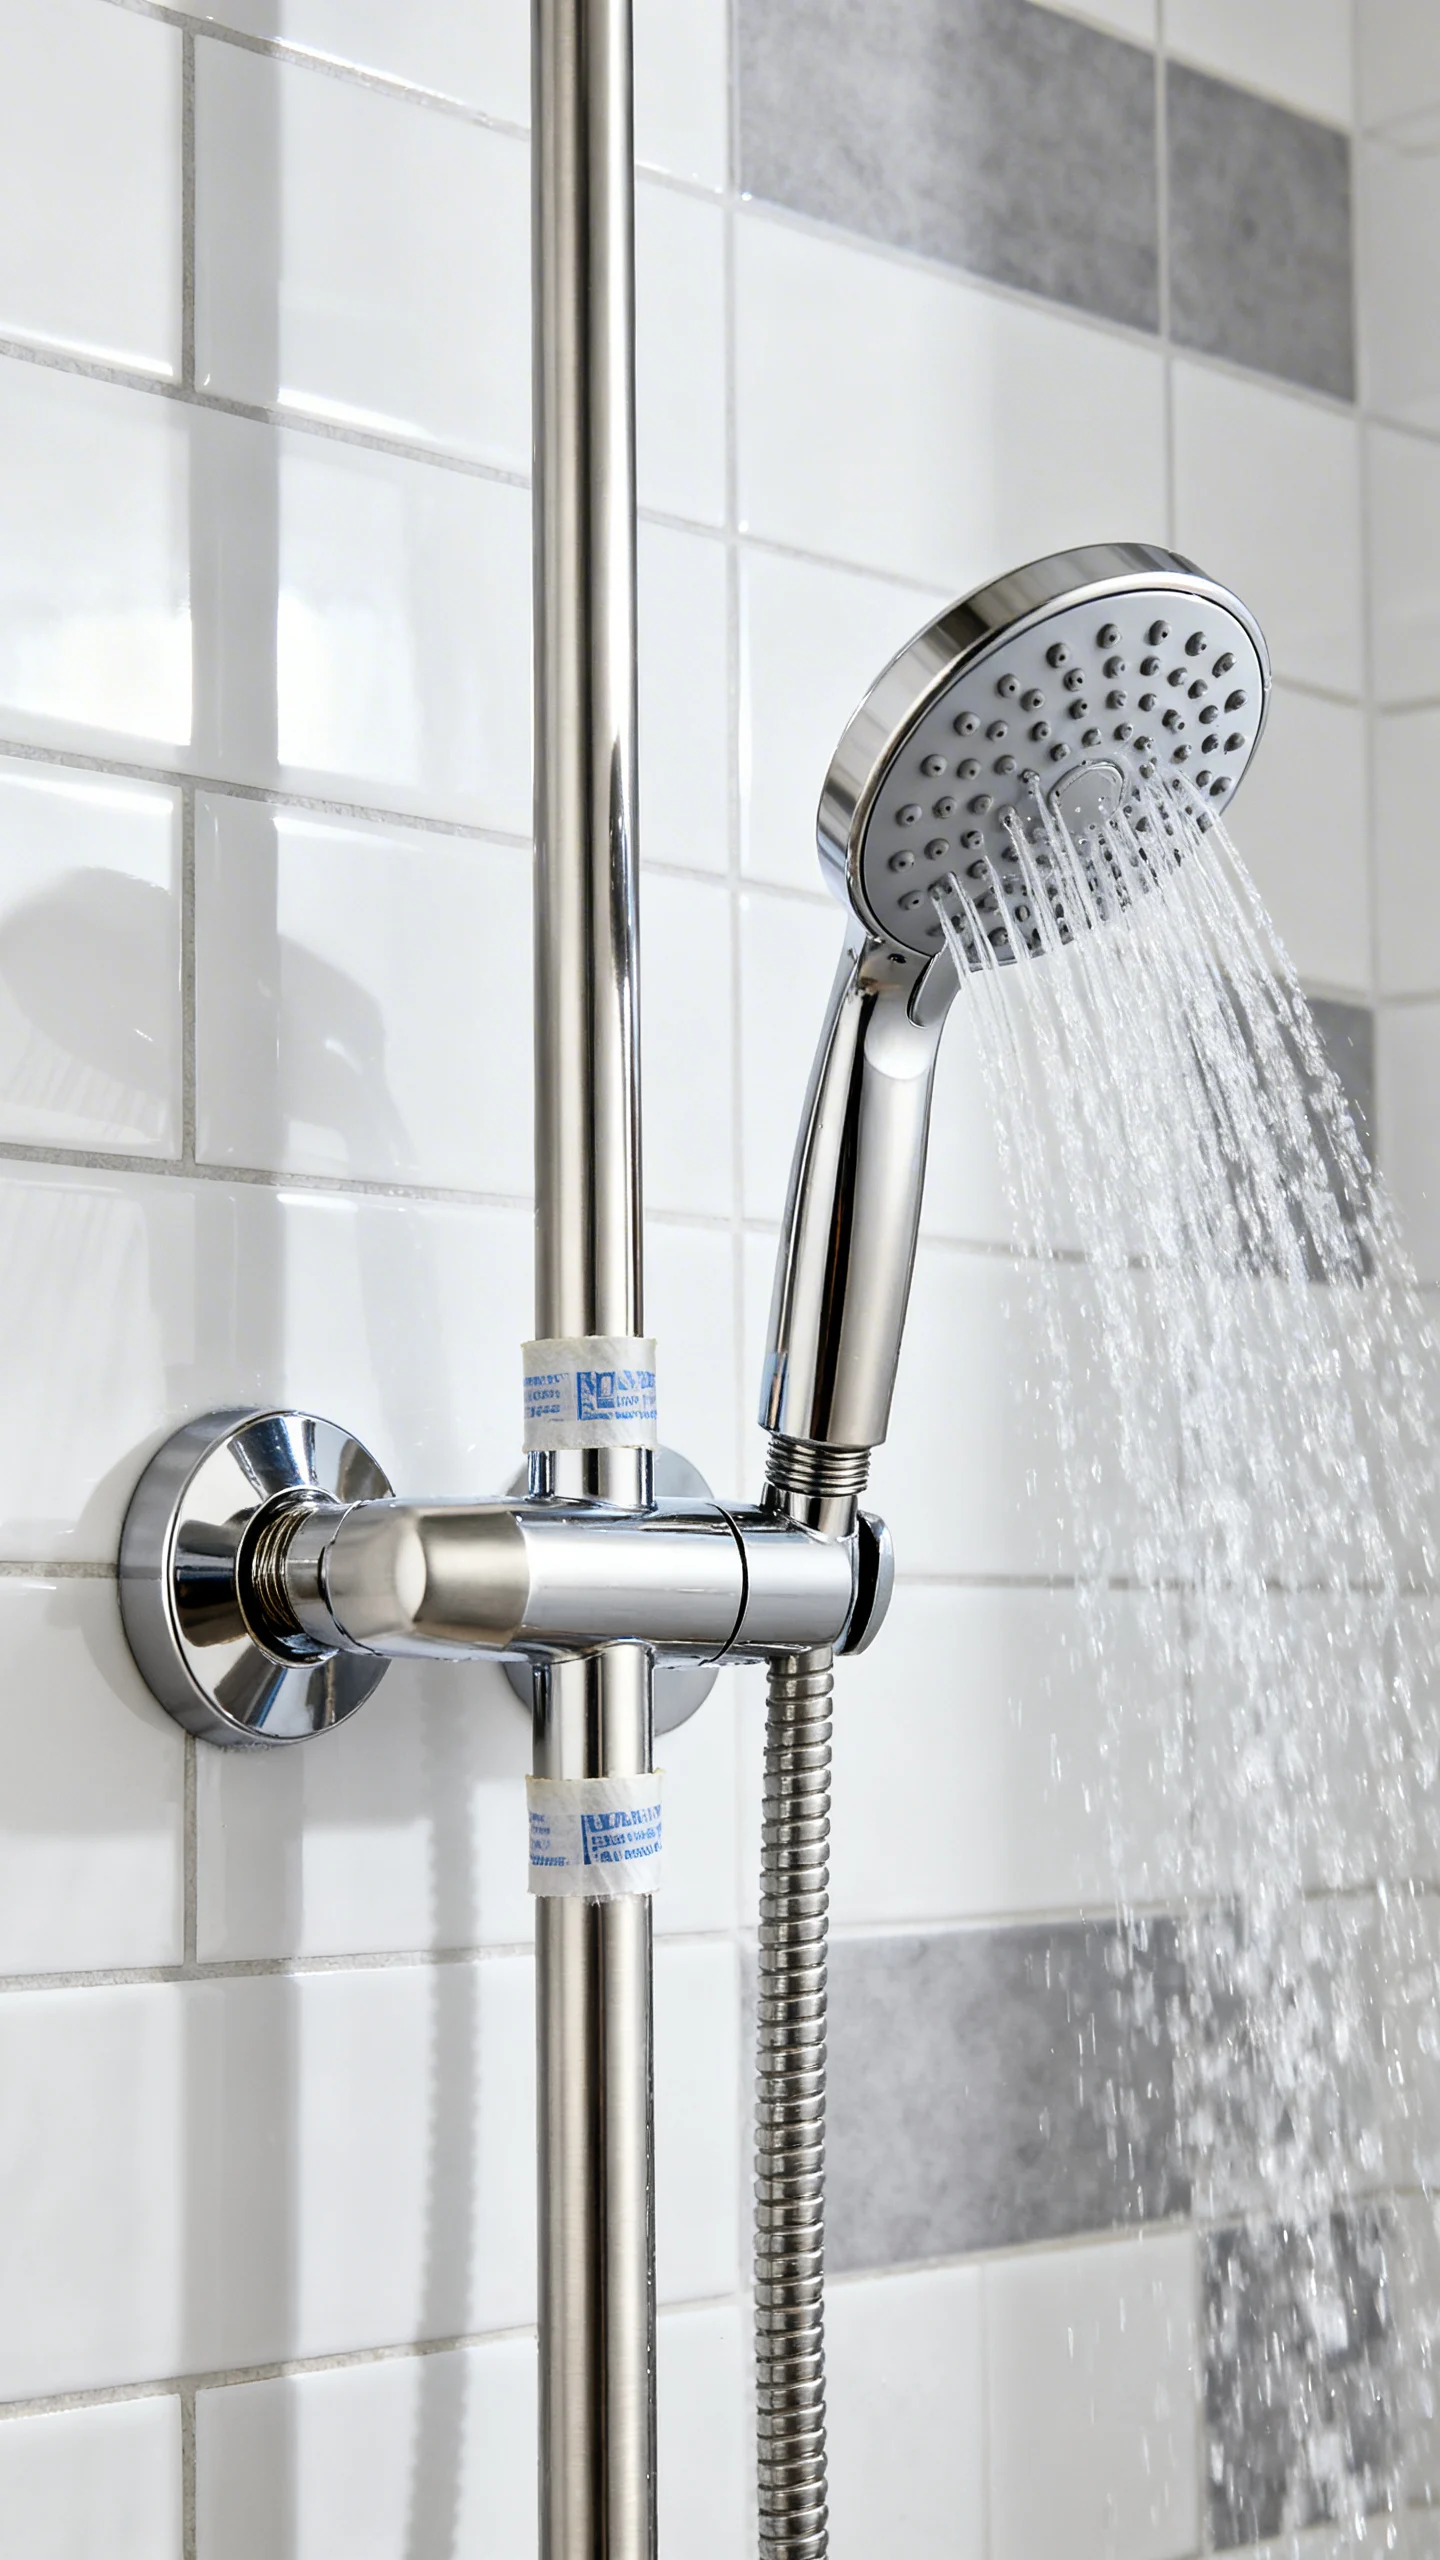
A new showerhead is the quickest way to make your bathroom feel upgraded, and it’s usually a 30–60 minute project. Choose between fixed, rainfall-style, handheld, or combo sets; handhelds are especially helpful for cleaning the shower and bathing kids or pets.
Use PTFE thread tape (often called Teflon tape) on the shower arm threads to help prevent leaks—wrap 3–5 turns clockwise. If your shower arm is old or corroded, replace it while you’re there. Check your water pressure: some high-efficiency heads can feel weak if pressure is already low. For a cleaner look, choose a set with a metal hose and a coordinated bracket that mounts into existing holes when possible.
5) Re-Caulk the Tub or Shower for a Crisp, Clean Edge
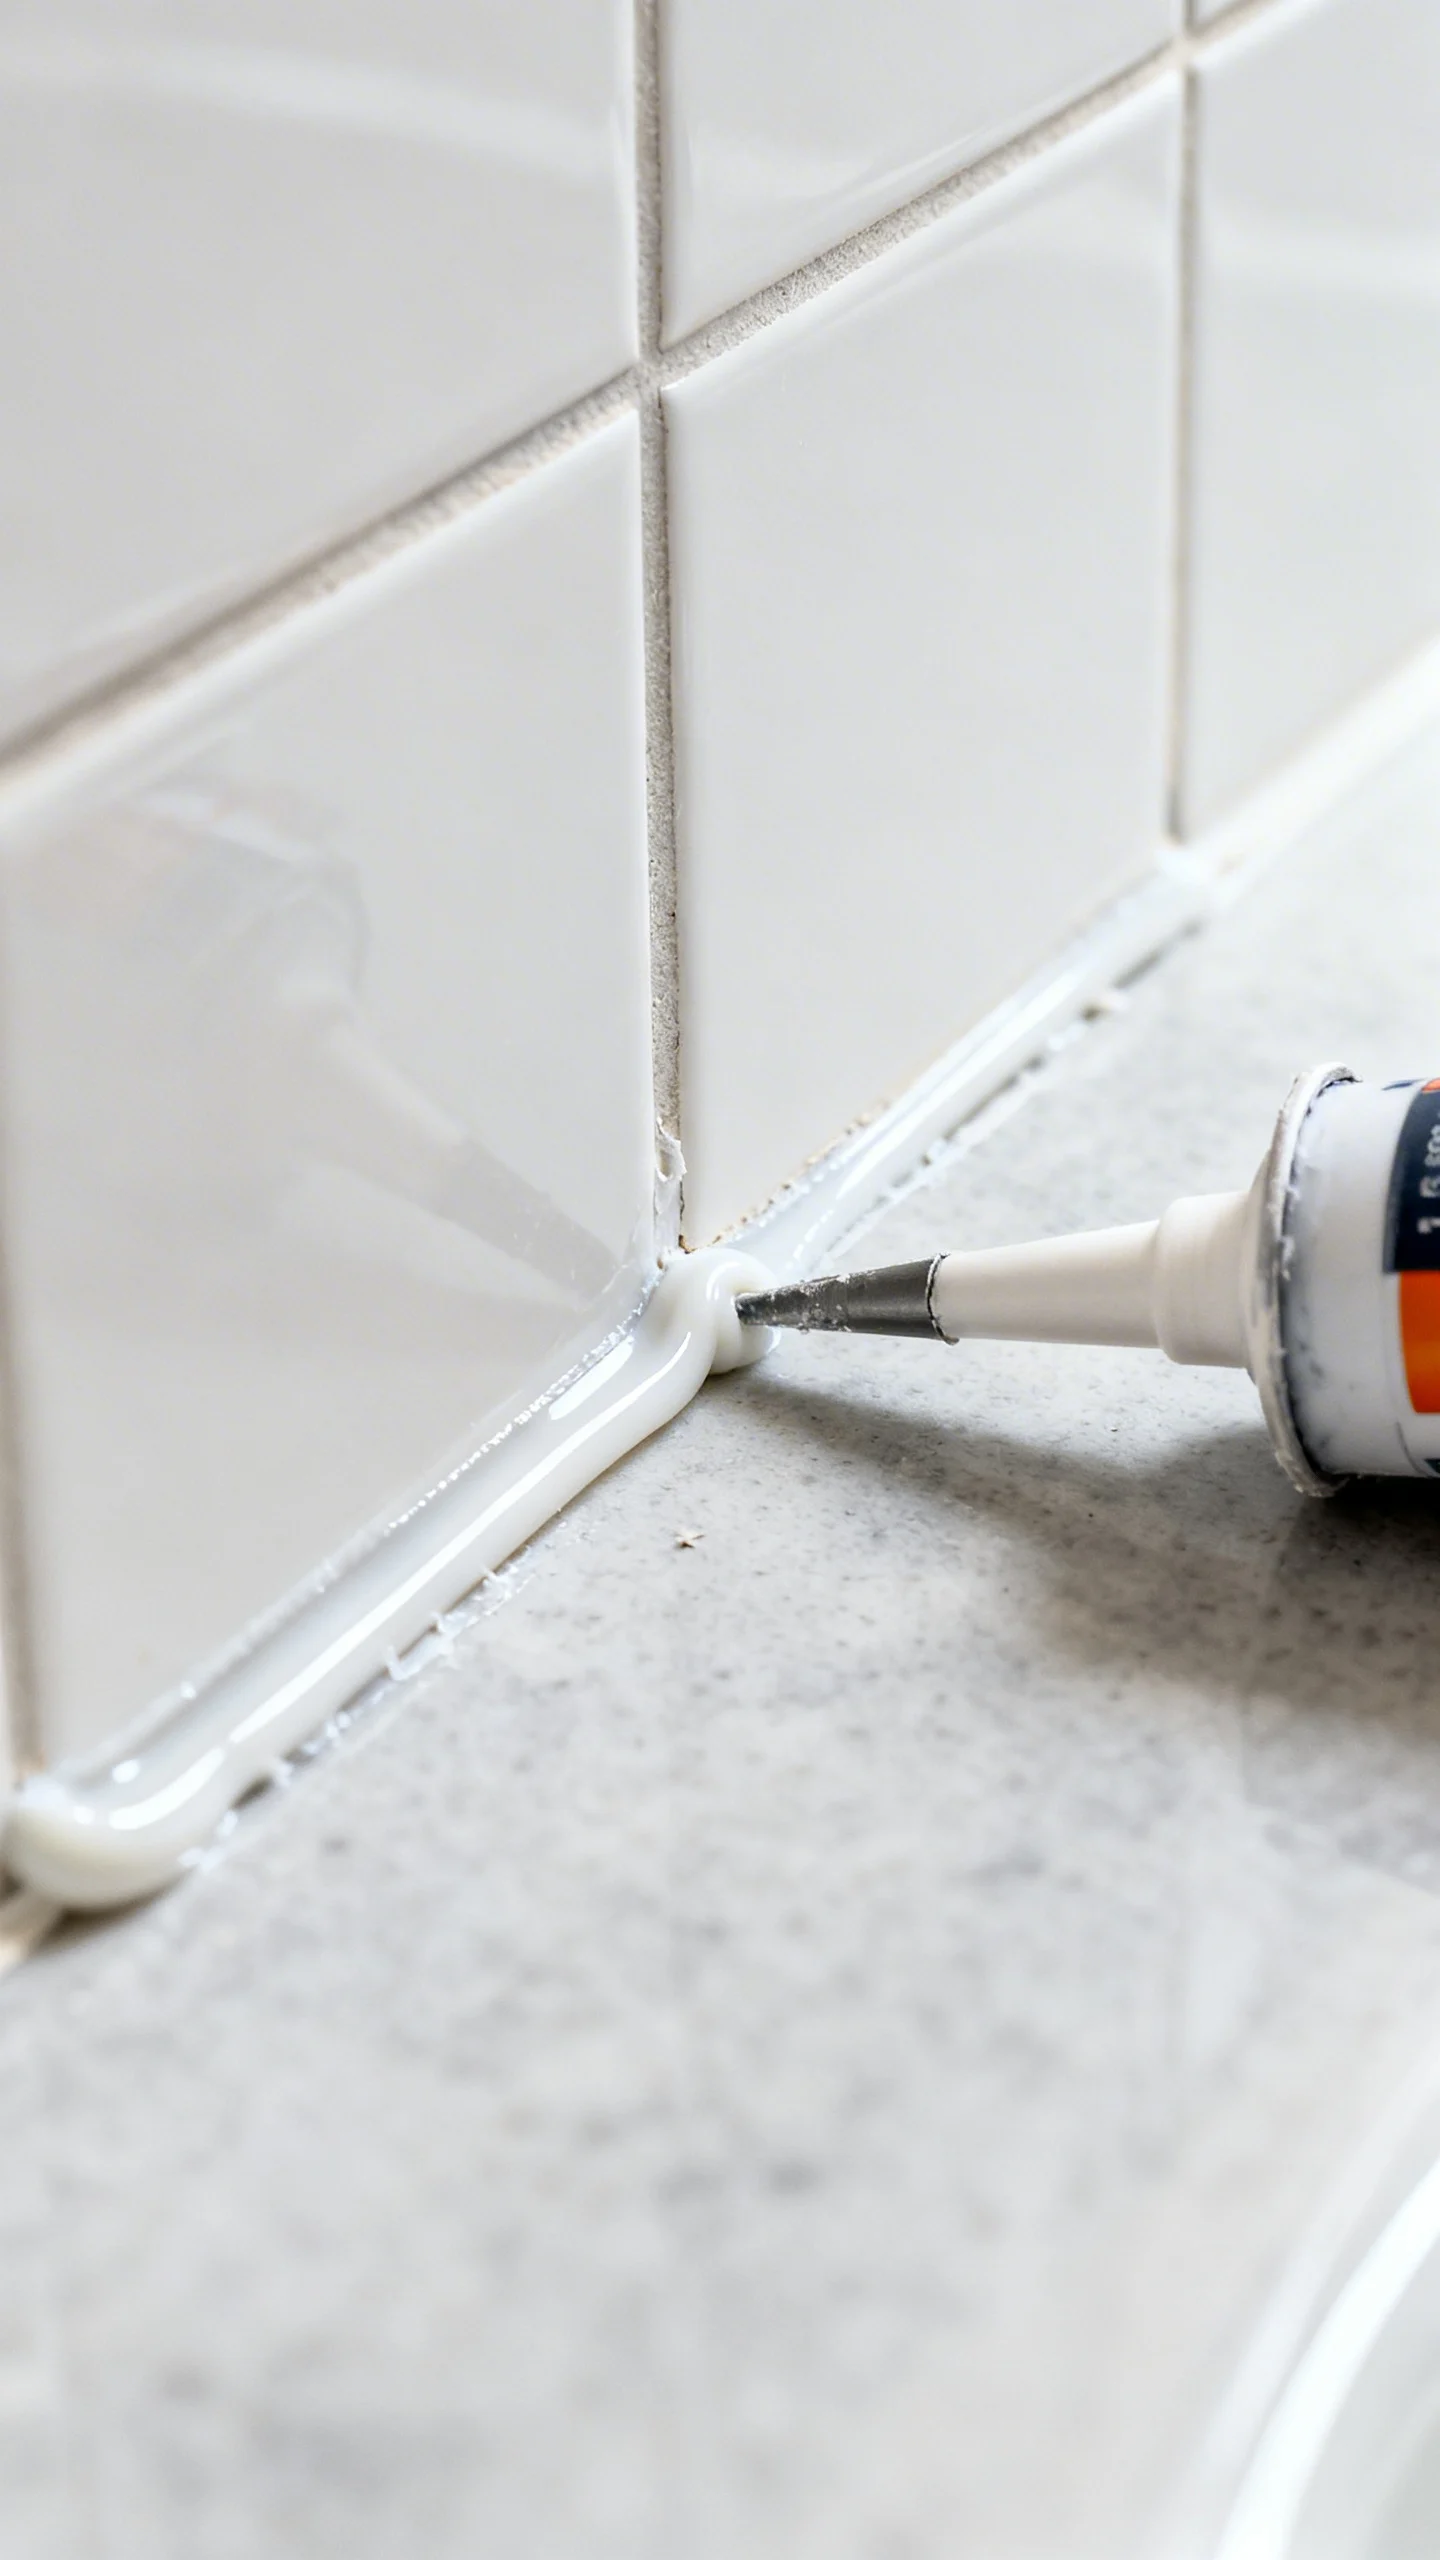
Fresh caulk is one of the most underrated design upgrades because it makes everything look newer. Use 100% silicone kitchen-and-bath caulk (it resists mold and stays flexible). Remove all old caulk completely—new caulk won’t bond reliably to old residue.
Prep is the secret: clean and dry the joint thoroughly, then tape both sides for a razor-straight line. Keep the bead small and consistent; most tub/shower corners only need a bead around 1/8 inch. Smooth with a caulk tool or a gloved finger lightly dampened with rubbing alcohol (follow the product instructions). Allow full cure time before water exposure—often 24 hours, sometimes longer depending on humidity.
6) Paint the Bathroom the Right Way (Moisture-Smart Prep + Finish)
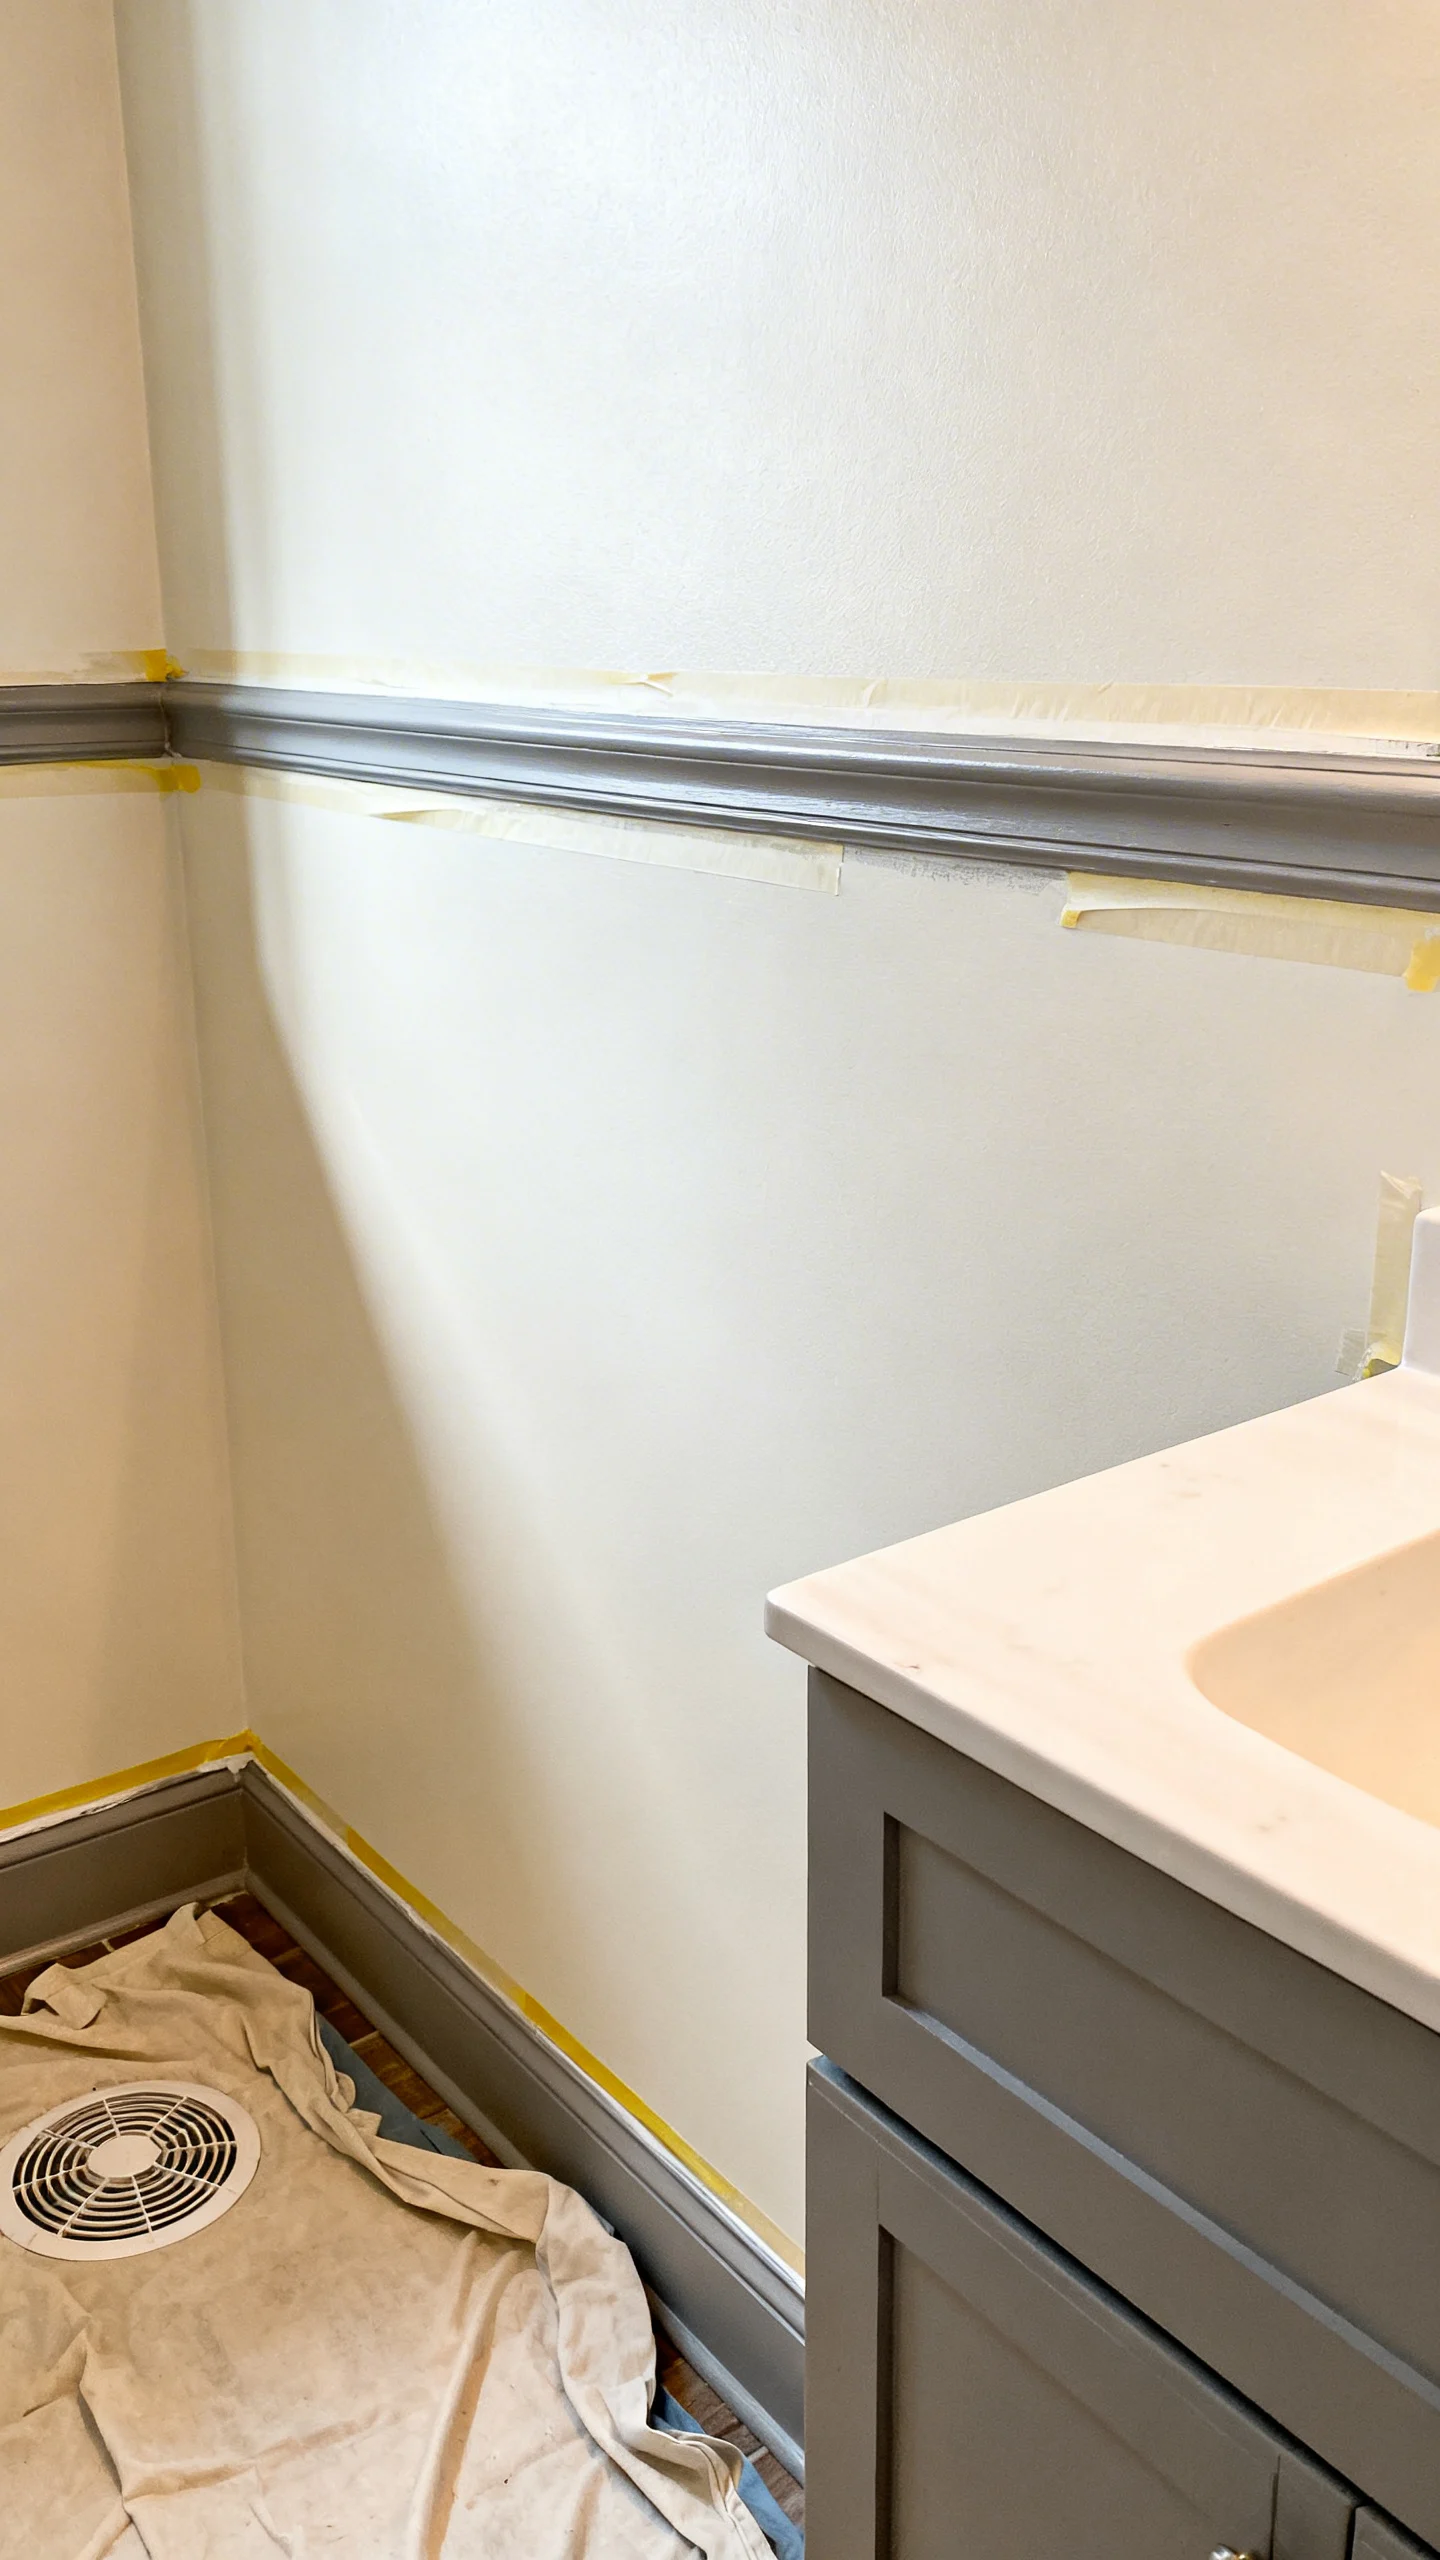
Painting is absolutely weekend-doable, but bathrooms demand the right products. Use a mildew-resistant primer if you have stains or previous moisture issues, and pick a paint finish that can handle frequent cleaning—satin or semi-gloss are common choices for bathroom walls. Flat paint tends to show water marks and can be harder to wipe down.
Prep for longevity: patch holes, sand smooth, clean any soap residue, and degloss shiny trim. Keep ventilation running (fan + window if possible) during and after painting to help curing. For a pulled-together look, consider painting trim a crisp white while selecting a calm wall color—soft stone, warm white, or muted blue-green reads spa-like without feeling cold.
7) Refresh Grout: Deep Clean, Re-Color, or Seal in a Day
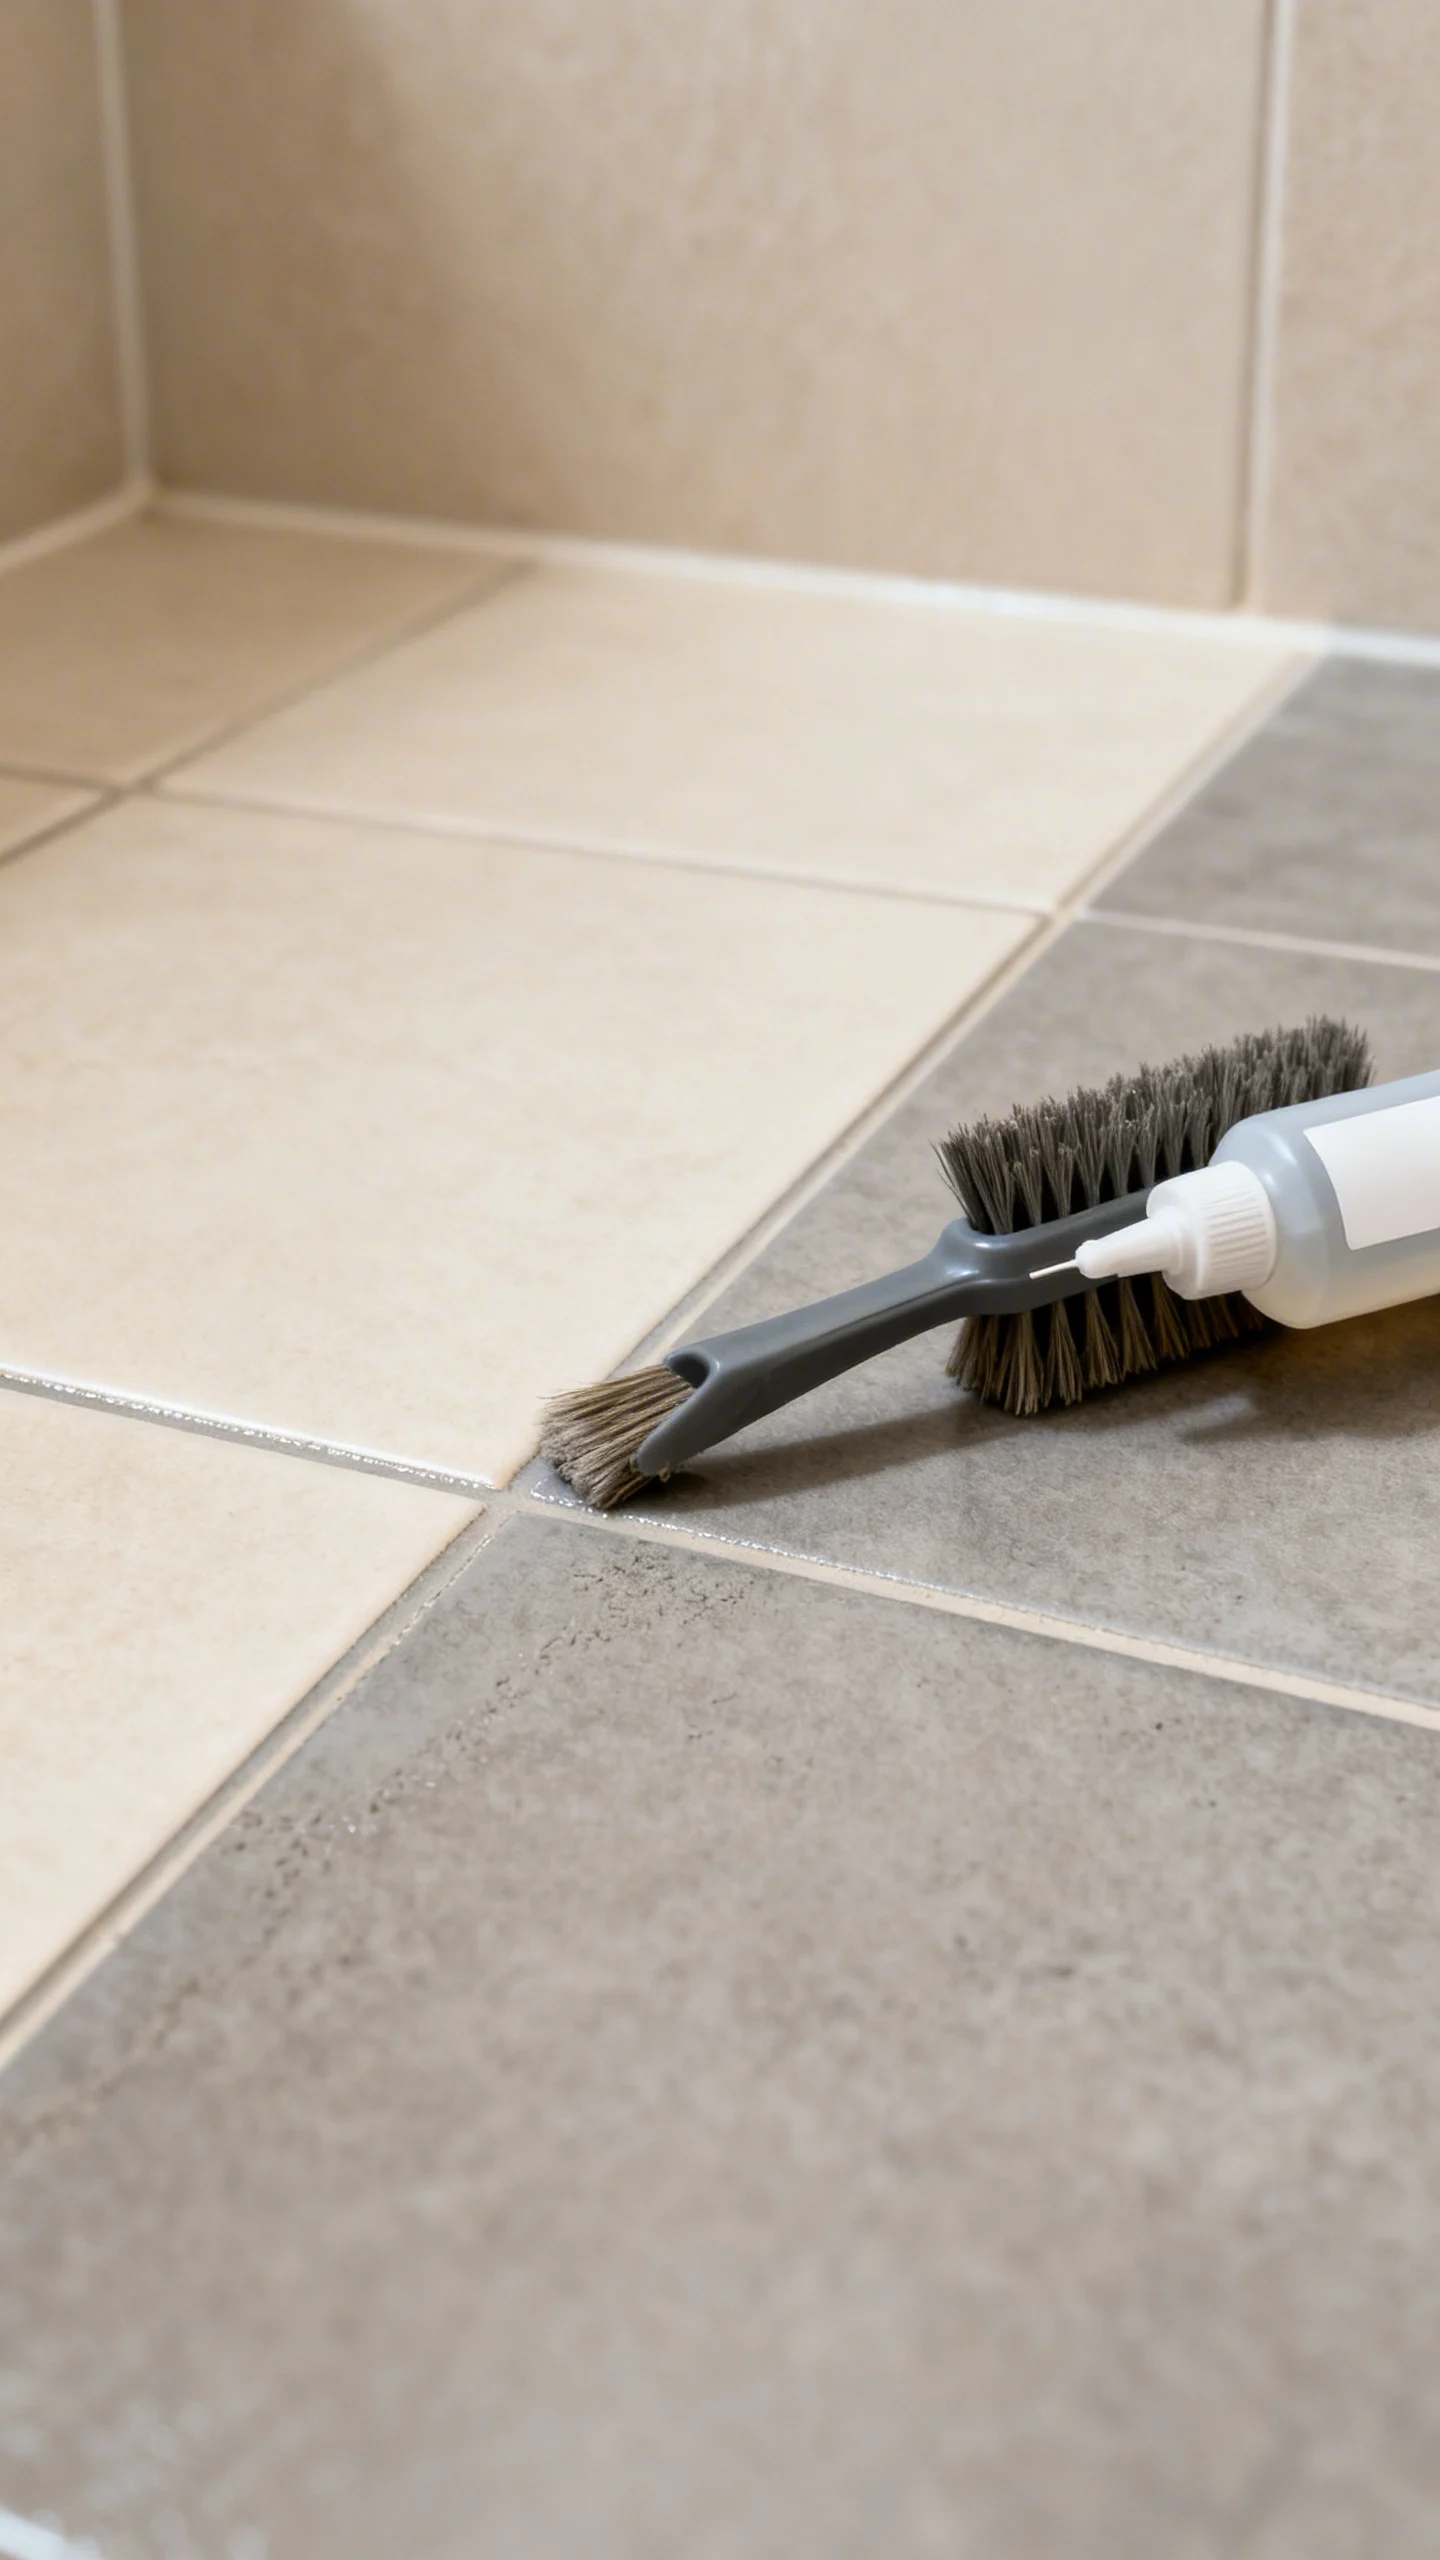
If your bathroom tile is fine but the grout looks tired, this is your high-impact weekend win. Start with a grout cleaner suited to your tile type (avoid harsh acids on natural stone). After cleaning and drying, decide whether to seal (best for cementitious grout) or use a grout refresh/recolor product to even out stains.
Sealing tips: apply carefully with a small sponge or applicator bottle, wipe off any residue from tile faces, and keep the area dry during cure. Recoloring tips: work in small sections, wipe tile immediately, and allow extra drying time in humid bathrooms. This project is especially satisfying on shower surrounds and bathroom floors where grout lines visually dominate.
8) Replace Bathroom Hardware: Towel Bars, Hooks, and Toilet Paper Holder
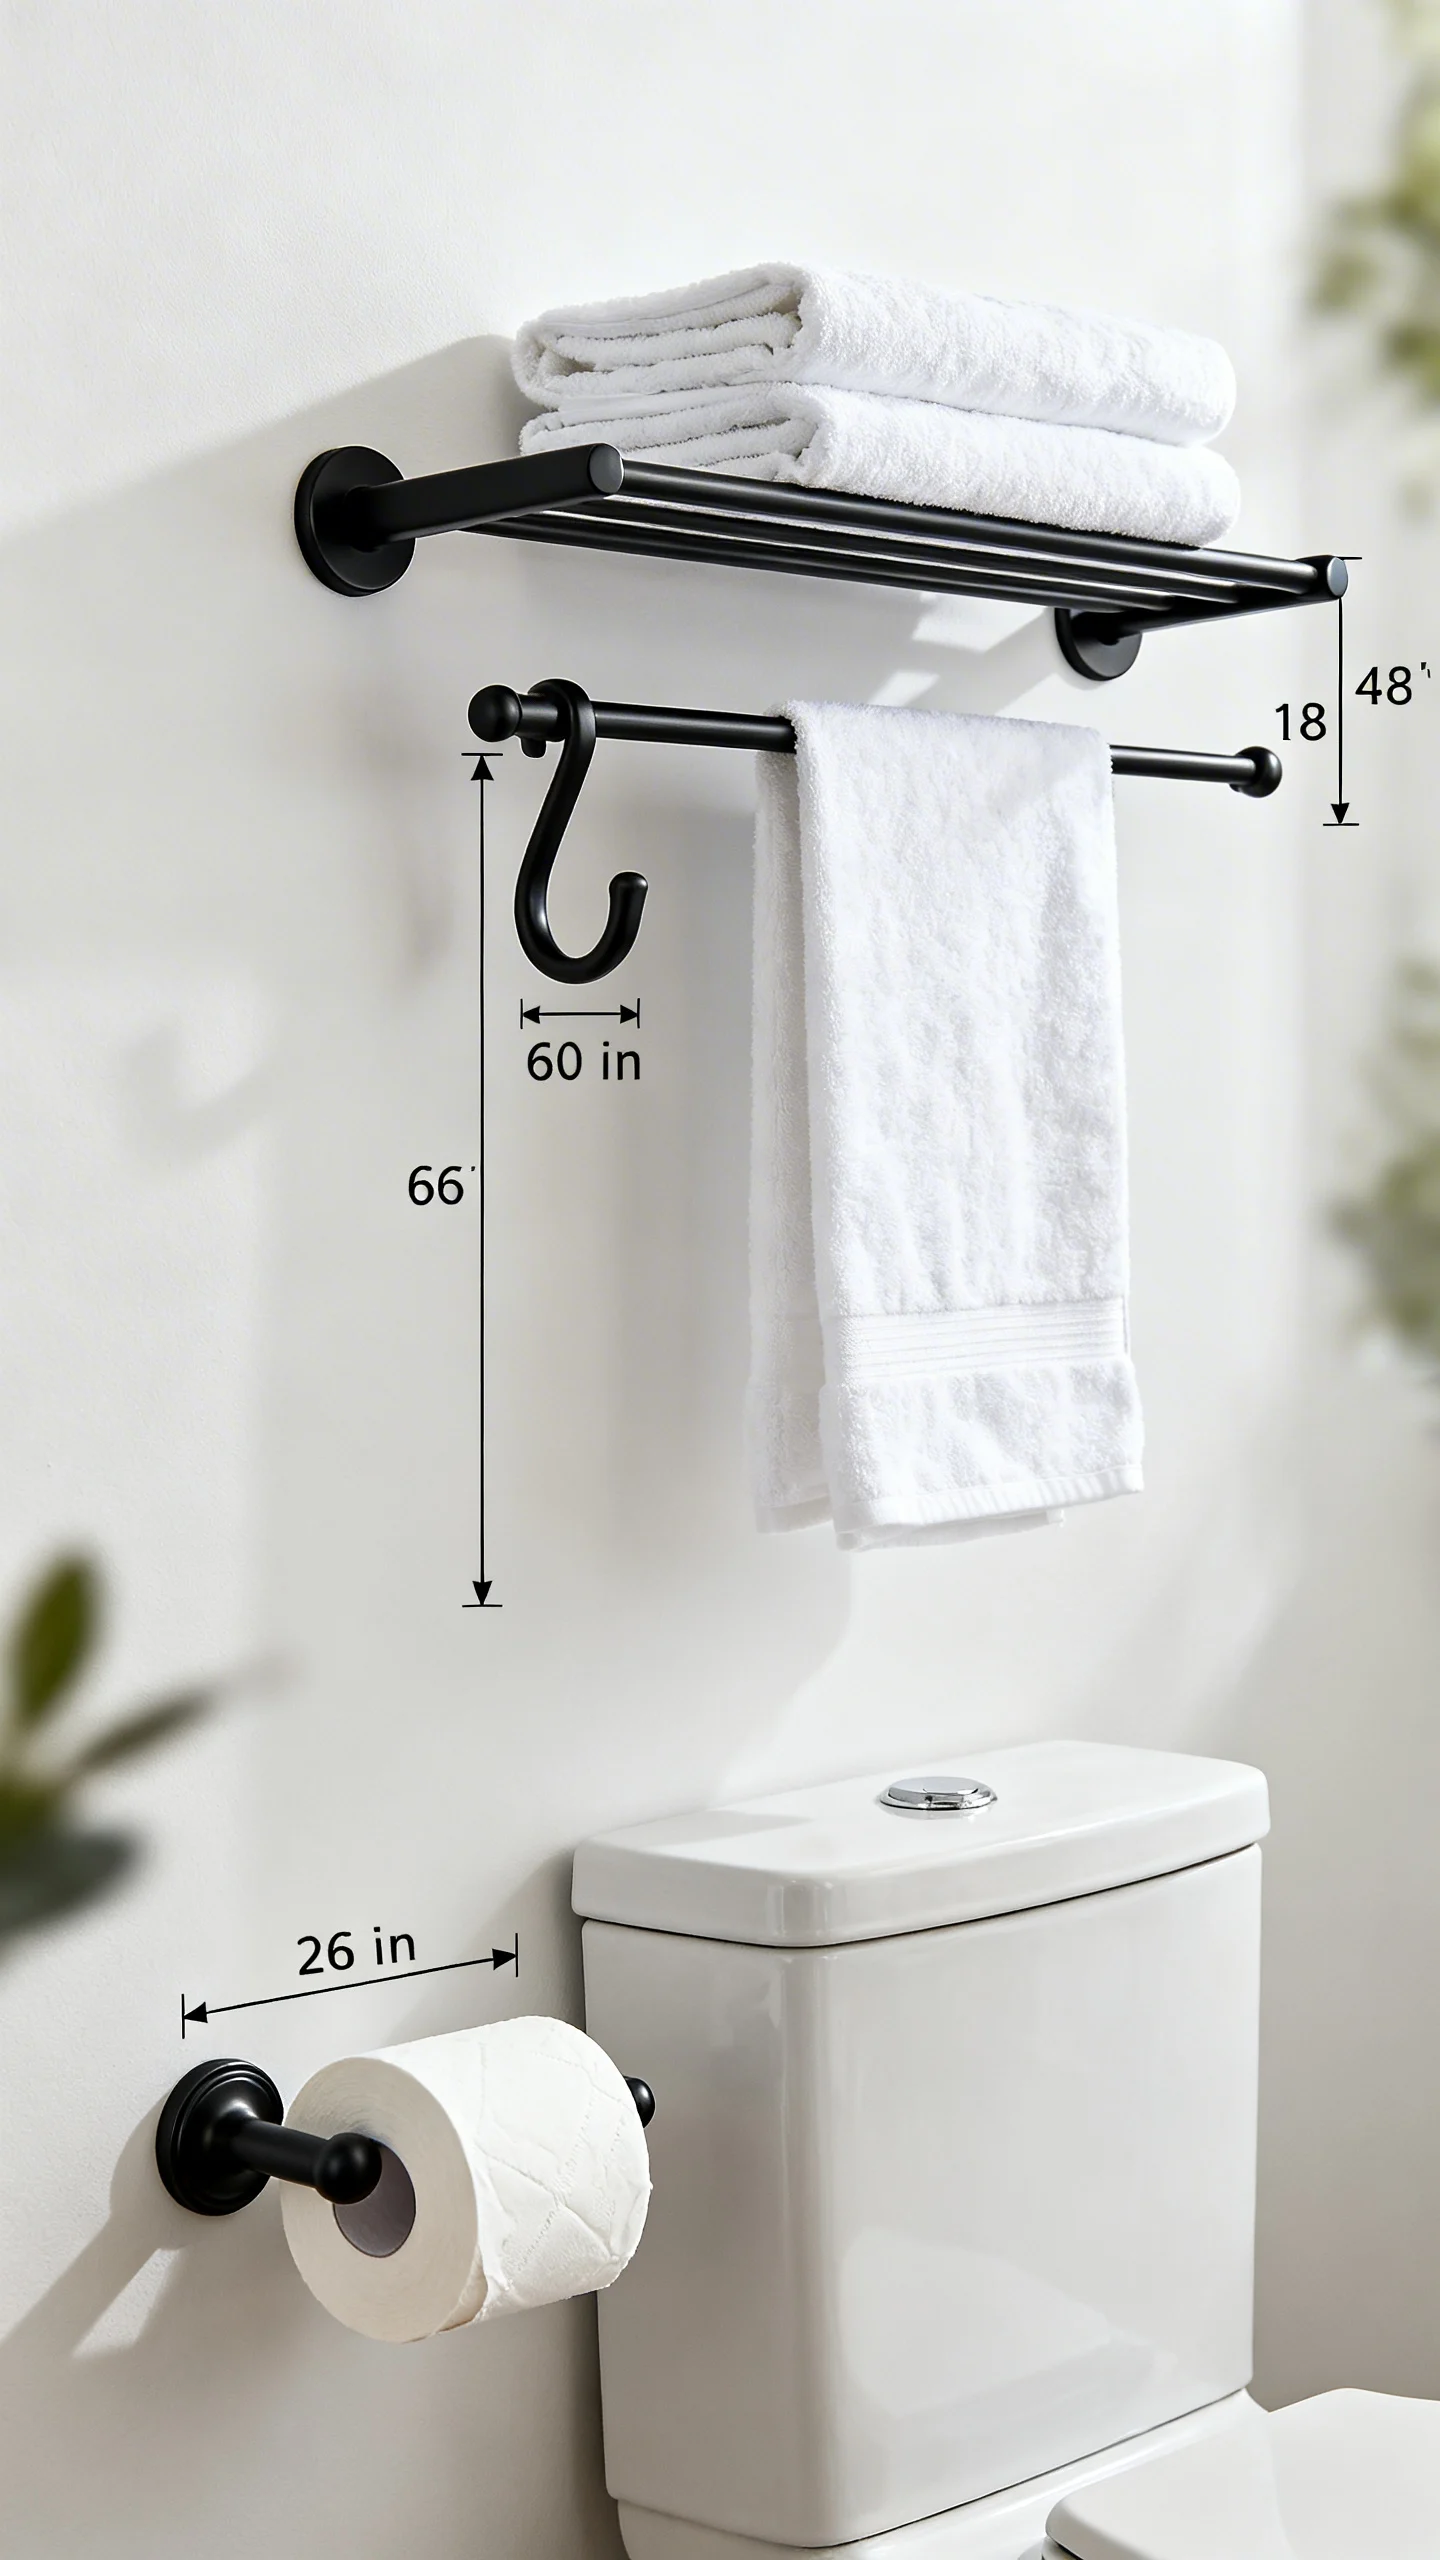
Matching hardware makes a bathroom feel intentional, not piecemeal. Choose a cohesive finish (matte black, brushed nickel, champagne bronze) and stick with it across towel storage and paper holder. When planning placement, prioritize real-life reach and clearance—hooks should be easy to grab from the shower or vanity without bumping doors.
Helpful measurements: mount towel bars so towels don’t drag on the floor (often 44–48 inches from the floor works for many baths, adjusted for towel length). For toilet paper holders, a common target is about 26 inches from the floor and 8–12 inches in front of the toilet bowl edge (adjust for comfort and wall layout). Use a level, mark holes carefully, and choose anchors rated for towel weight if studs aren’t available.
9) Add a Peel-and-Stick Wallpaper Accent (Bathroom-Safe Placement)
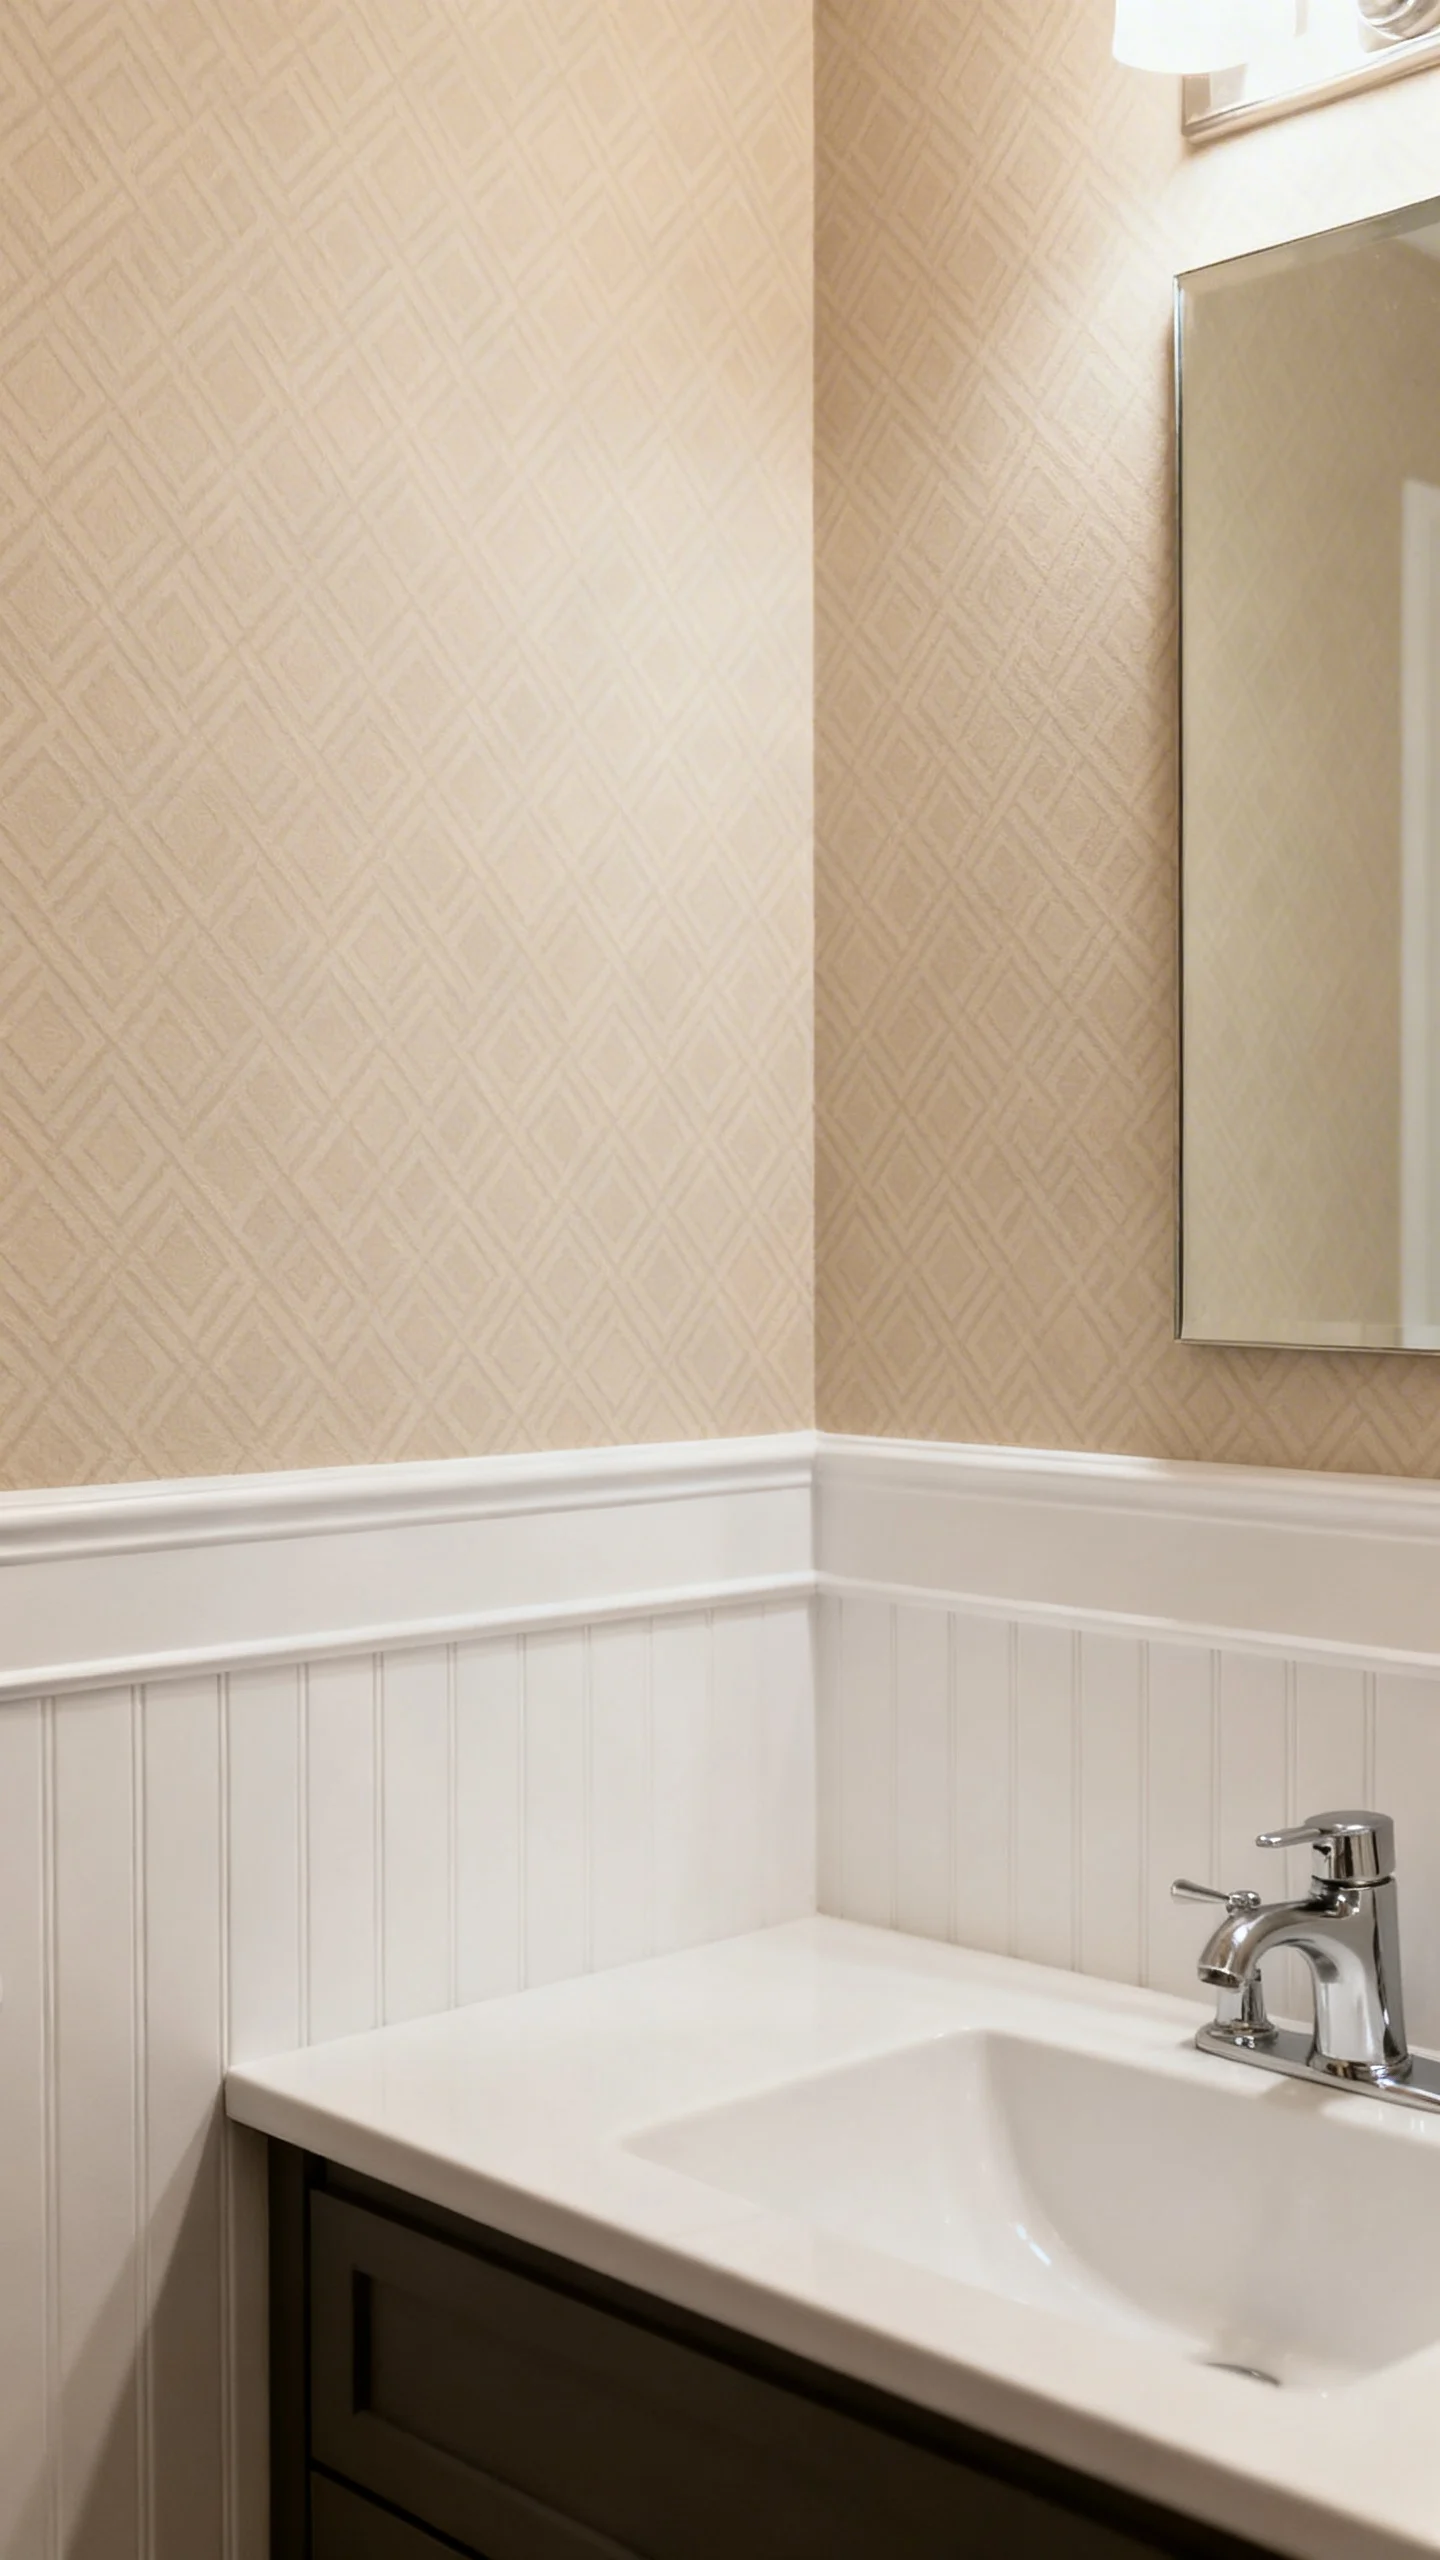
Peel-and-stick wallpaper can create a boutique-hotel moment in a single afternoon—when used thoughtfully in a bathroom. The best placement is typically a wall that doesn’t get direct water spray, like behind the vanity or on a powder room feature wall. Avoid installing inside a shower or on surfaces that stay constantly damp.
Choose vinyl or moisture-resistant options, and start with a smooth, clean wall. Bathrooms highlight imperfections, so fill and sand any dings first. Use a level to create a perfectly plumb starting line; small errors multiply fast across panels. For longevity, run the exhaust fan during showers and consider sealing the wallpaper edges near trim with a thin bead of clear, paintable sealant only if the manufacturer allows it.
10) Create a Mini “Spa” Upgrade: New Shower Curtain, Rod, and Liner System
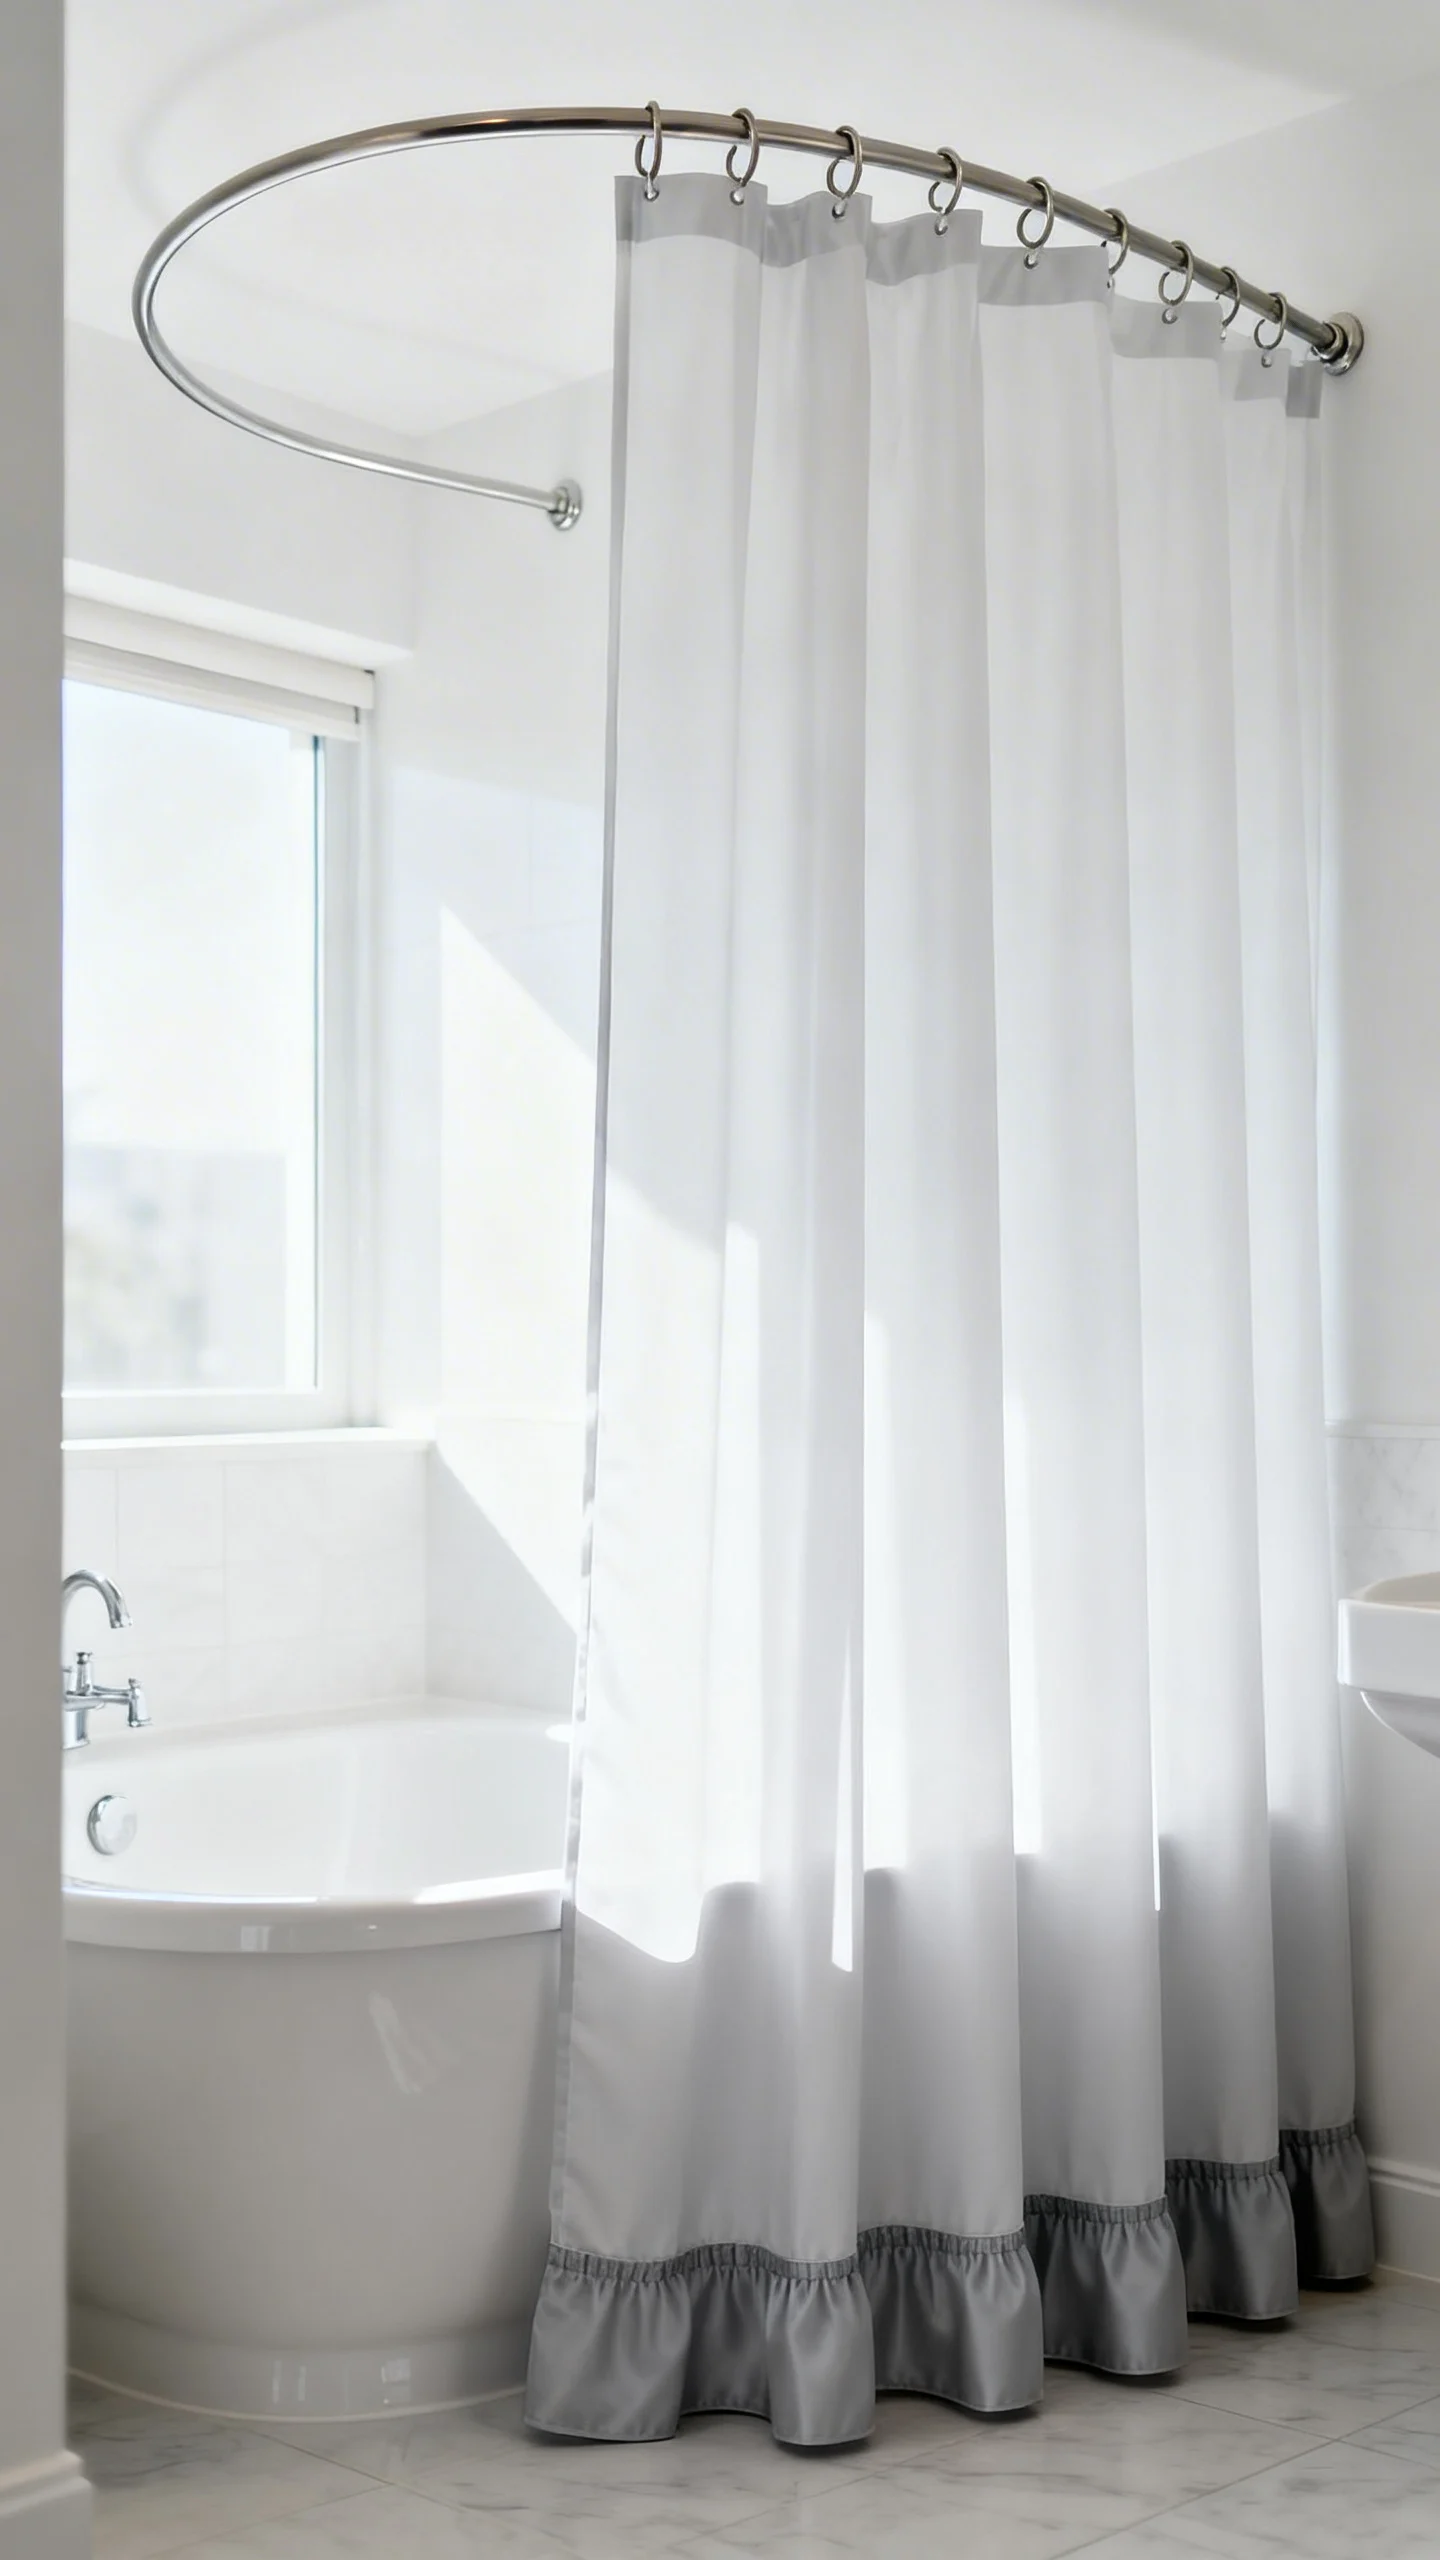
This is a fast design project that makes the whole bathroom feel fresher by Sunday. Upgrade to a curved shower rod for extra elbow room (great in smaller tubs), and choose a curtain that’s long enough to look intentional—72 inches is standard, but 84 inches can feel more elevated if your rod is mounted higher and you have the clearance.
Use a quality liner (look for weighted hems and reinforced grommets) and consider a snap-in fabric liner system for easier washing. Mount the rod level and secure it well; if drilling into tile, use a tile bit and avoid overtightening to prevent cracks. Finish with rings that glide smoothly—small details that make daily use feel better.
FAQ
What’s the easiest DIY bathroom project to finish in one day?
Swapping a showerhead, changing bathroom hardware (hooks/towel bars/toilet paper holder), or installing a new mirror are typically the quickest. They require minimal drying time compared to paint, caulk, or grout work.
What paint finish is best for bathrooms?
Satin or semi-gloss is usually best because it resists moisture and cleans more easily than flat paint. Look for mildew-resistant formulas and keep ventilation running to help the paint cure properly.
Can peel-and-stick wallpaper work in a bathroom?
Yes, when placed away from direct shower spray and on a smooth, clean wall. Choose moisture-resistant materials and maintain good ventilation so humidity doesn’t linger on the surface.
Should I use silicone or acrylic caulk around a tub?
For tubs and showers, 100% silicone kitchen-and-bath caulk is typically the best choice because it stays flexible and resists water. Acrylic/latex caulk is easier to paint but generally less durable in constant-wet zones.
How do I make sure new bathroom hardware is placed at a comfortable height?
Use common