
Furniture Remodeling on a Budget for a Modern Look
Remodeling furniture is one of the fastest ways to get a modern look without paying modern showroom prices. With a few weekend-friendly techniques—paint, hardware swaps, simple structural updates—you can turn dated pieces into crisp, current staples.
Below are 10 practical, budget-conscious approaches that focus on remodeling (not redecorating), with clear steps, materials, and “do this, not that” guidance so your finished piece looks intentional and modern.
1) Modernize Fast with a Hardware Swap (and the Right Measurements)
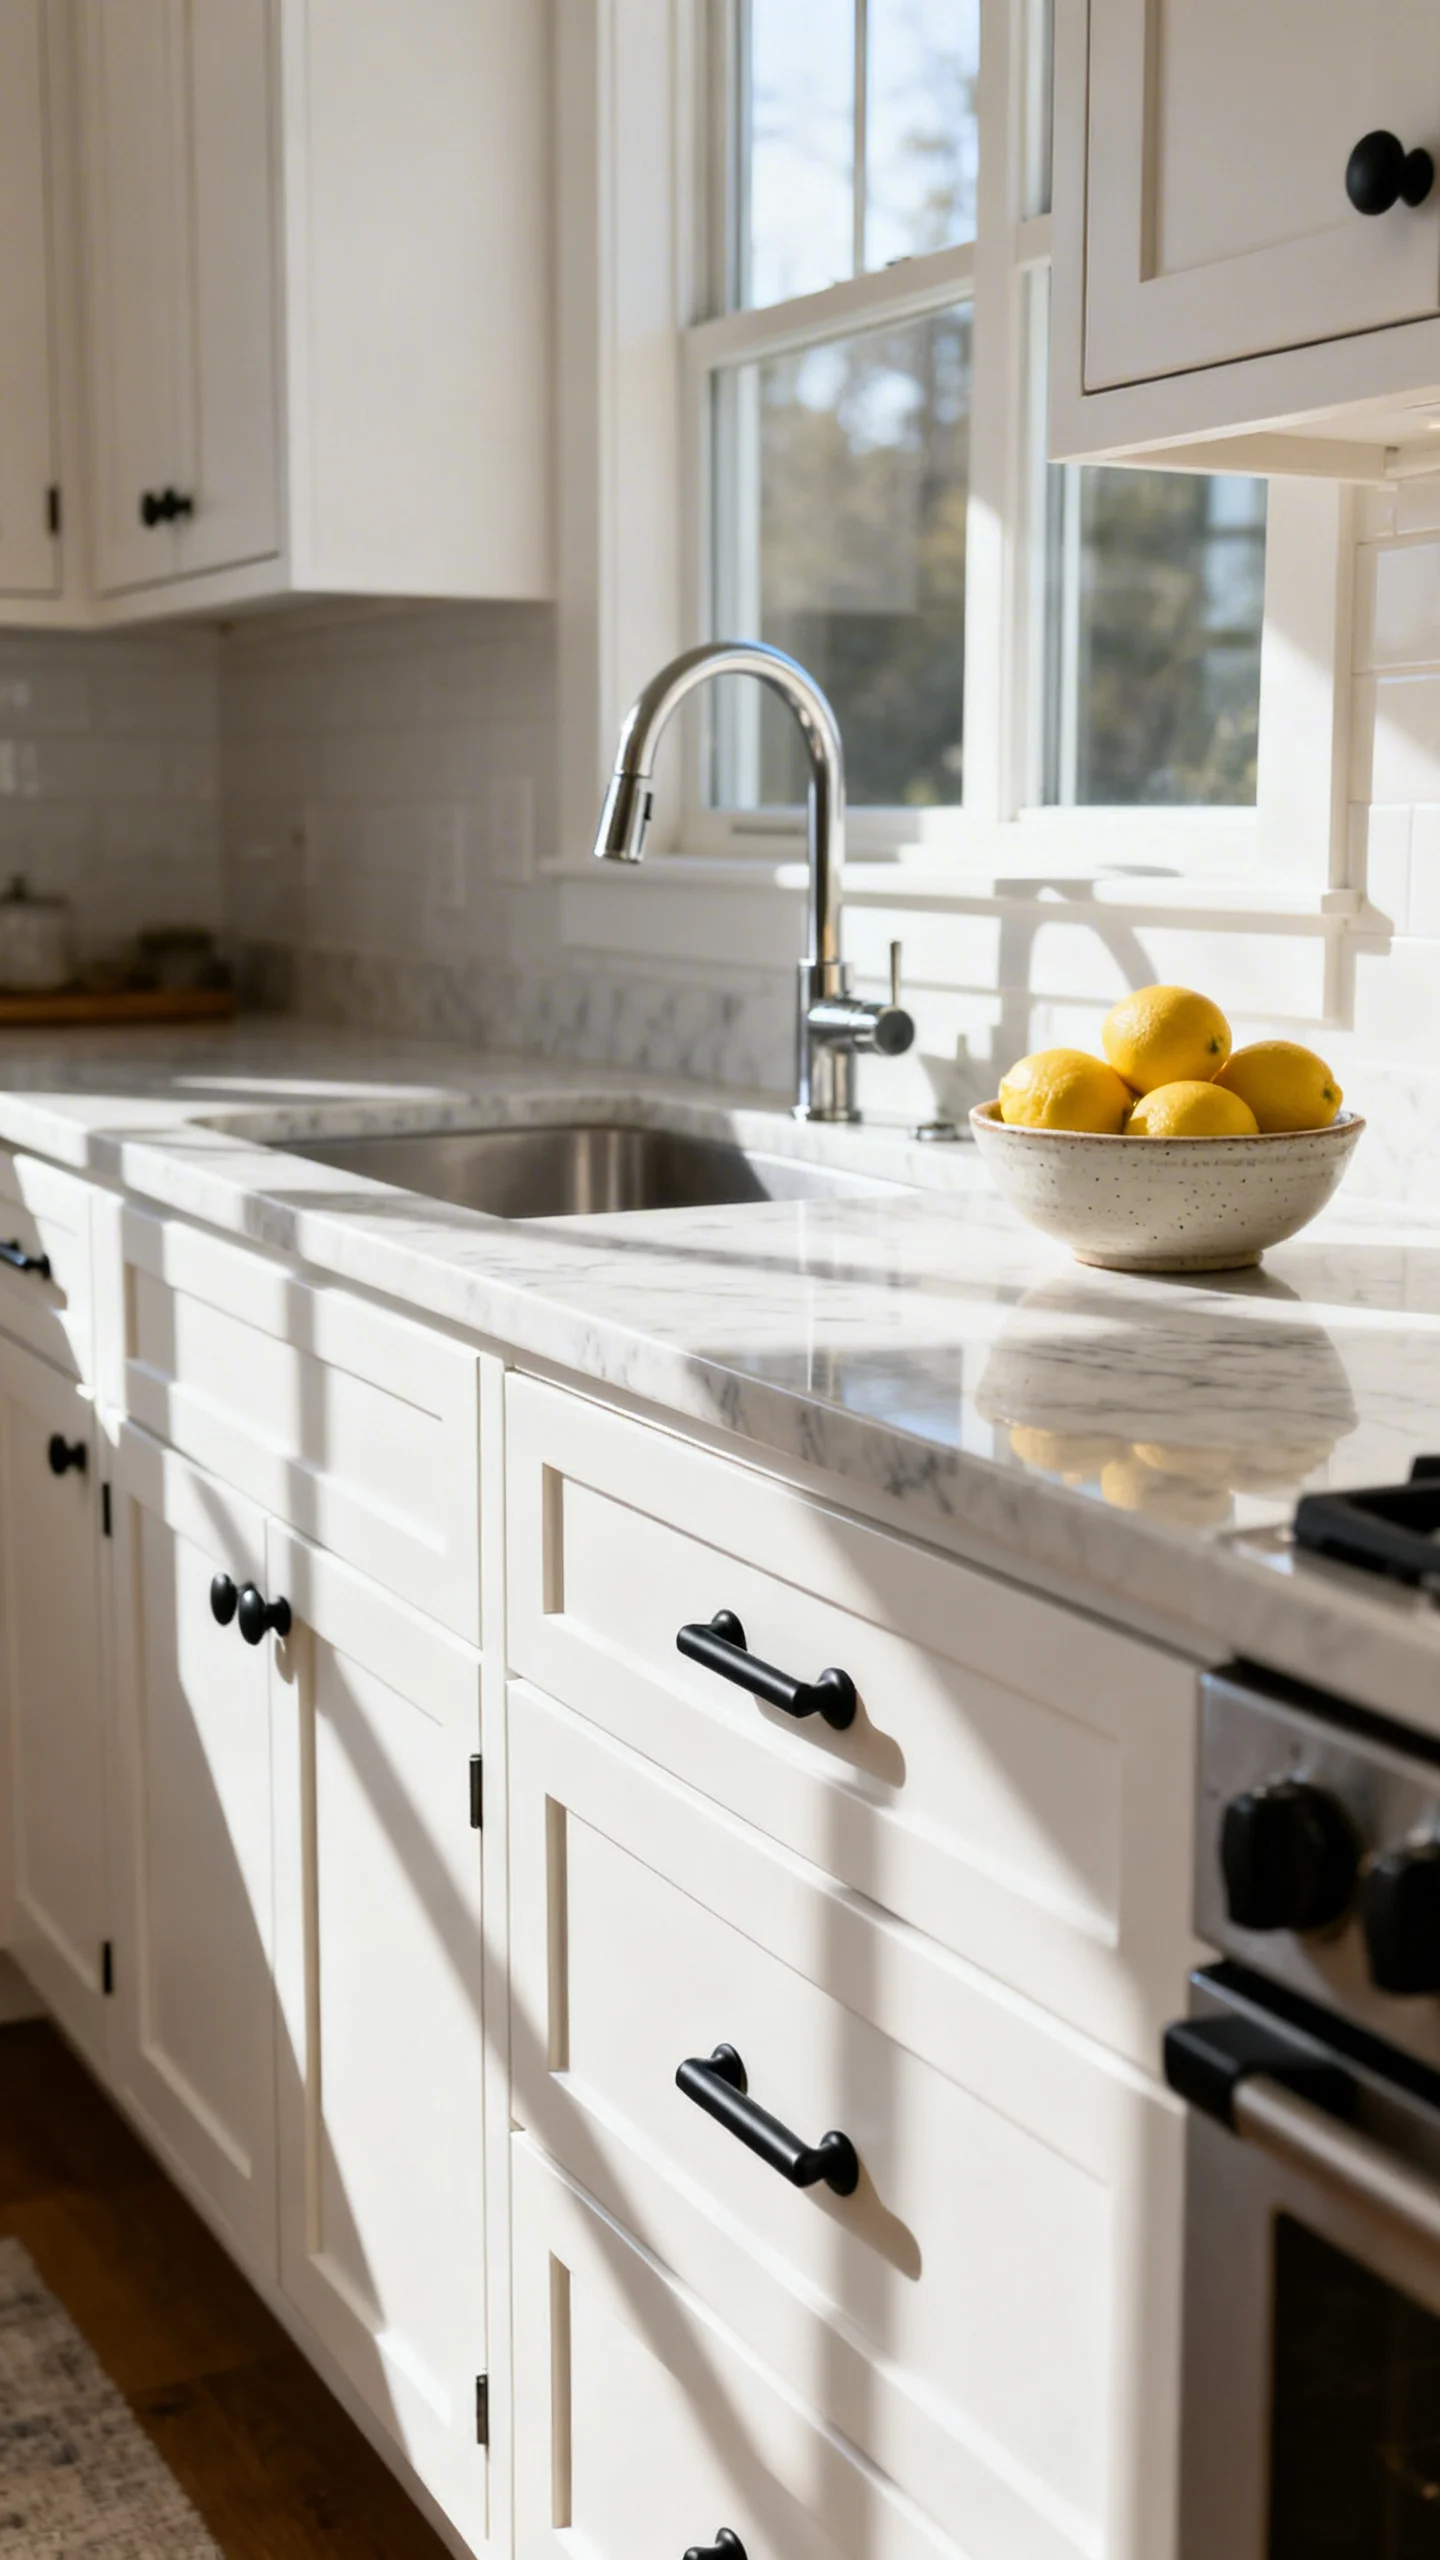
Changing pulls and knobs is the quickest remodel with the biggest style payoff—especially for dressers, nightstands, credenzas, and kitchen-style cabinets.
How to do it: Measure the existing hole spacing (center-to-center) before buying new pulls. Common sizes: 3″, 3.75″ (96mm), 5″ (128mm), 6.3″ (160mm). If you keep the same spacing, you avoid filling and redrilling—saving time and supplies.
Budget tips: Look for multi-packs online, builder-grade pulls at home centers, or secondhand brass/steel you can clean and clear-coat. Matte black and brushed nickel read instantly modern; unlacquered brass can look modern if the lines are simple.
Pro finish detail: If the old hardware left a “shadow,” choose a backplate-free pull with a longer footprint, or plan to spot-prime and paint the drawer front.
2) Paint for a Modern Look: Choose the Right Sheen and Prep Like a Pro
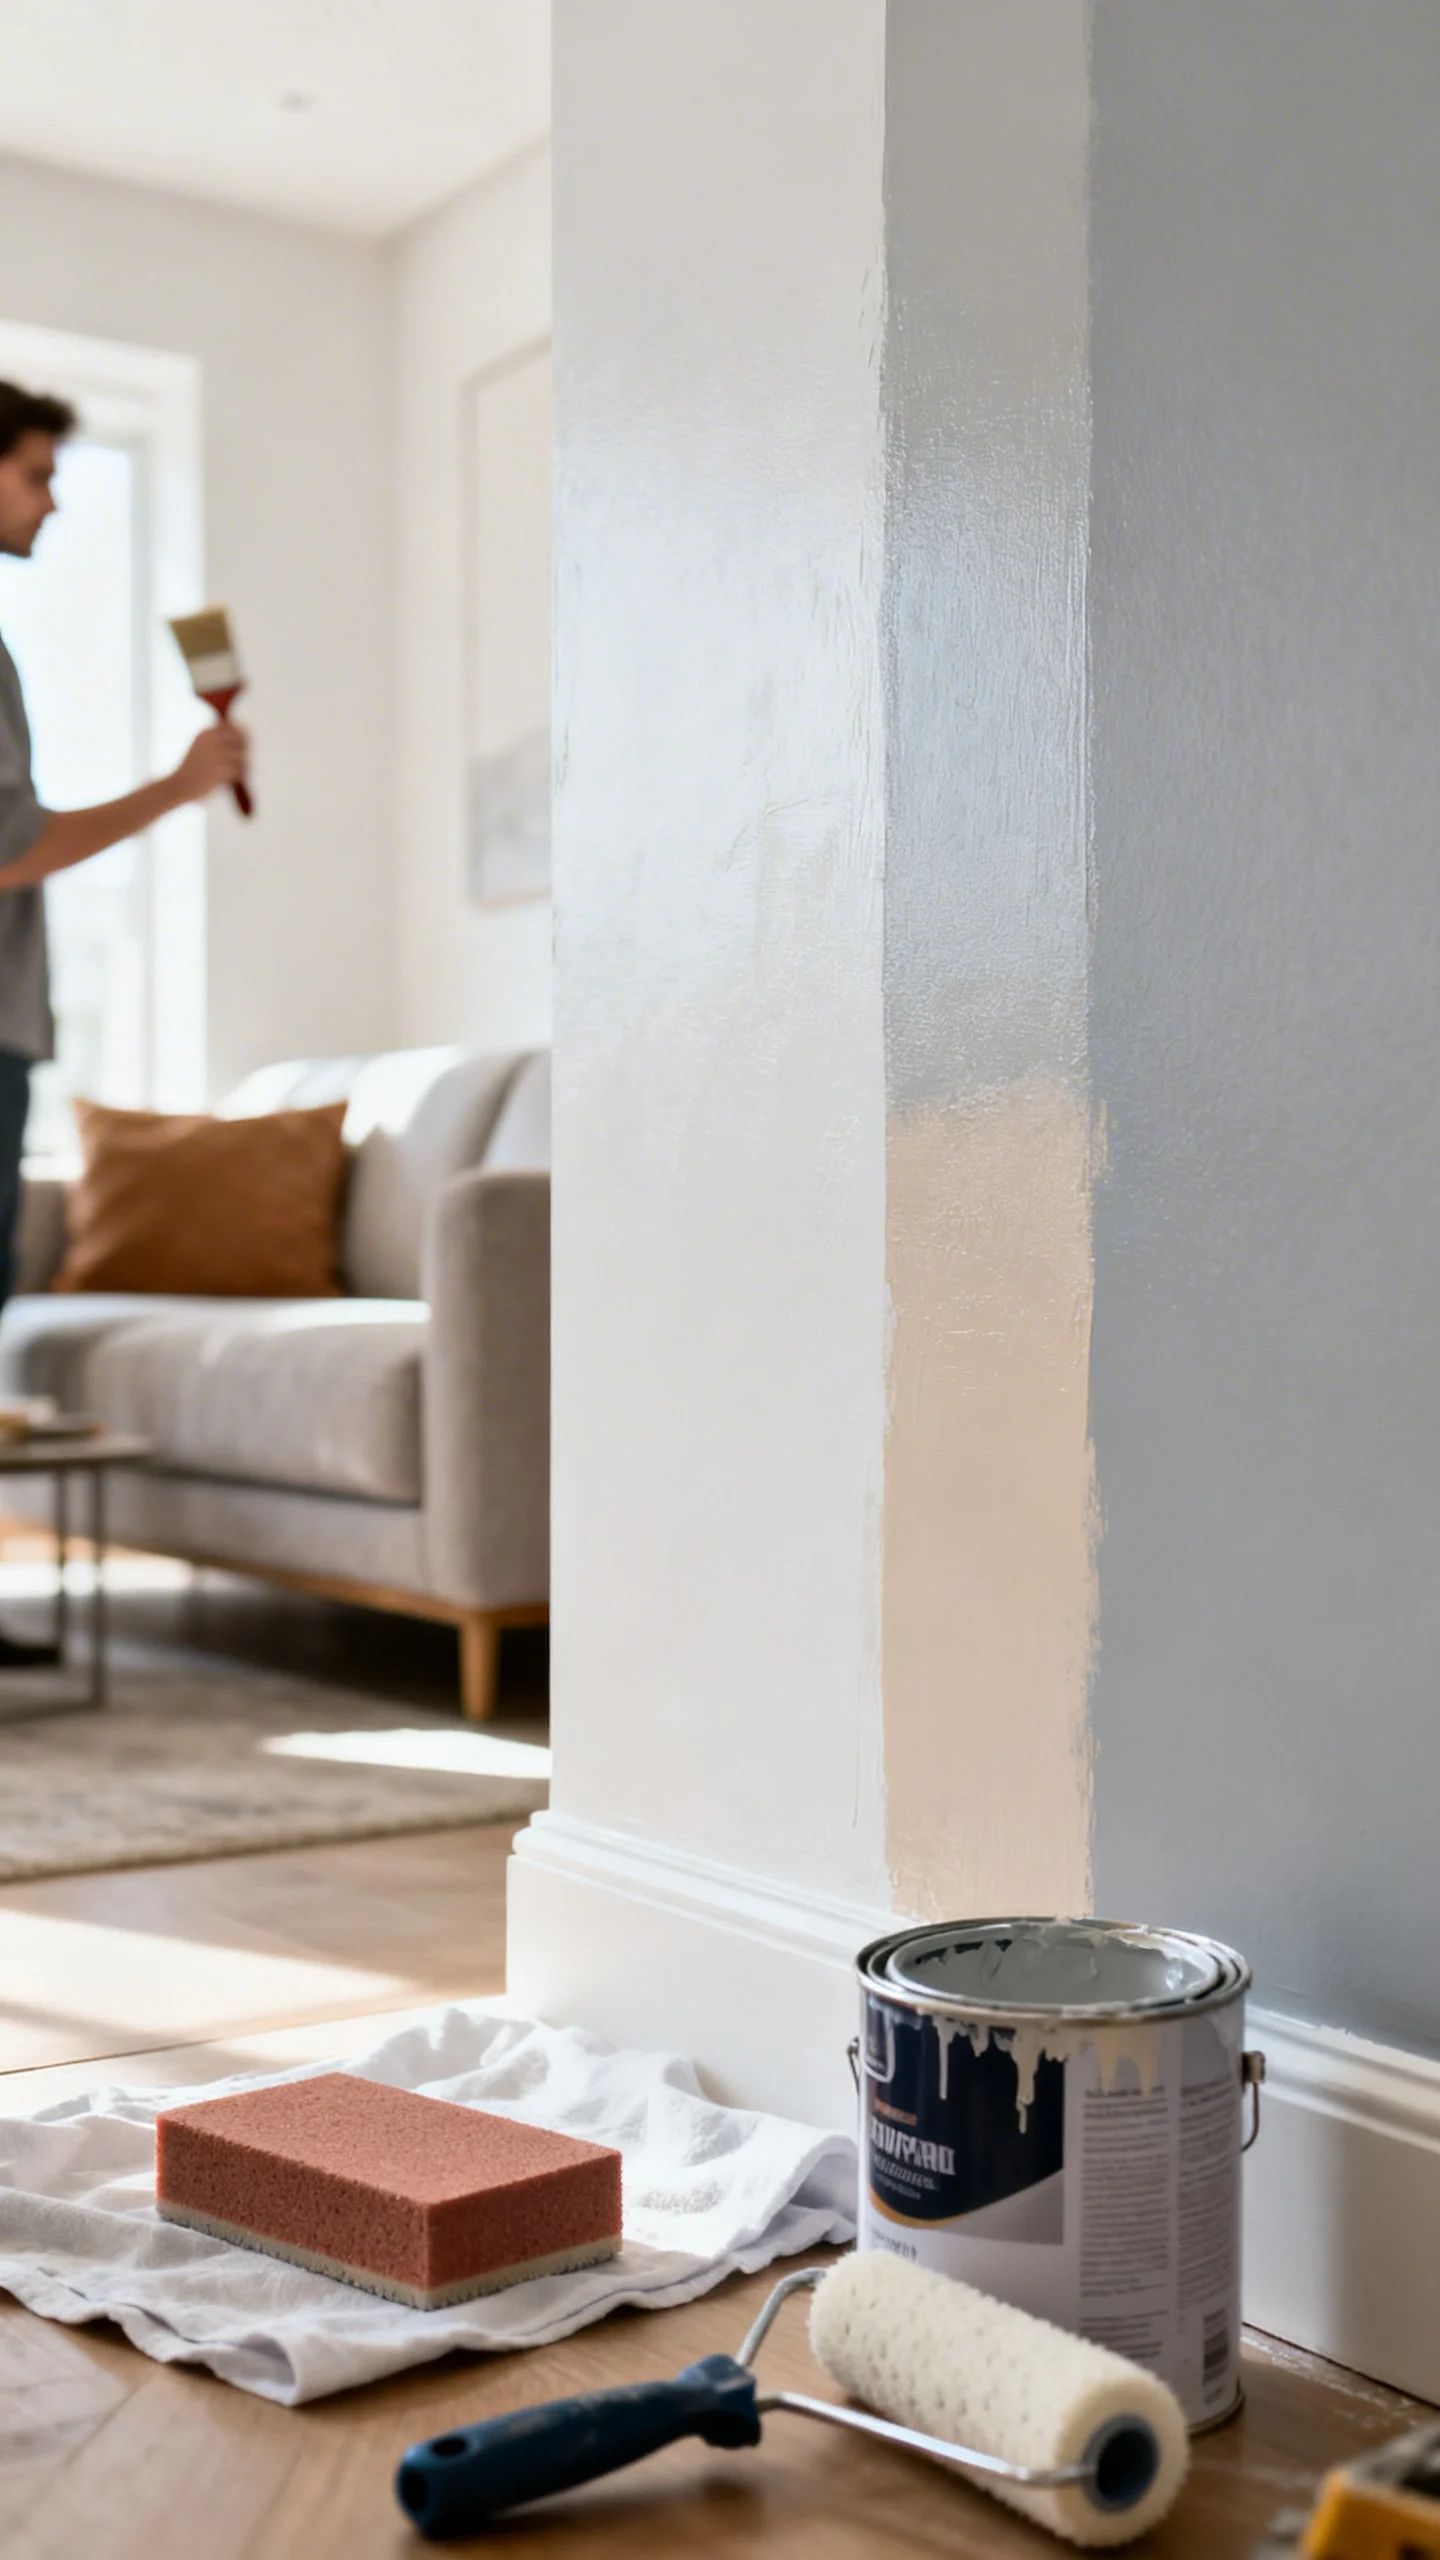
Paint is budget-friendly, but modern results come from smooth prep and a deliberate sheen—not just a trendy color.
Best modern sheens: Satin or matte for bodies; semi-gloss for high-touch surfaces. Matte hides flaws but can show fingerprints; satin balances durability and a soft, modern finish.
Prep steps that prevent peeling: Clean with a degreaser, scuff-sand (150–220 grit), then prime. Use a bonding primer for glossy laminate or factory finishes. Paint with a foam roller for flat areas and a high-quality angled brush for edges, then lightly sand between coats (320 grit) for a sprayed-on look.
Cost saver: One quart is often enough for a small dresser or side table (two coats) if you prime properly and don’t over-apply.
3) Create a “Floating” Modern Base by Removing the Skirt or Adding Feet
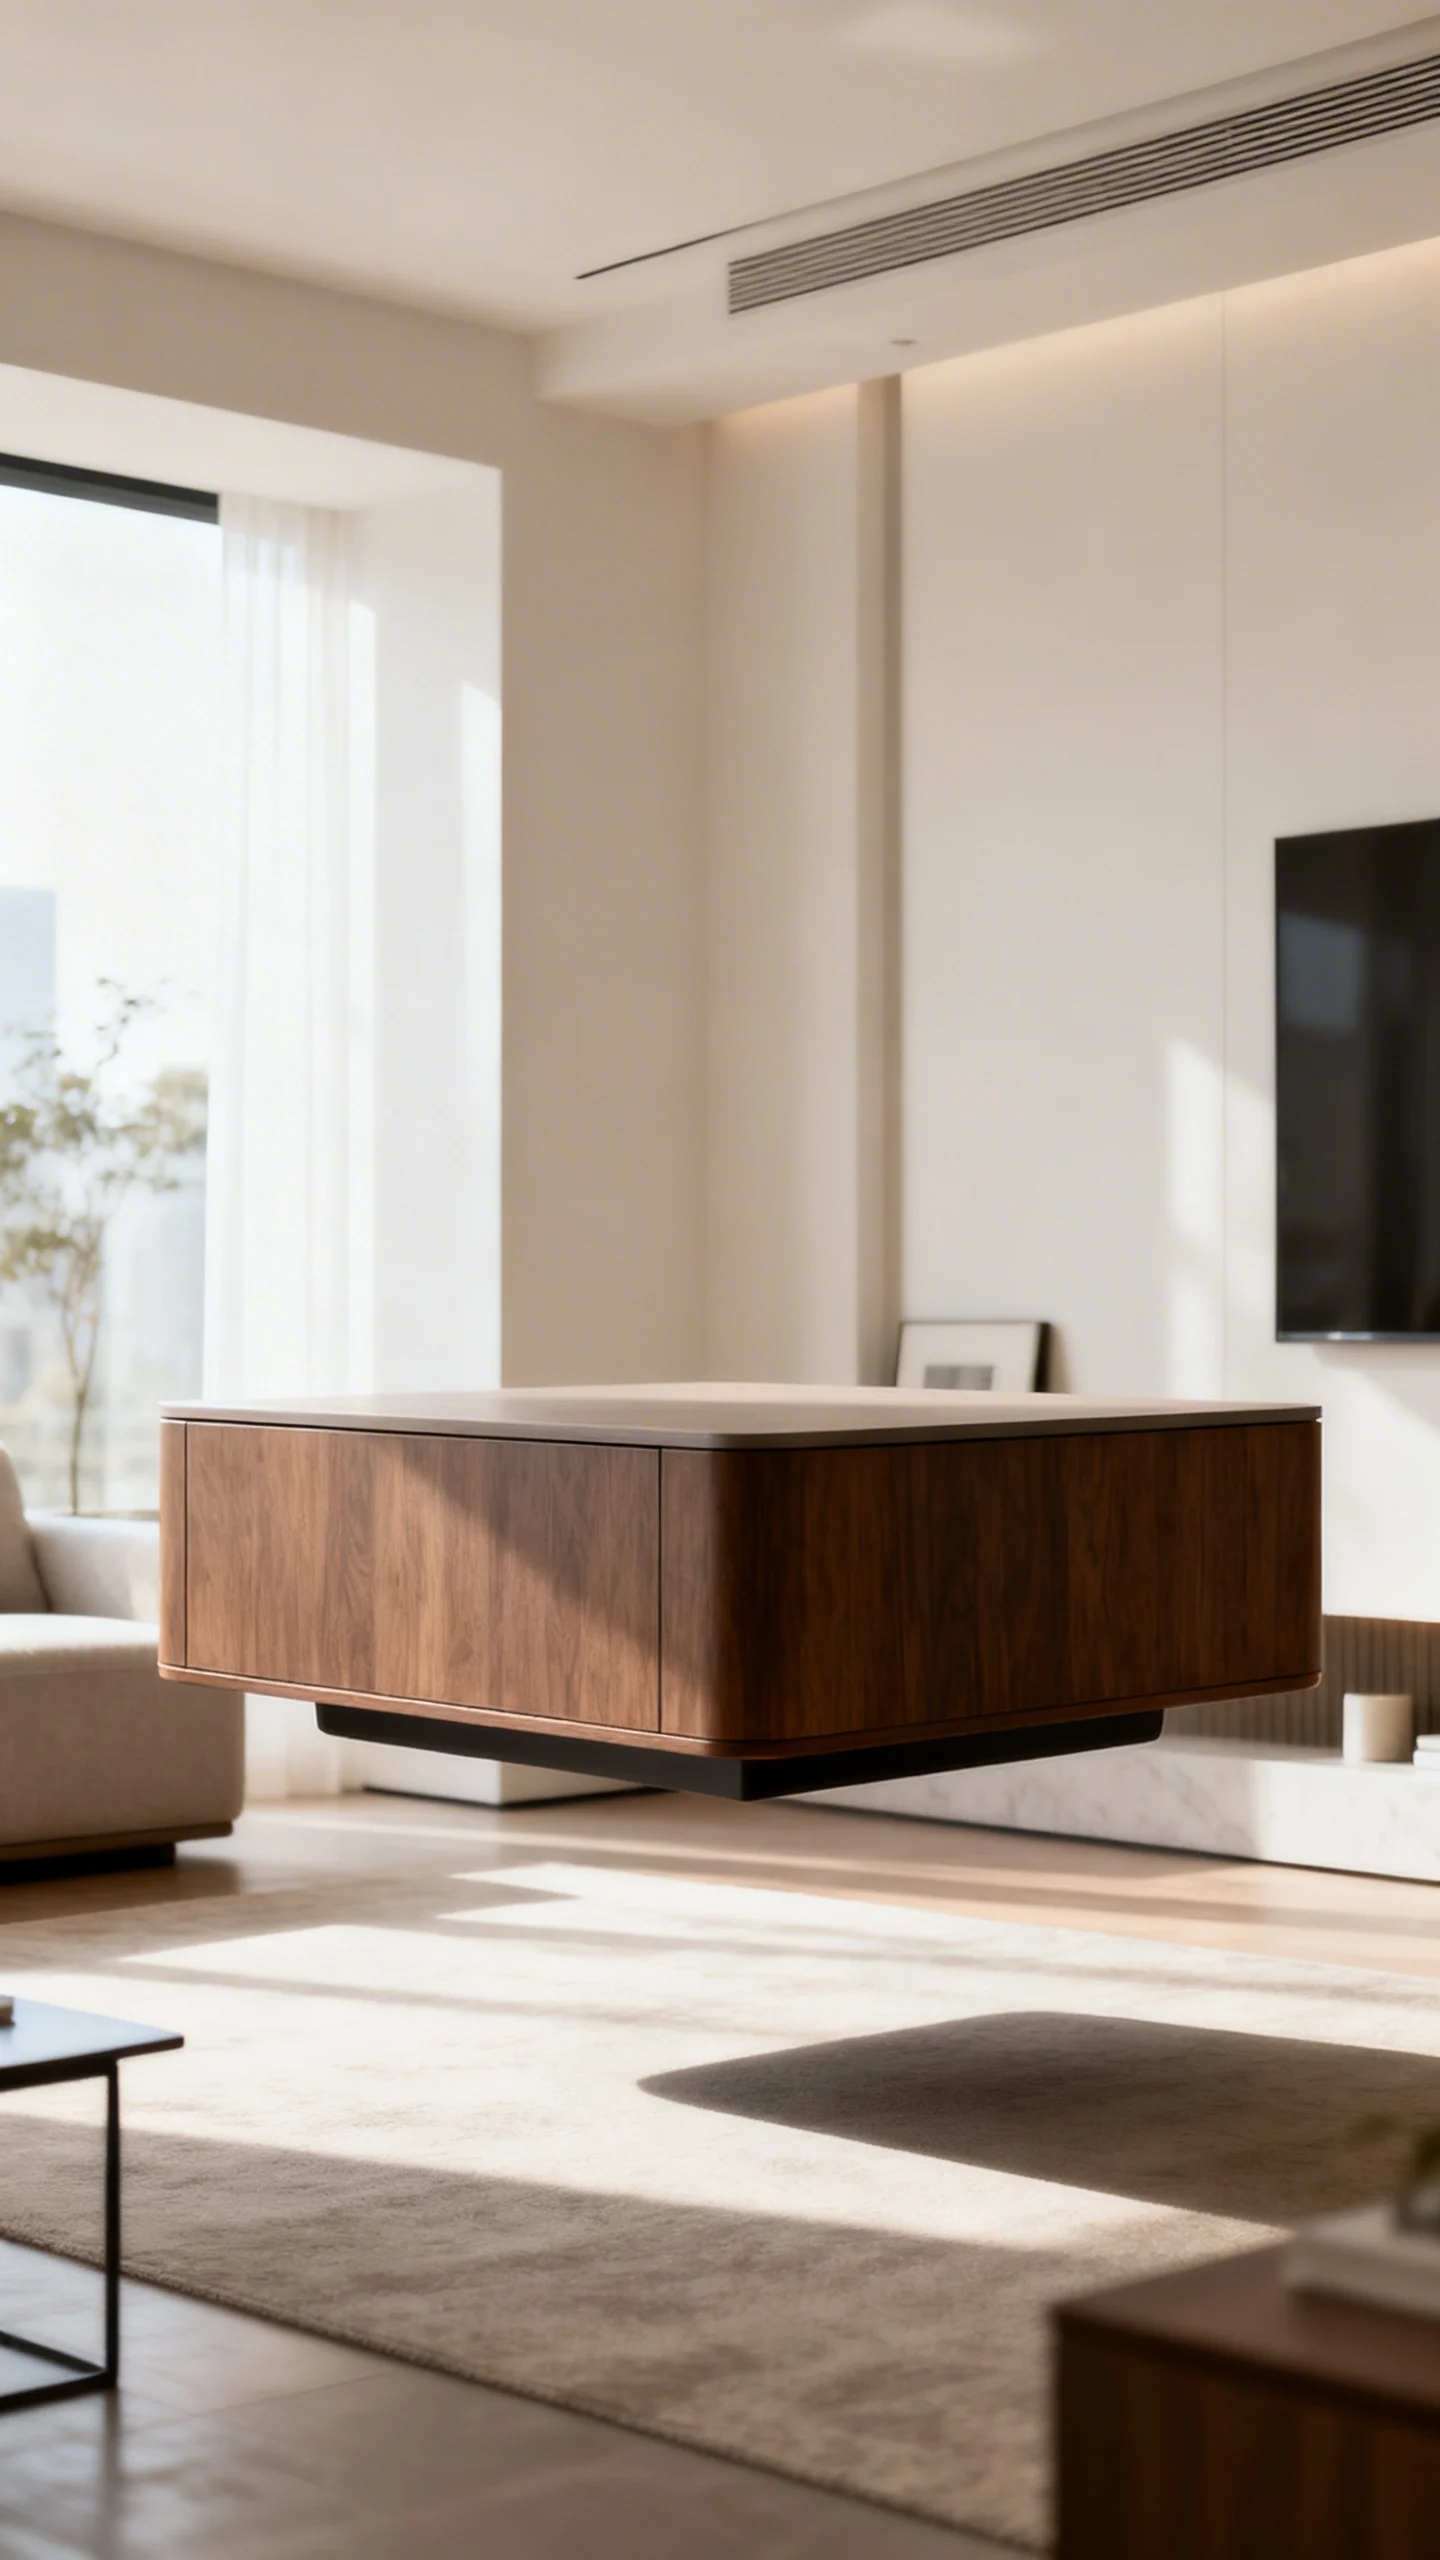
Many older pieces look dated because of heavy skirts or ornate bases. Giving furniture visual “air” instantly modernizes it.
Option A: Remove a skirt: If the piece has a decorative apron, carefully cut it off with an oscillating tool. Sand smooth and reinforce corners with small L-brackets inside if needed.
Option B: Add legs: Install modern tapered or metal legs. For stability, aim for a leg set that supports the weight and spreads load near the corners.
Clearance guidance: A modern “lift” is often 4–6 inches of leg height. For robots/vacuums, 3.5–4 inches is typically the minimum clearance, but measure your device.
Don’t skip this: Use a mounting plate or a sturdy cleat inside the base—screwing legs directly into thin particleboard can fail over time.
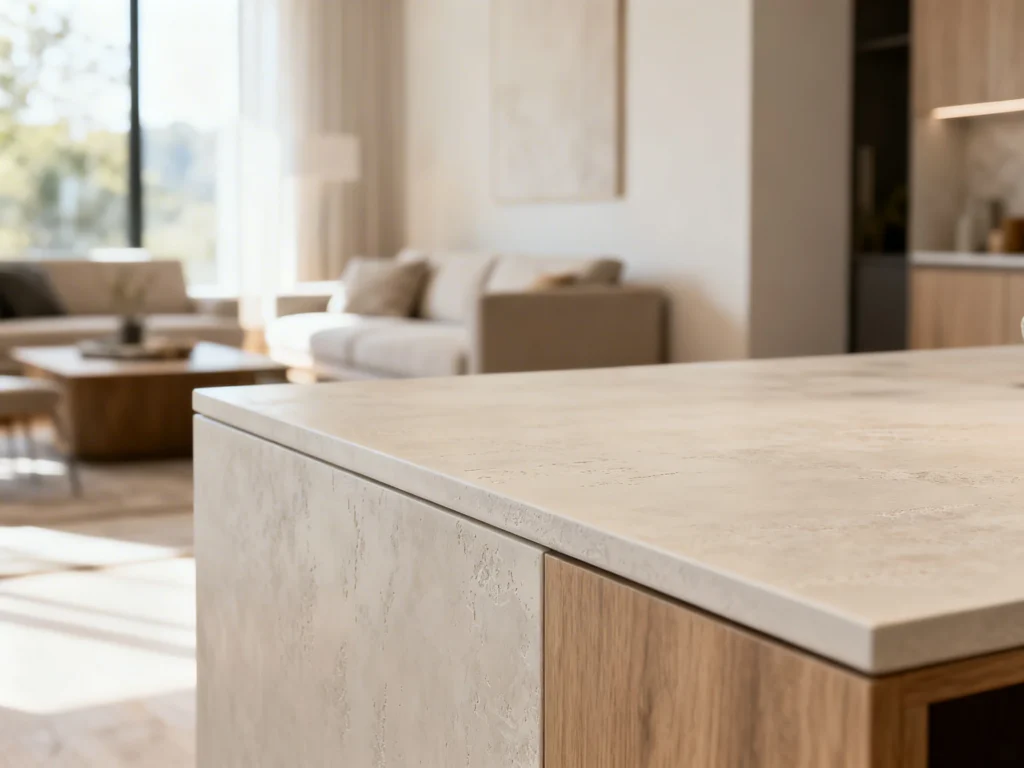
4) Replace a Dated Top with a Simple, Modern Surface (Wood, Laminate, or Tile)
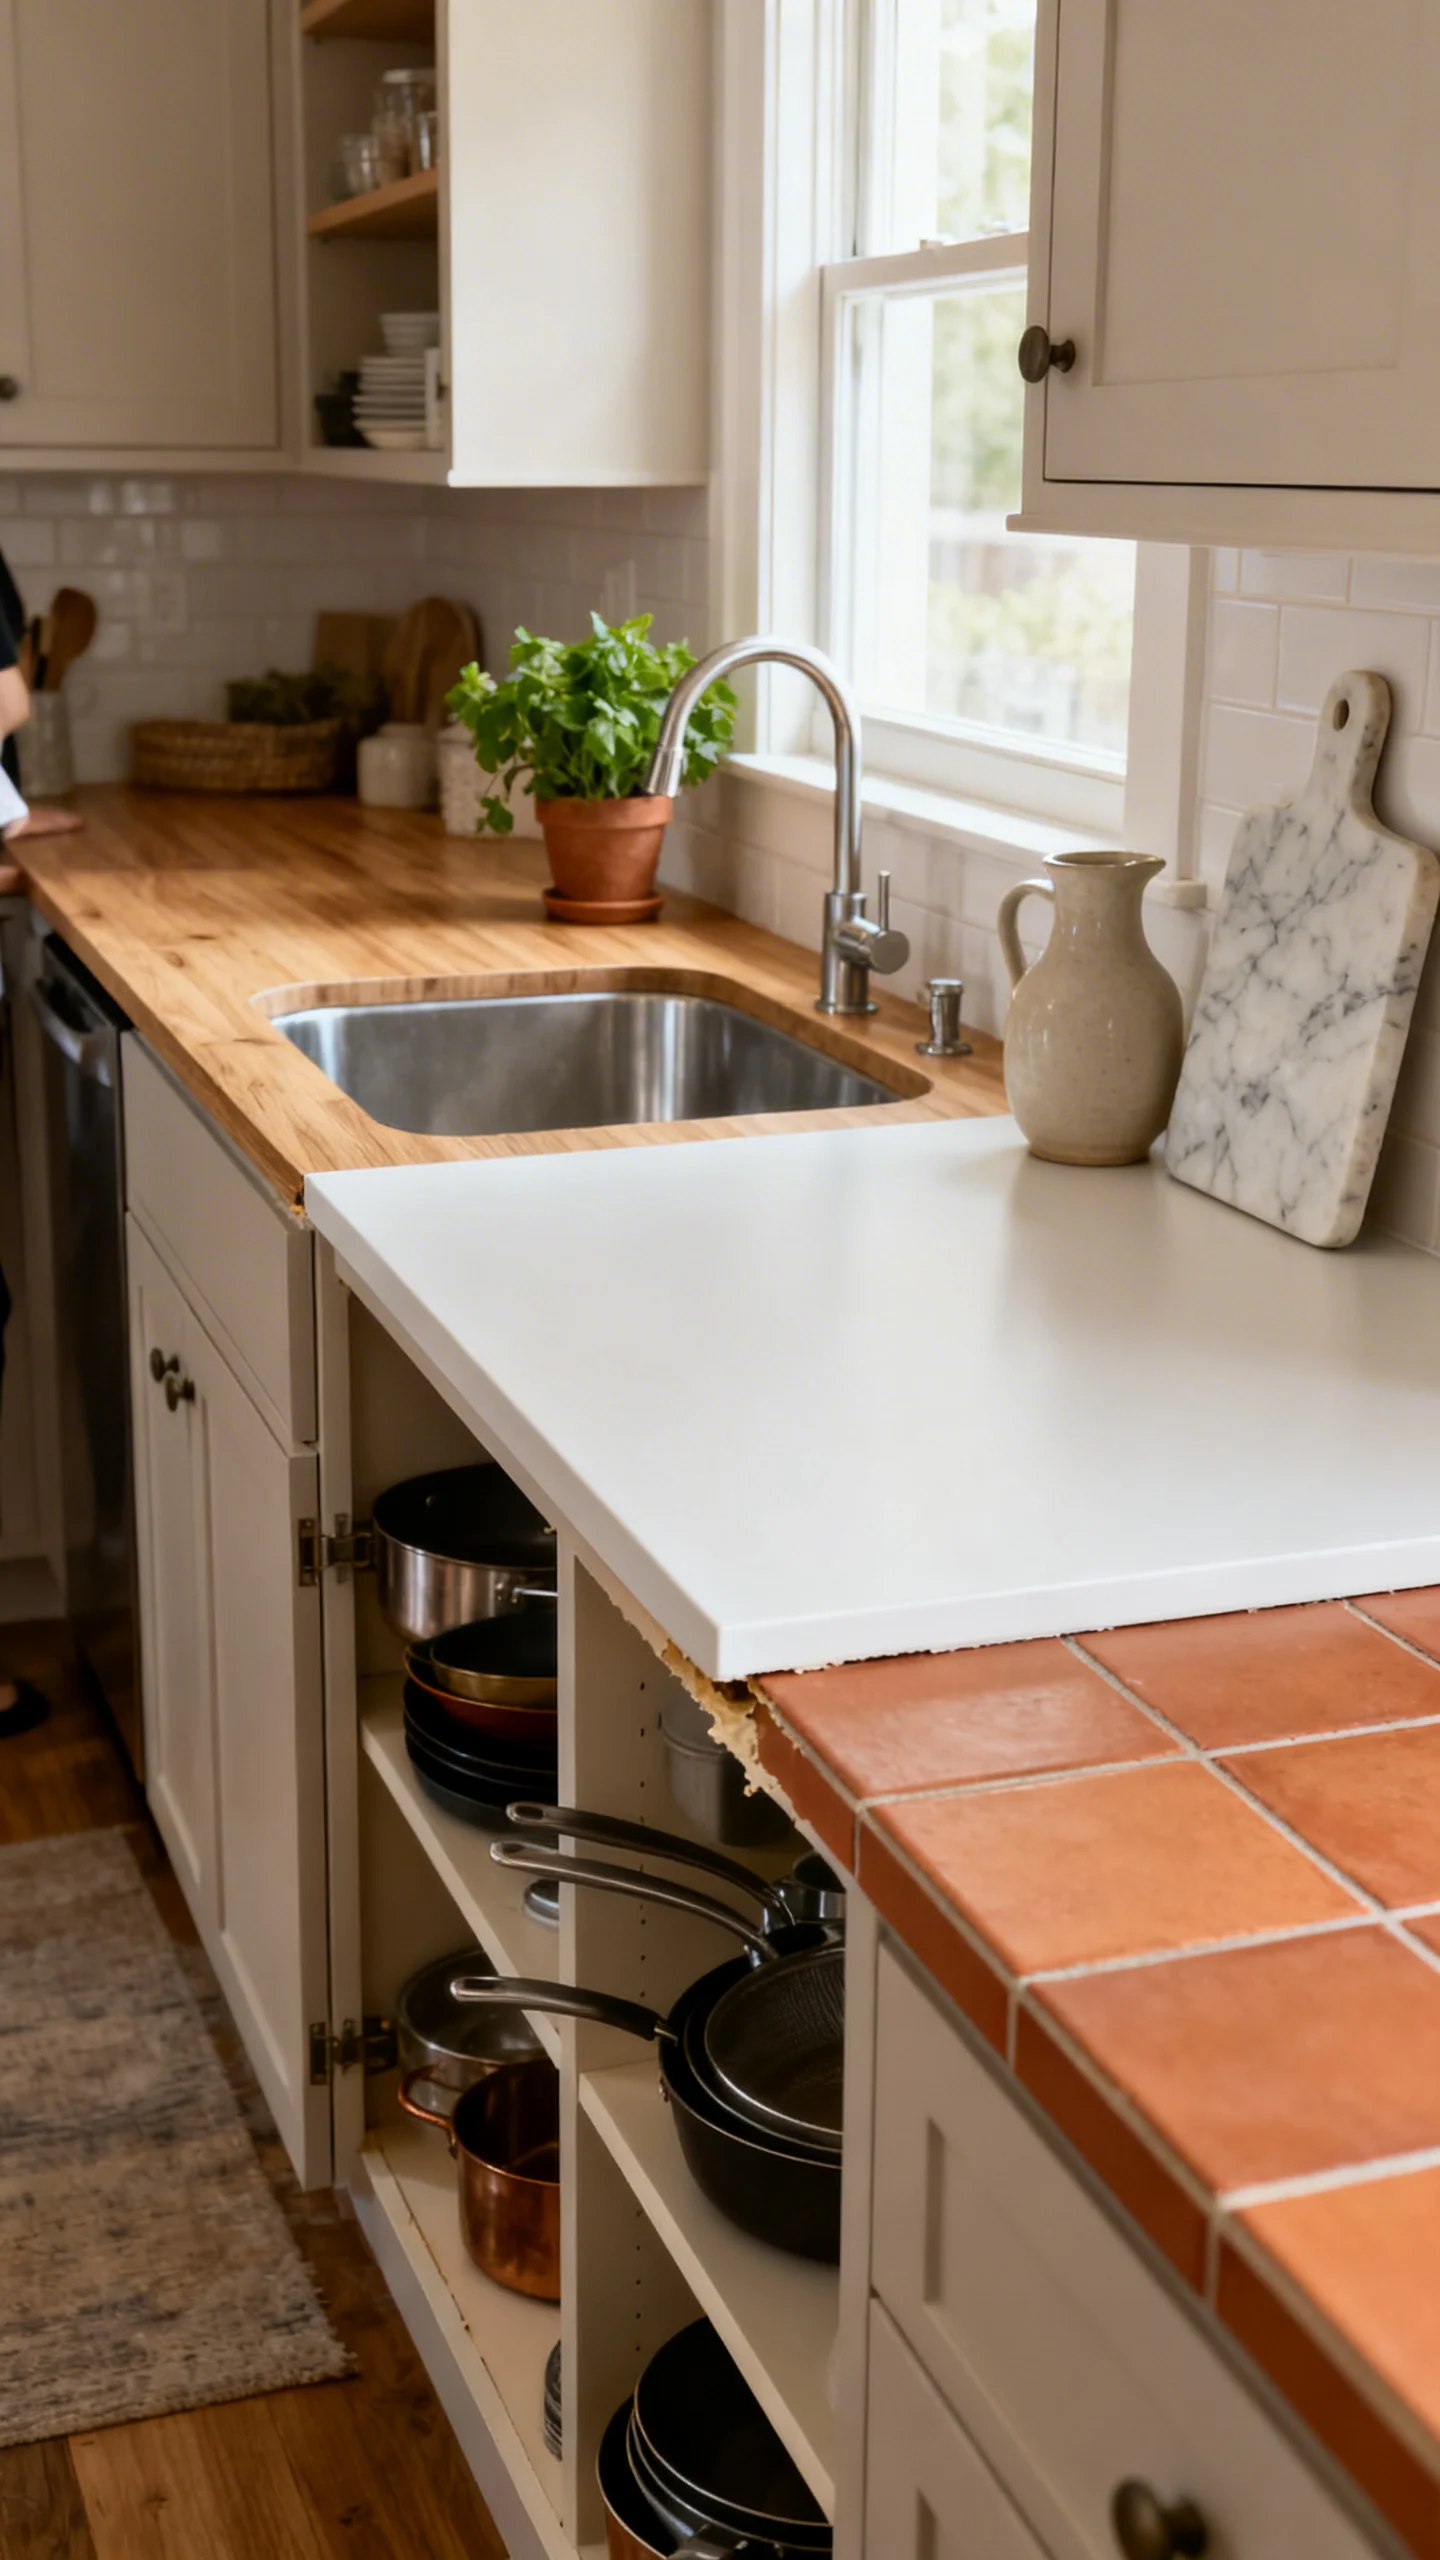
When the top is the problem—scratched veneer, orange-stained oak, faux marble—updating just the surface keeps the project budget-friendly.
Budget top options: (1) Pre-cut pine or poplar boards (sealed) for a warm modern look, (2) a laminated panel for a clean, minimal vibe, or (3) peel-and-stick tile for small tabletops (best for low-heat, low-moisture use).
How to keep it looking modern: Square edges read more contemporary than heavily rounded profiles. If you can, add a simple 1×2 hardwood perimeter to create a thicker-looking top without buying a thick slab.
Attachment tip: Use figure-8 fasteners or tabletop clips for solid wood so it can expand/contract. For laminate panels, screws from below through elongated holes work well.
5) Update Drawer Fronts for a Slab-Style Look (Without Buying New Furniture)
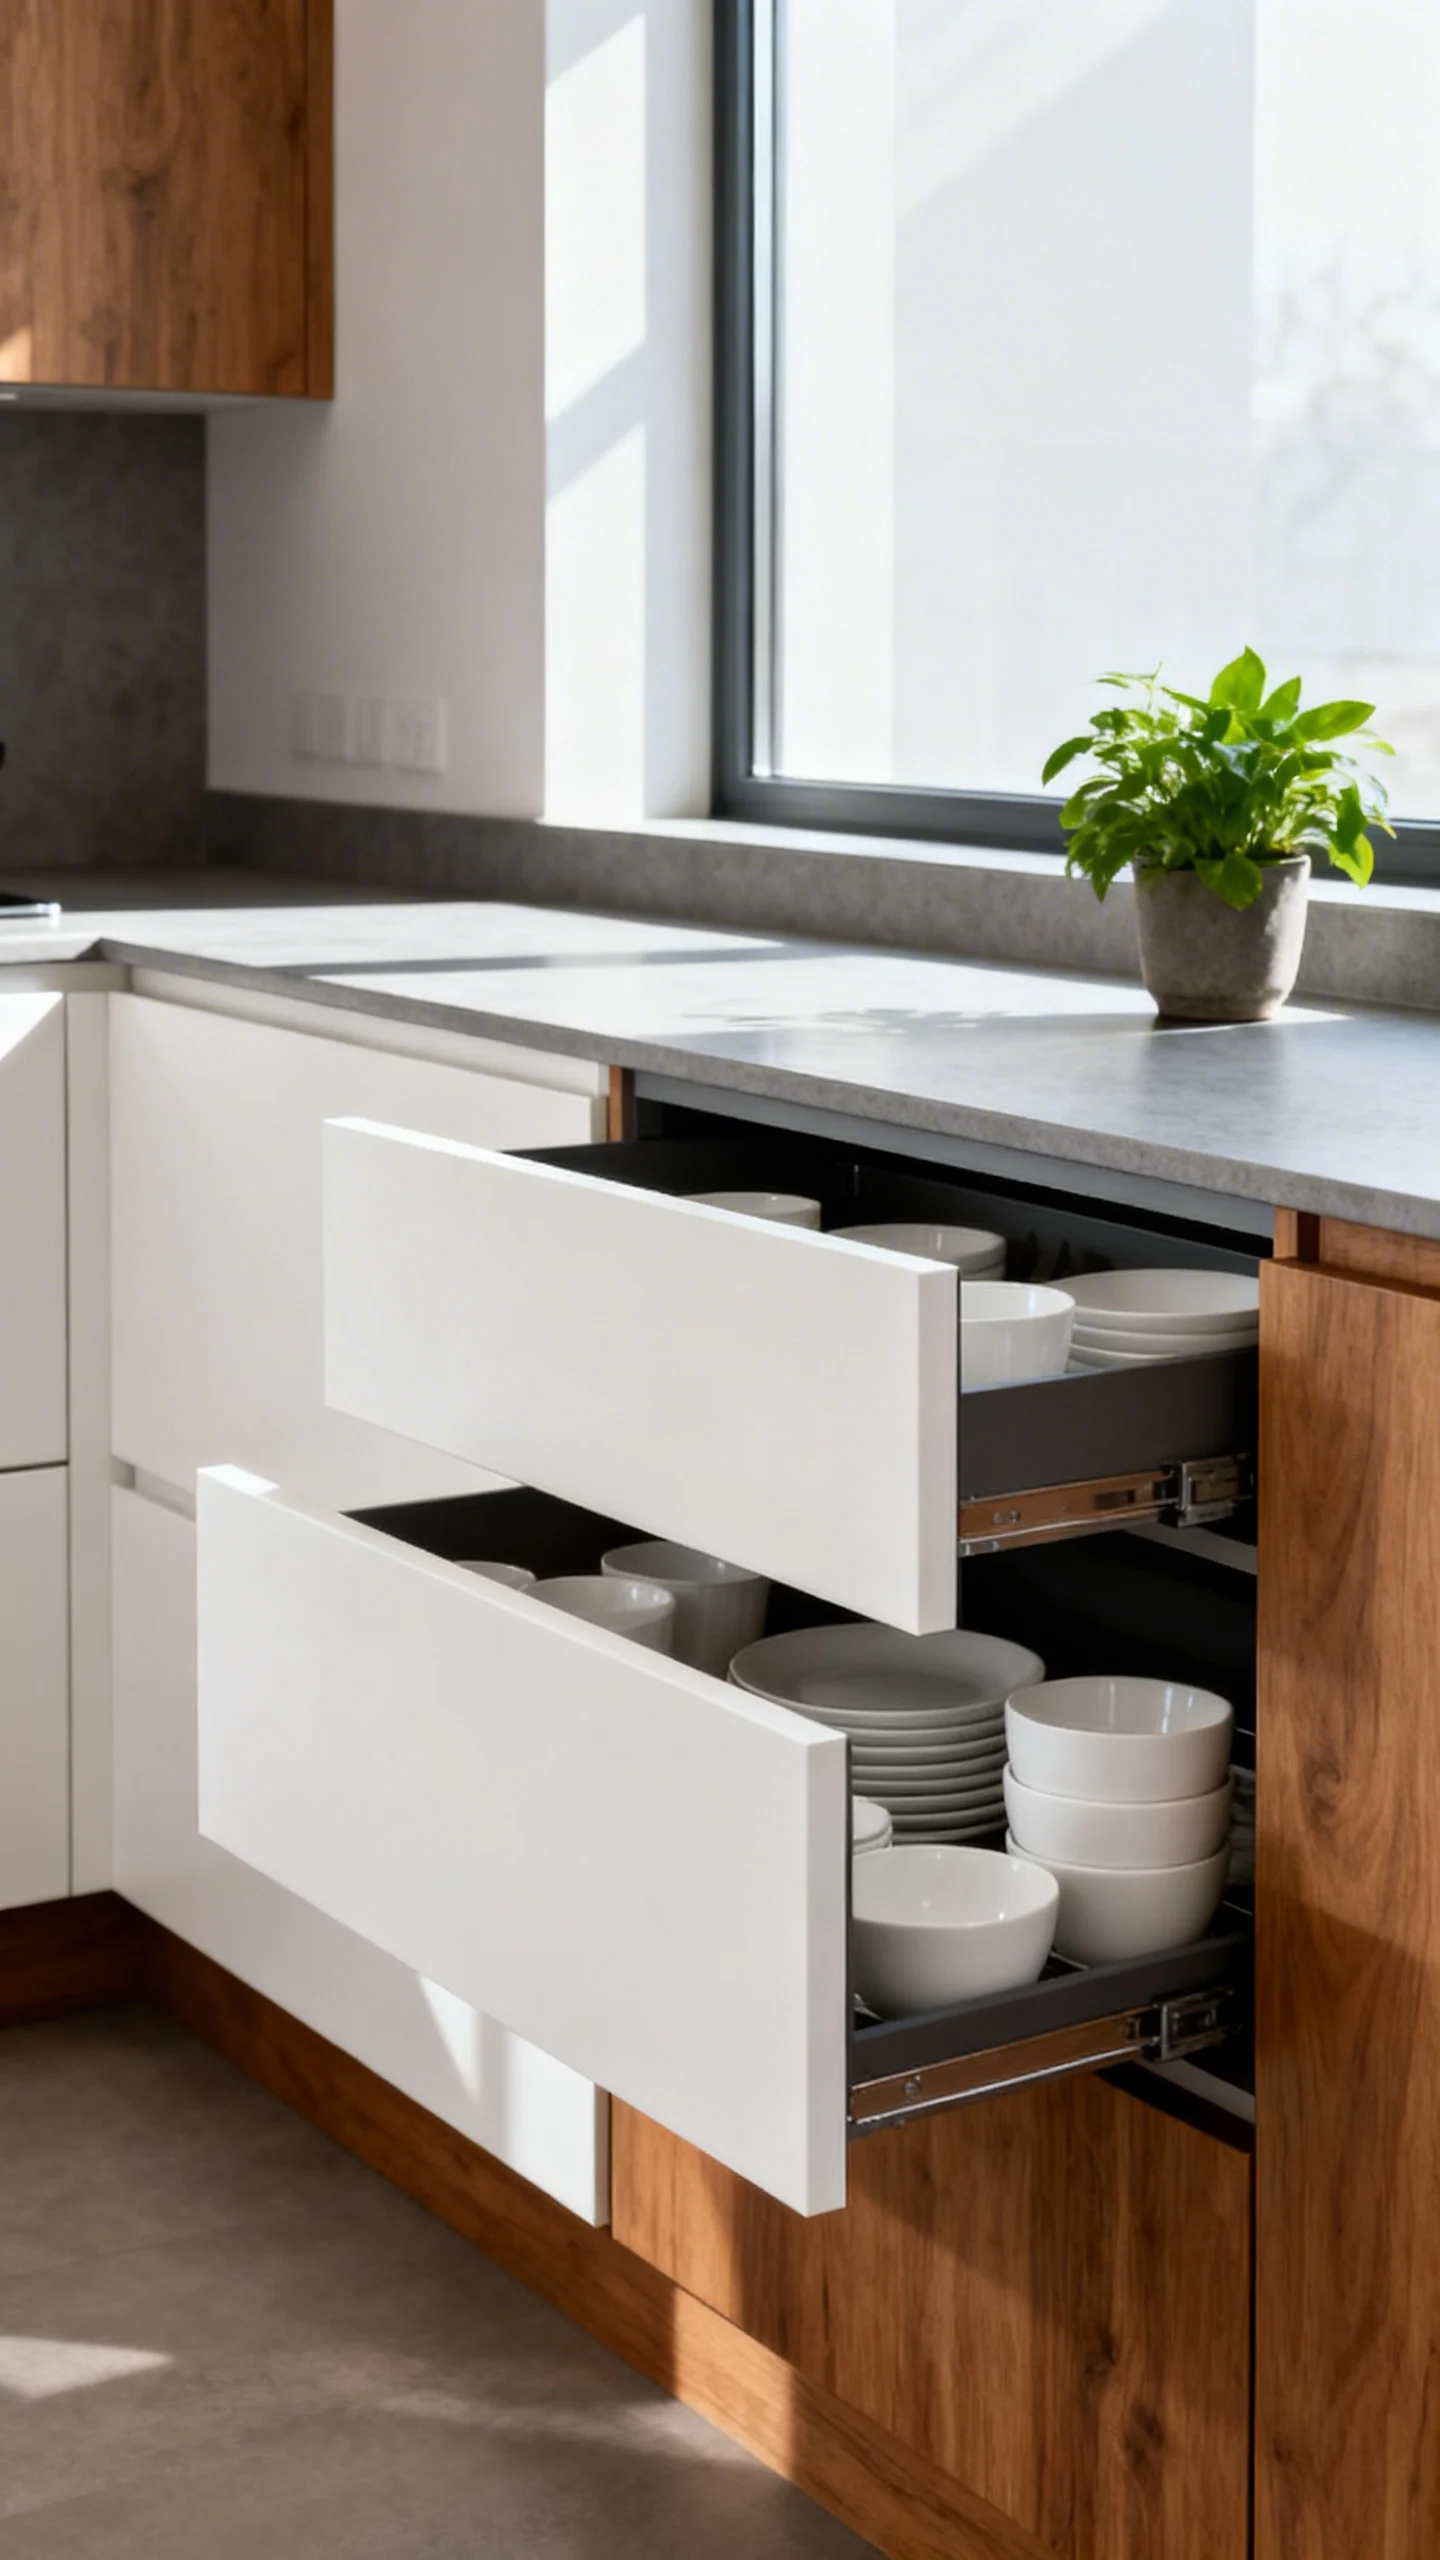
Slab fronts (flat, clean, and unadorned) are a hallmark of modern design. You can mimic them on many older dressers and cabinets.
Option A: Skin the fronts: Cut 1/8″ hardboard or plywood panels to size and glue/nail them onto existing drawer fronts to cover raised trim. Fill seams, prime, and paint.
Option B: Remove decorative molding: If trim is applied, carefully pry it off, patch holes with wood filler, and sand flush.
Spacing guidance: Keep even reveals between drawers—aim for consistent gaps (often 1/8″–3/16″). Uneven gaps make a remodel look “crafty” instead of modern.
Handle choice: Long linear pulls or edge pulls emphasize the slab effect and feel more architectural.
6) Fix Wobble, Sag, and Sticky Drawers Before You Beautify
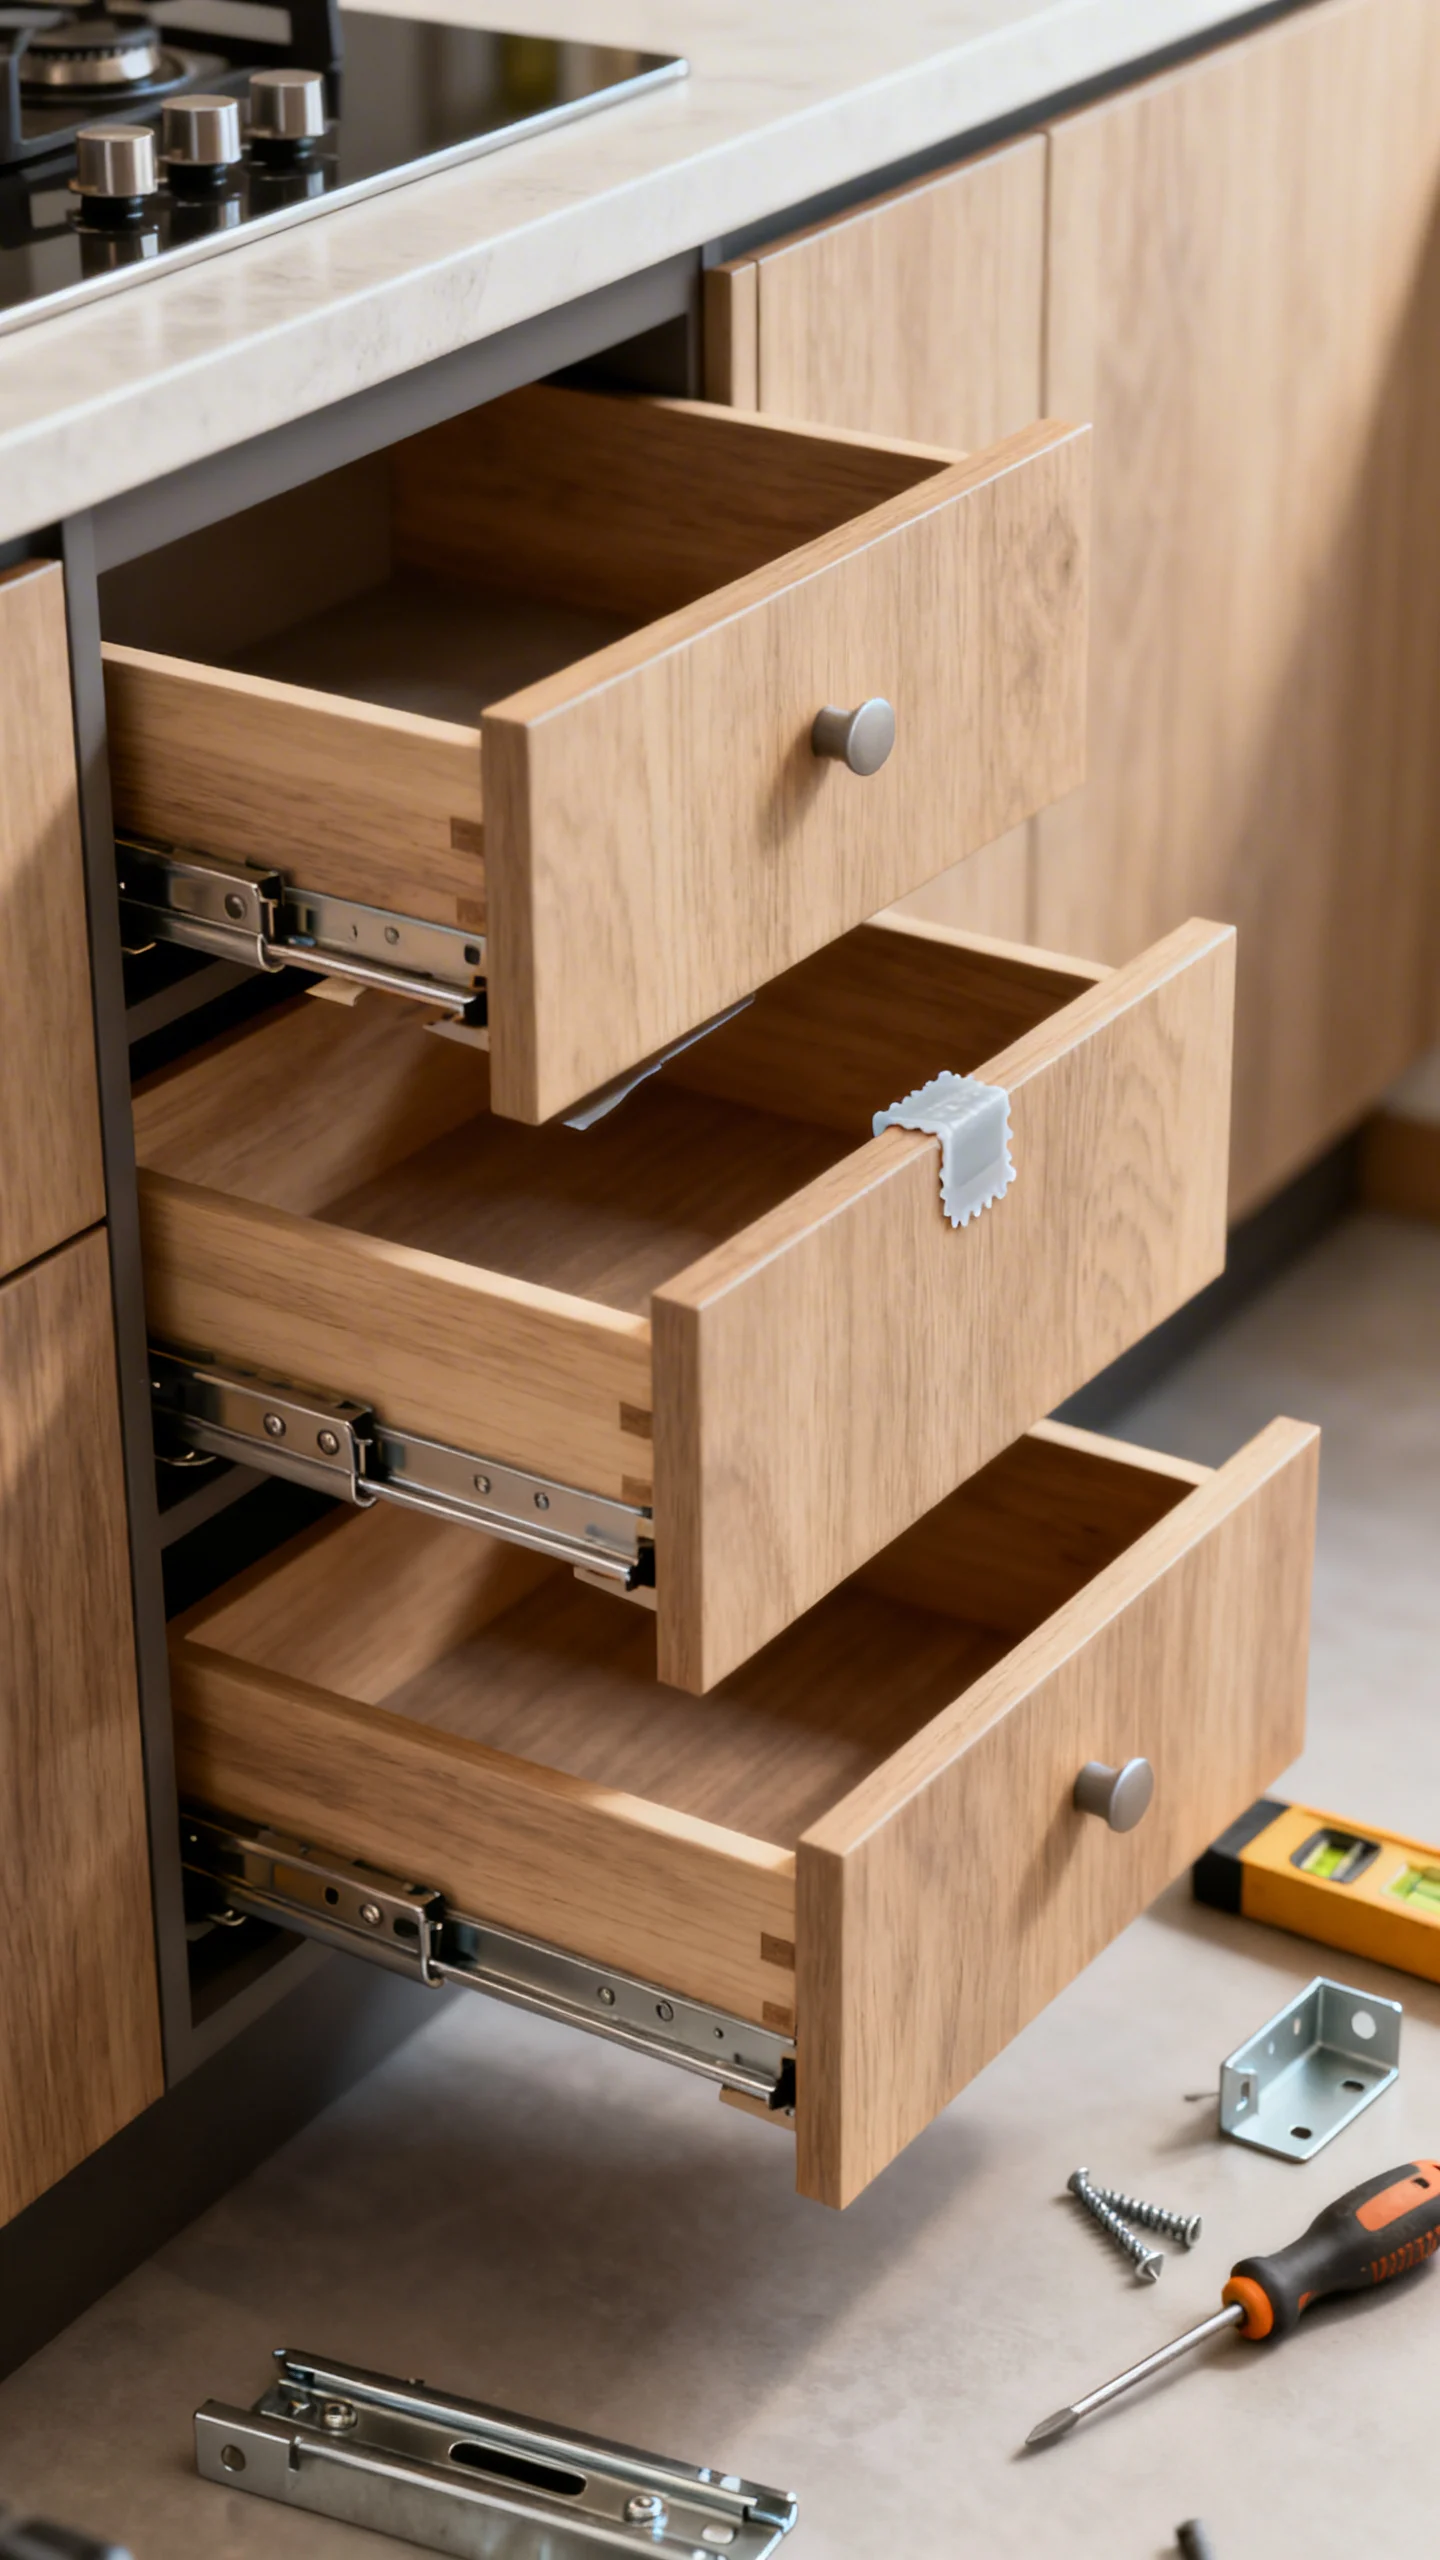
A modern look falls flat if drawers stick or the piece wobbles. Structural remodeling is often cheaper than cosmetic redo mistakes.
Wobble fix: Tighten screws, then add corner braces inside. If joints are loose, re-glue with wood glue and clamp for at least 30–60 minutes (follow glue directions), then let cure fully.
Drawer glide upgrades on a budget: Wax the runners with paraffin or drawer wax for immediate improvement. For a bigger upgrade, install side-mount ball-bearing slides (typically 12″–20″).
Measurement tip: Slides require clearance—commonly 1/2″ per side for side-mount slides. Measure drawer box width vs. opening width before buying.
Sagging shelves: Add a center support or replace thin shelves with 3/4″ plywood edged with iron-on banding for a clean, modern line.
7) Use a Two-Tone Remodel to Look Custom (Not Costly)
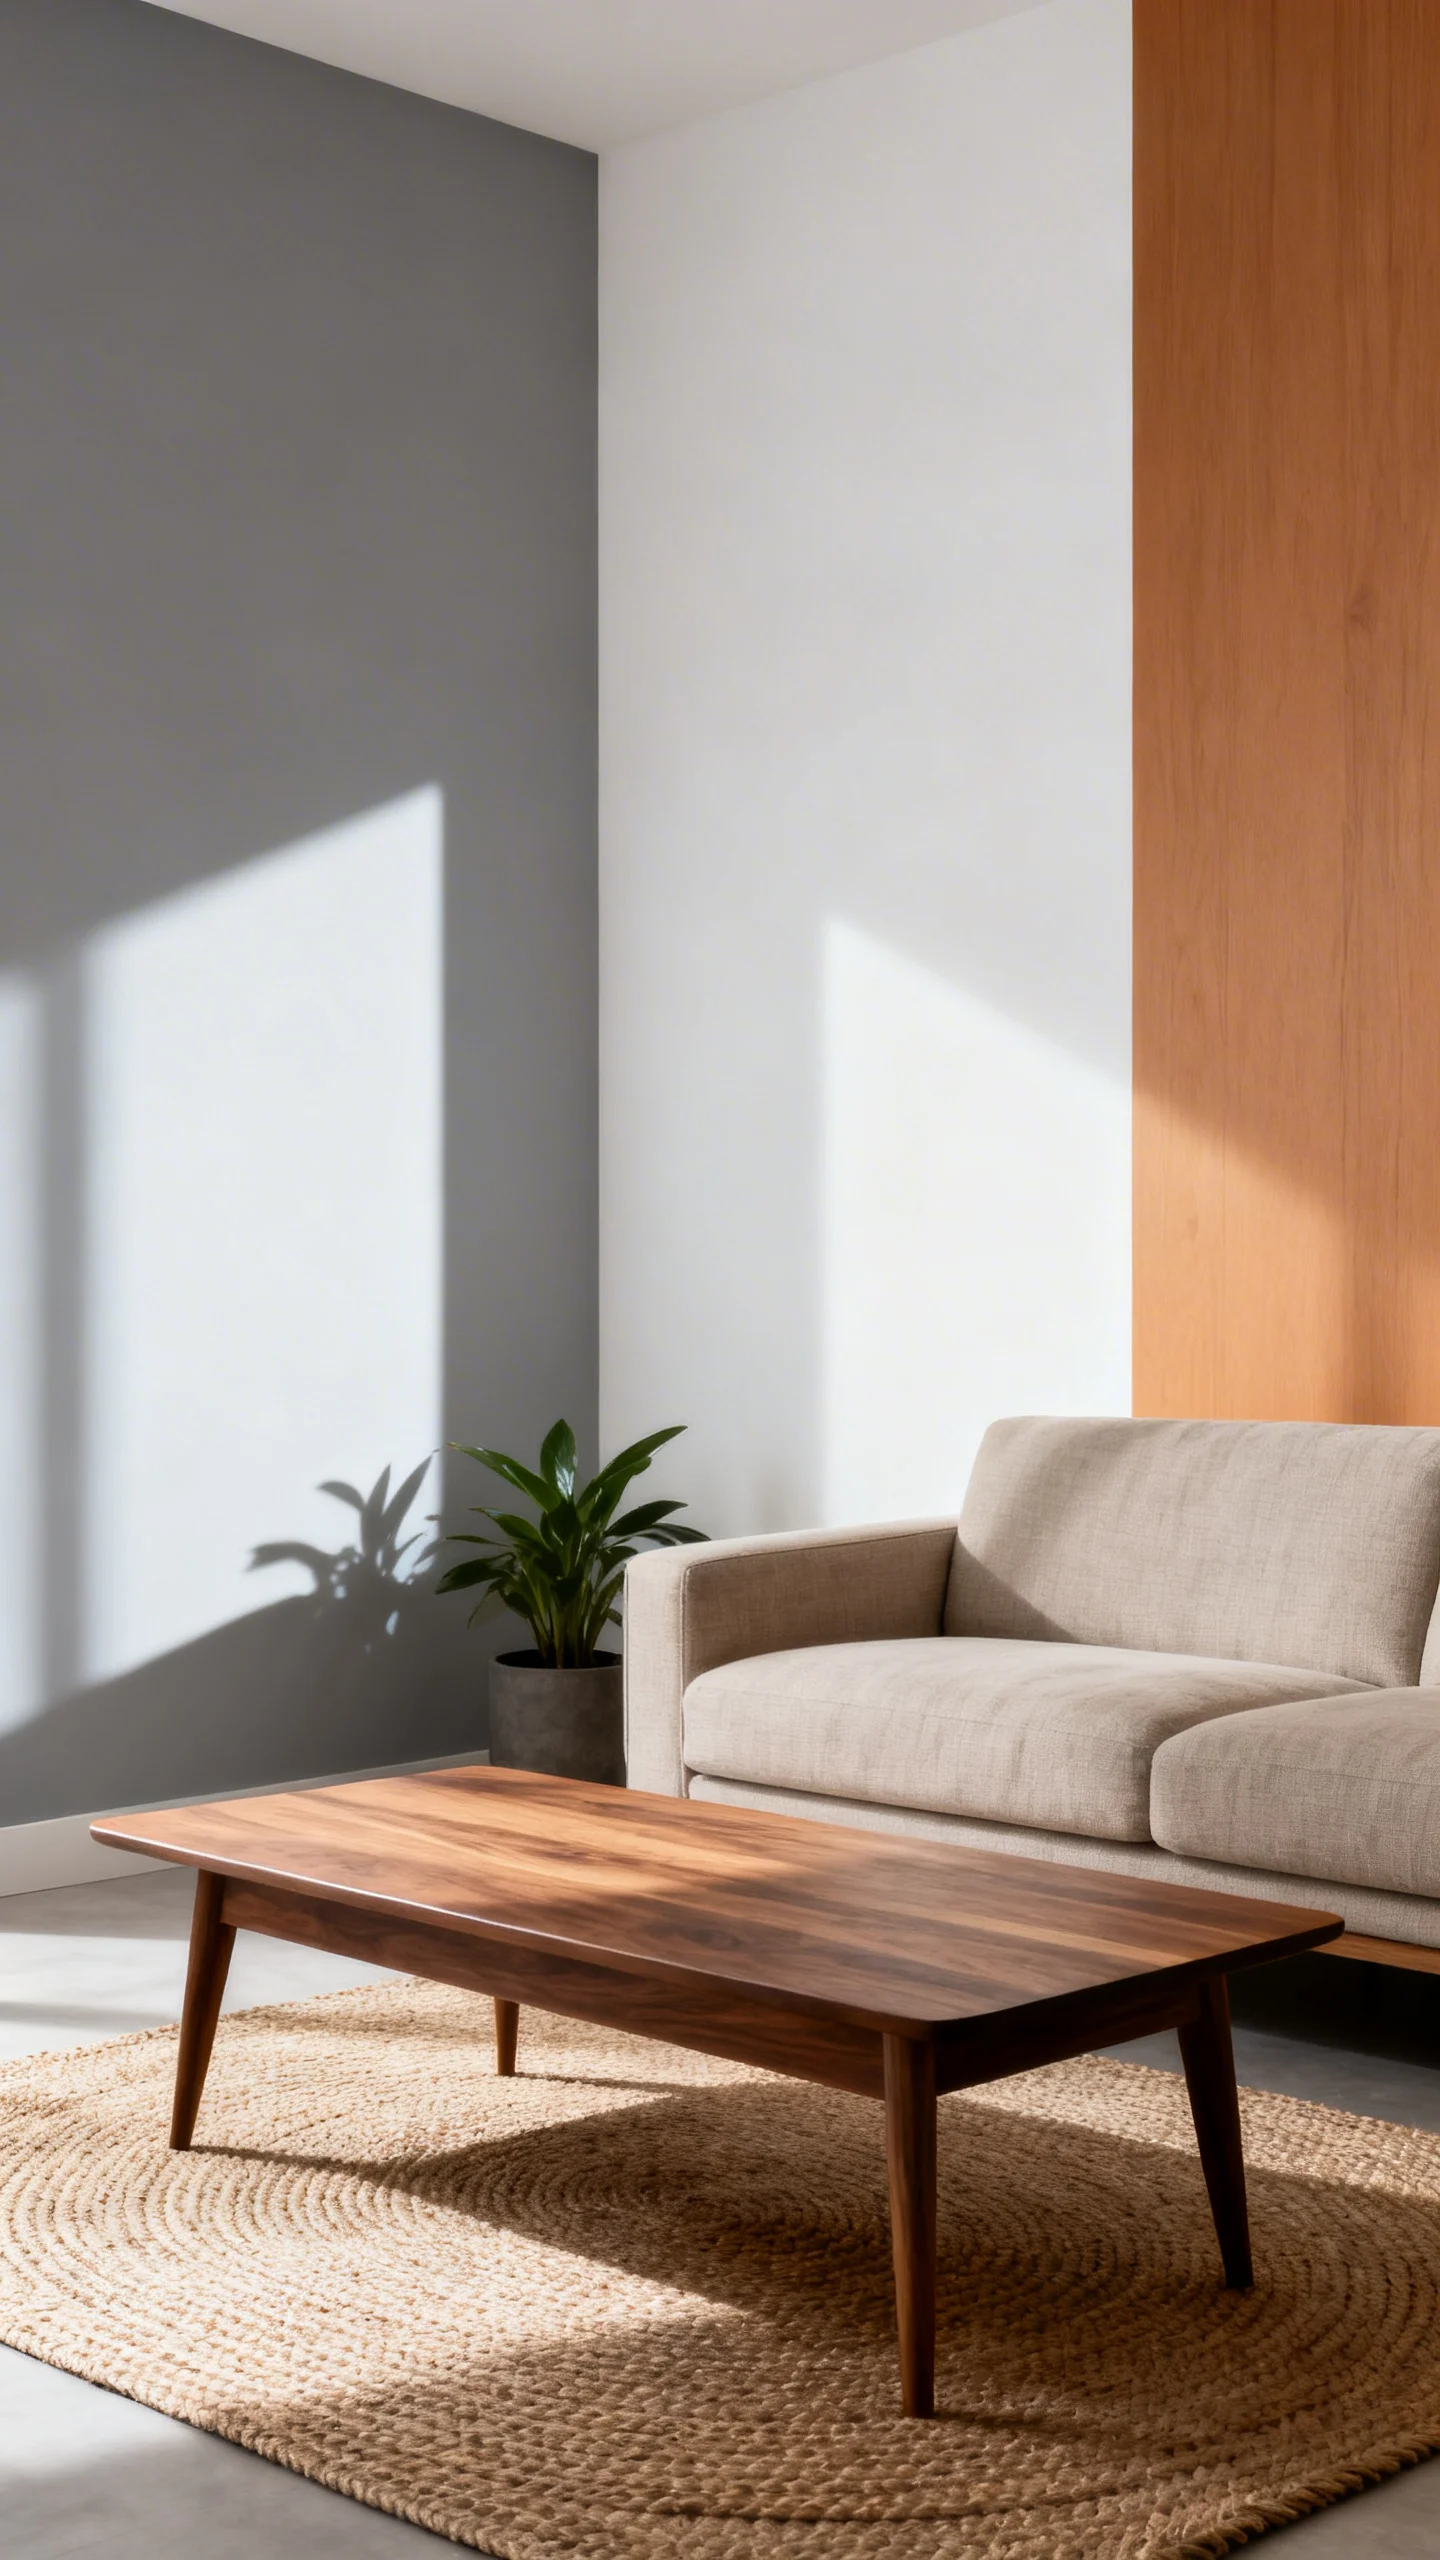
Two-tone furniture reads modern and tailored when the contrast is simple and intentional.
High-impact combinations: Warm wood top + painted body (soft white, greige, charcoal), or a single color body with black legs/hardware.
How to do it well: Keep undertones consistent—pair warm woods with warm whites, cool grays with cooler stains. Tape off clean lines and remove tape while paint is slightly wet for sharper edges.
Sealing guidance: If you’re leaving wood visible, sand to 180–220 grit and finish with a water-based polyurethane for a modern, low-amber look. Oil-based finishes can warm (yellow) the tone, which may feel less modern on pale woods.
8) Add Modern Trim Sparingly: Think Flat Battens, Not Ornate Molding
You can remodel plain or dated faces with minimal trim that feels architectural rather than decorative.
Modern trim ideas: Flat 1/4″ x 1″ battens in a simple grid, a single frame outline on each drawer, or vertical slats on cabinet doors for a subtle texture moment.
Proportion tip: Keep trim narrow and consistent. On drawer fronts, leave a margin of about 1–1.5 inches from the edge so it feels balanced and not cramped.
Material note: MDF is smooth and budget-friendly for paint, but it swells with moisture—avoid for bathroom vanities unless fully sealed on all sides.
9) Refresh Upholstery the Budget Way: New Fabric, New Foam (When Needed), Cleaner Lines

Updating a chair, bench, or headboard can look dramatically more modern with the right fabric and tighter tailoring.
Fabric choices for a modern look: Performance fabrics, textured solids, boucle (use sparingly), or a small-scale weave. Avoid oversized florals if you’re aiming for modern.
When to replace foam: If the seat bottoms out or feels uneven, new high-density foam is worth it. A common DIY thickness is 2–4 inches depending on frame depth. Wrap foam with batting for softer edges and a more professional finish.
Stapling tips: Start at centers, pull taut (not overstretched), then work to corners. Fold corners neatly for clean lines—modern upholstery looks crisp, not puffy.
Budget sourcing: Check remnant bins and online fabric outlets; many projects only need 1–3 yards.
10) Seal and Protect for a “New” Look That Actually Lasts

The most overlooked step in budget remodeling is a protective topcoat—especially on tabletops, desks, and dressers that take daily wear.
Best affordable protectants: Water-based polyurethane for light colors and a modern clear finish; wipe-on poly for easy application; furniture wax for low-traffic pieces (but it’s not as durable for daily use).
Application guidance: Apply 2–3 thin coats. Lightly sand between coats with 320 grit once dry, then wipe clean. Thin coats level better and look less “plastic.”
Cure time matters: Even if it feels dry, most finishes need days to fully cure. Avoid heavy objects and adhesives (like drawer liners) for at least 48–72 hours, longer if the label recommends it.
FAQ
What’s the cheapest way to make old furniture look modern?
Swap hardware and repaint with a modern sheen (matte or satin) after proper cleaning, scuff-sanding, and bonding primer. If the base is heavy