
DIY Furniture Remodeling on a Budget for Beginners
Remodeling old furniture is one of the fastest ways to upgrade your home without buying new. With a few beginner-friendly tools and smart, low-cost materials, you can refinish, repaint, repair, and re-style pieces so they look intentional—not “DIY.”
These tips focus on budget-first remodeling: what to buy, what to skip, how to prep correctly, and how to get durable results even if this is your first project.
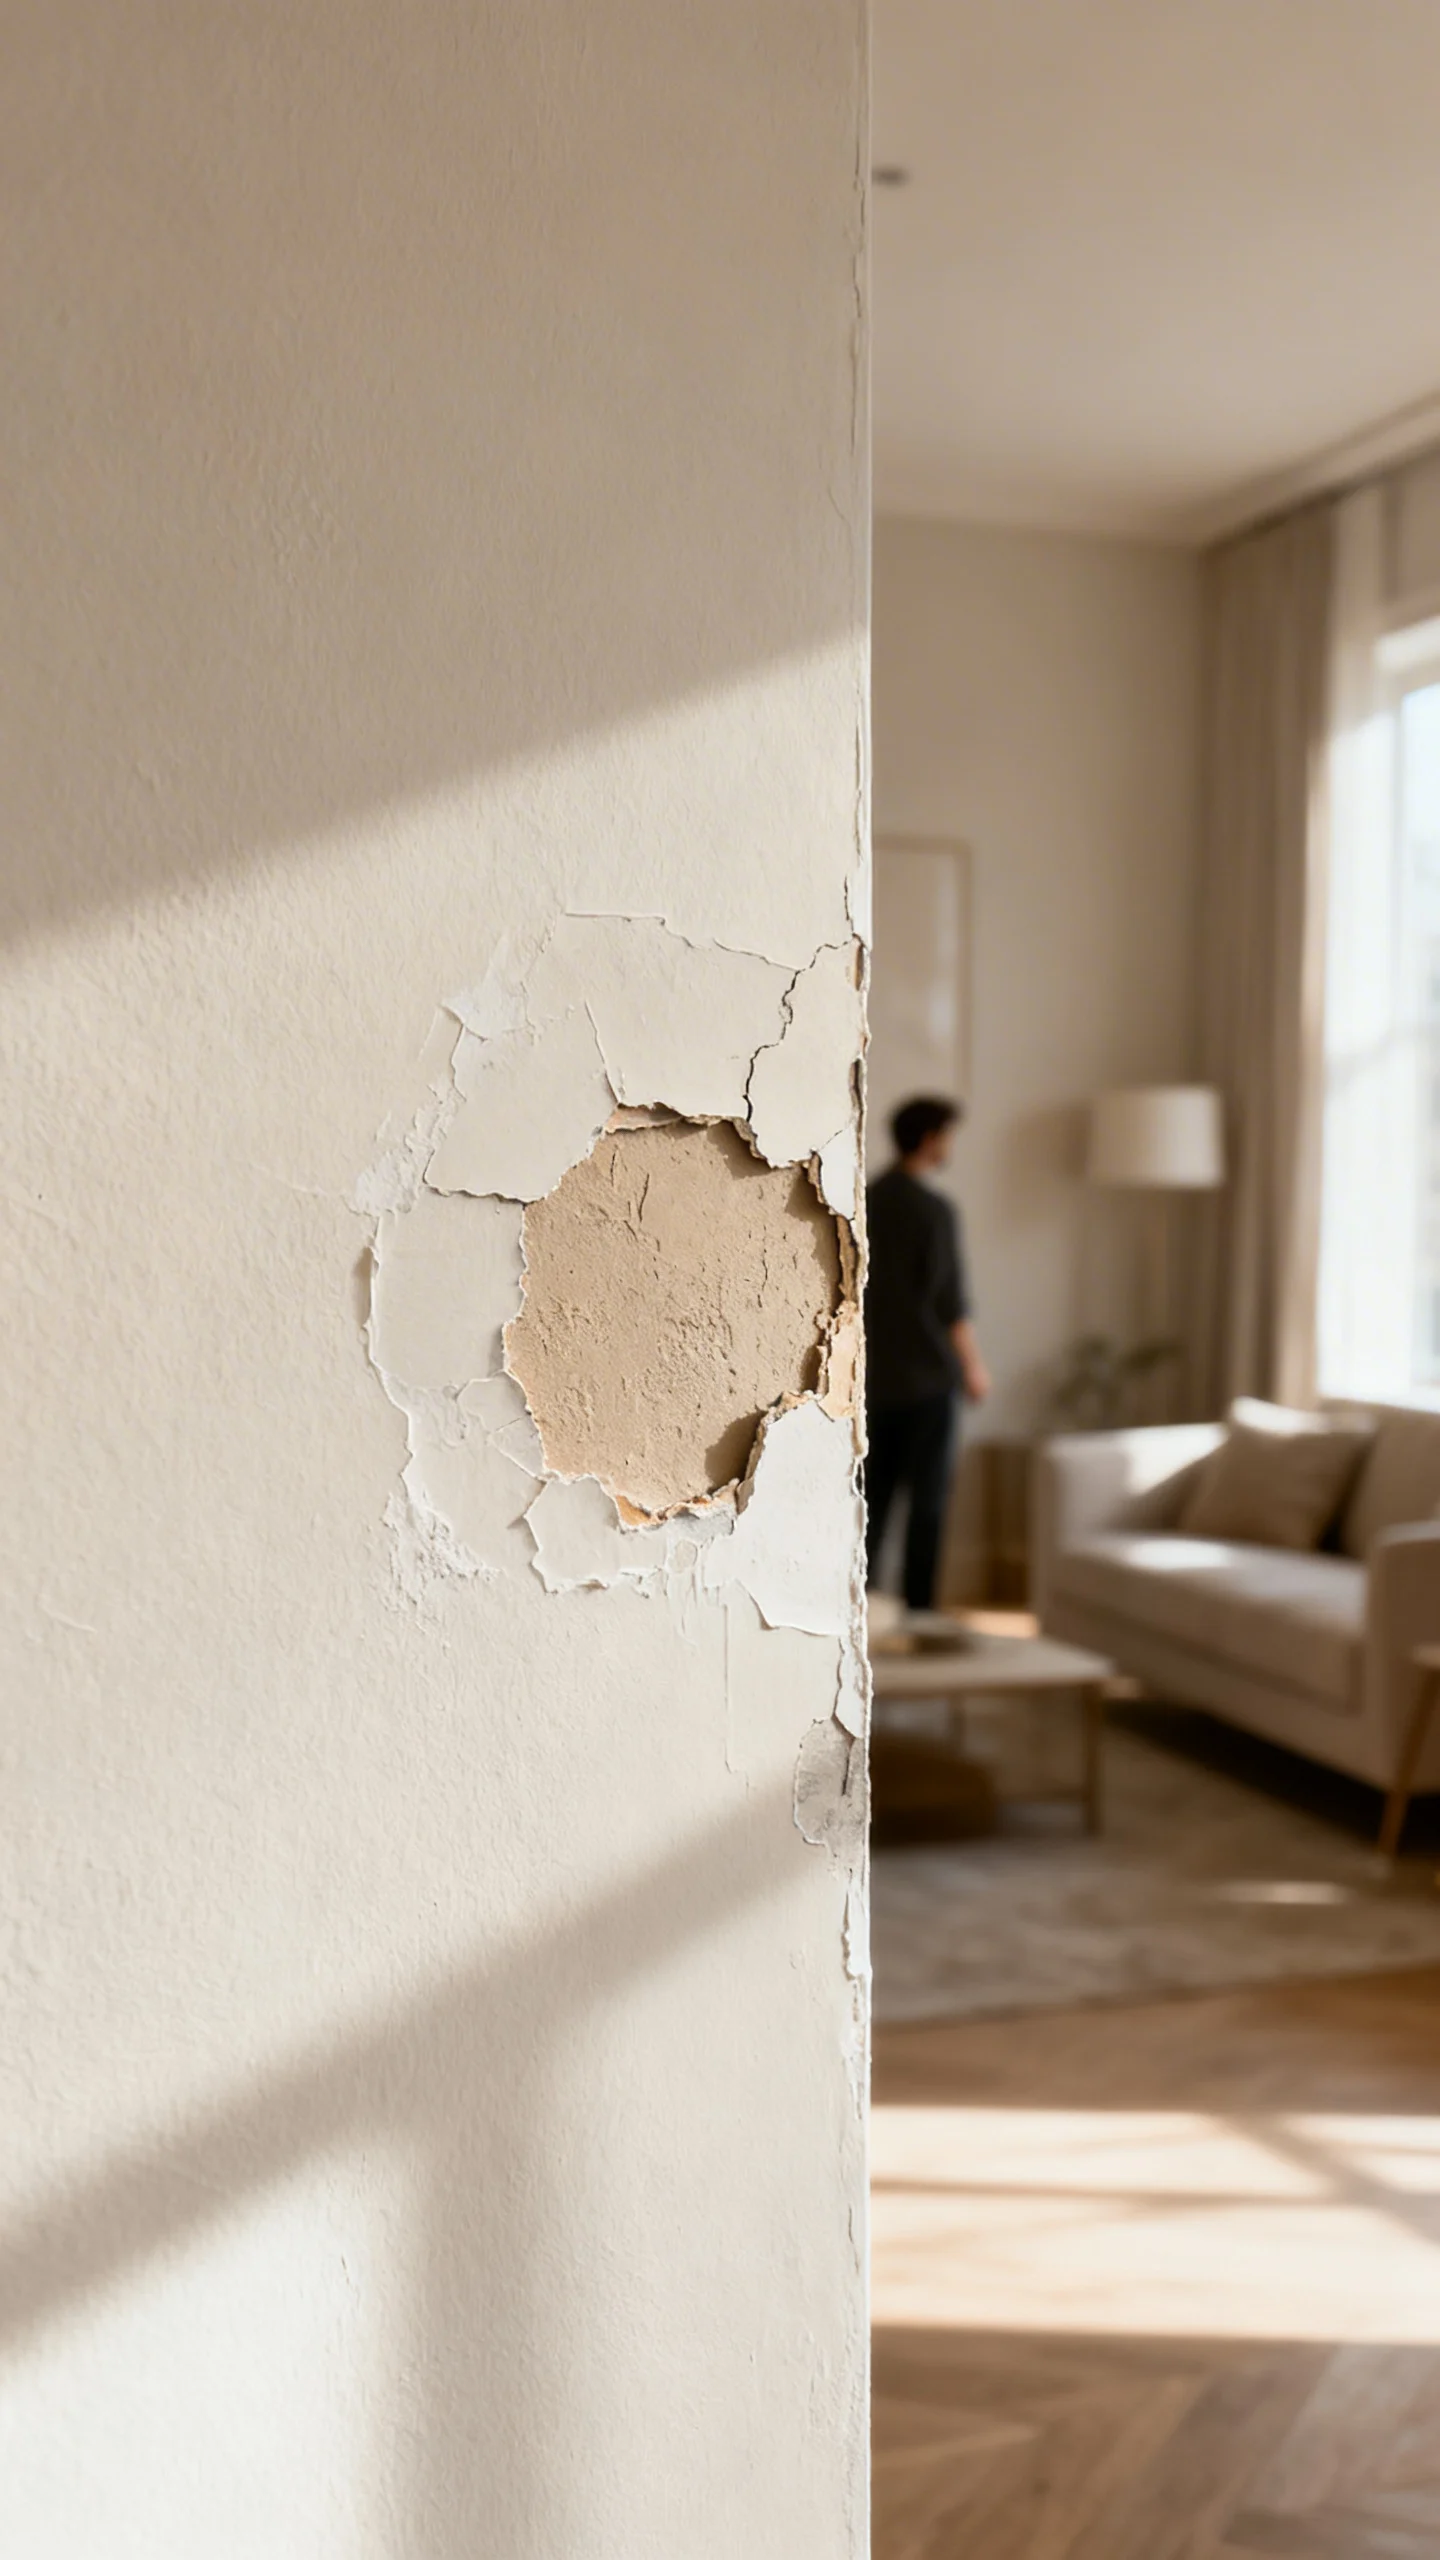
1) Start With the Right Piece (So You Don’t Spend More Fixing Than Remodeling)

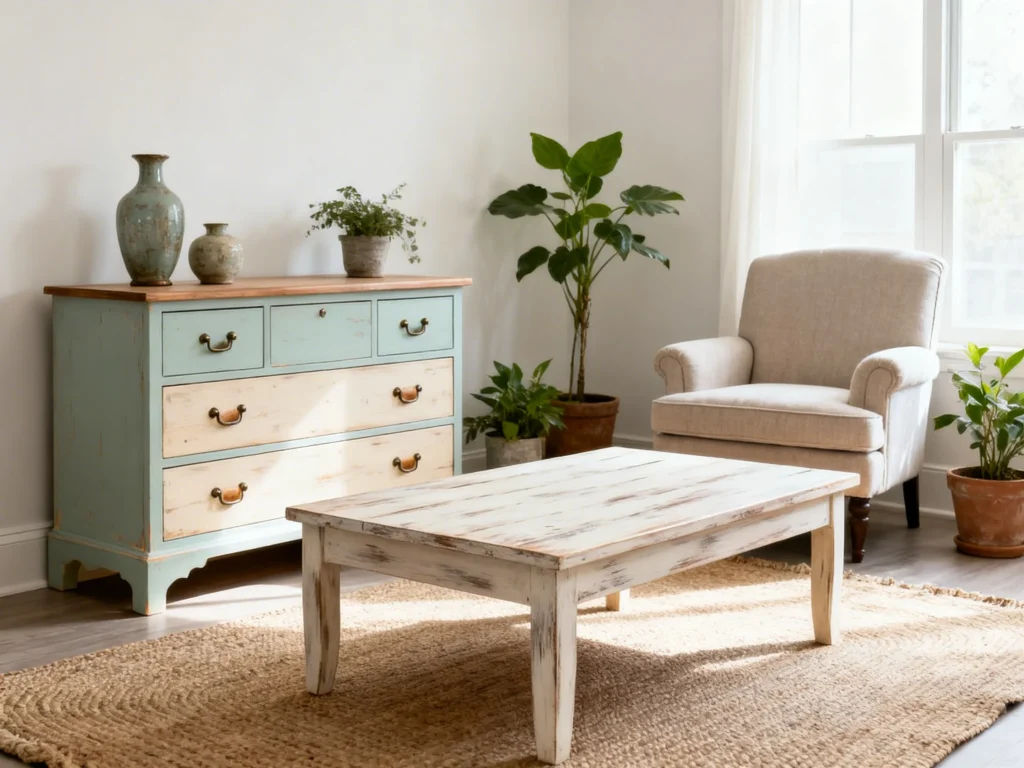
Budget remodeling begins at the curb, thrift store, or your own garage—choose pieces with “good bones.” Look for solid wood, veneer in decent shape, and sturdy joints. Avoid severe water damage (swollen particleboard, crumbling corners), strong mold smell, or drawers that don’t align because the frame is twisted. A quick test: lift one corner of a dresser 1–2 inches—if the whole piece moves as one unit, it’s structurally promising; if it racks and wobbles, you’ll need more repairs (time + supplies). For beginners, start with a nightstand, small side table, bench, or single chair—smaller projects cost less in paint, sandpaper, and patience.
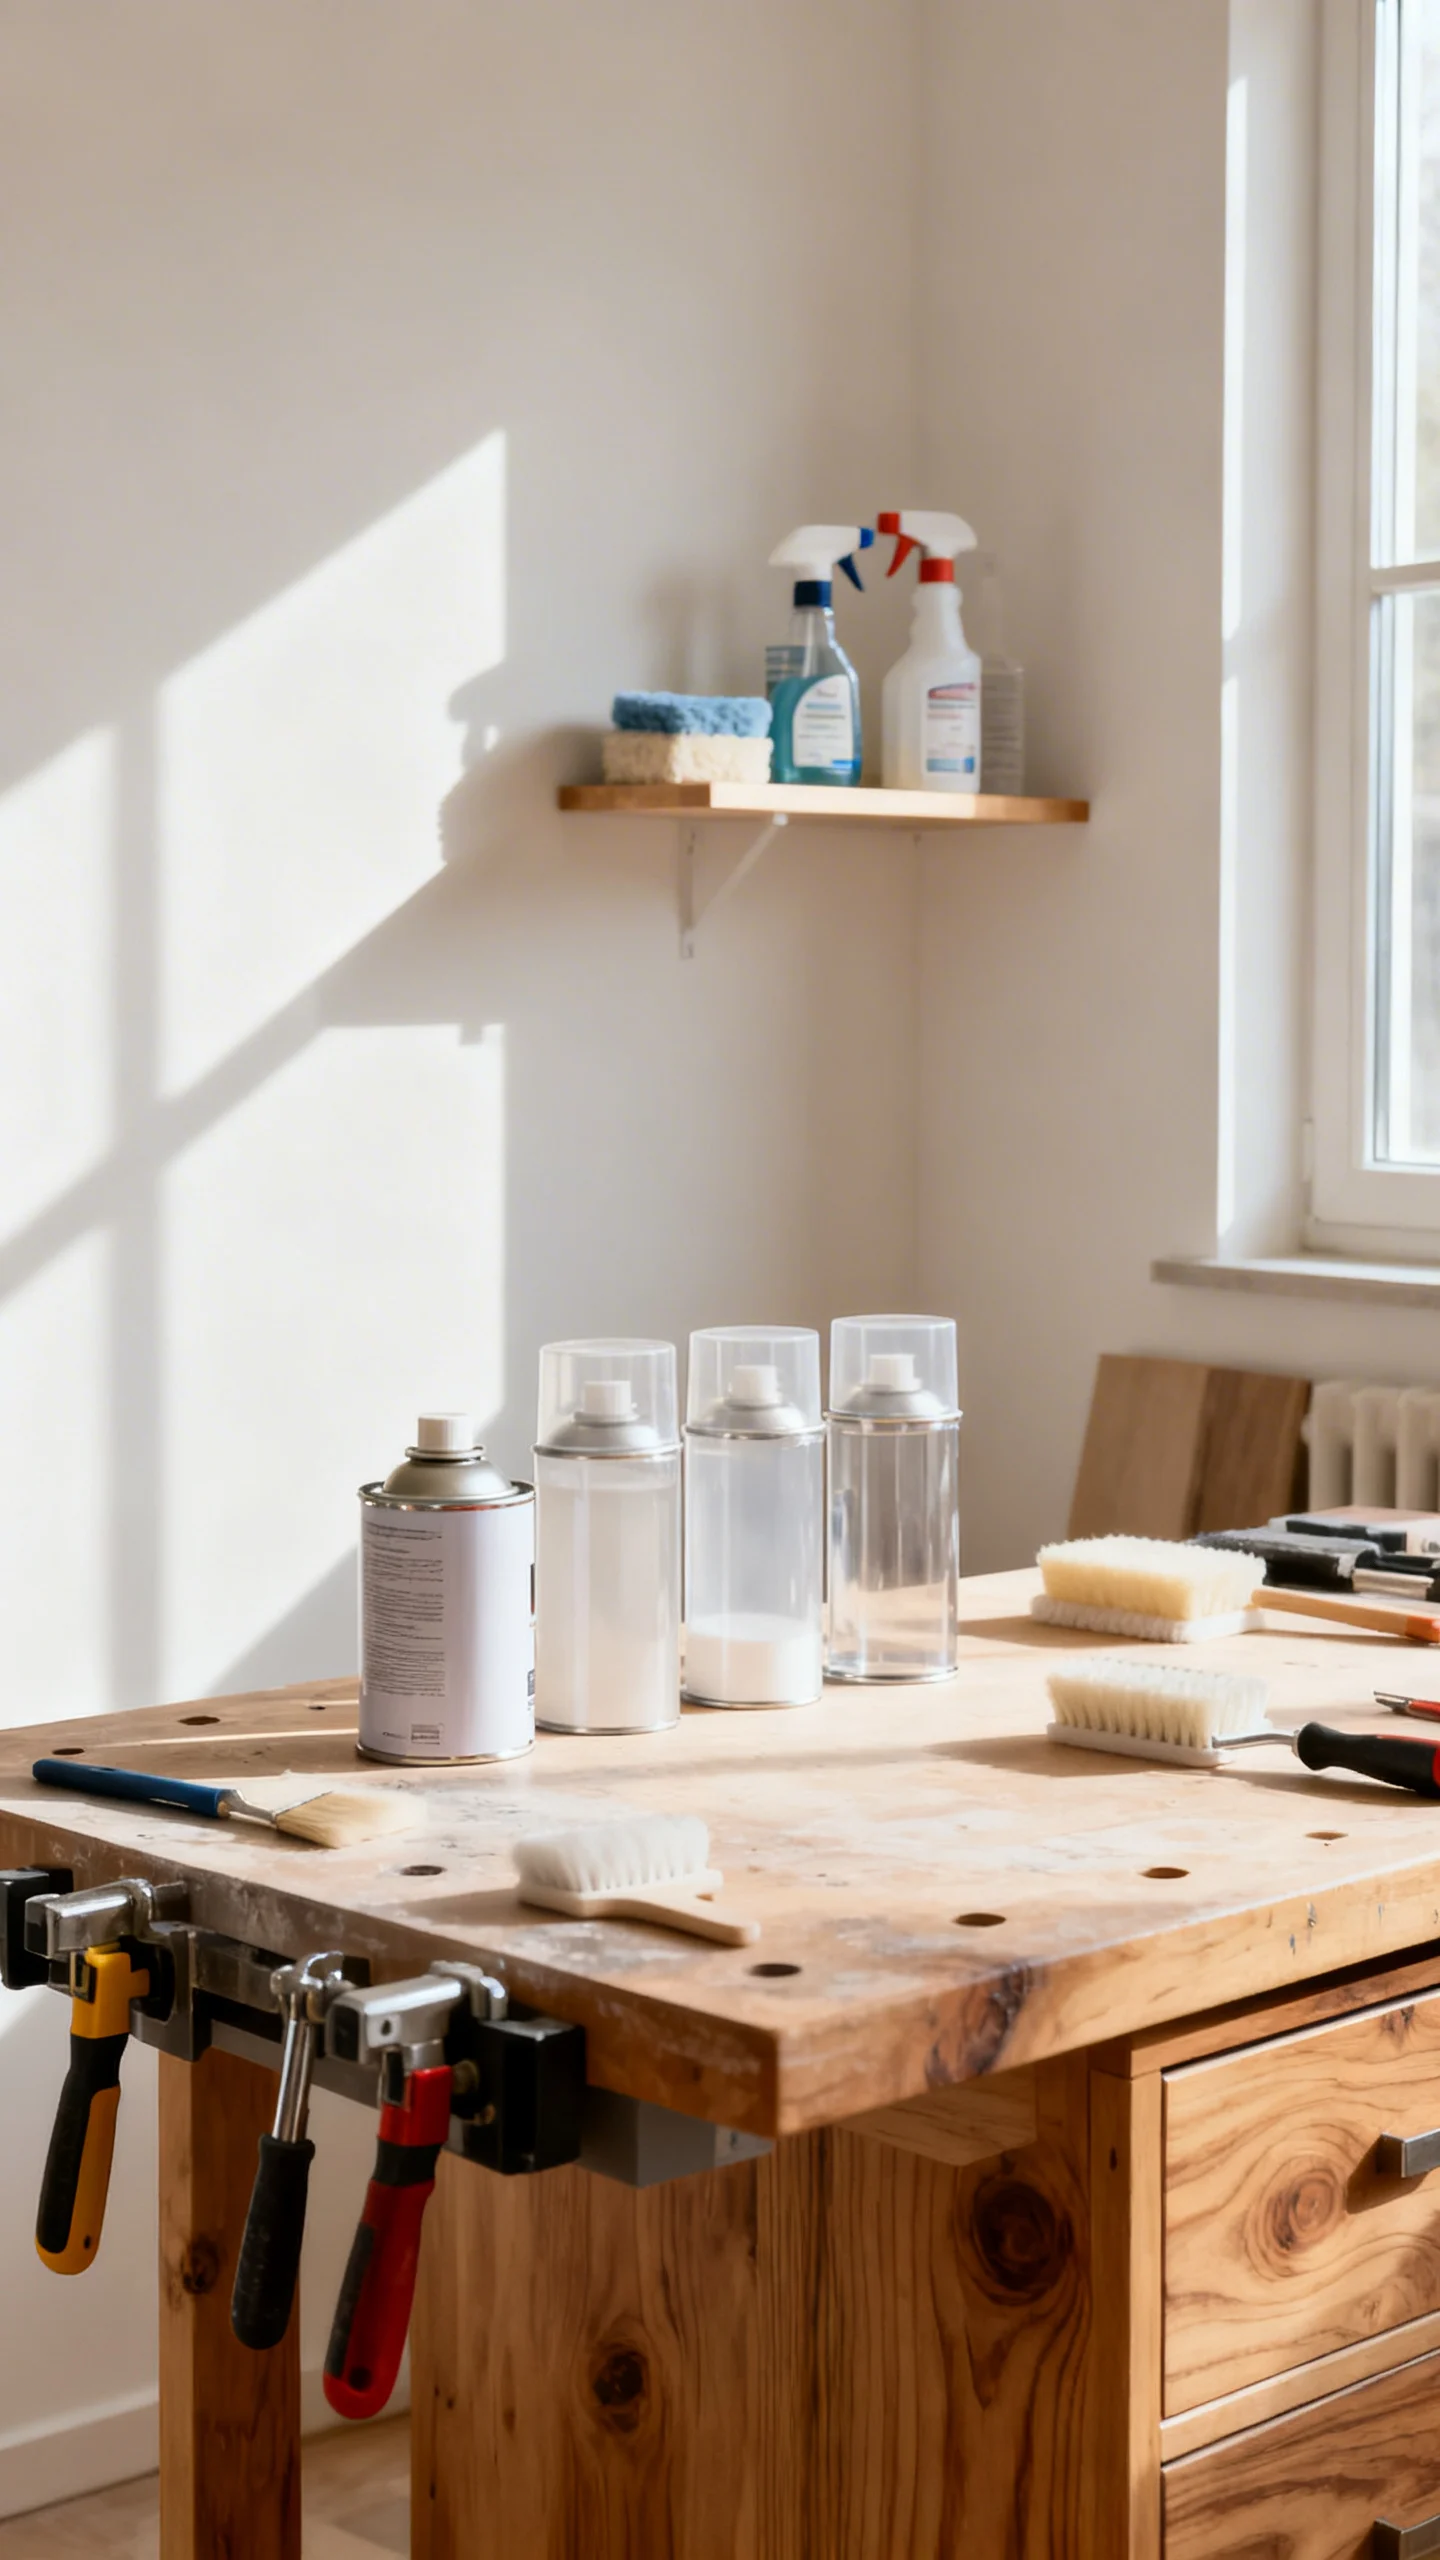
2) Clean Like a Pro Before You Touch Sandpaper or Paint
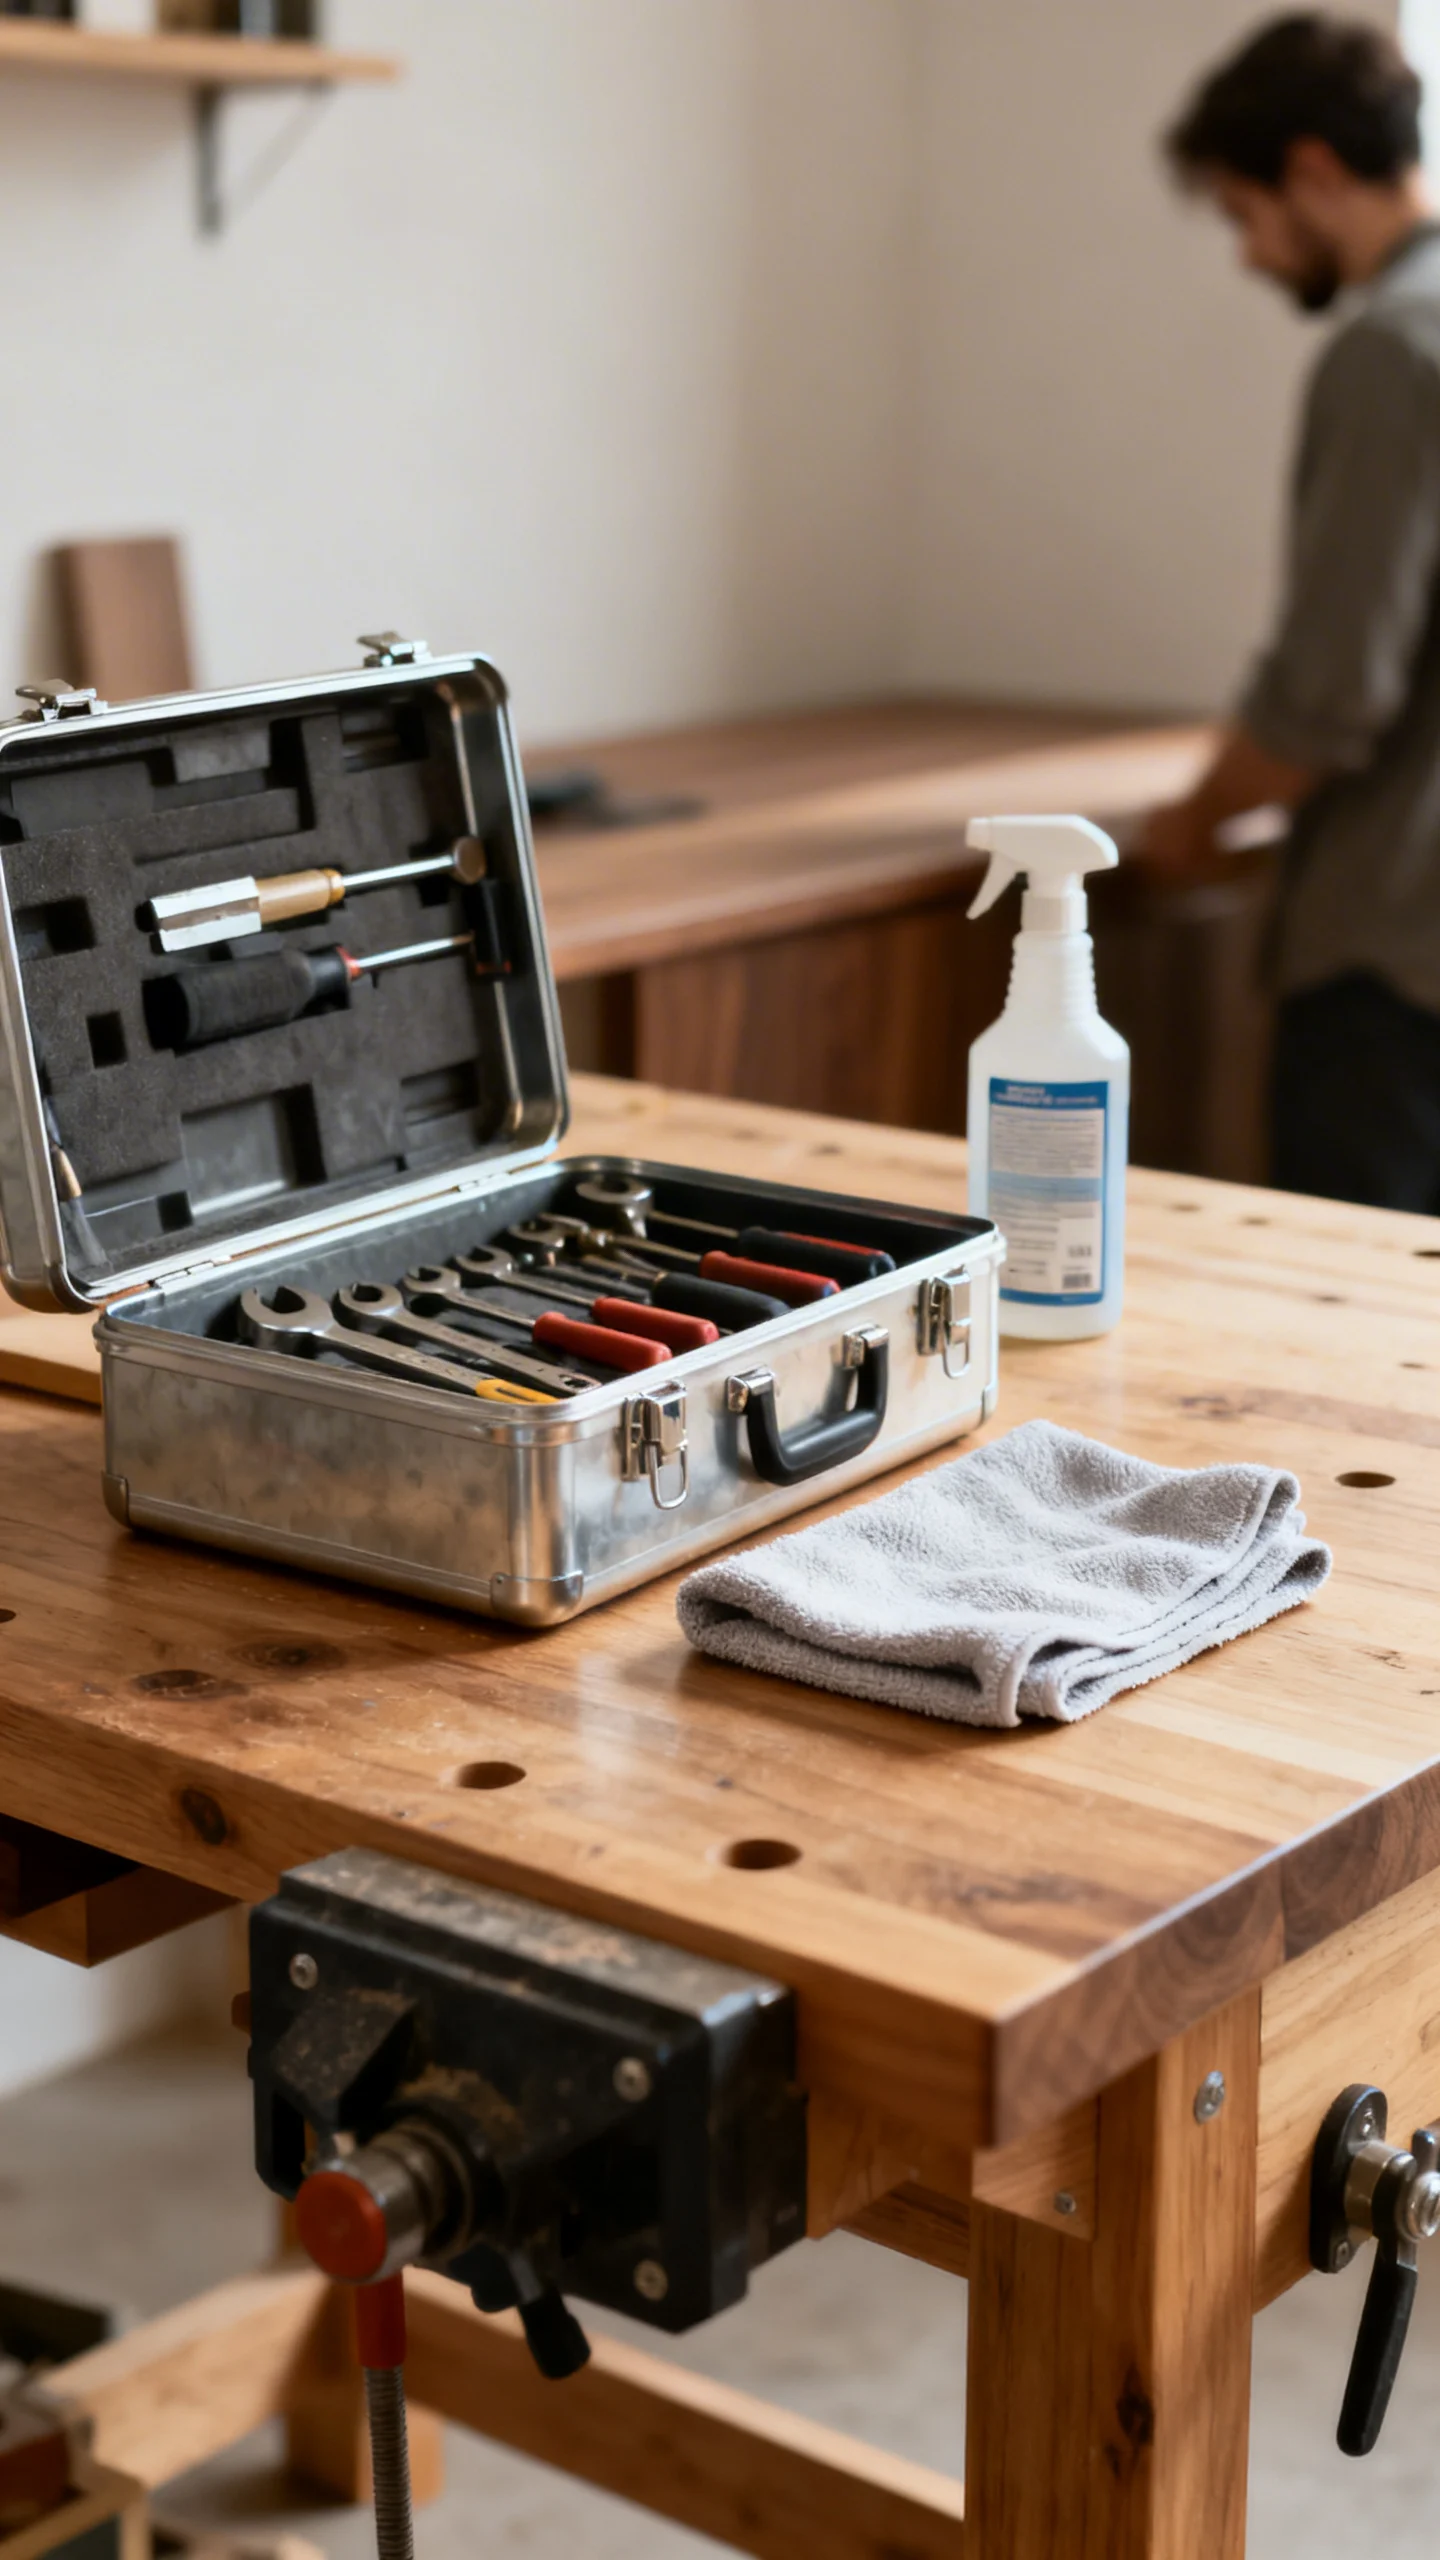
Paint and primer fail most often because of hidden grime: furniture polish, cooking grease, hand oils, and wax. Clean first, always. Use a degreasing cleaner (or warm water + a few drops of dish soap) and scrub with a microfiber cloth. For sticky residue, use mineral spirits on a rag (in a ventilated area) and wipe clean—then let it fully dry. If the piece has been polished for years, a dedicated deglosser or a thorough mineral-spirits wipe can save you from fisheyes (those little craters in paint). Don’t soak wood; you want damp, not dripping. Budget tip: old toothbrushes are perfect for carved details and hardware crevices.
3) Do a 5-Minute Stability Tune-Up: Tighten, Glue, Clamp
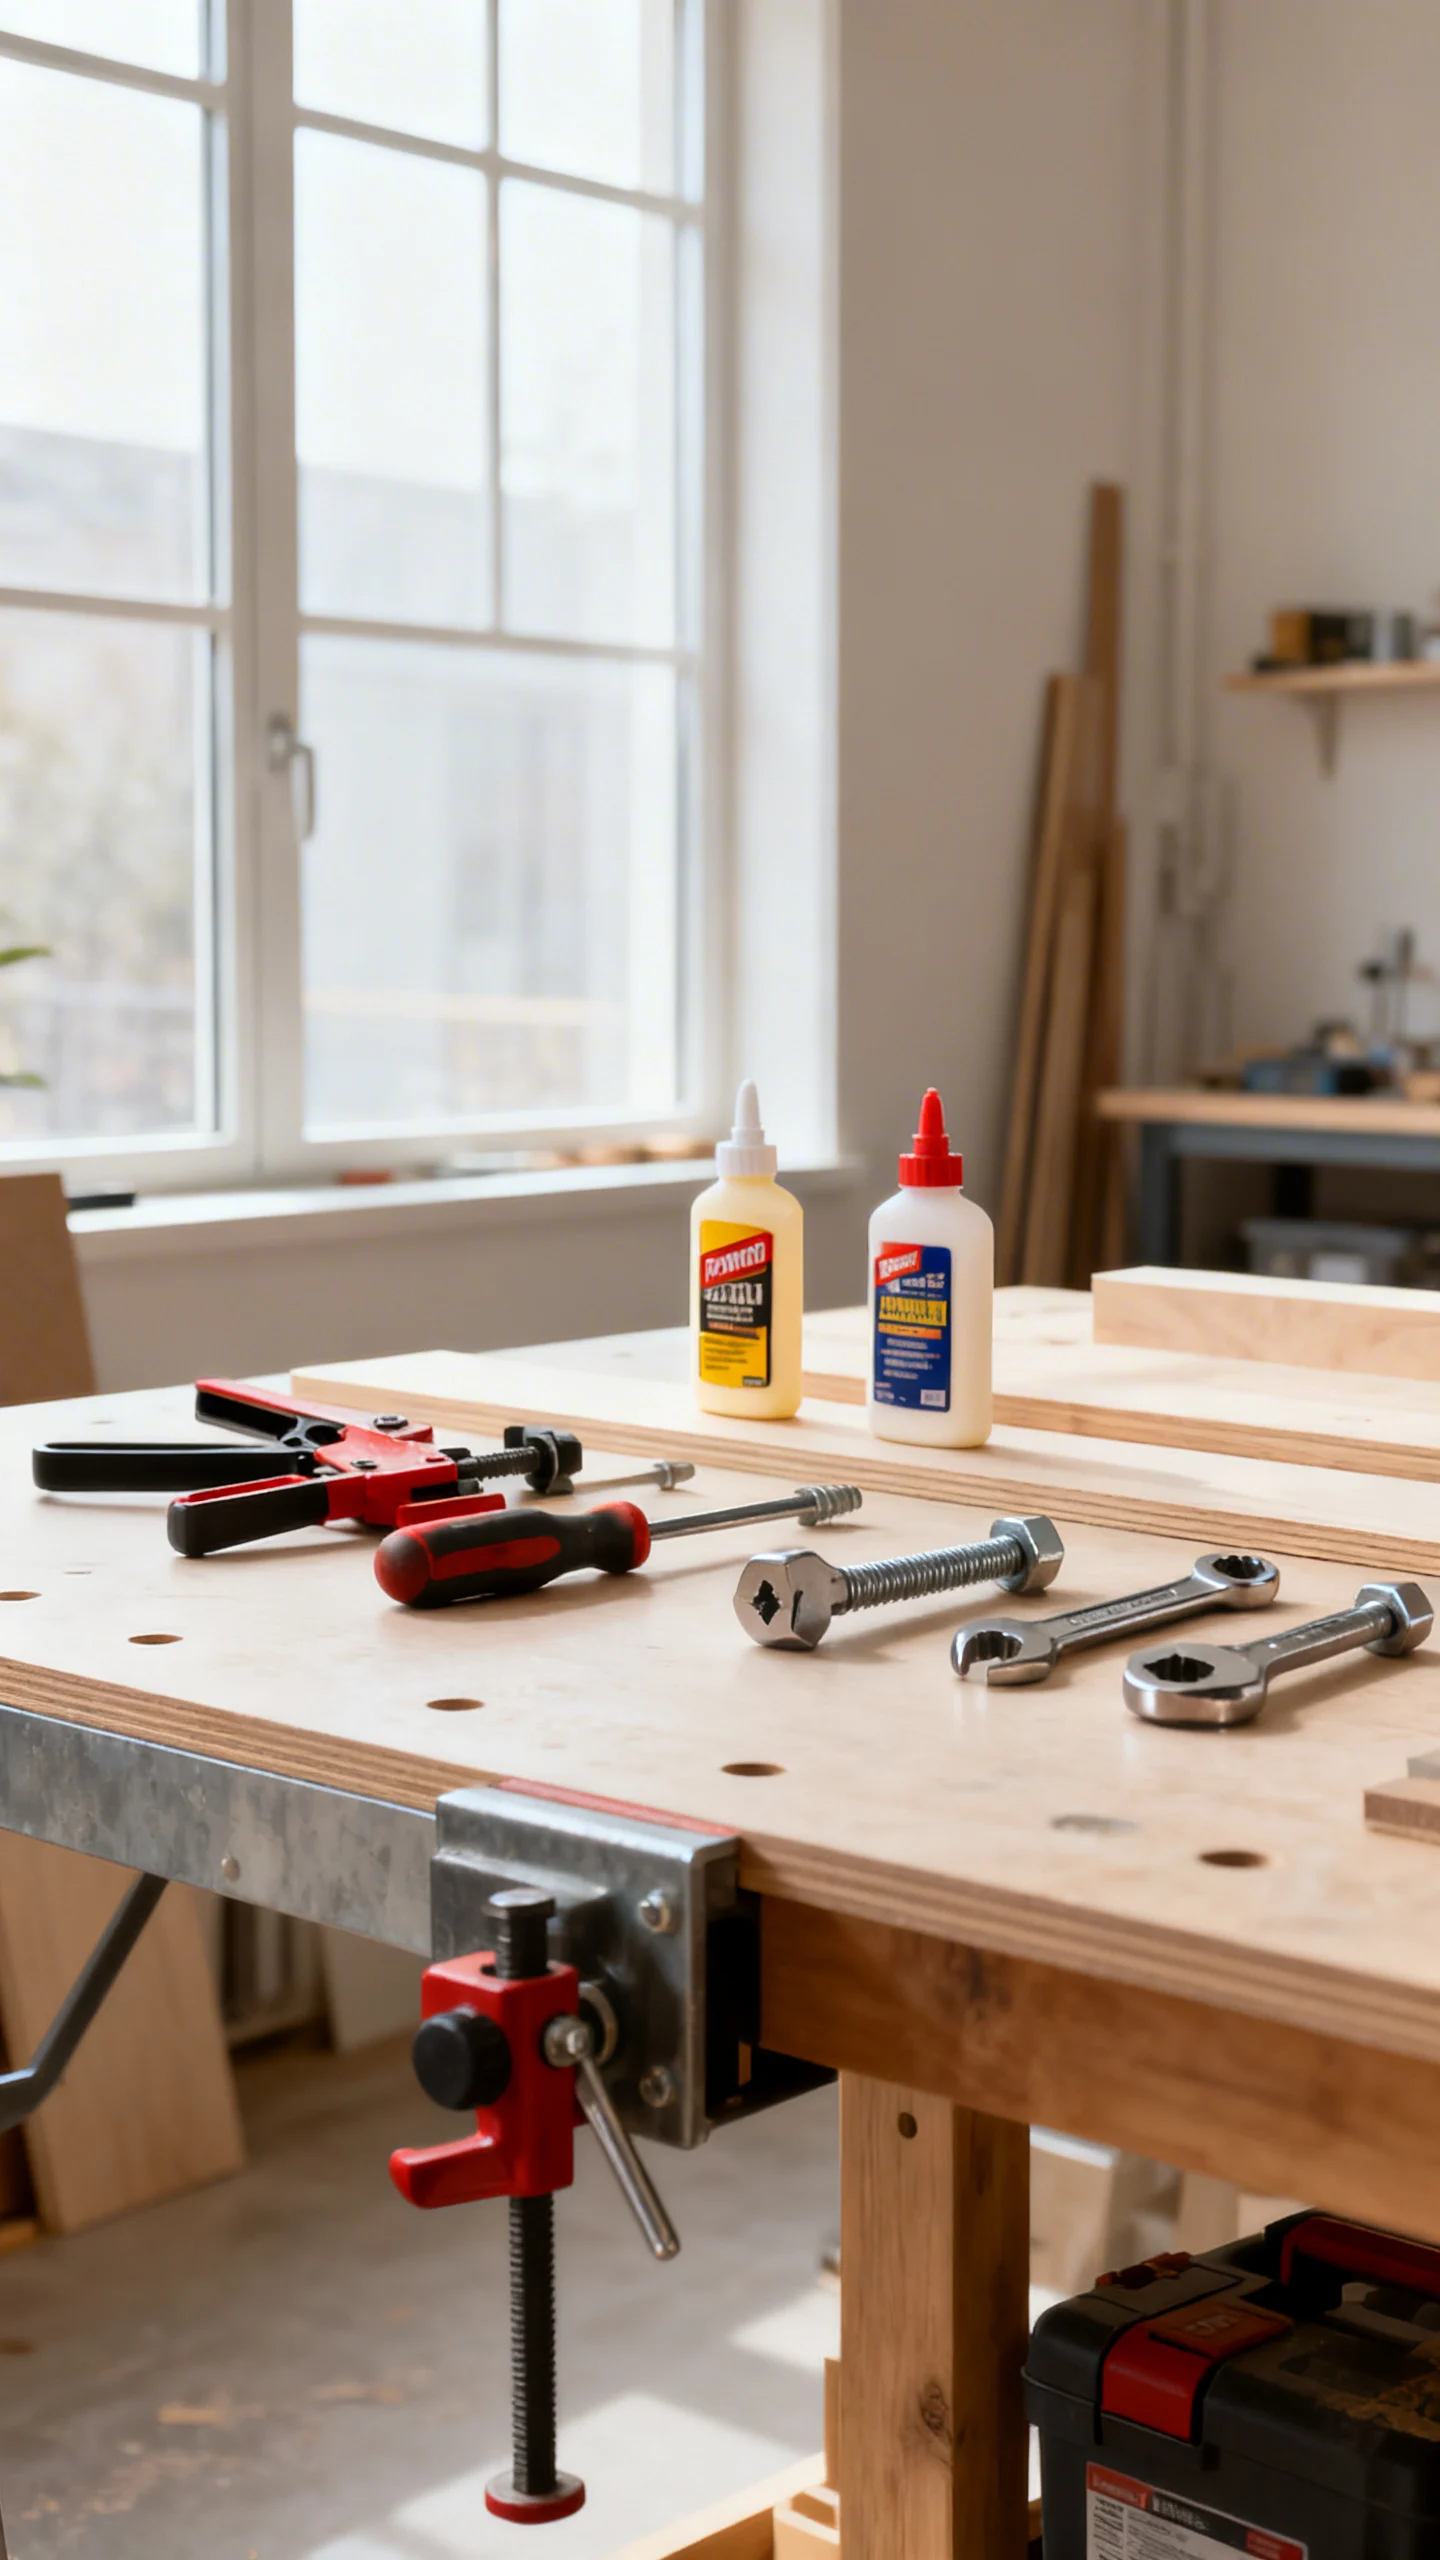
Before cosmetics, make it solid. Tighten loose screws, replace missing ones, and add wood glue to wobbly joints. For chair rungs and table legs, apply wood glue into the joint, wipe excess, then clamp for at least 30–60 minutes (check your glue label), leaving it to cure overnight if possible. If you don’t own clamps, a budget workaround is a ratchet strap or even strong painter’s tape for light pressure on small joints. For stripped screw holes, push in a few toothpicks with wood glue, let dry, then re-screw—an easy beginner fix that’s surprisingly durable.
4) Learn the Cheapest Prep That Still Looks High-End: Scuff Sand, Don’t Strip
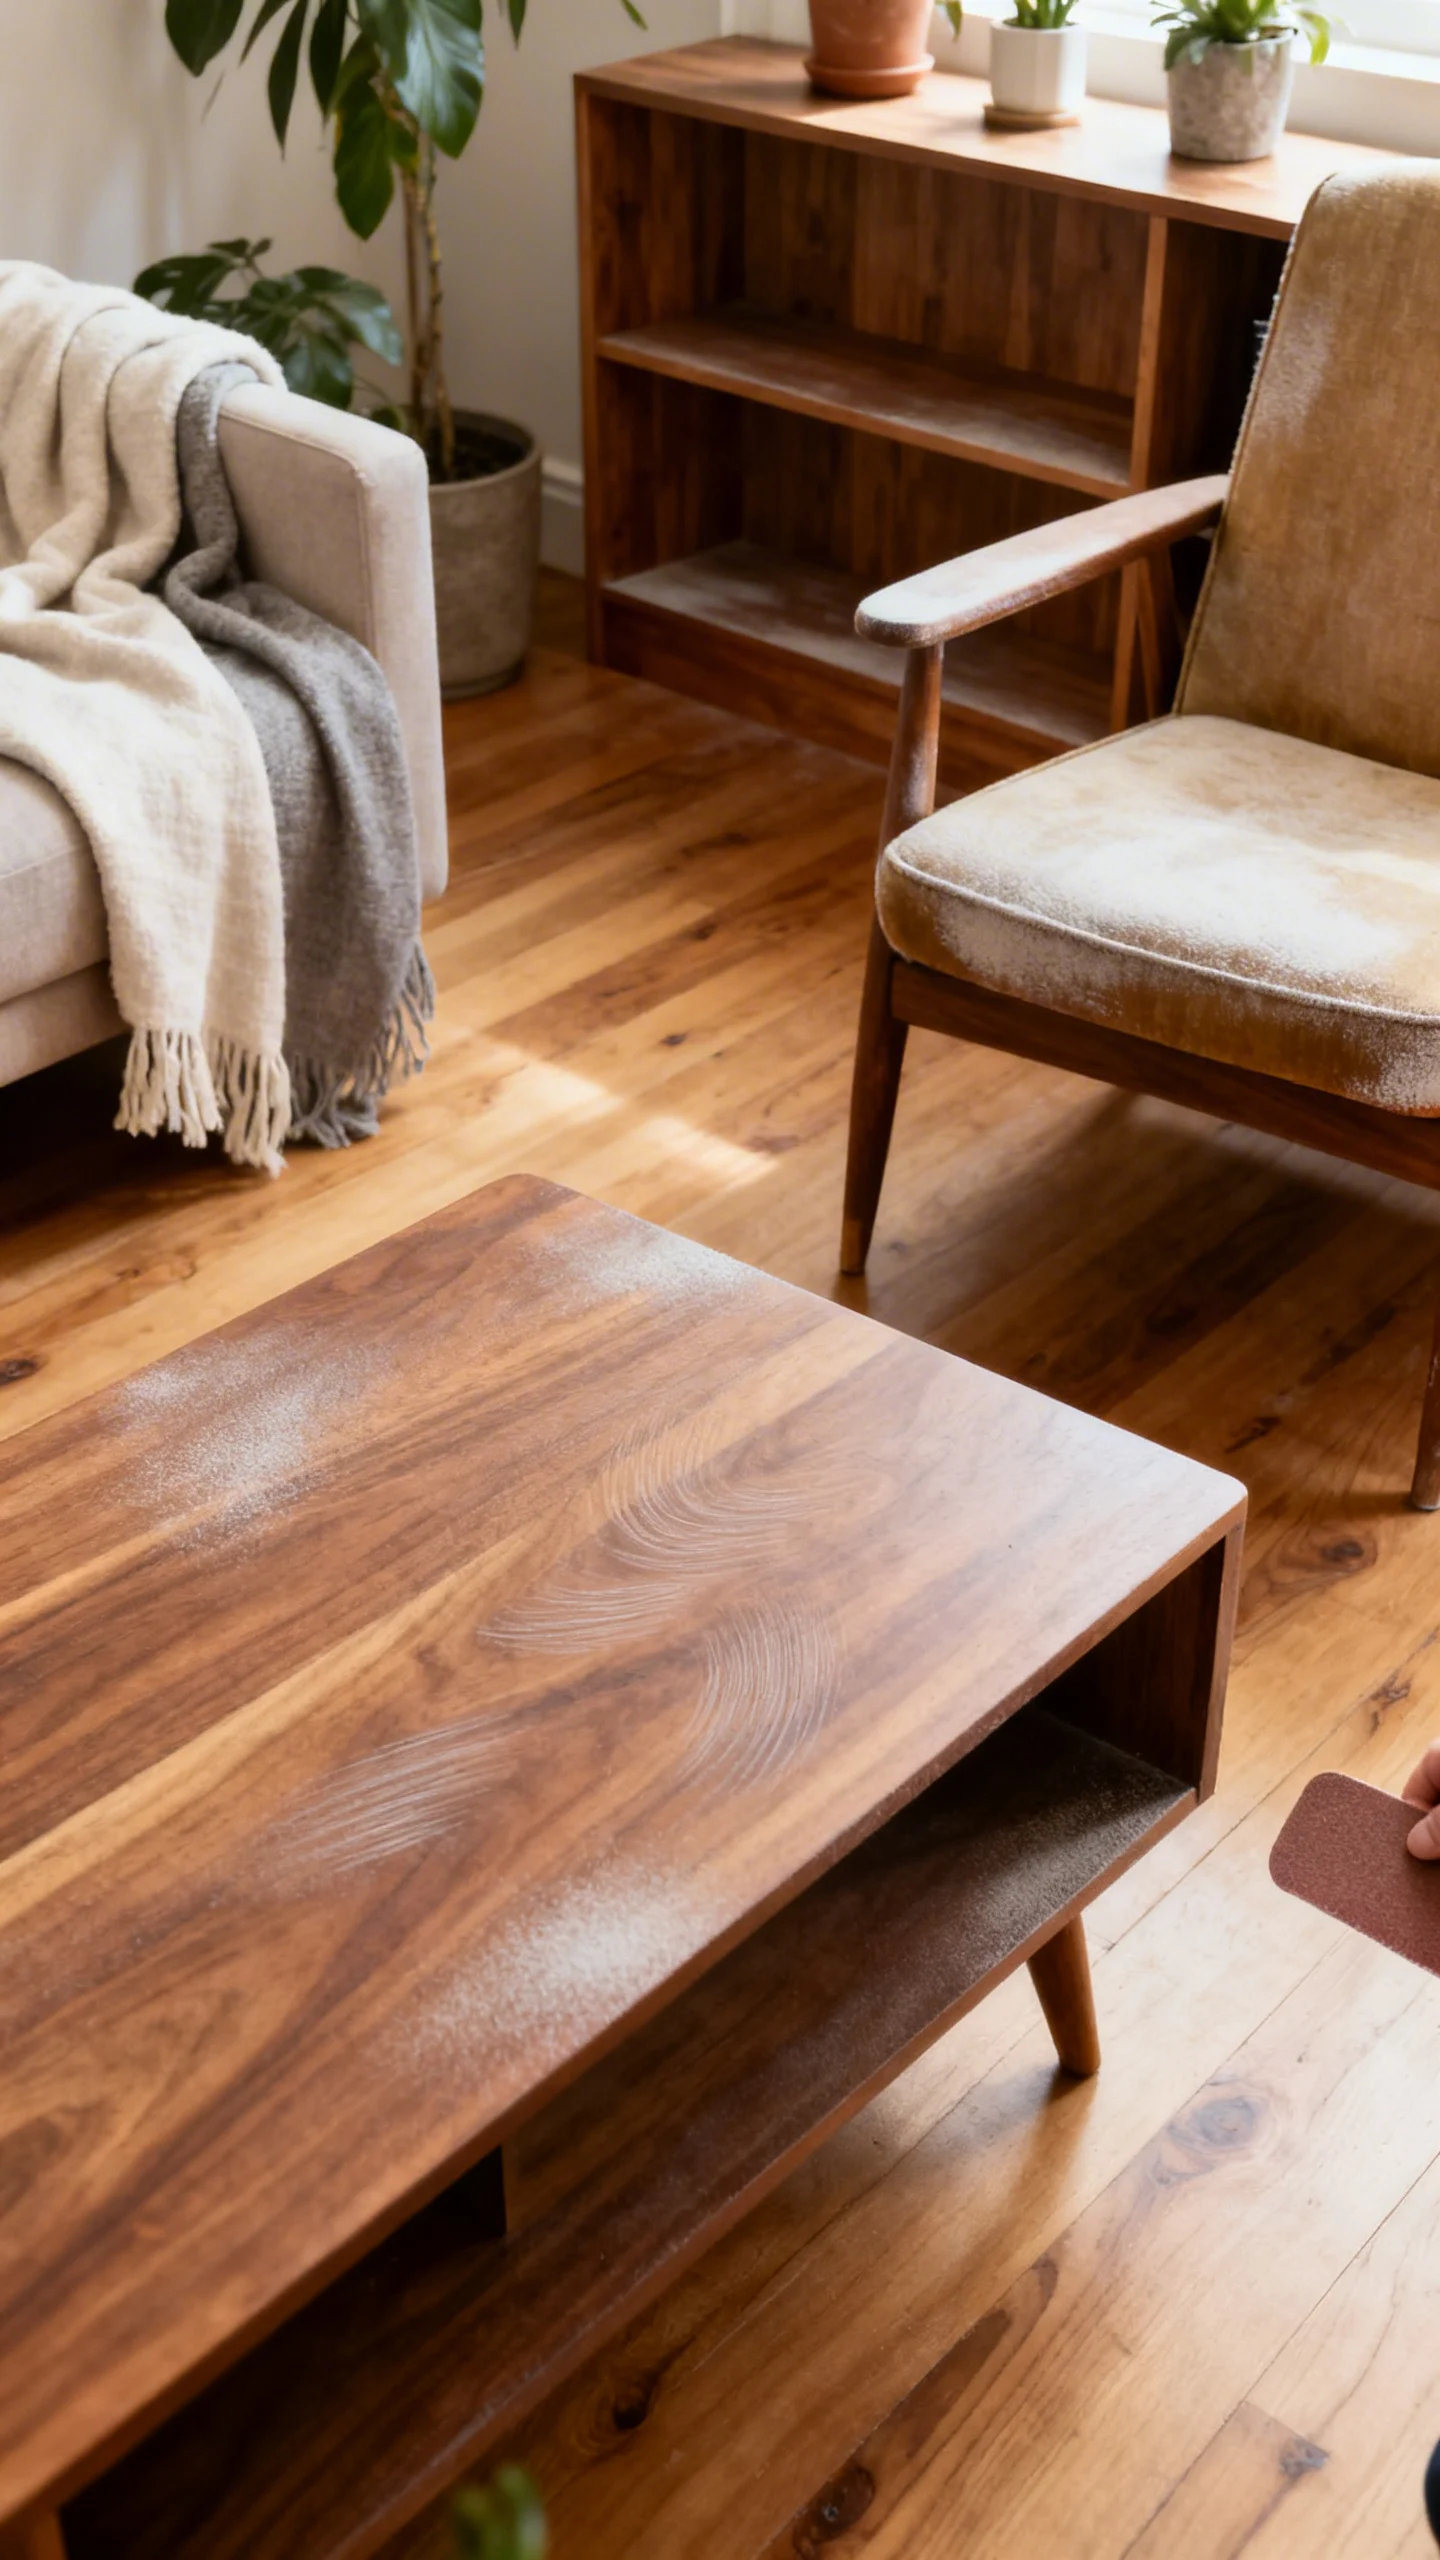
Most beginner projects do not need full stripping (which adds cost and mess). Instead, scuff sand to create tooth for primer and paint. Use 120–150 grit to knock down shine, then 180–220 grit to smooth. Your goal is dull and slightly textured, not bare wood. On curves and edges, use a sanding sponge so you don’t accidentally flatten details. Always sand in the direction of the grain when possible. Budget tip: buy sandpaper in multipacks and label pieces by grit; switching grits at the right time prevents over-sanding and saves sheets.
5) Patch and Fill the Right Way (So Repairs Don’t “Ghost” Through Paint)
Small dings are normal and easy to fix cheaply, but use the right filler for the job. For shallow dents and nail holes, lightweight spackle is affordable and sands easily. For deeper chips, corners, or areas that need strength, choose wood filler (it’s tougher, but harder to sand). Apply in thin layers, let dry fully, then sand smooth with 180–220 grit. Run your fingers over repairs—your hands will catch what your eyes miss. If you’re painting, perfection matters more than color matching. If staining, filler will show, so consider saving stains for later projects and start with paint or a painted/stained hybrid (painted body, stained top).
6) Prime With Purpose: When to Use It and Which Kind Saves Money
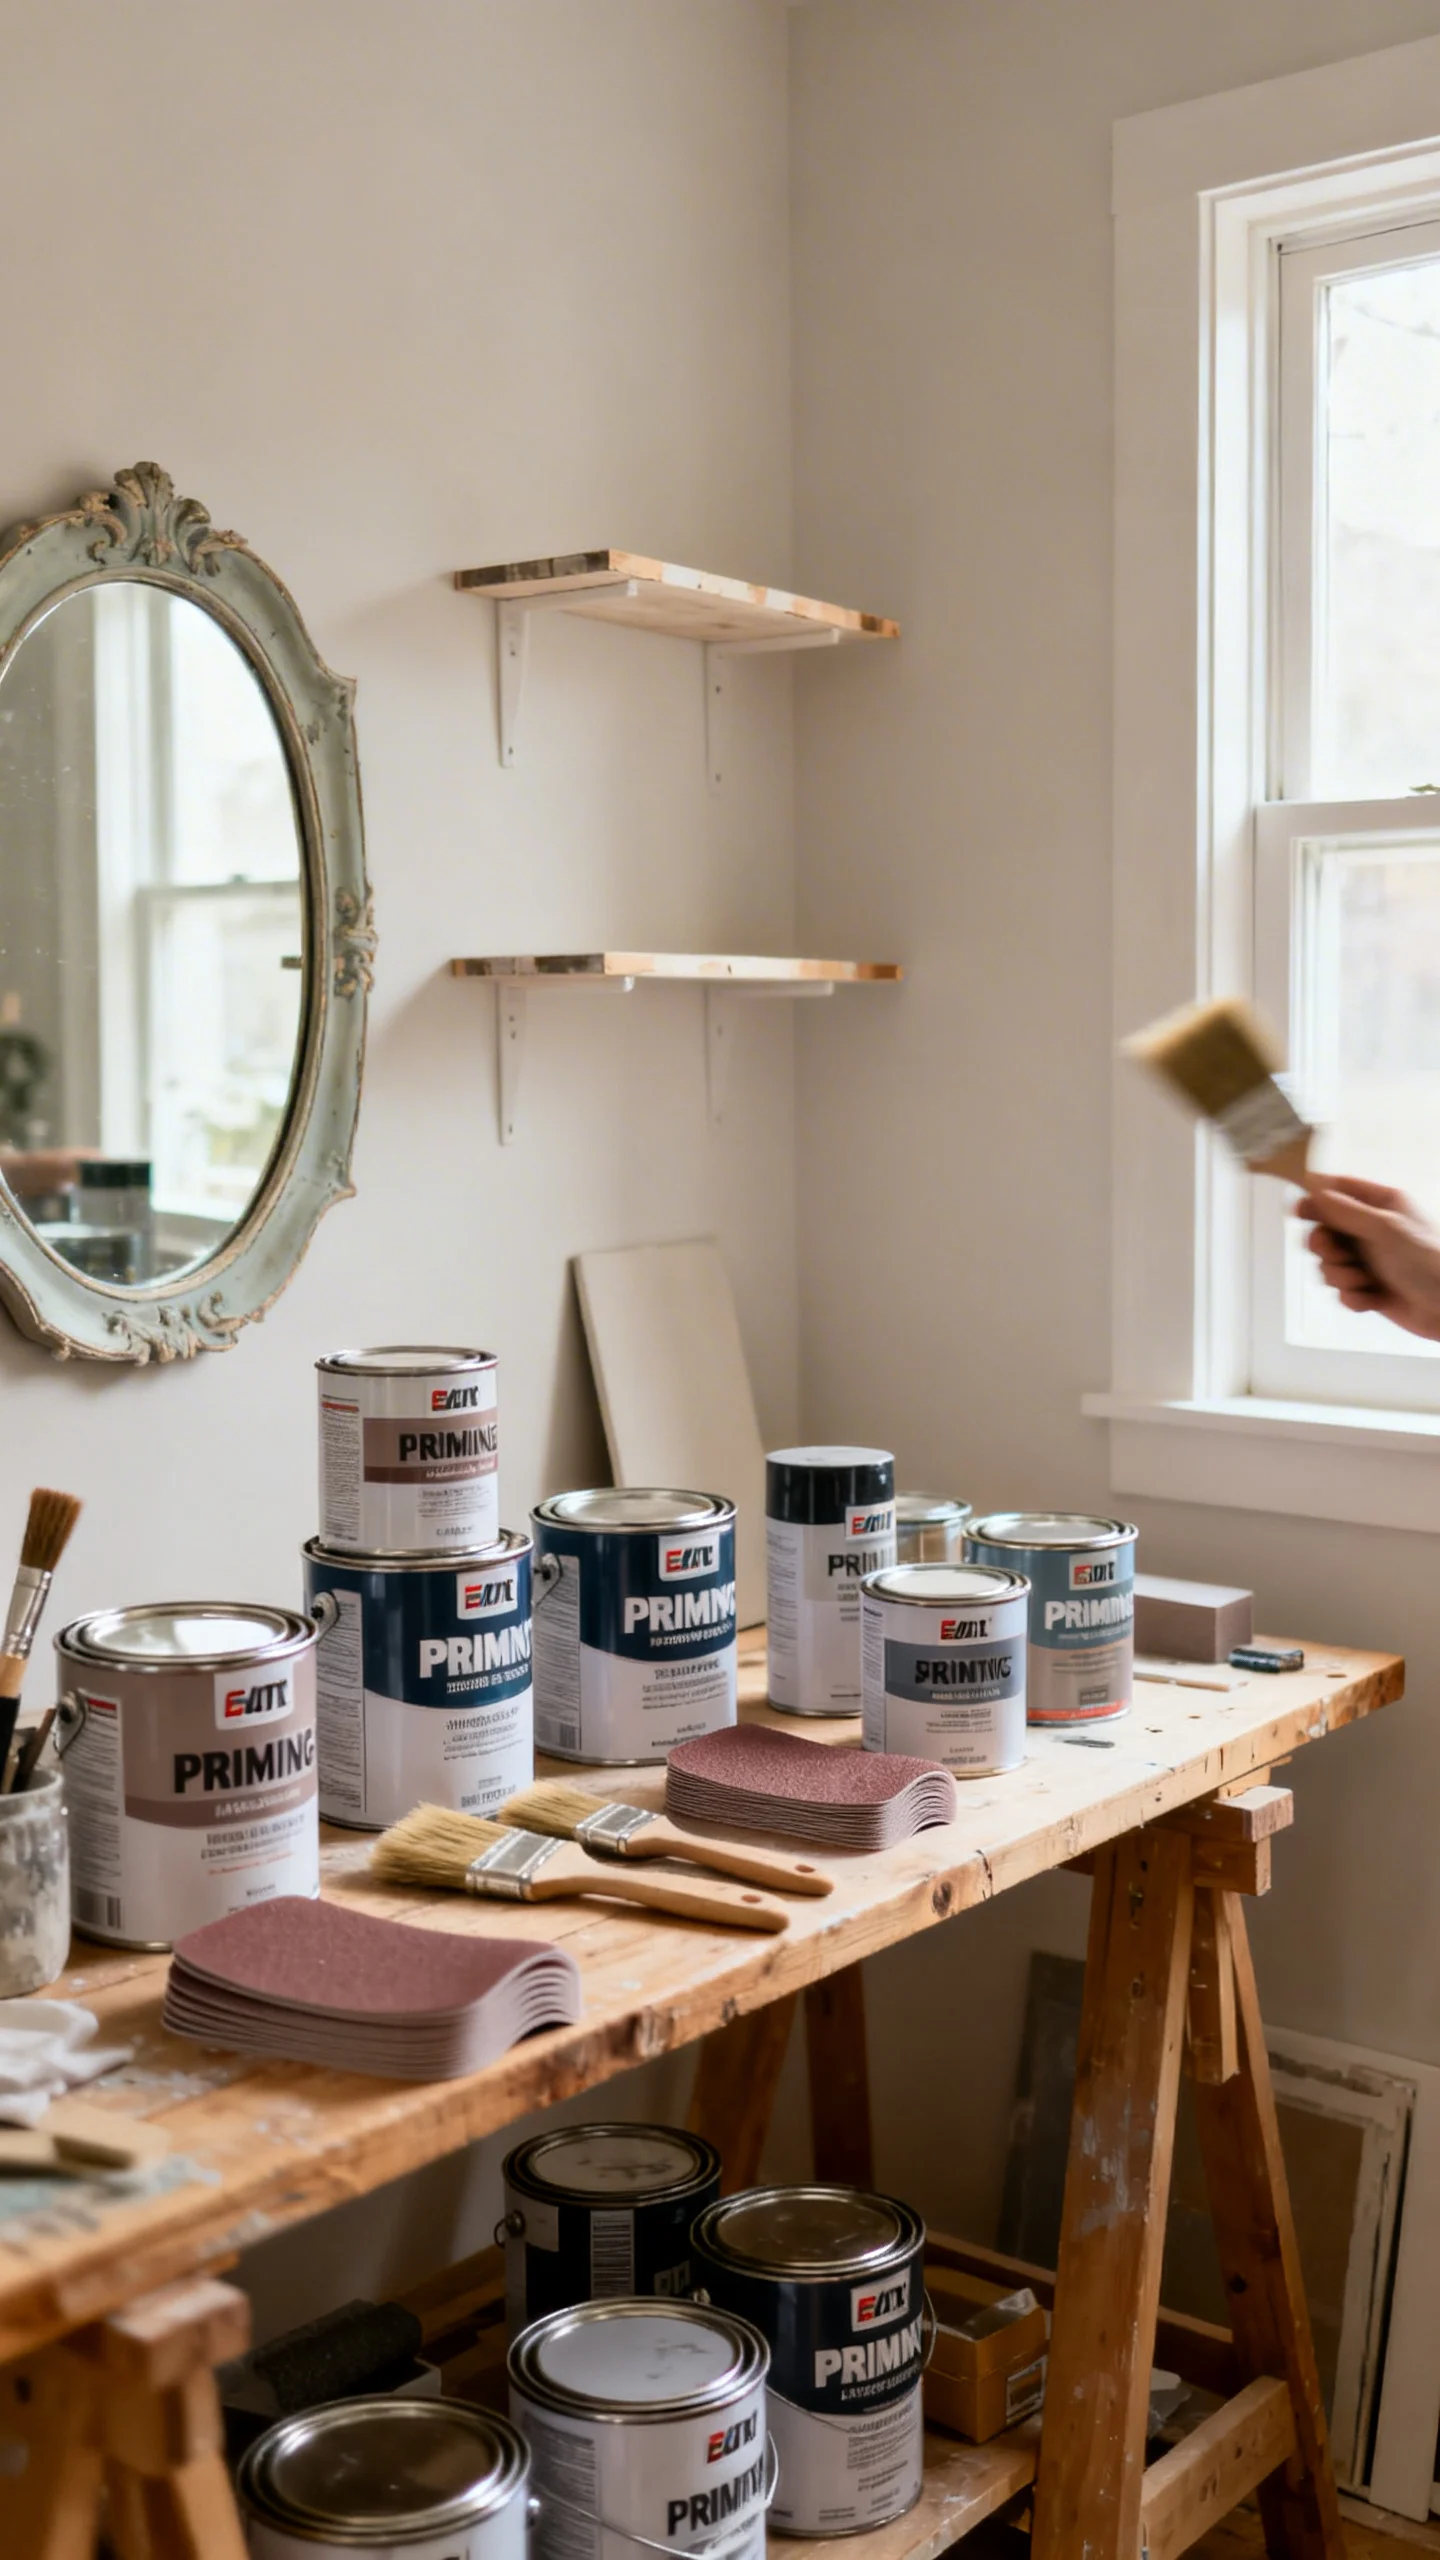
Primer is the budget remodeler’s secret weapon because it prevents bleed-through and reduces the number of paint coats. Use primer if the piece is very dark, stained, knotty pine, glossy laminate, or has unknown finishes. Water-based stain-blocking primers are beginner-friendly, low odor, and great for most projects; shellac-based primers are stronger for heavy stains and tannin bleed, but they cost more and smell stronger—use ventilation. Apply a thin, even coat; thick primer can create texture and drips that require extra sanding (wasting time and paper). After priming, lightly sand with 220 grit for a smooth “furniture finish” feel.
7) Pick a Budget Paint That Holds Up (And Apply It Without Streaks)
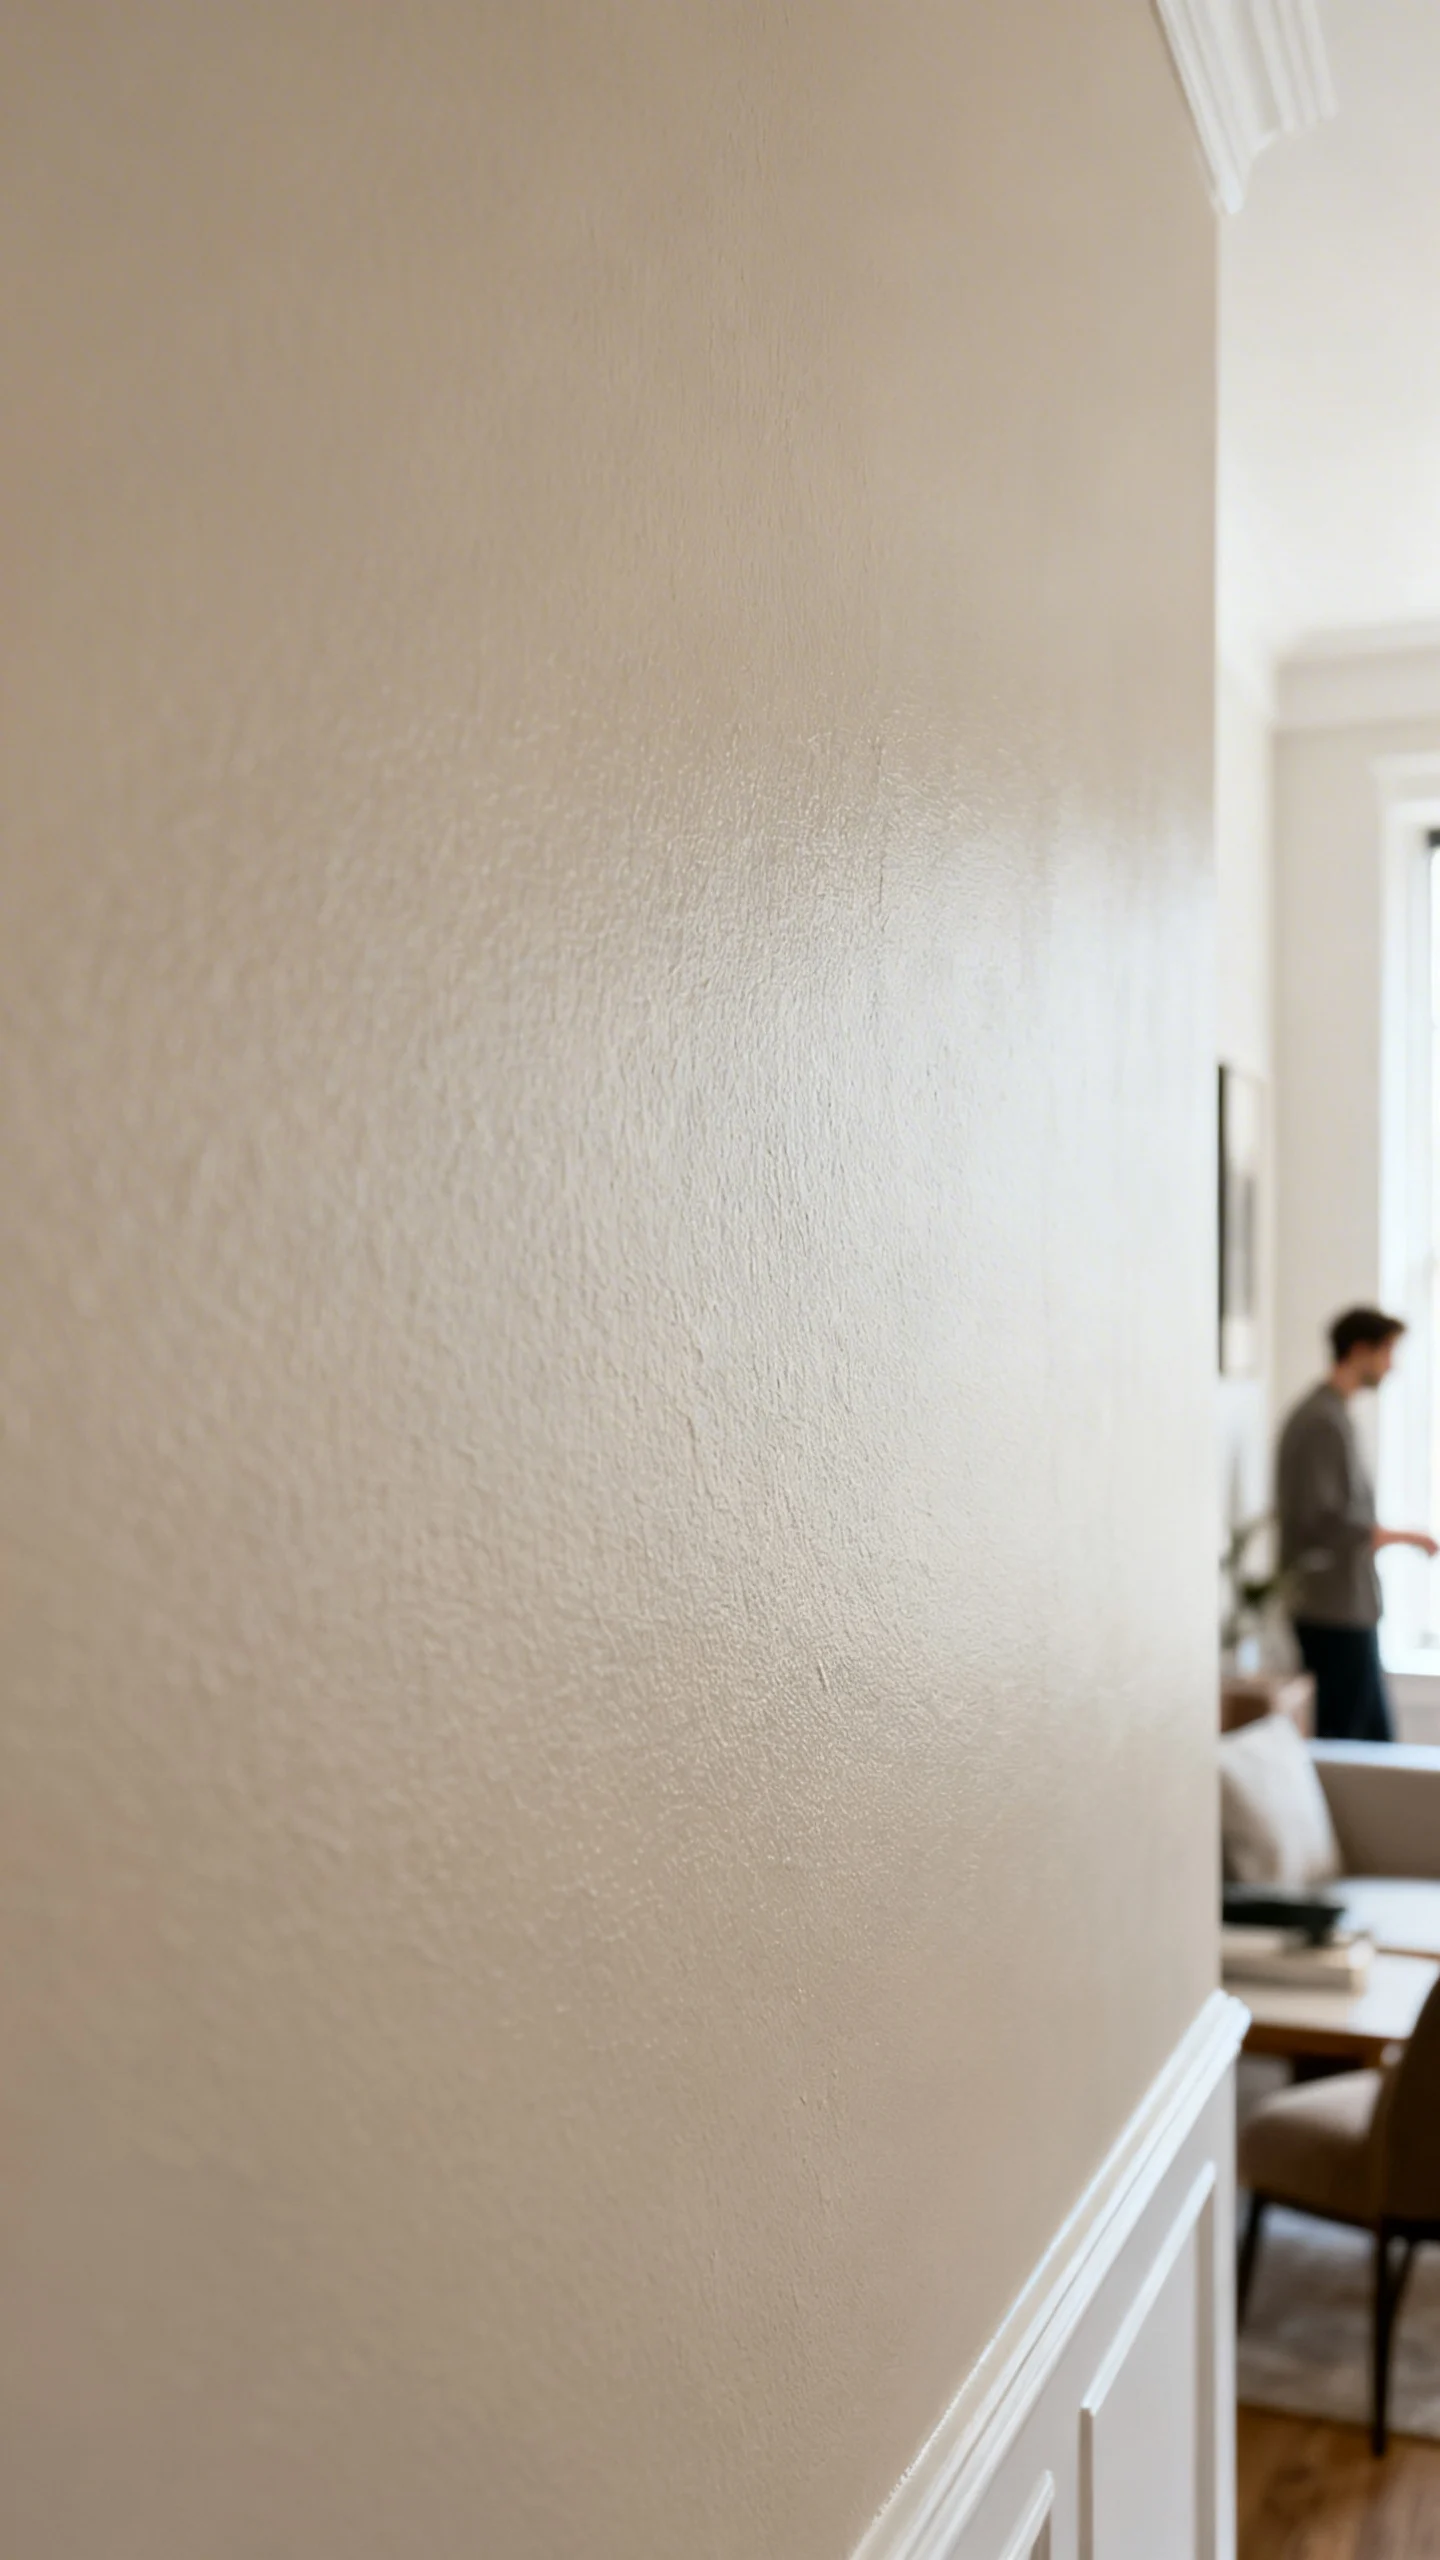
For beginners, the easiest durable option is a quality water-based enamel or cabinet/trim paint in satin or semi-gloss. Flat paint hides flaws but scuffs easily; high gloss shows every brush mark. Use a 2–2.5 inch angled synthetic brush for corners and a small foam roller for flat surfaces—this combo is affordable and minimizes brush lines. Apply two thin coats instead of one thick coat, waiting the full recoat time listed on the can. Lightly sand between coats with 320 grit (optional but worth it) to keep the finish smooth. Budget tip: pour a small amount of paint into a separate container so you don’t contaminate the whole can with dust.
8) Upgrade Hardware for Instant Remodel Impact (Without Buying Expensive Sets)

Swapping knobs and pulls can make a thrifted dresser look custom in under an hour. First, measure the “center-to-center” distance on existing pulls (commonly 3 inches or 96 mm). Reusing the same hole spacing keeps costs down because you won’t need extra patching and drilling. If you do change sizes, fill old holes with wood filler, sand, and repaint. For a budget-friendly look, buy a mixed set of pulls secondhand and spray paint them the same color for cohesion. When installing, use a simple template (cardboard works) so hardware lines up neatly—crooked pulls read as “DIY” immediately.
9) Try a Statement Technique That’s Beginner-Friendly: Two-Tone, Wash, or Stencil
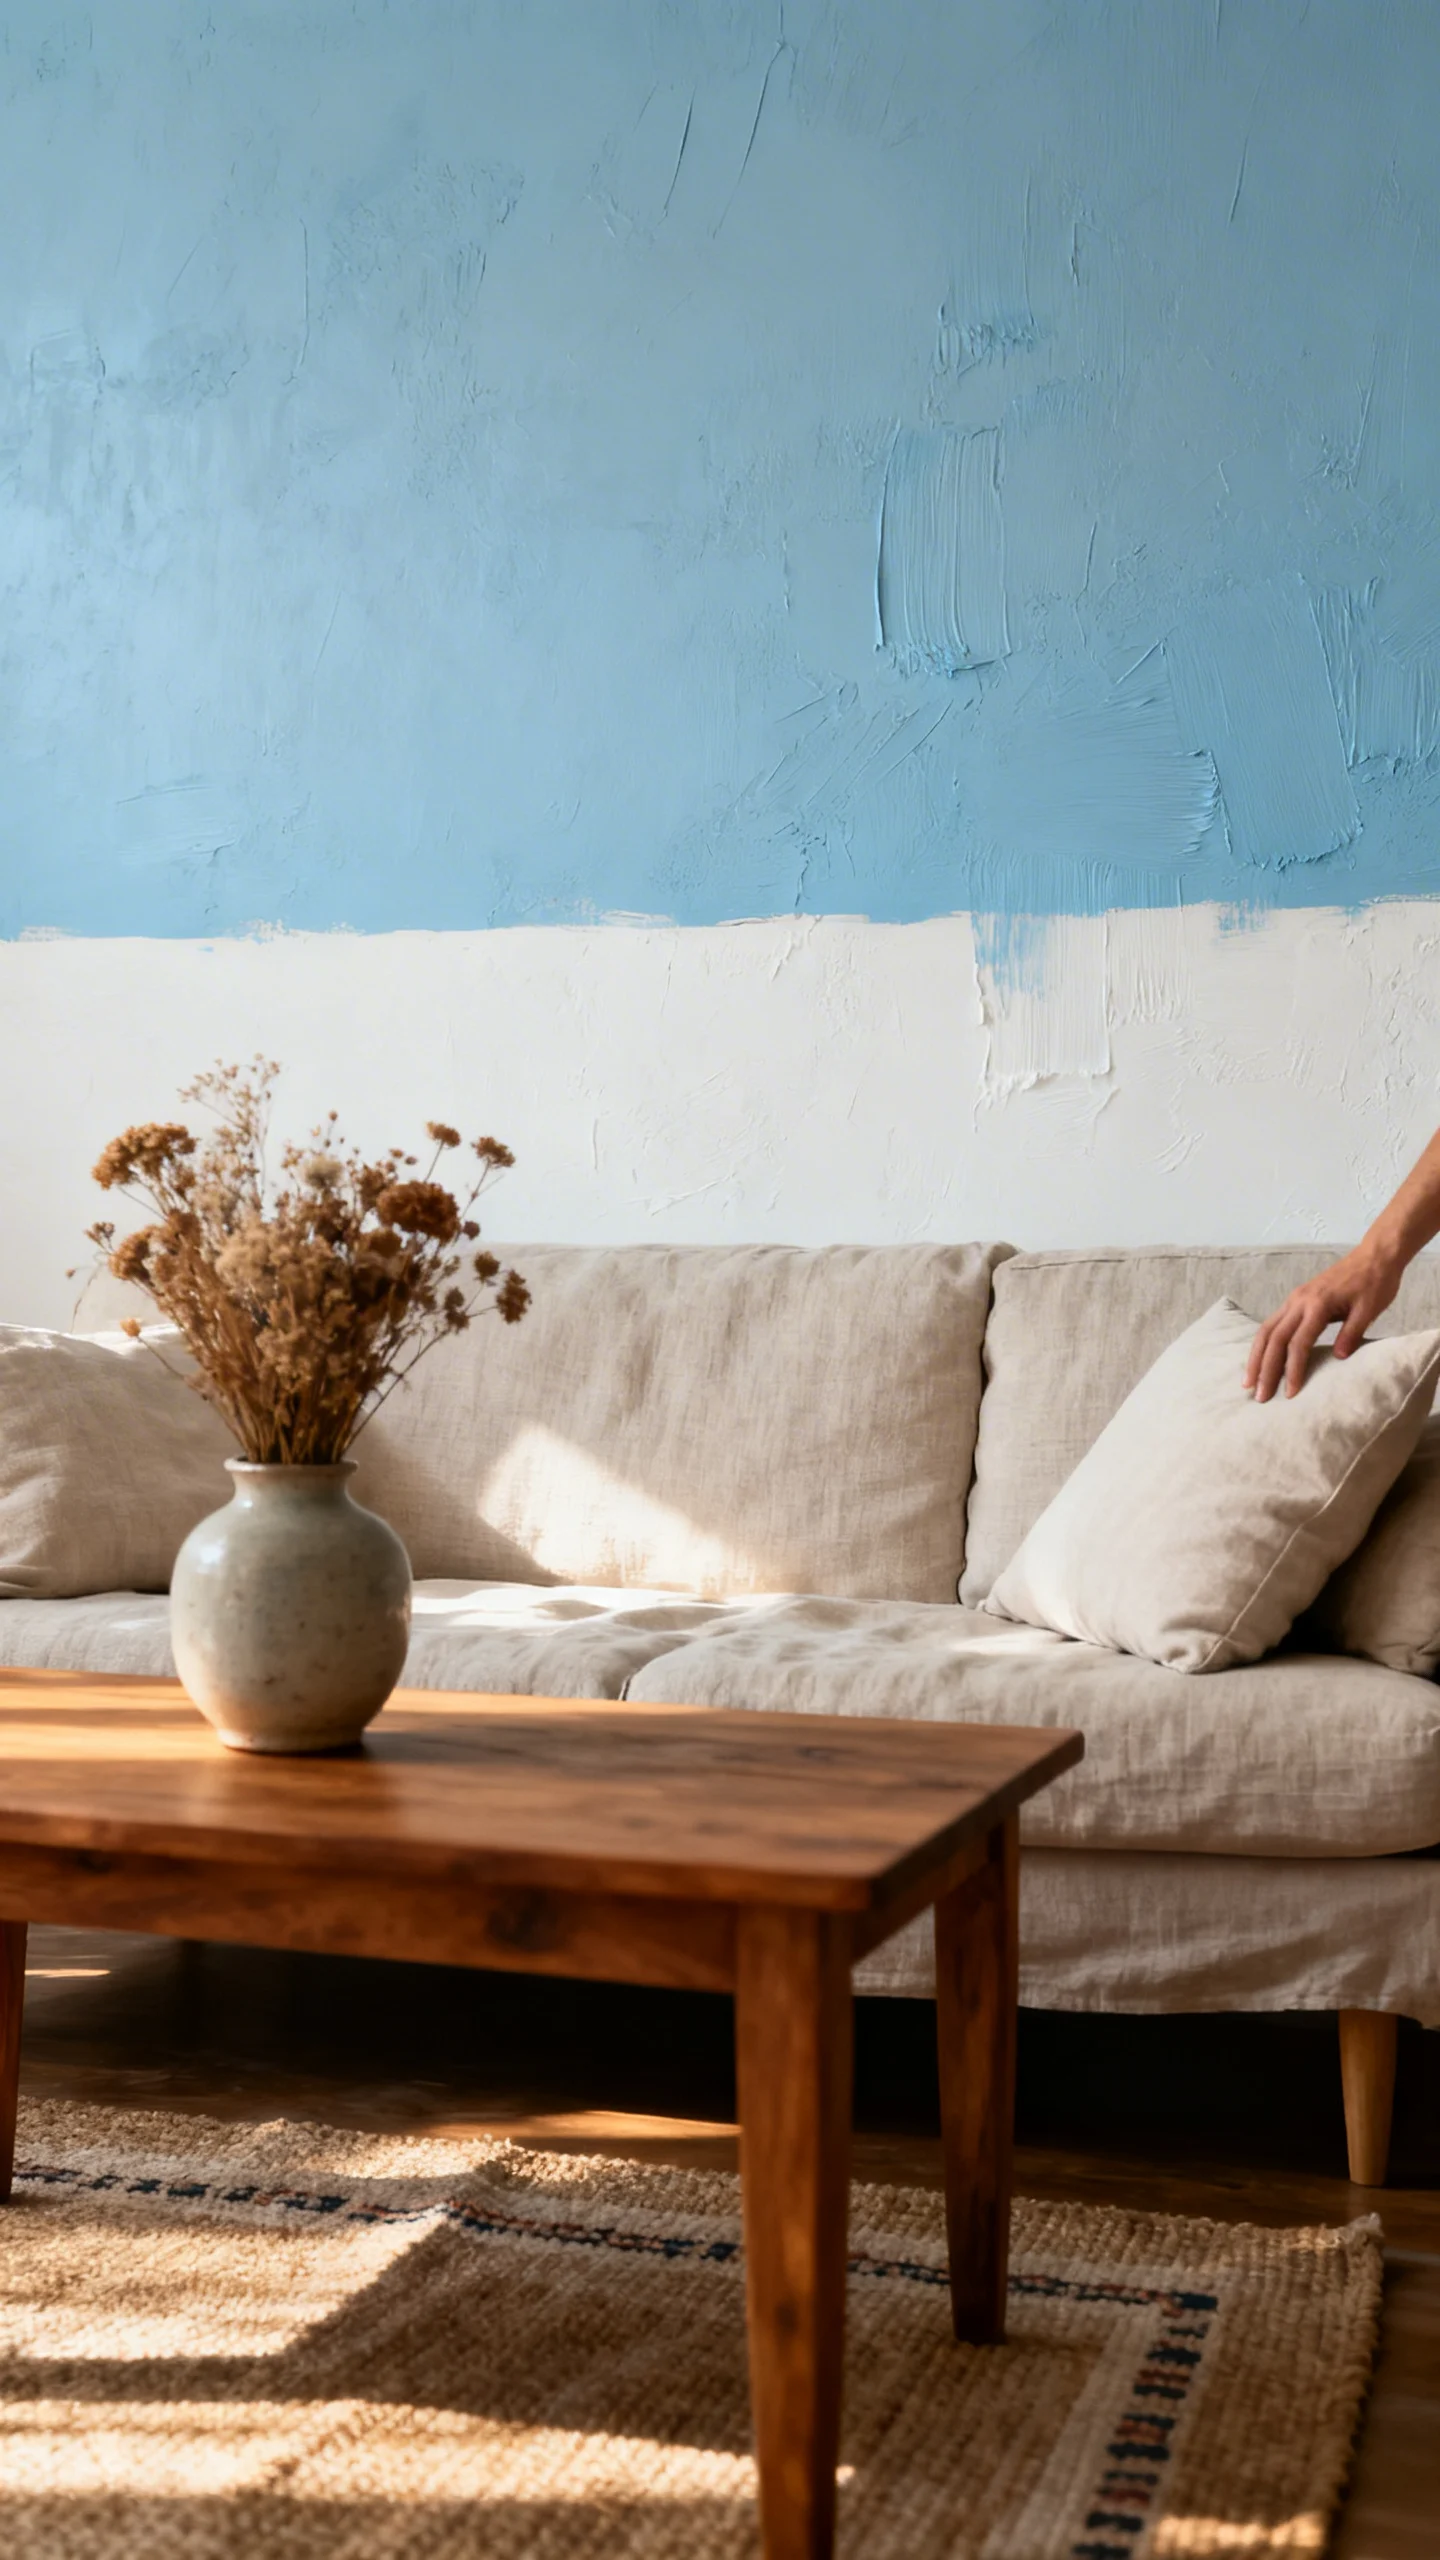
You don’t need expensive materials to add personality—just choose one simple technique. A two-tone finish (painted body + stained or faux-wood top) gives a higher-end look while limiting the tricky part to a smaller area. If you want a softer vibe, do a color wash: mix paint with water (about 1:1 to start), brush on, then wipe back with a rag until it looks airy; practice on the underside first. For stenciling, use a low-tack adhesive stencil, dab paint with a nearly-dry foam pouncer, and work in light layers to prevent bleed. Keep patterns to drawer fronts or side panels so the look stays intentional and manageable.
10) Protect Your Work: Clear Coats, Cure Time, and Budget-Smart Care
Protection is where beginner makeovers become long-lasting remodels. If you used a durable enamel paint, you may not need a topcoat on low-wear items (like a headboard). For tabletops, desks, and dressers, a water-based polyurethane in satin is a budget-friendly guard against rings and scratches. Apply thin coats with a synthetic brush or foam applicator, sanding lightly with 320 grit between coats. Most finishes feel dry quickly but take longer to cure; give the piece at least 48–72 hours before heavy use, and up to 7–14 days for full hardness (varies by product). Add felt pads under lamps and décor to prevent scuffs—cheap, invisible insurance.
FAQ
What’s the cheapest way to remodel furniture and still make it look good?
Do a thorough clean, scuff sand, then use a quality primer and two thin coats of durable paint. Spend money on primer and paint before you spend it on décor extras—your finish will look smoother and last longer.
Do I have to sand everything down to bare wood?
No. For most beginner budget makeovers, scuff sanding to remove shine is enough. Bare-wood sanding is typically only needed when the finish is peeling badly, you’re repairing major damage, or you plan to stain.
How do I know if I’m painting veneer, laminate, or real wood?
Veneer often shows a wood grain pattern but has thin edges where you may see layering; real wood has consistent grain through edges and can have knots. Laminate is very smooth and uniform, sometimes with a printed pattern. When in doubt, prime well and avoid aggressive sanding on veneer (it’s easy to sand through).
What tools should a beginner buy first for furniture remodeling on a budget?
Start with: a screwdriver set, cleaning supplies, 120/180/220 grit sandpaper or sanding sponges, a 2–2.5 inch angled synthetic brush, a small foam roller, wood glue, and a basic filler. Add primer and durable enamel paint as your core materials.
How can I avoid brush marks and a “streaky” finish?
Use thin coats, don’t overload the brush, and roll flat areas with a foam roller. Let each coat dry fully, then lightly sand with fine grit (around 220–320) before the next coat. A careful prep and patient coats matter more than fancy tools.