
Budget-Friendly DIY Bathroom Design Ideas
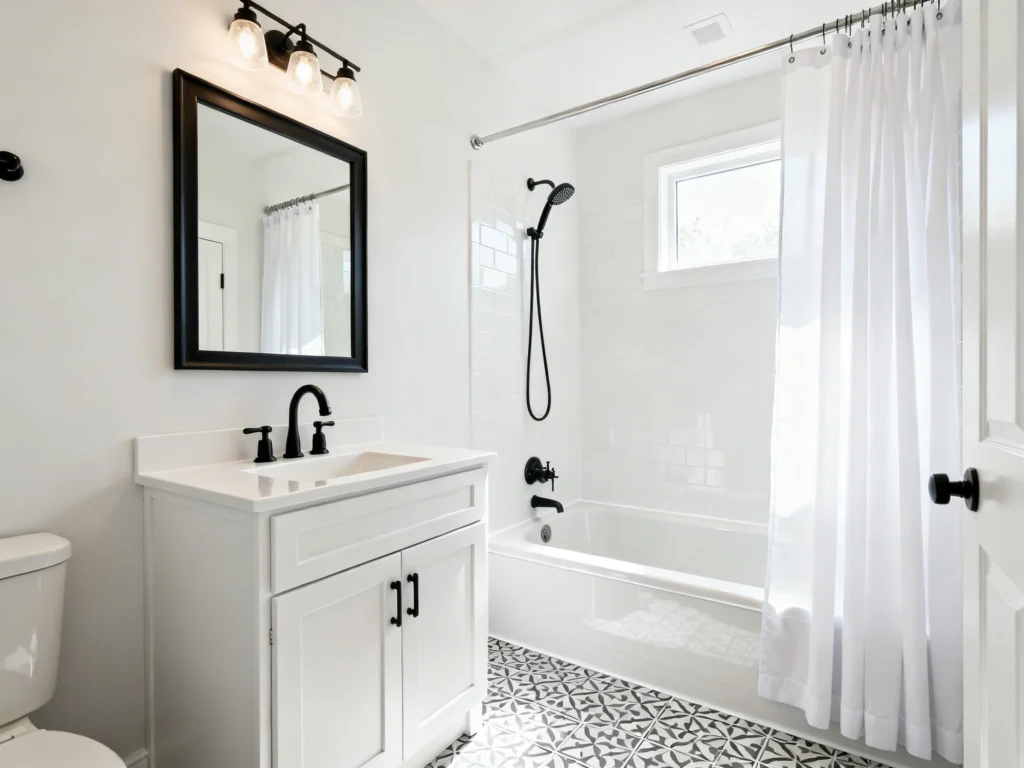
A bathroom refresh doesn’t have to mean a full renovation. With a few smart DIY upgrades, you can make your space feel cleaner, brighter, and more custom—without blowing your budget.
These ideas focus on high-impact changes you can tackle over a weekend (or two), with practical tips on materials, moisture-proof choices, and bathroom-specific clearances that keep everything functional.
1) Paint the Vanity (and Seal It for Moisture)
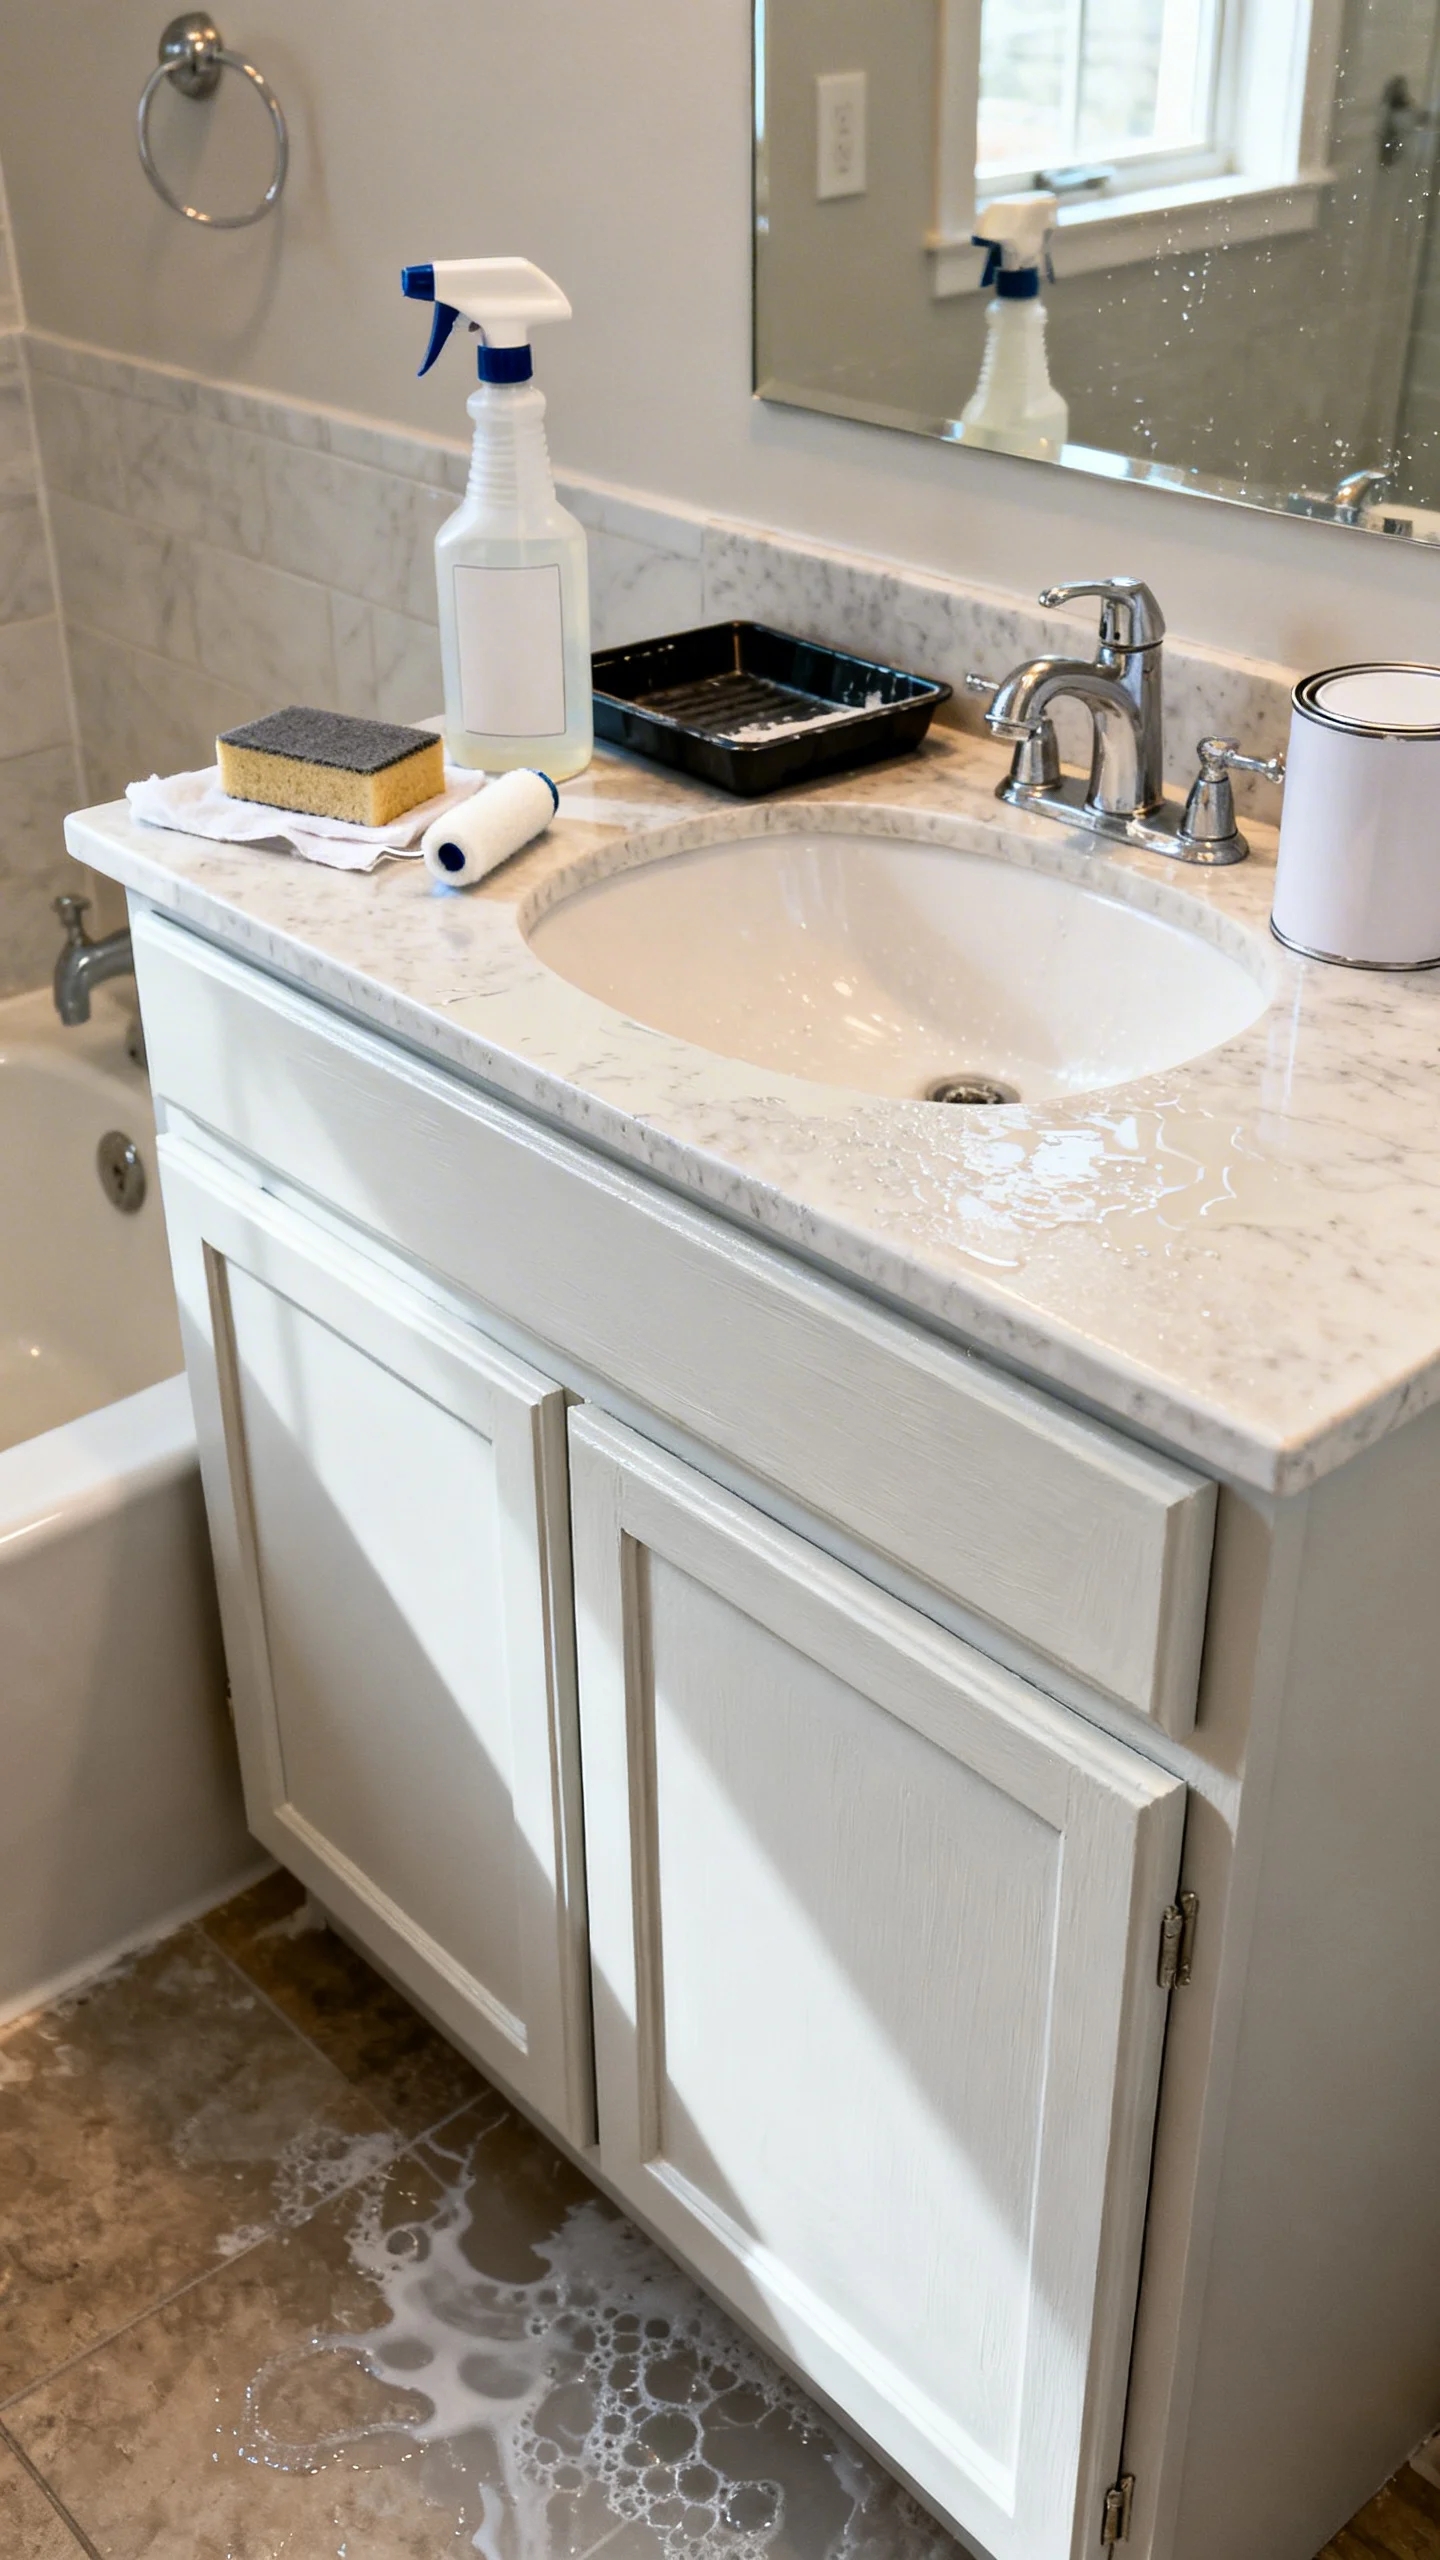
Painting an existing vanity is one of the most cost-effective bathroom transformations. Clean thoroughly with a degreaser, scuff-sand (120–180 grit), then prime with a bonding primer made for laminate or glossy surfaces. Finish with a cabinet enamel or urethane-acrylic paint for durability. In humid bathrooms, add a clear waterborne polyurethane topcoat on doors and drawer fronts for extra protection (avoid oil-based poly over white paint if you want to prevent yellowing). Swap hardware while you’re at it for a “new vanity” look without the price tag.
2) Update Hardware and Faucet for a Fast “New Build” Feel
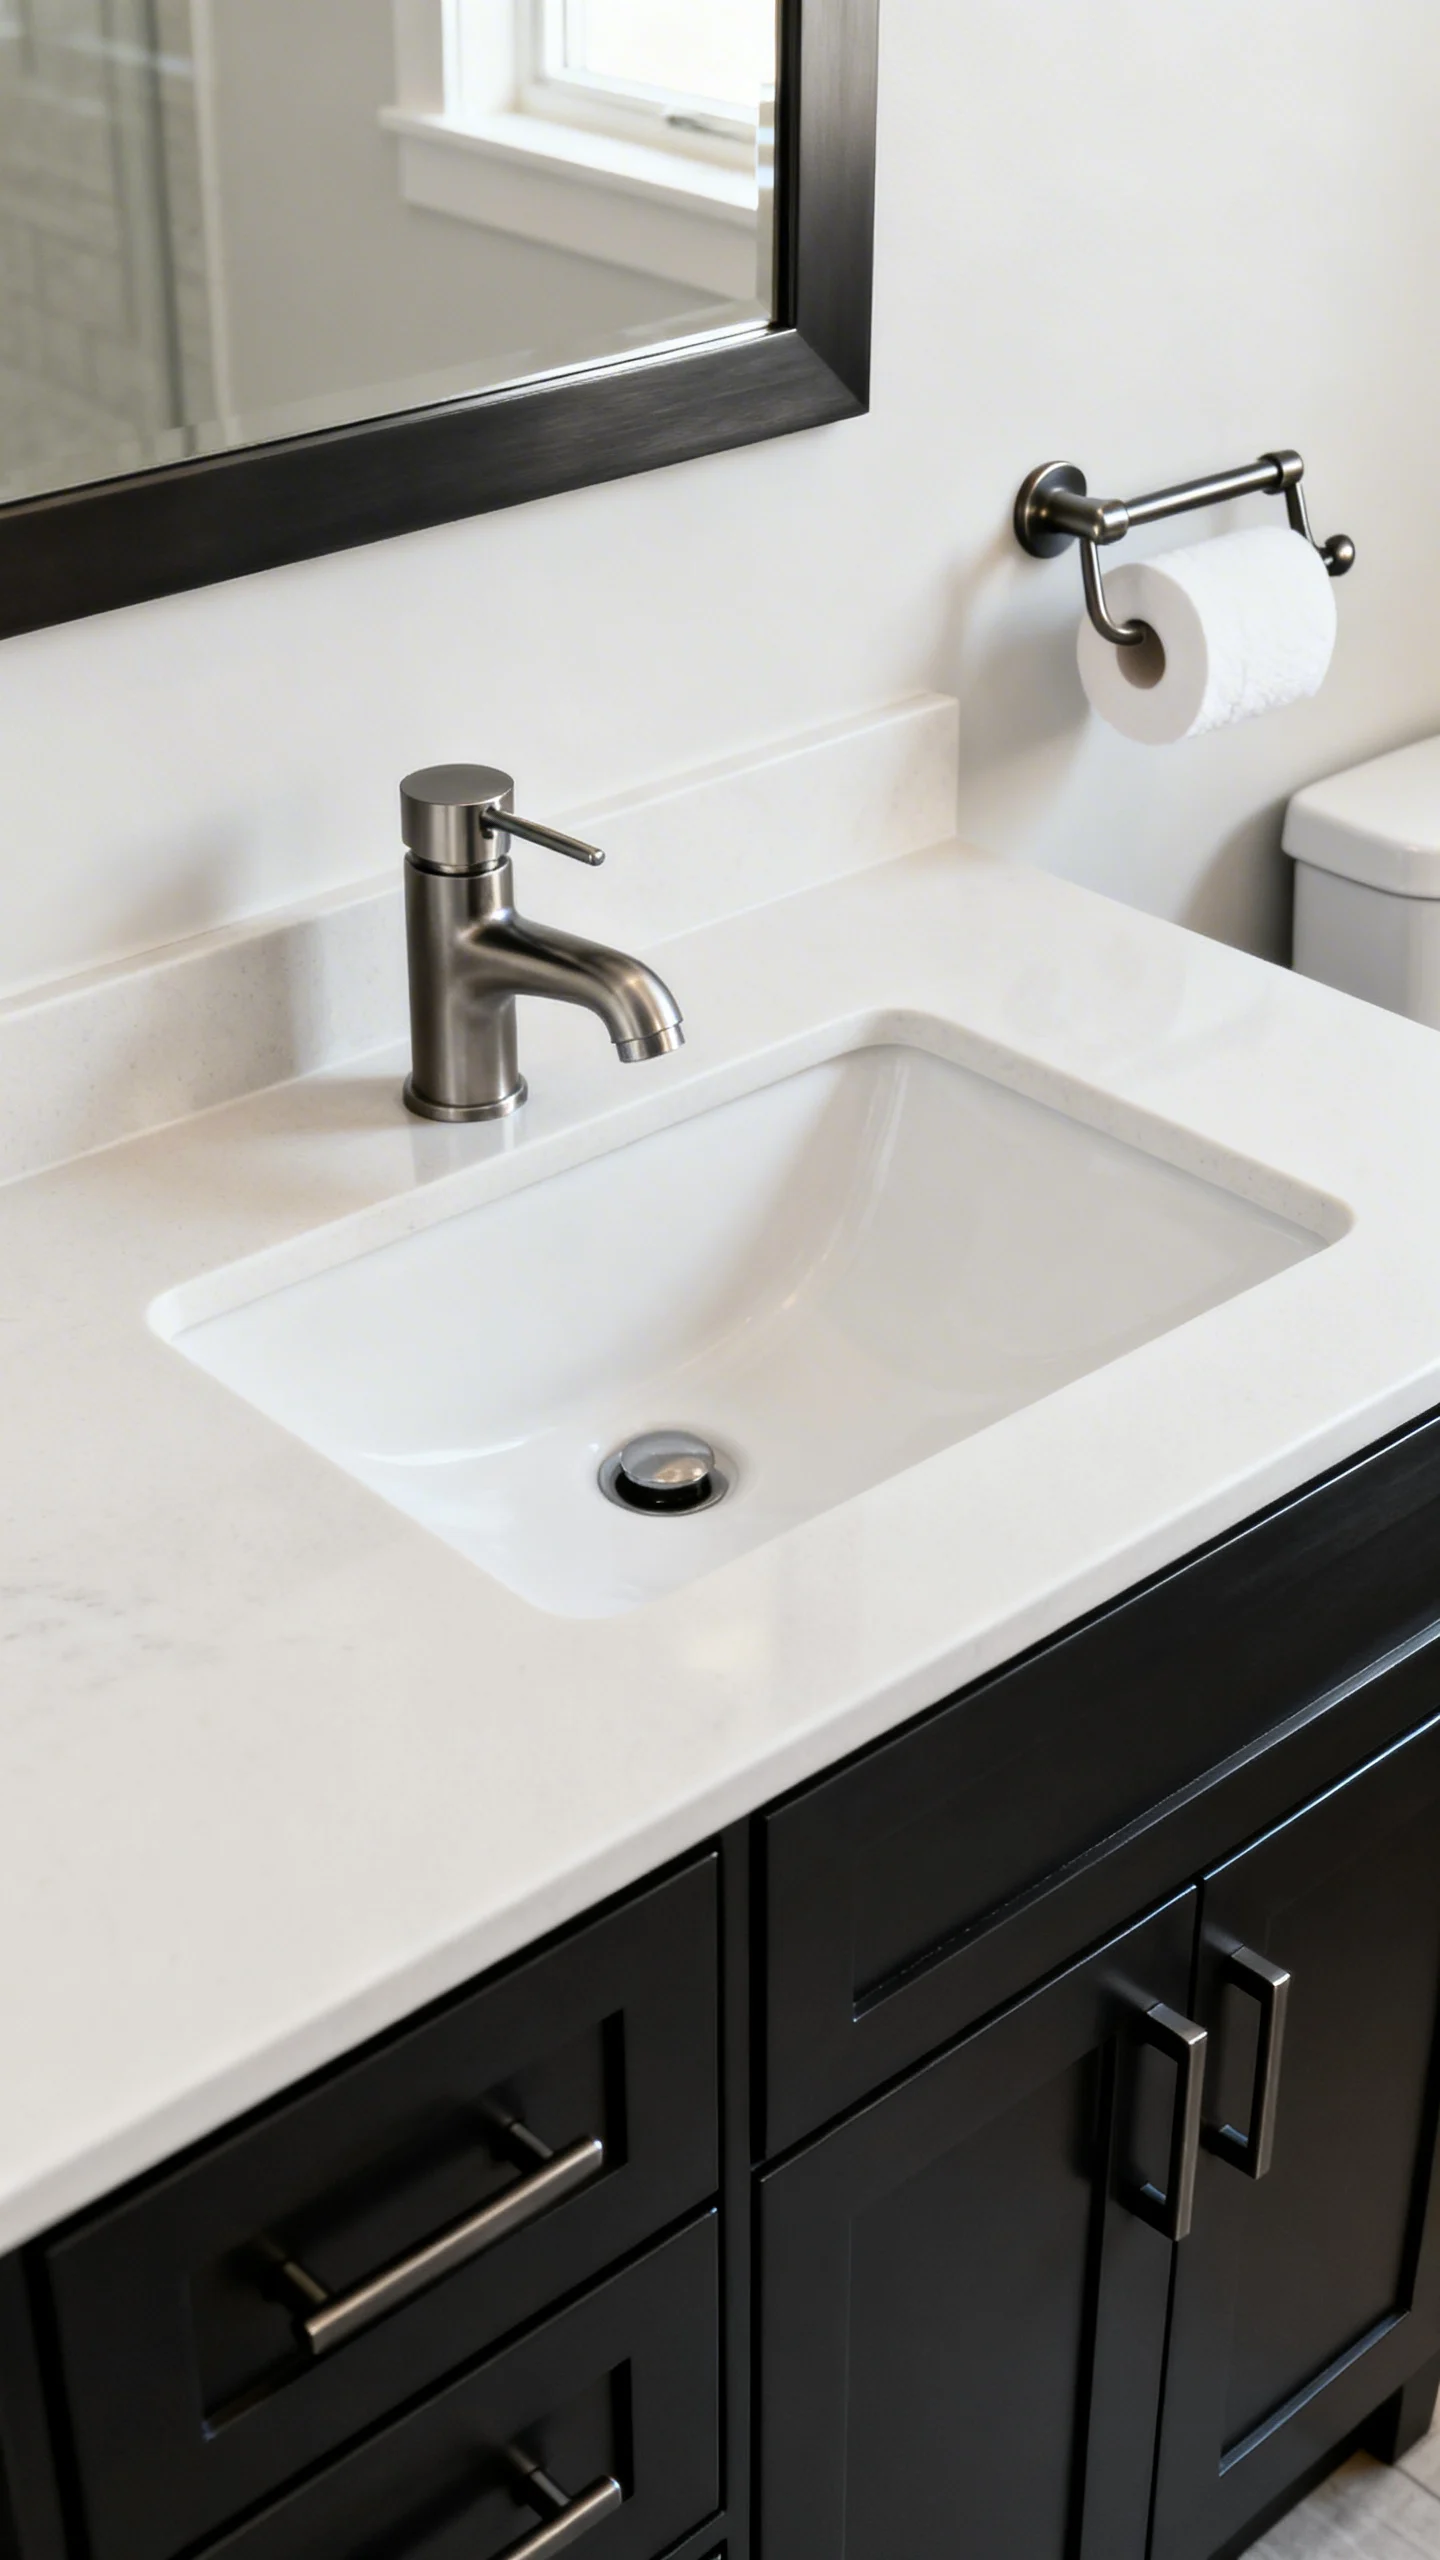
Changing drawer pulls, towel bars, toilet paper holders, and the faucet can instantly modernize a bathroom. Match finishes for a cohesive look (matte black, brushed nickel, champagne bronze). When choosing a faucet, confirm the sink’s hole configuration (single-hole vs. 4-inch centerset vs. widespread). For towel bars, place them where towels dry well and don’t brush the toilet; a common range is 18–24 inches above the vanity counter, and ideally at least a few inches from corners so towels hang freely.
3) Add Peel-and-Stick Floor Tiles (Choose Waterproof, Not Just “Water-Resistant”)
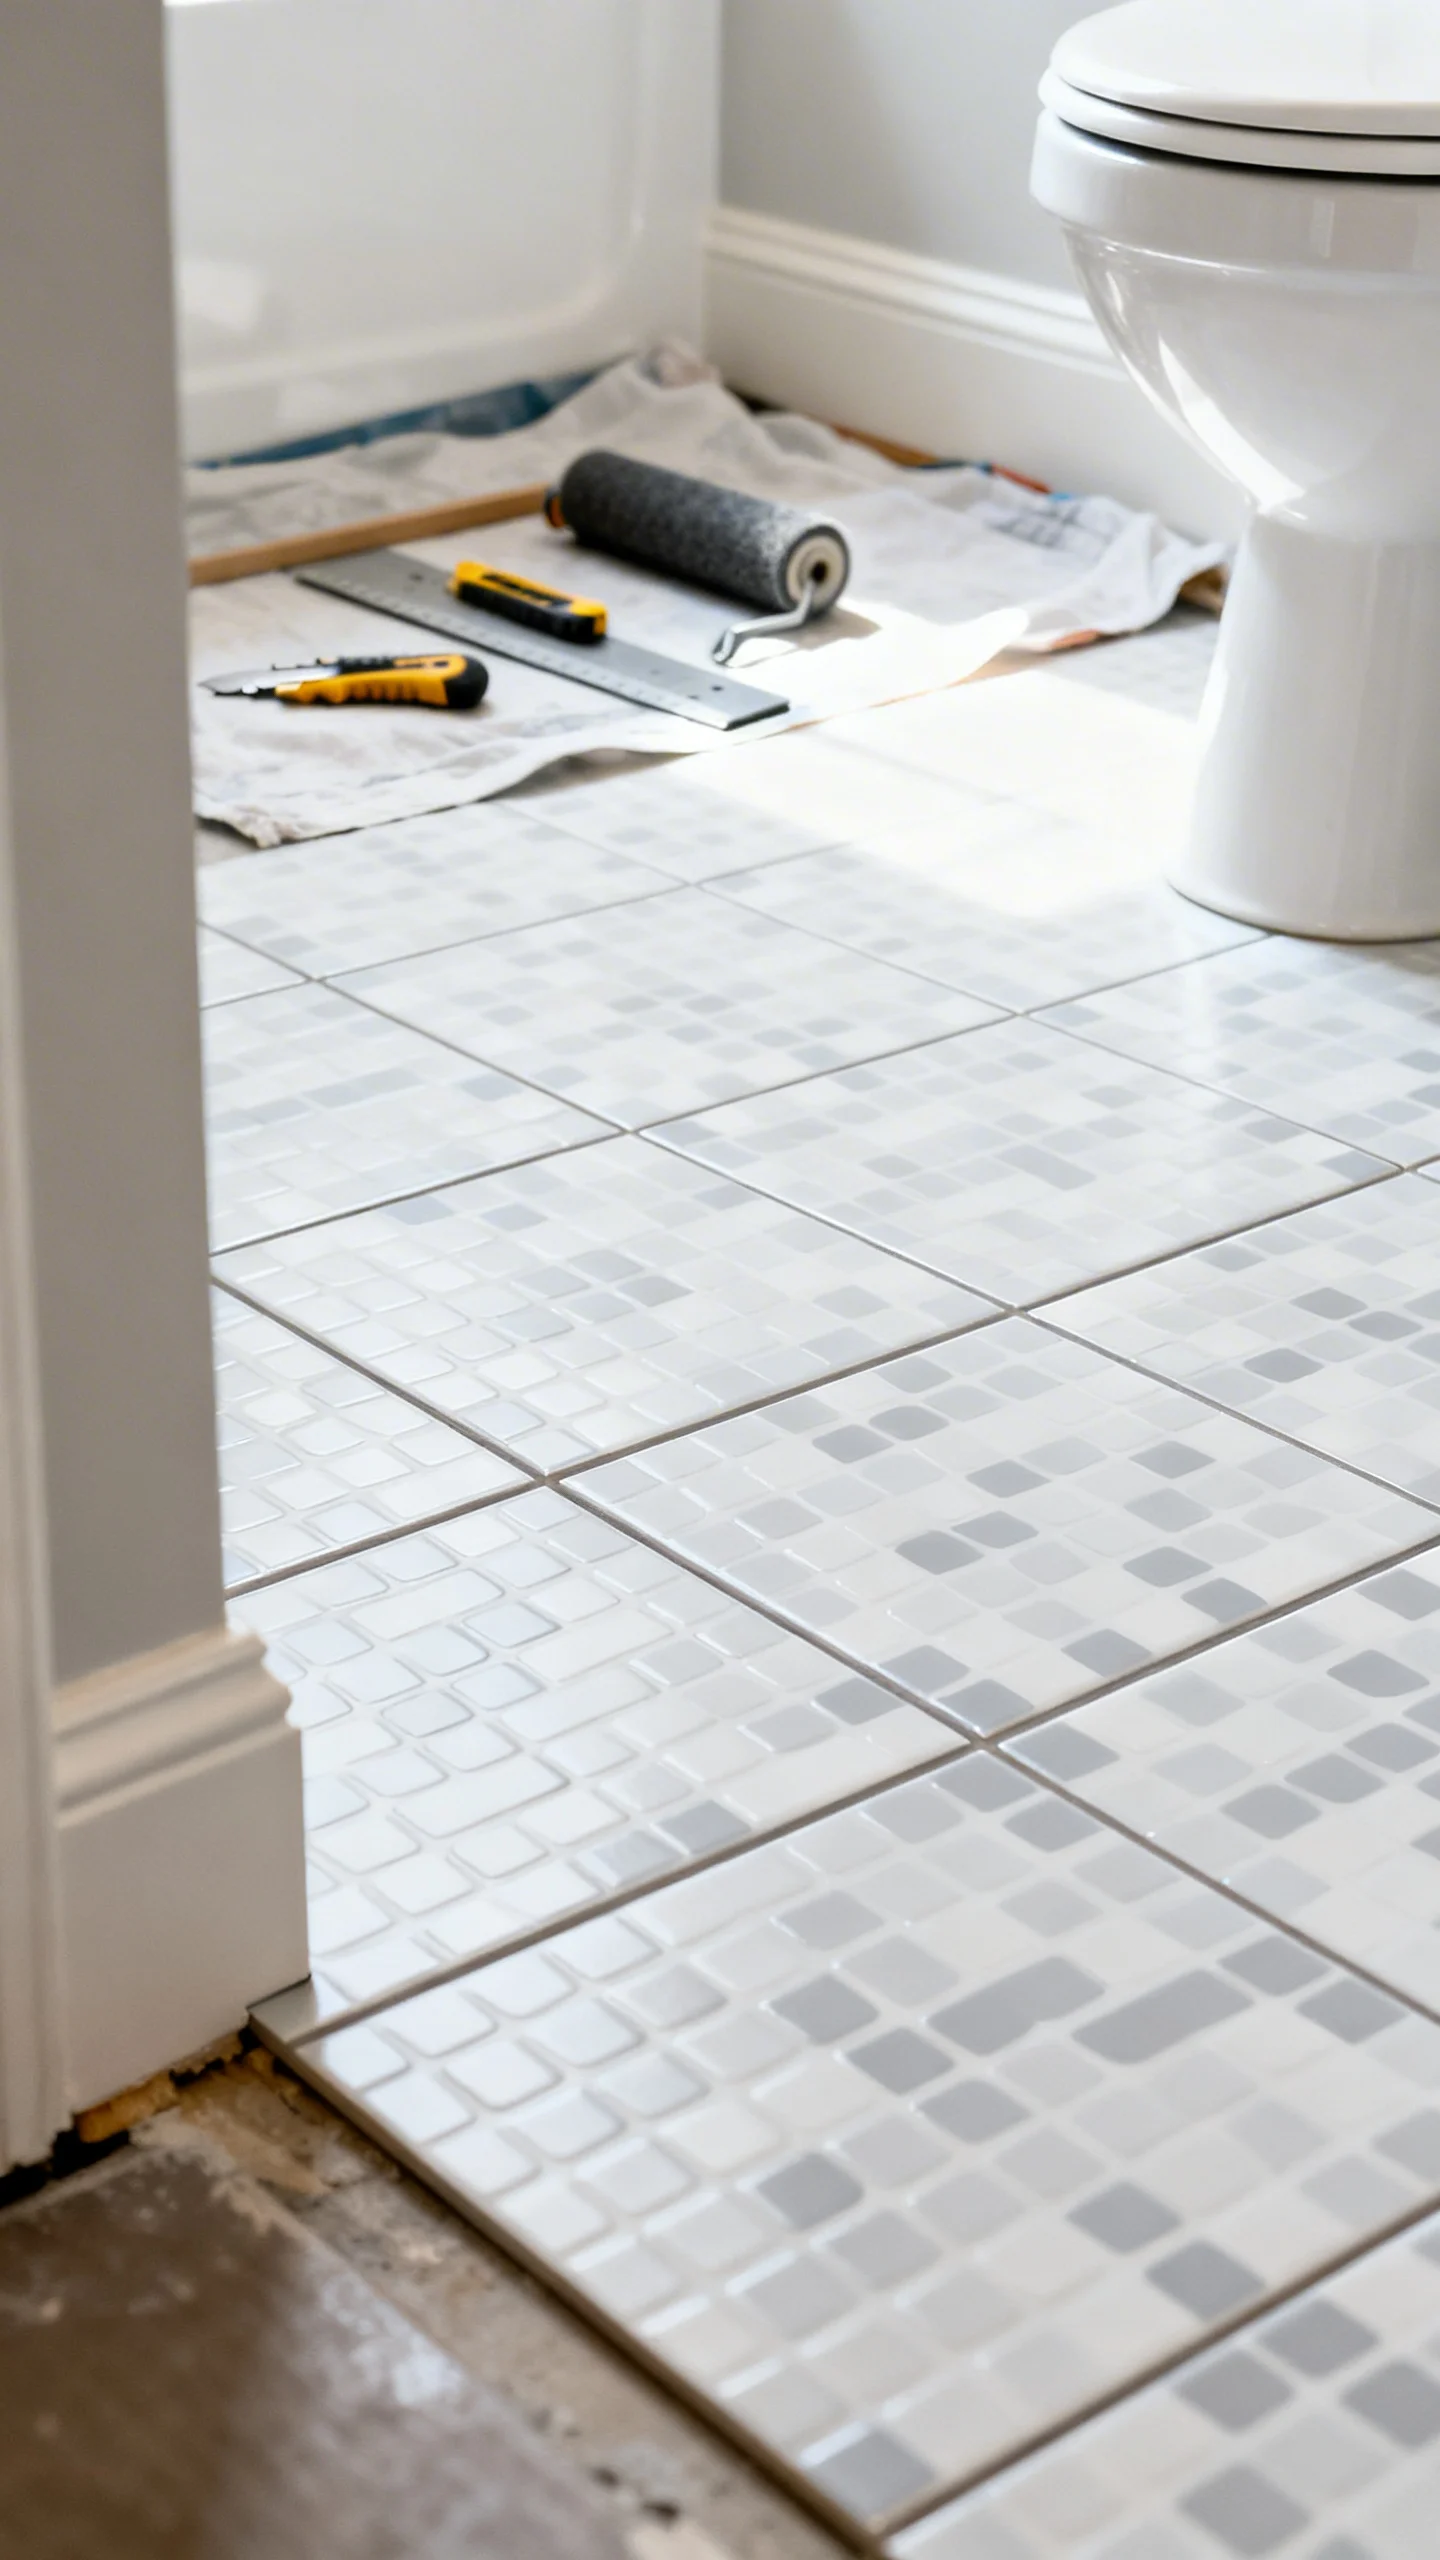
Peel-and-stick vinyl tiles can be budget-friendly and renter-aware, but only if you choose products rated for bathrooms. Prep matters: the subfloor must be smooth, clean, and fully dry—any texture telegraphs through. Use a floor roller (or a rolling pin with firm pressure) to set the adhesive, and seal perimeter edges with a thin bead of clear, mold-resistant silicone if your manufacturer allows it. Avoid placing peel-and-stick directly over failing tile or peeling sheet vinyl; it won’t last and can create lippage at edges.
4) DIY a Stylish Mirror Upgrade (Frame It or Swap It)
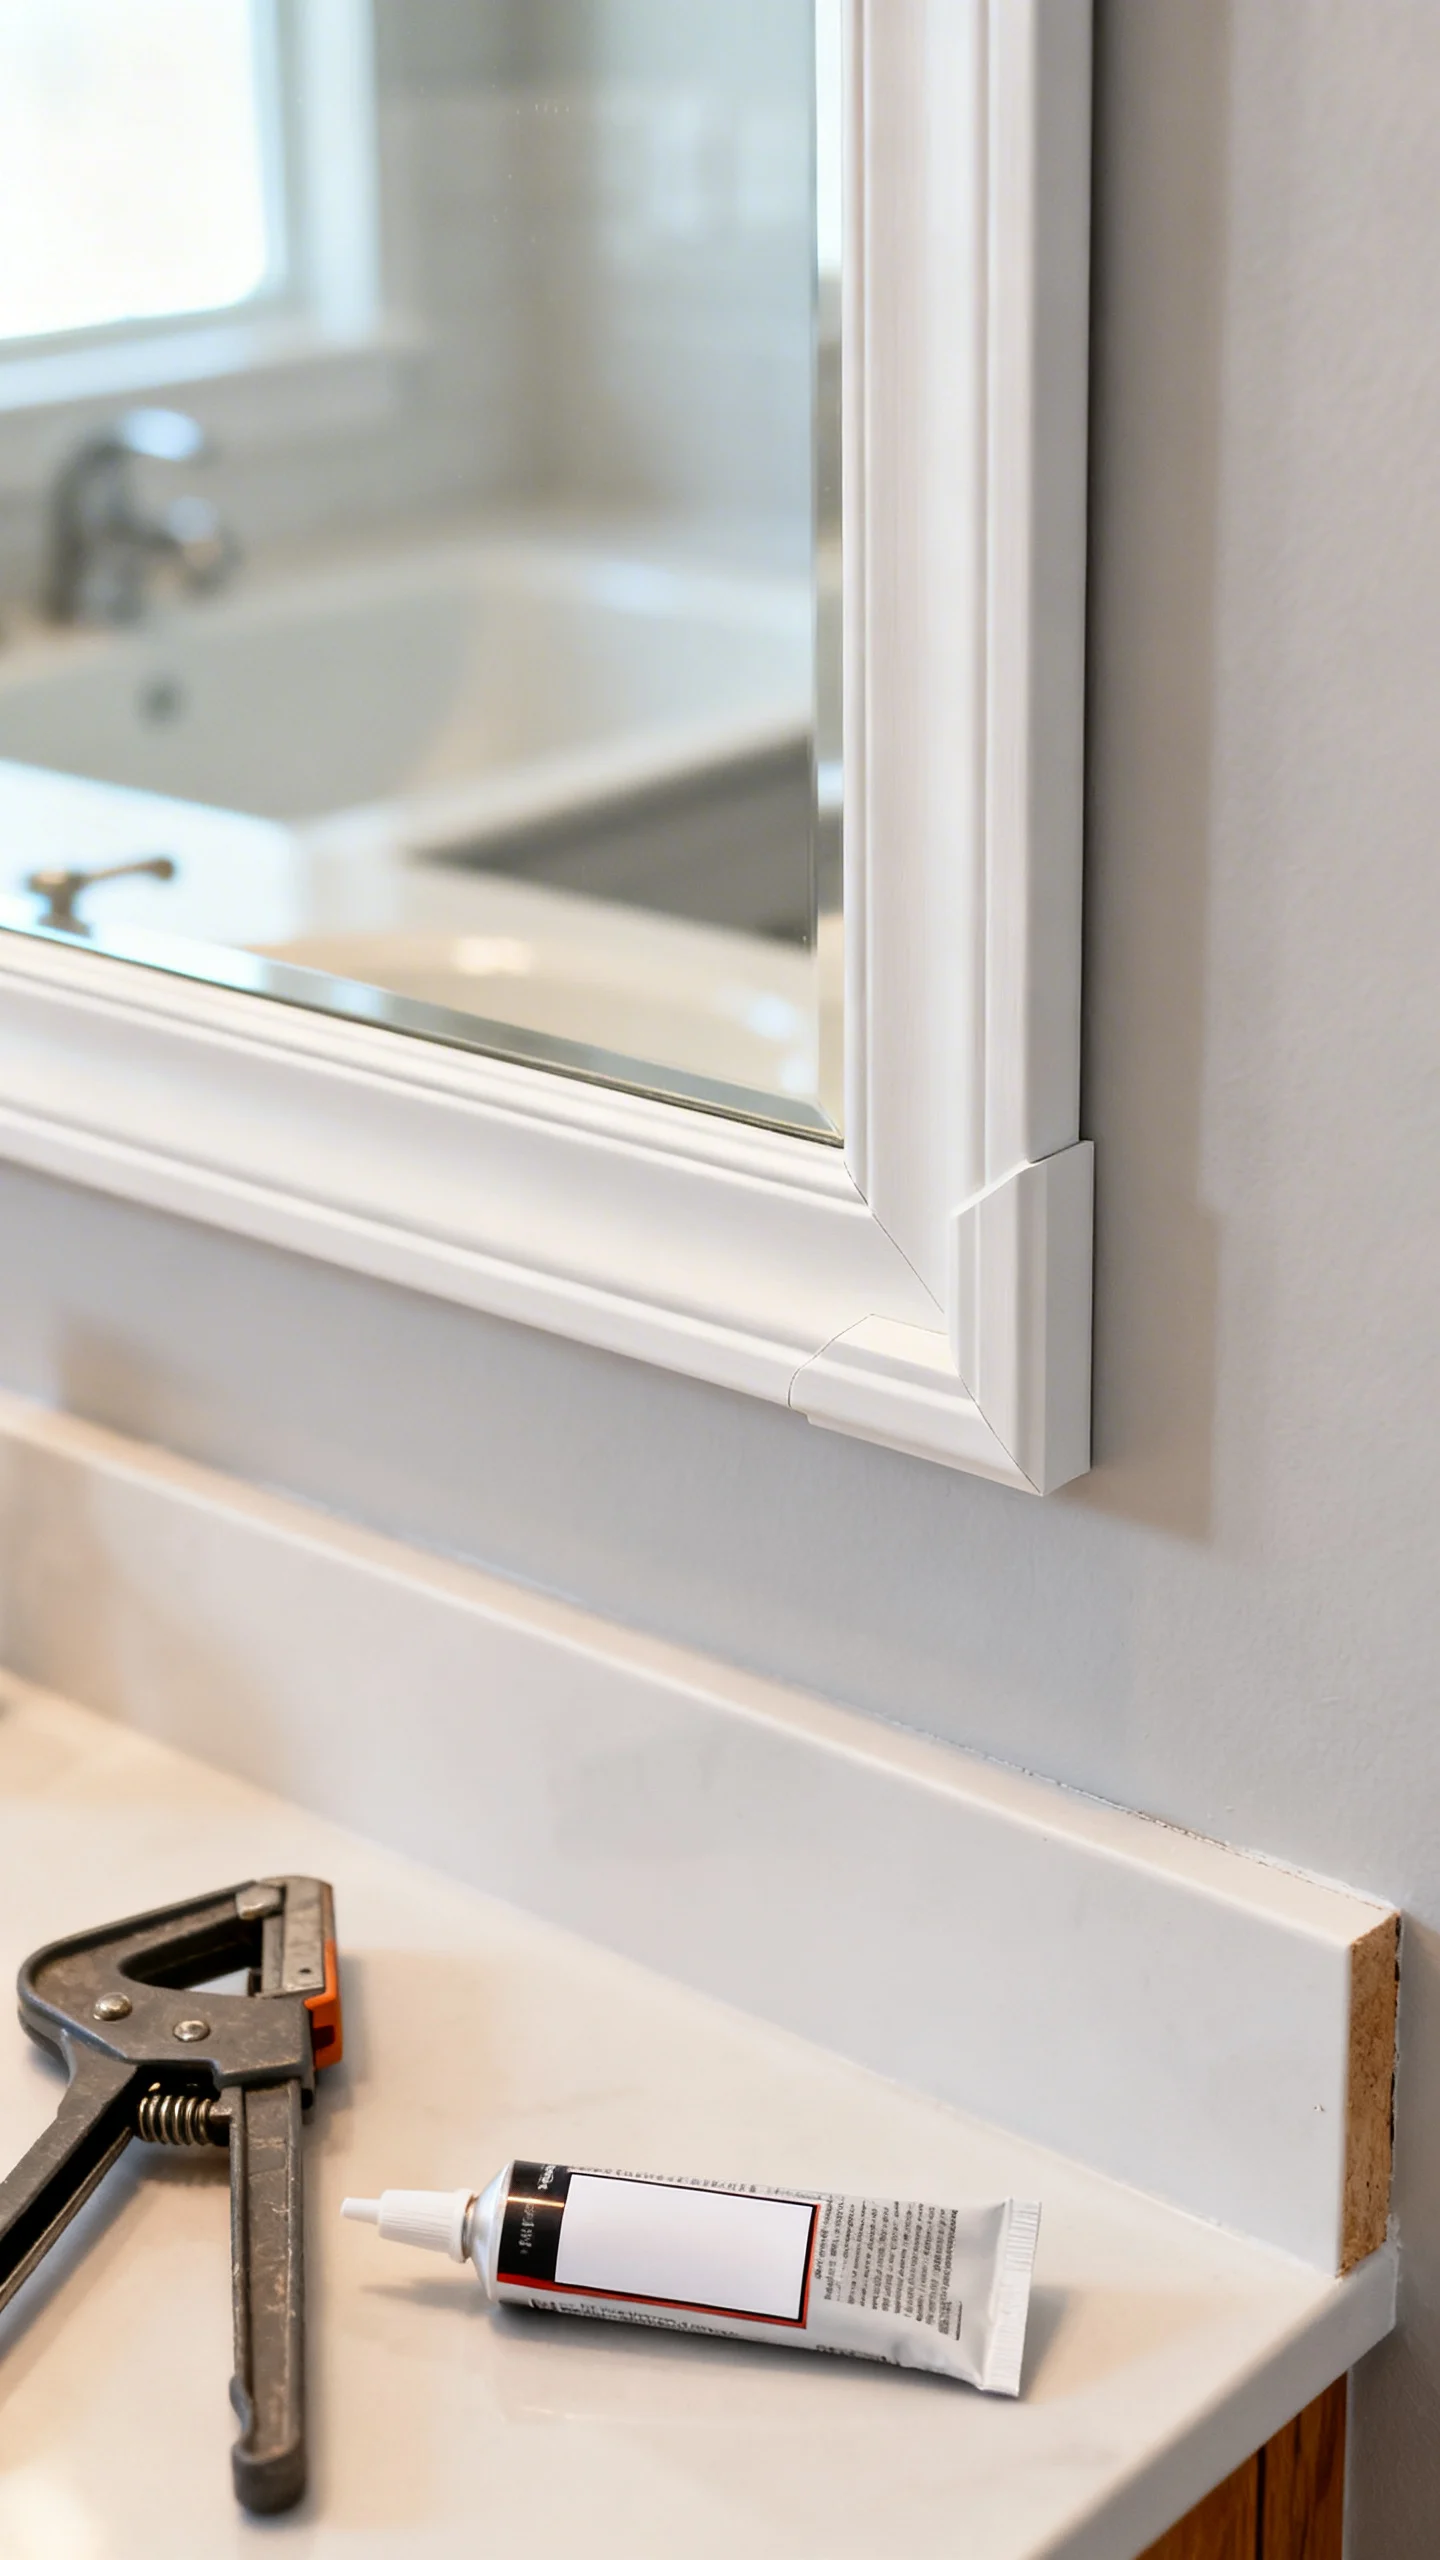
A mirror is a focal point in most bathrooms, and upgrading it can change the whole vibe. If your mirror is a builder-grade plate mirror, add a DIY frame kit (or build one with moisture-resistant MDF or PVC trim). Use construction adhesive rated for mirrors and bathrooms, and leave a tiny gap at the bottom so moisture can escape rather than getting trapped. If you replace the mirror entirely, consider a taller shape to visually lift the room; just keep it practical—center it over the sink and align it with the vanity width for balance.
5) Replace or Paint the Light Fixture (Aim for Flattering, Functional Light)
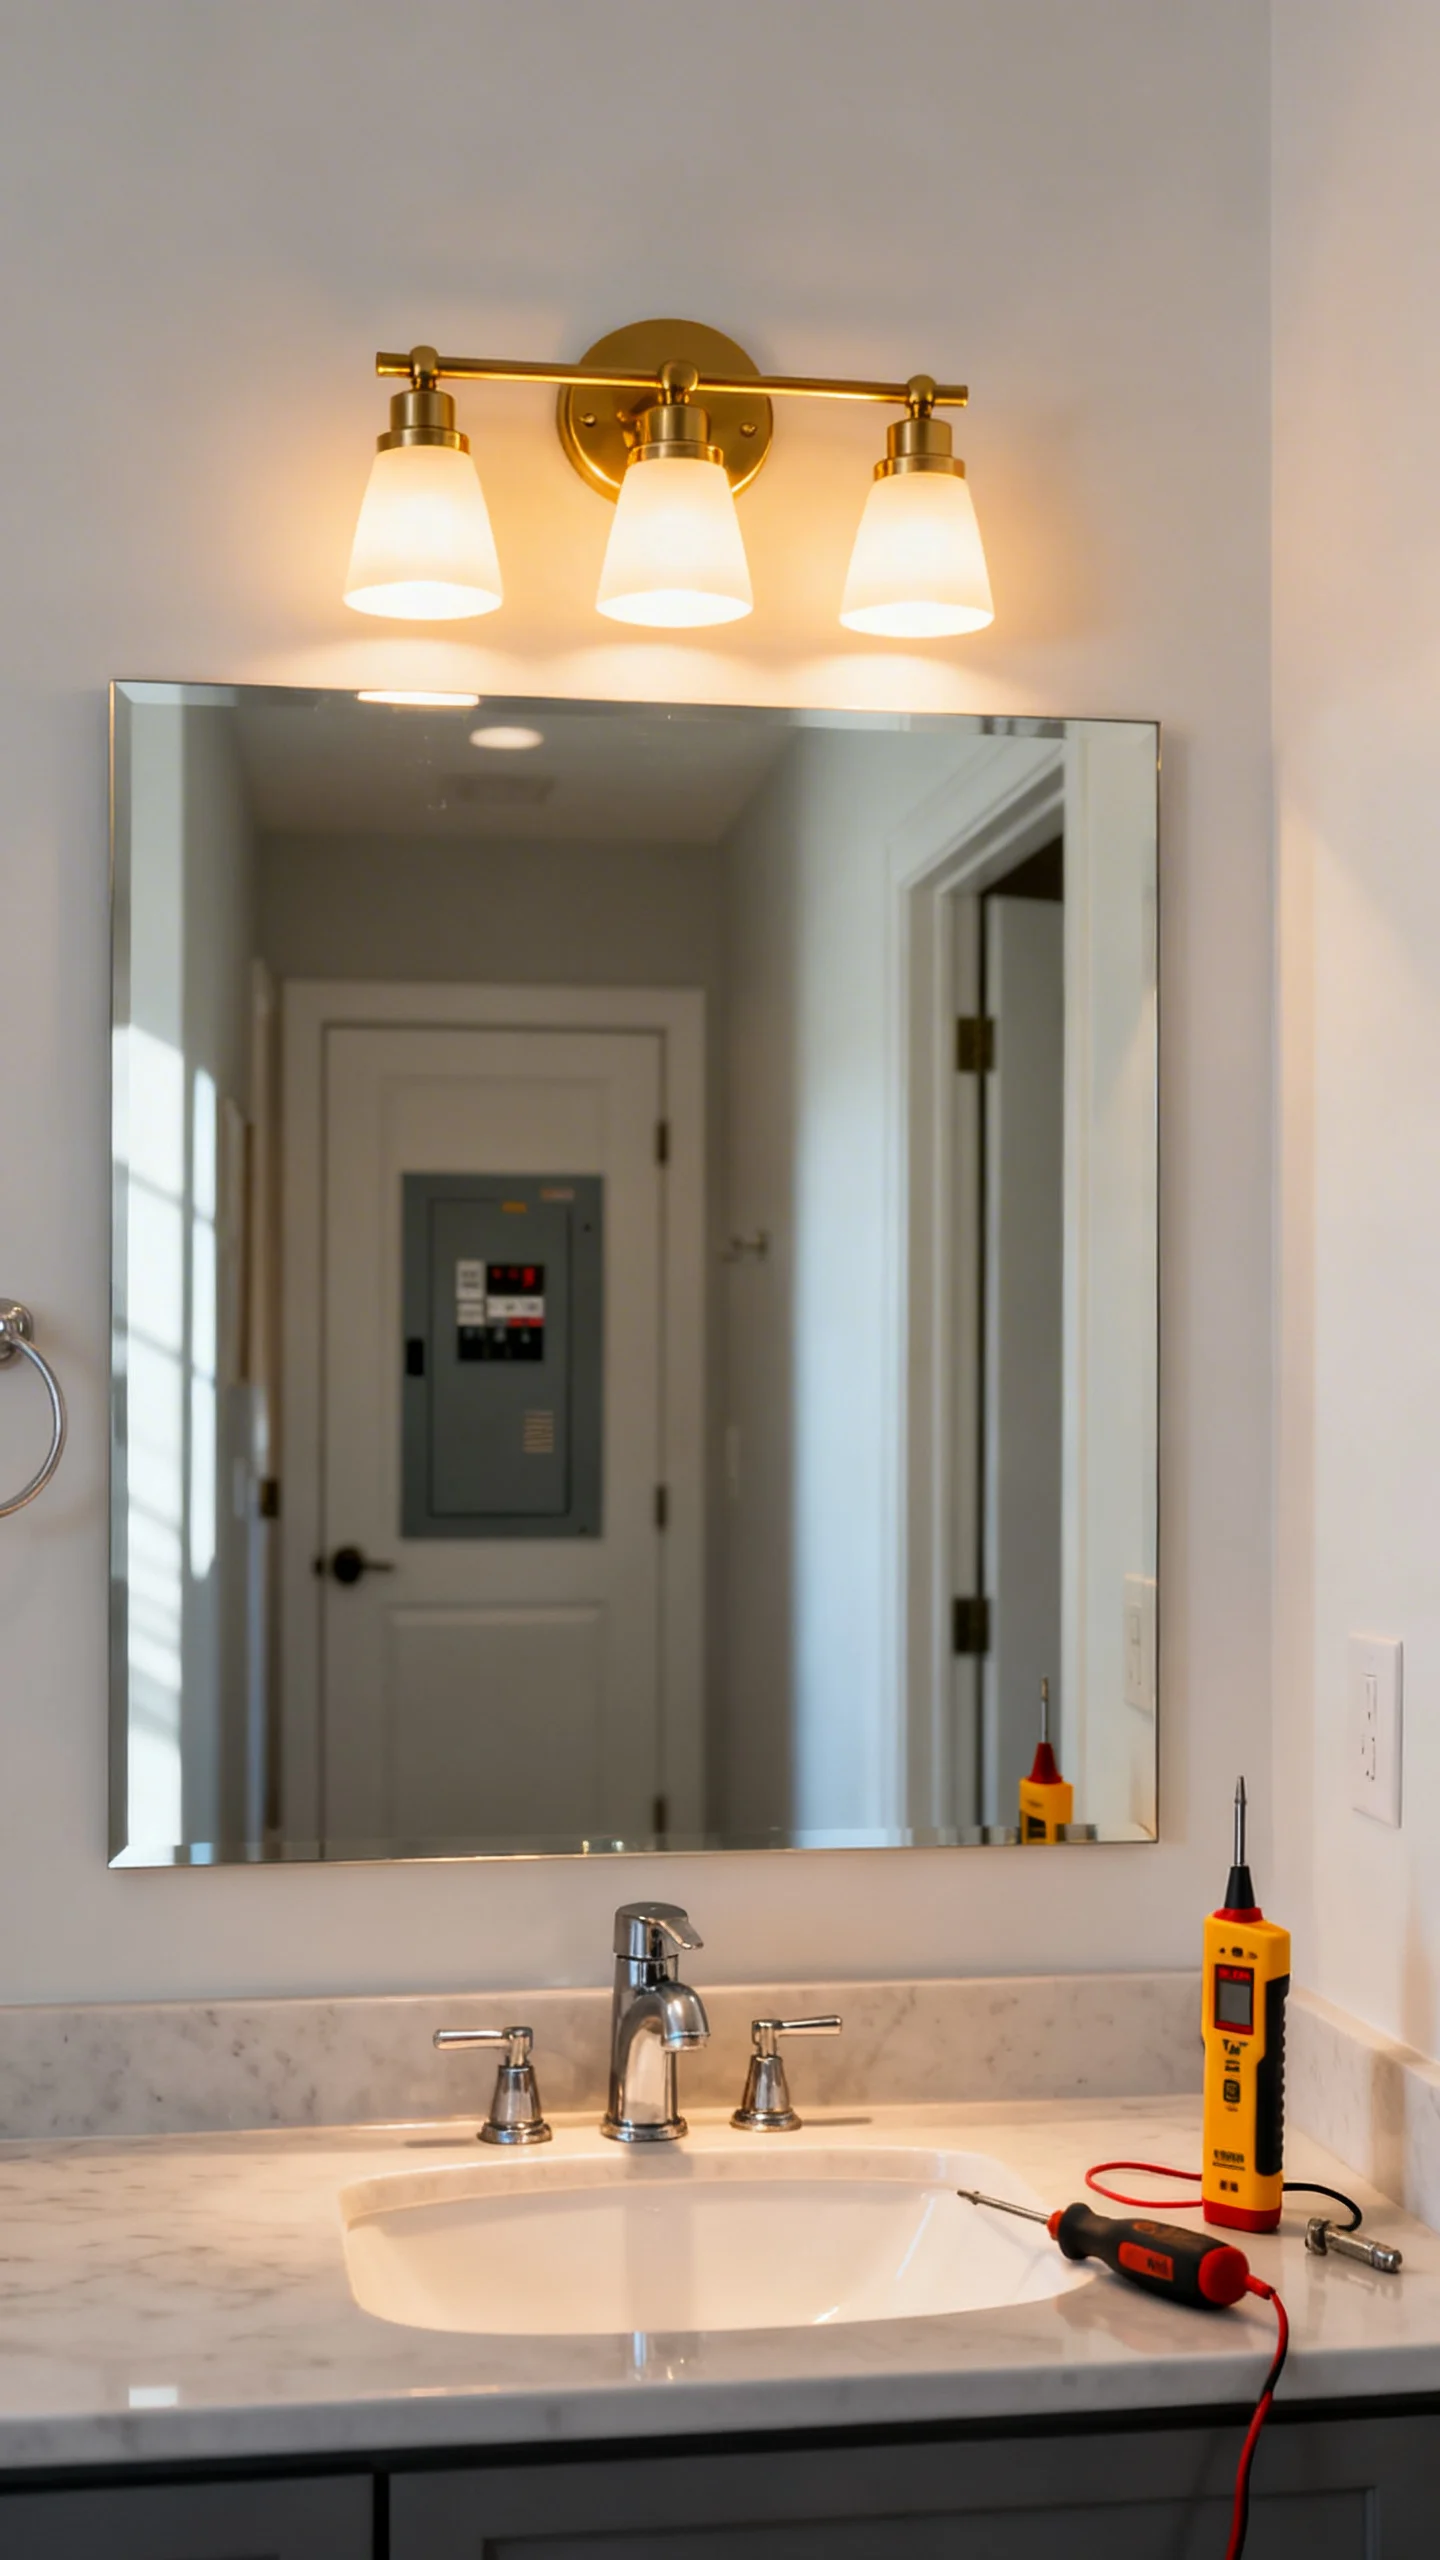
Swapping a dated vanity light is a high-impact DIY, but always turn off power at the breaker and verify with a tester. For a bathroom, choose damp-rated fixtures. For everyday grooming, pick bulbs around 2700–3000K (warm to soft white) with a high CRI (90+ if possible) so skin tones look natural. If you’re keeping the fixture, some metal finishes can be refreshed with a specialty spray paint made for metal—just remove shades, mask carefully, and let it cure fully before reassembling in a humid space.
6) Upgrade the Showerhead and Add a Handheld for Spa Function on a Budget
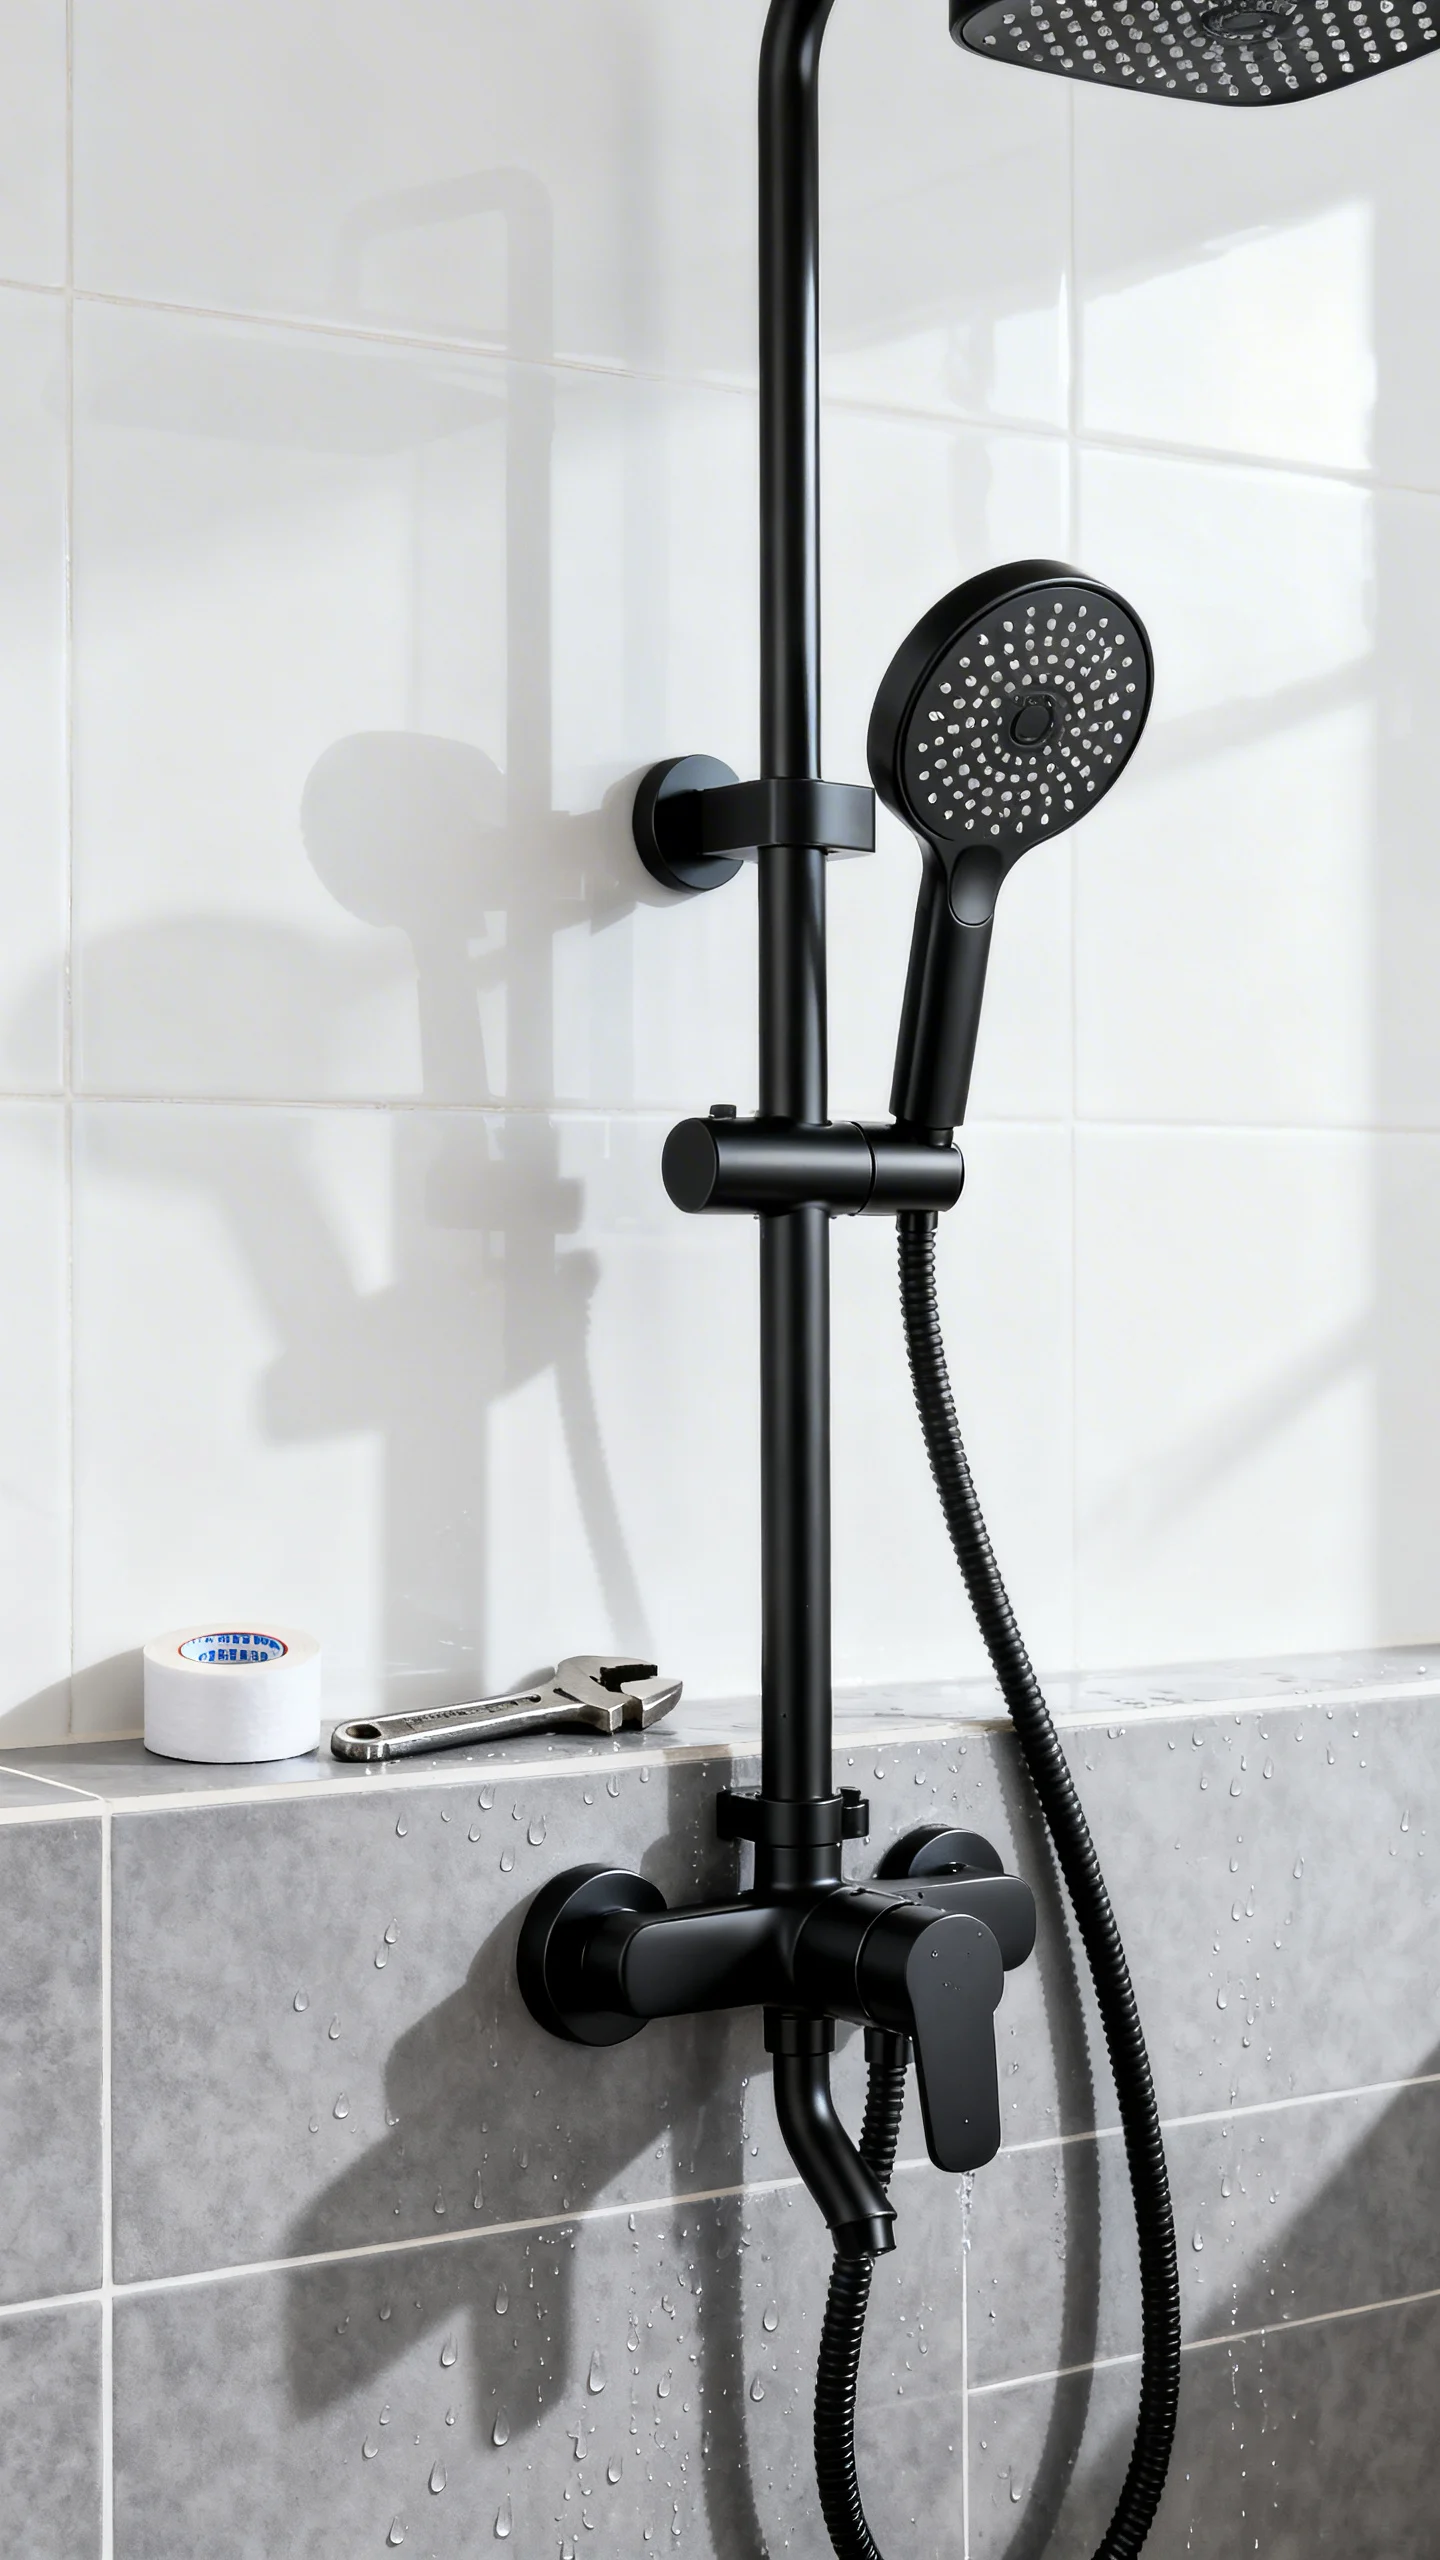
A new showerhead is one of the most satisfying DIY upgrades per dollar. Use plumber’s tape (PTFE tape) on threads to prevent leaks, and choose a model with a handheld option for cleaning the tub, rinsing kids, and washing pets. If water pressure is low, look for high-pressure designs and confirm flow rate compliance (often 1.8–2.5 GPM depending on location). Keep the handheld bracket placed so it’s reachable but doesn’t spray outside the shower—test angle before final tightening.
7) Make a DIY Shower Niche Look (Without Opening Walls)

True recessed niches require waterproofing skills, but you can mimic the function affordably with surface solutions. Add corner shelves with rustproof materials (stainless steel, aluminum, or quality plastic), or install a tension pole caddy that won’t drill into tile. For a cleaner look, mount a slim floating shelf outside the direct spray zone for daily items. Keep shelves at least a few inches above the tub rim and away from the main spray path to reduce soap scum buildup and slipping bottles.
8) Refresh Grout and Caulk for a “Just Cleaned” Transformation
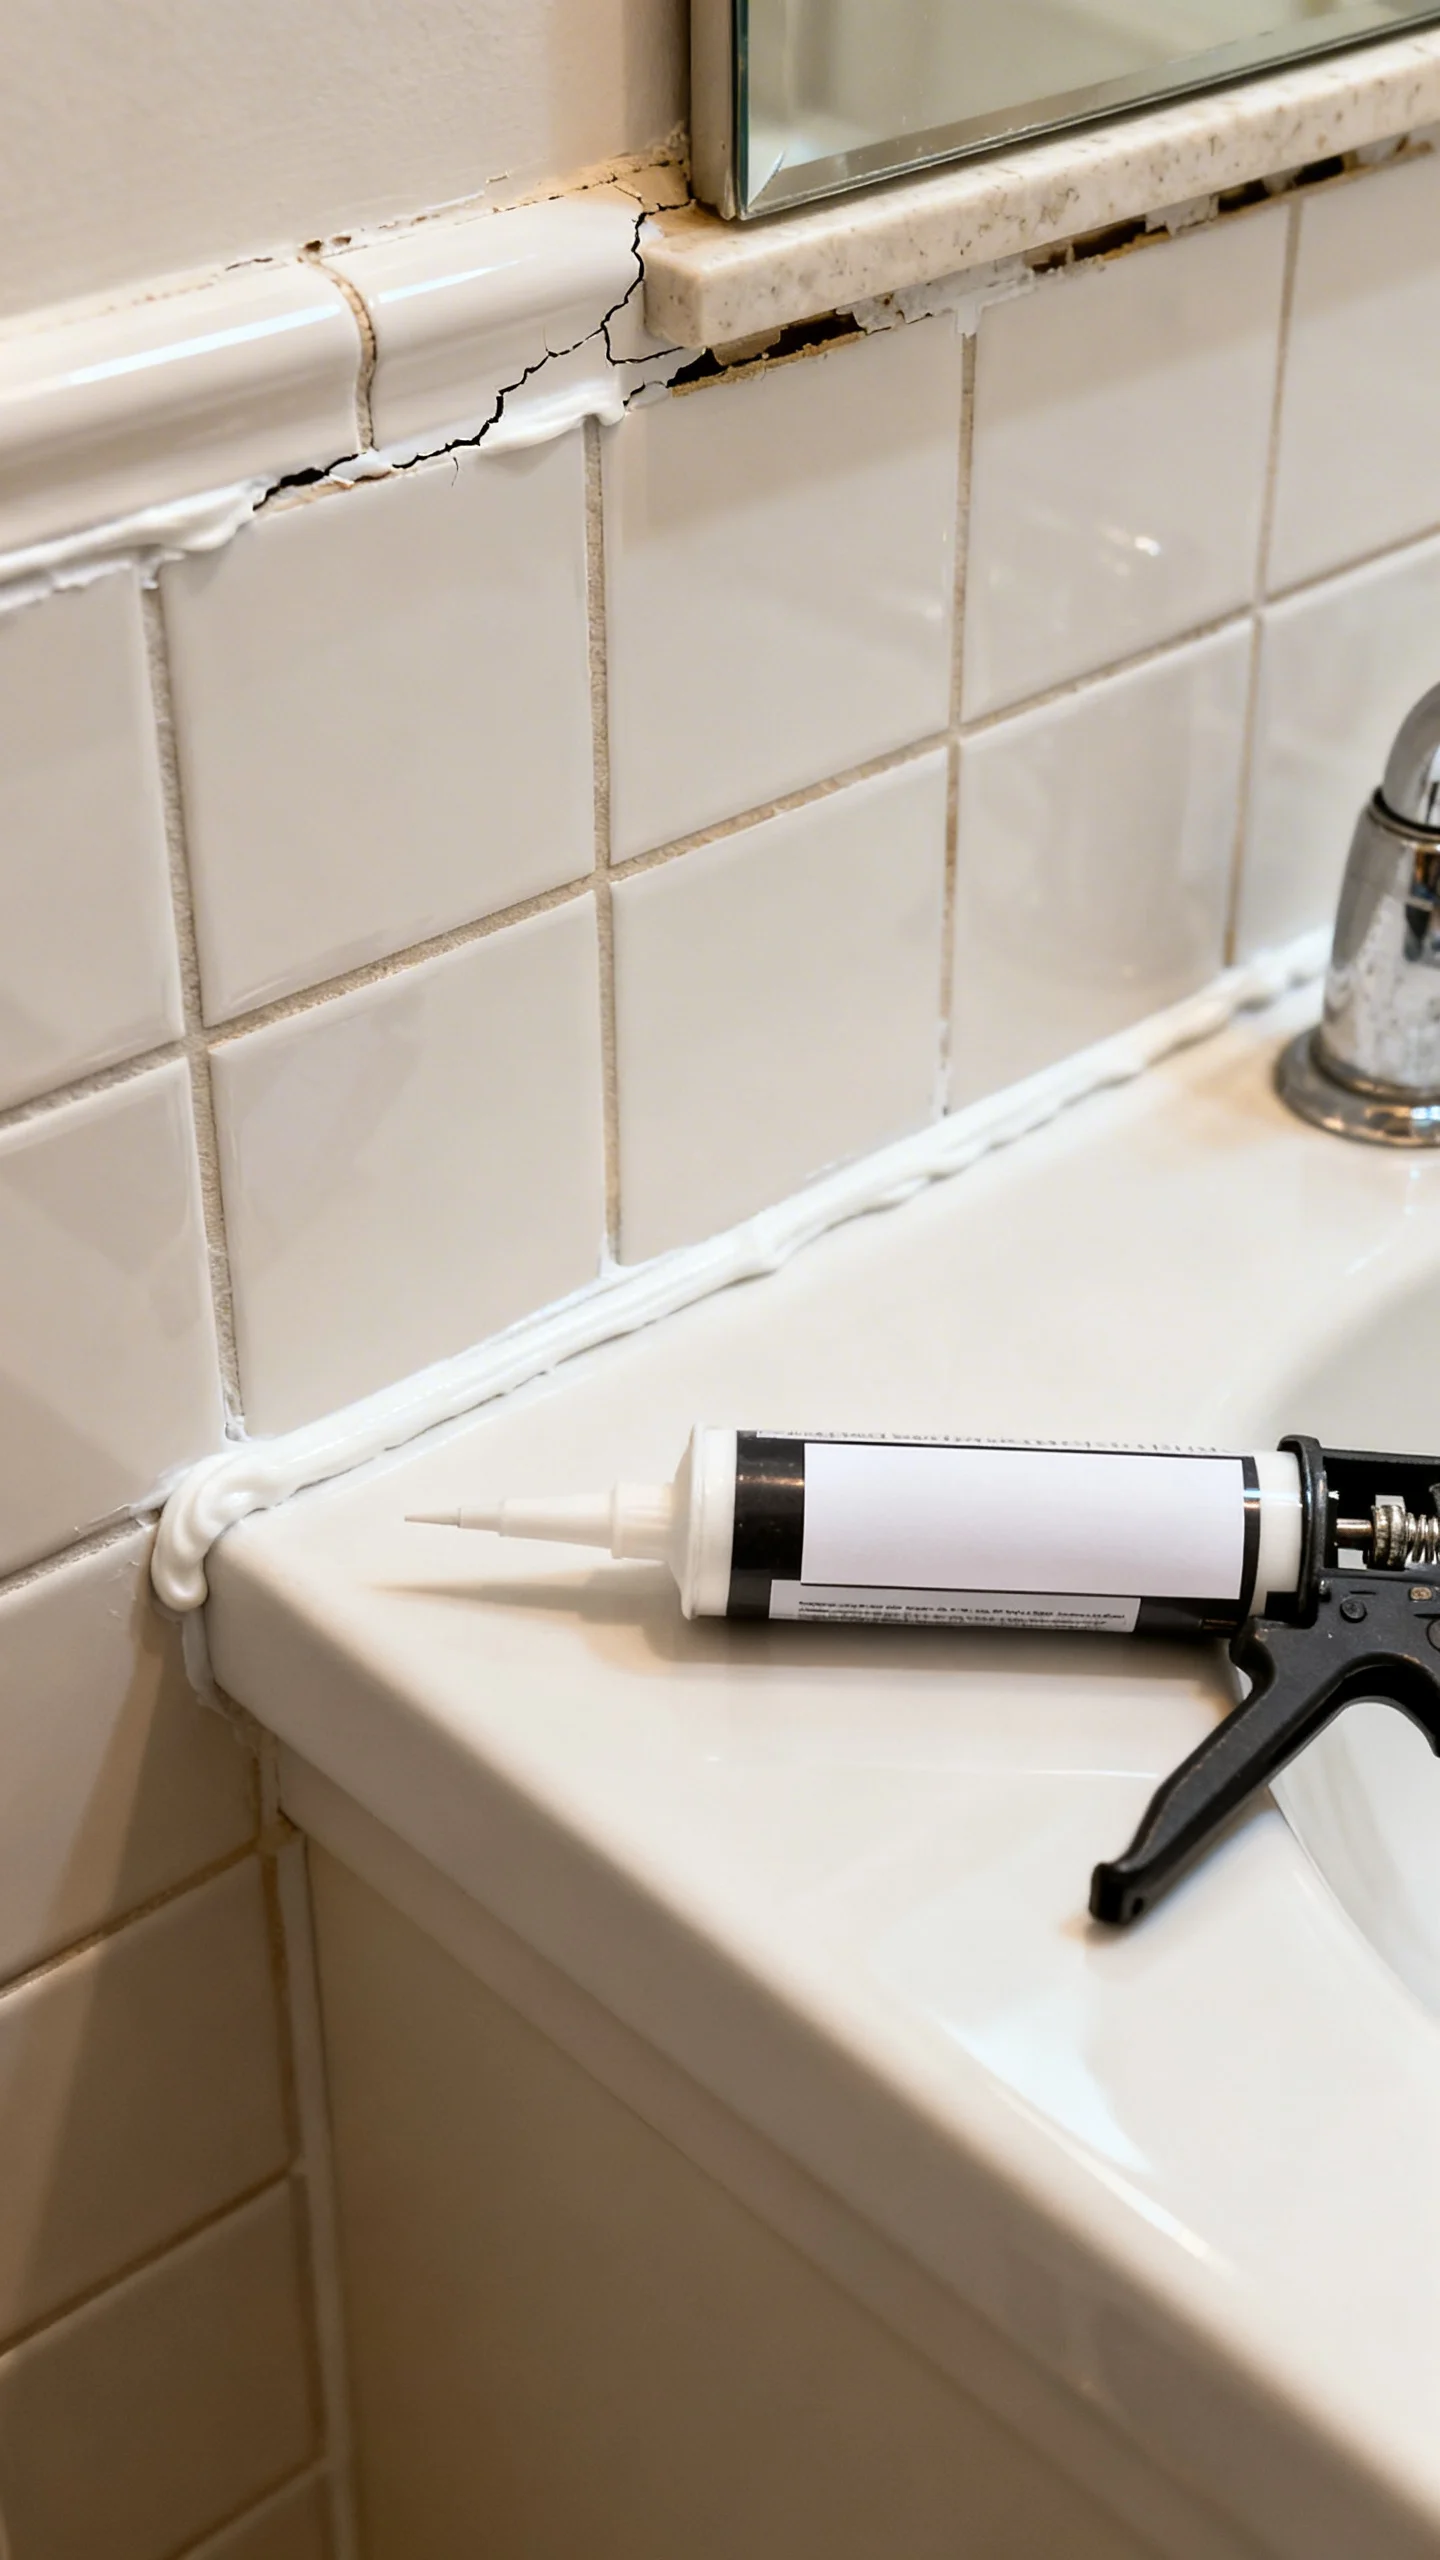
Old grout and caulk can make a bathroom look tired even when it’s clean. Remove failing caulk fully (a caulk remover tool helps), then re-caulk with 100% silicone labeled “kitchen & bath” for mildew resistance. In wet areas, avoid acrylic latex caulk—it won’t last. For grout, deep-clean first; then consider grout pen touch-ups for small areas or a grout colorant/sealer for bigger transformations. Let everything cure fully before using the shower—often 24 hours for light moisture, longer for heavy exposure (check the product label).
9) DIY Open Shelving That Won’t Warp (Use the Right Materials)
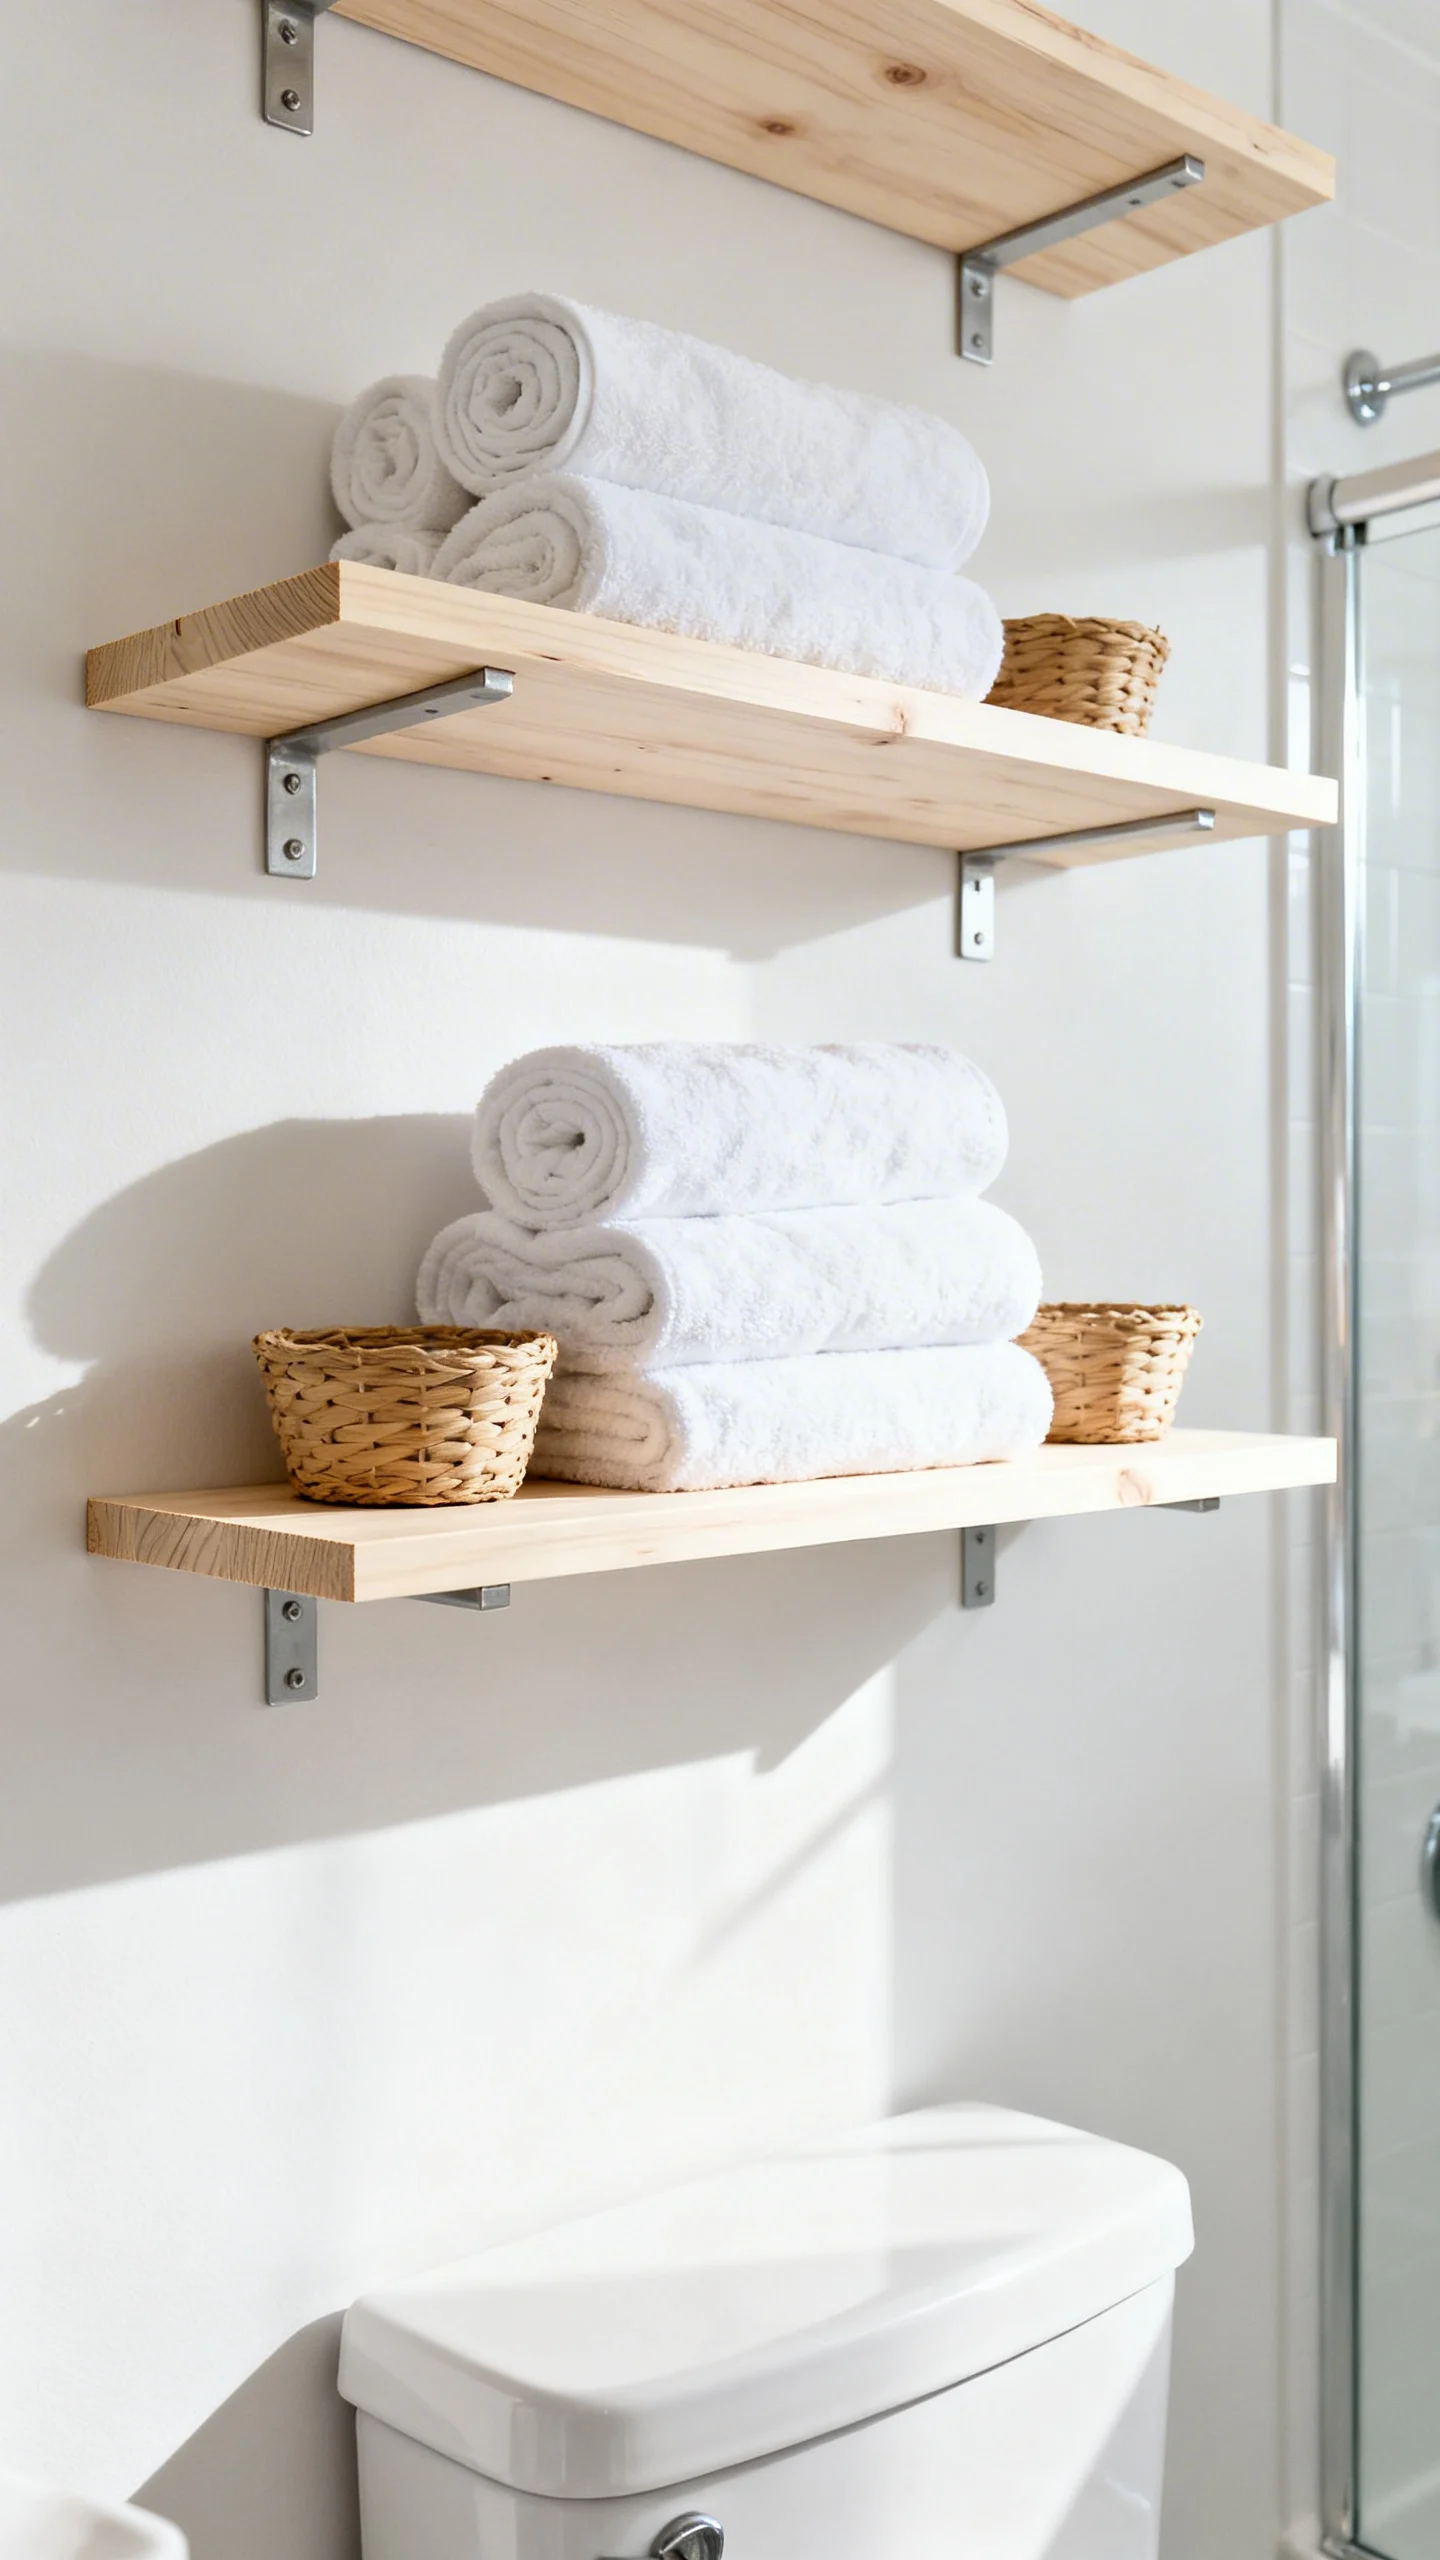
Open shelves can add storage and style, but bathrooms demand moisture-smart choices. Use solid wood sealed on all sides, exterior-grade plywood with edge banding, PVC boards, or metal shelving. Keep shelves out of the shower’s splash zone and mount into studs when possible; if you must use anchors, choose heavy-duty ones rated for tile or drywall and respect weight limits. A practical depth is 6–10 inches—deep enough for baskets and rolled towels, but not so deep that you bump into corners in tight layouts.
10) Add a Budget-Friendly “Wet Zone” Curtain + Liner System That Looks Custom
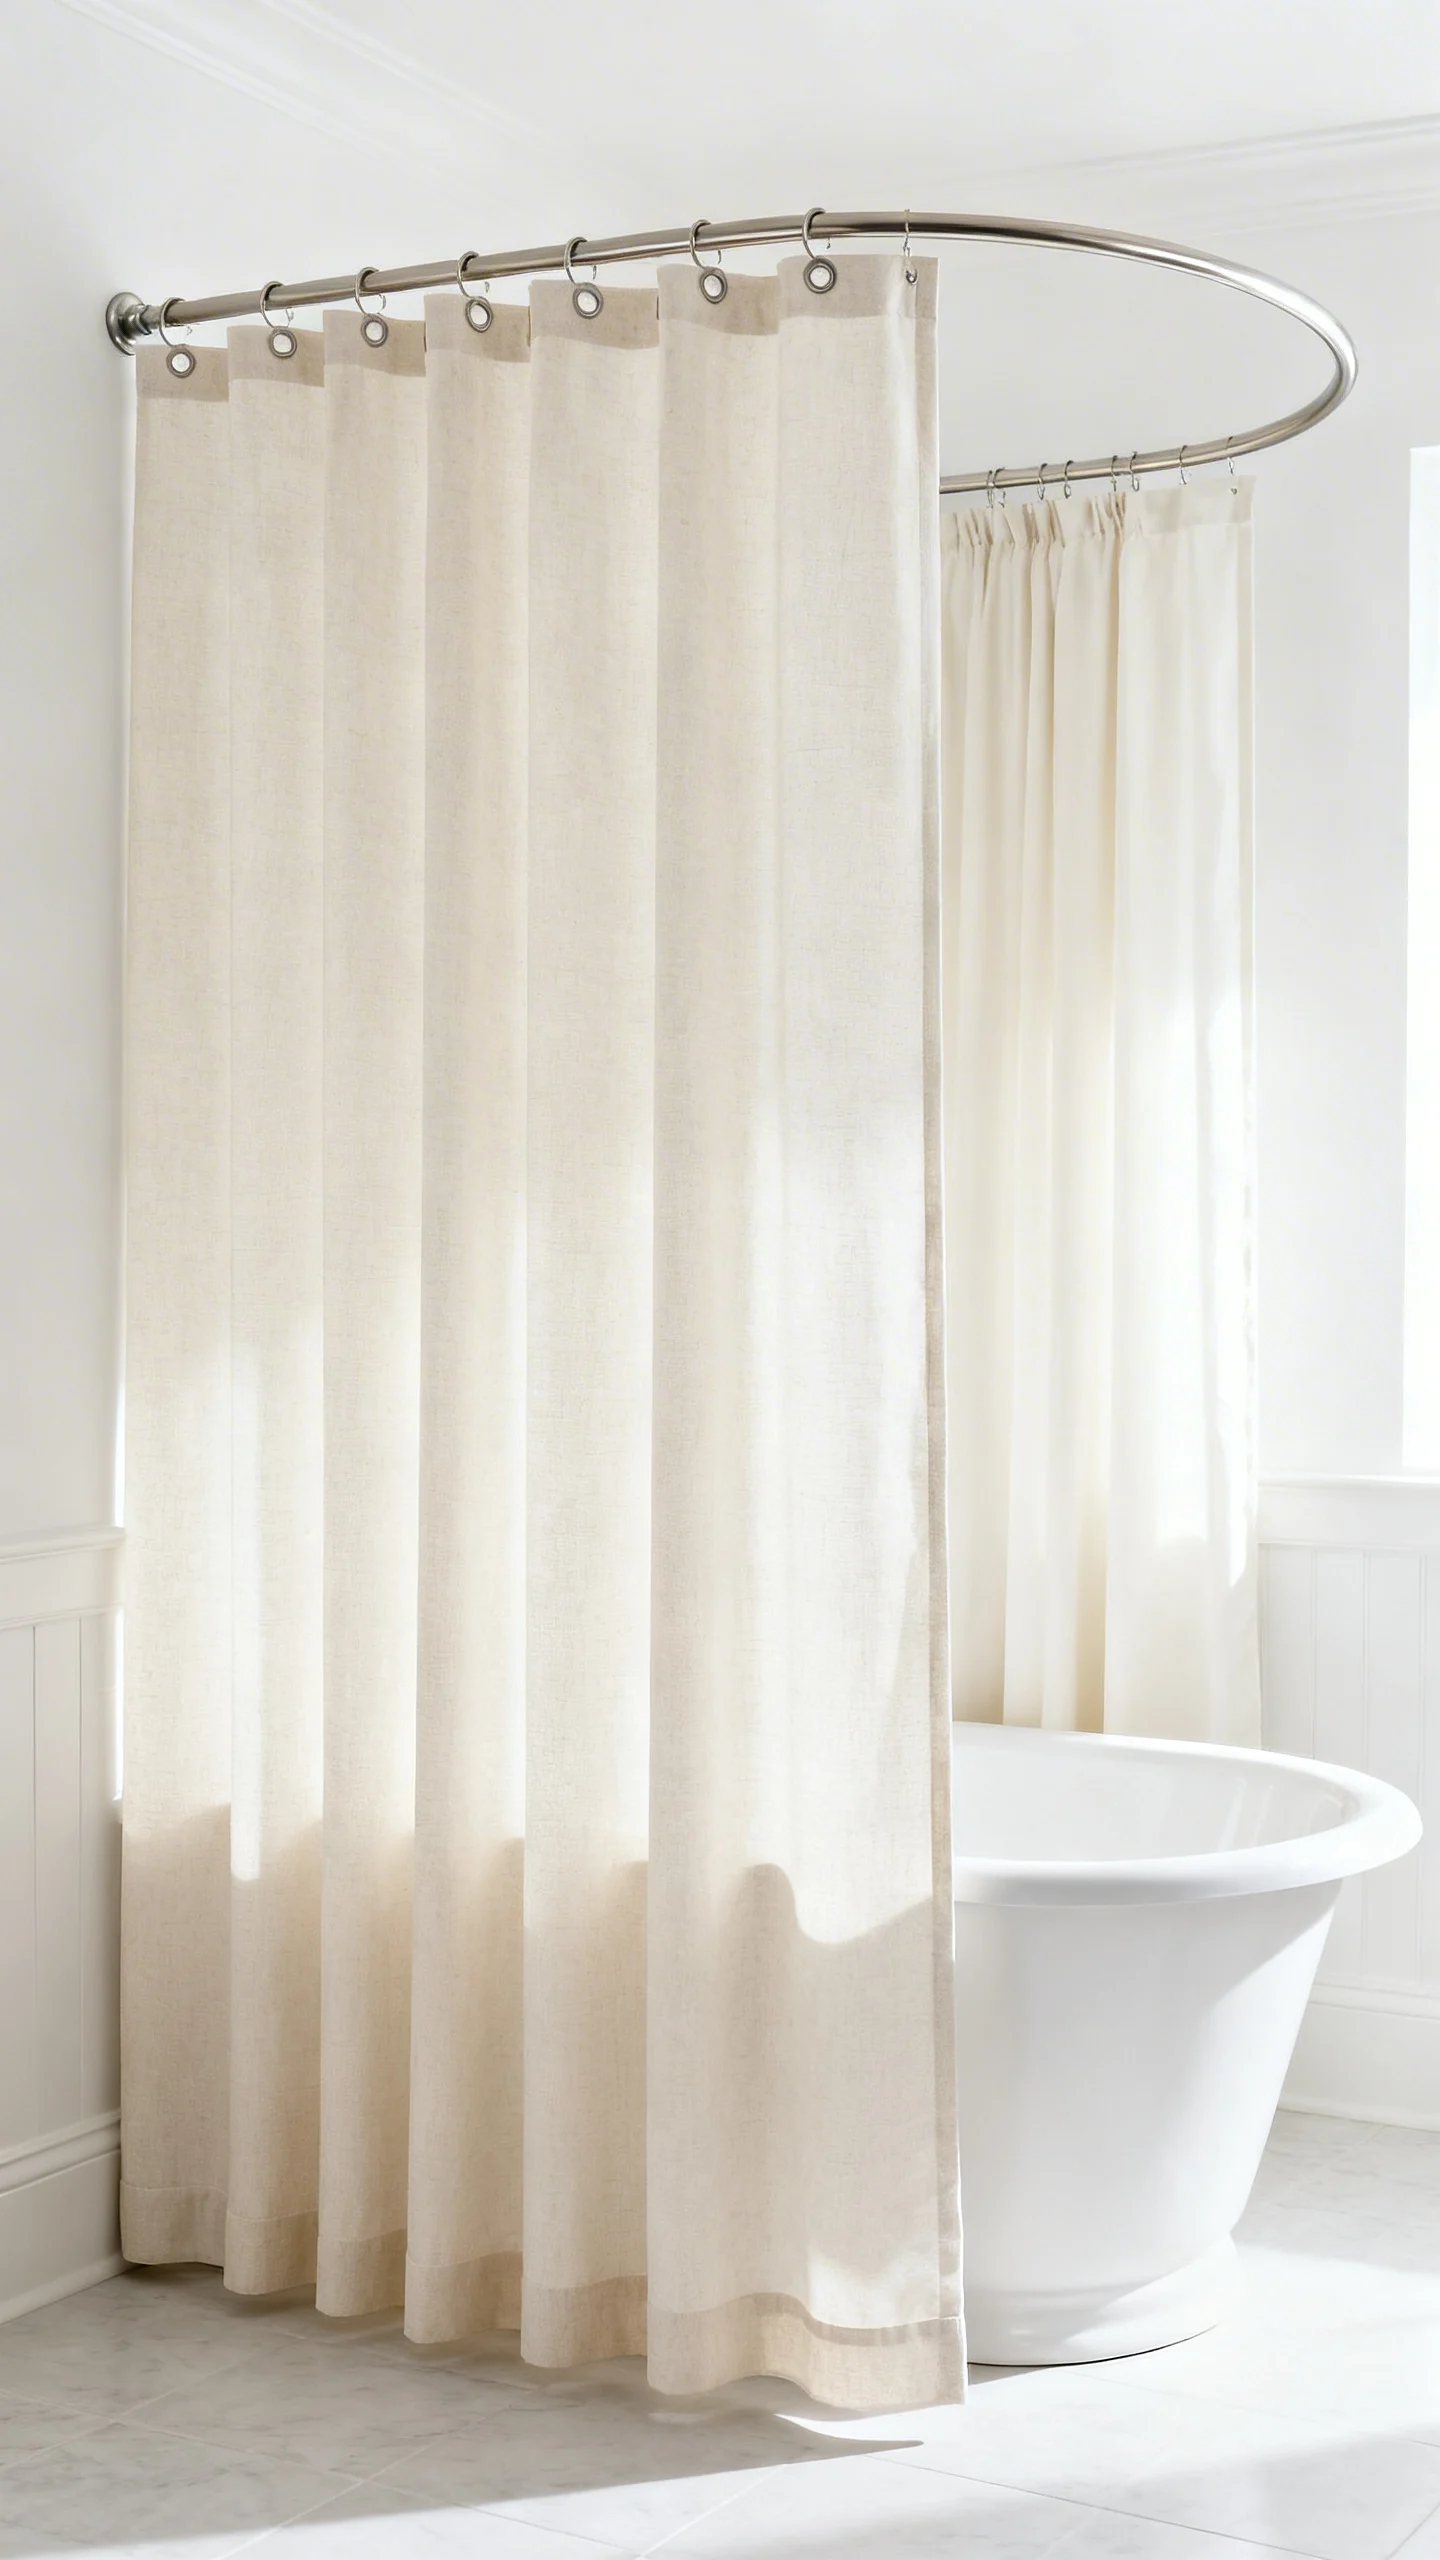
A fresh shower curtain setup can make the whole bathroom feel updated. Use a curved rod if you want more elbow room without remodeling. Choose a fabric outer curtain for style plus a quality liner for function; a weighted hem liner reduces cling and puddling. Hang the rod high (just below the ceiling or a few inches above the top of the tub surround) to visually elevate the room, but keep the liner length correct—ideally it sits inside the tub and hovers about 1 inch above the floor to dry properly.
FAQ
What’s the most budget-friendly DIY change that makes the biggest difference in a bathroom?
Painting the vanity (with the right primer and durable topcoat) plus swapping hardware usually delivers the biggest visual impact for the lowest cost, especially compared to replacing major fixtures.
Can I use peel-and-stick tile in a bathroom with a shower?
Yes for the bathroom floor outside the shower/tub area if the product is rated for bathrooms and the subfloor is smooth and dry. Avoid using peel-and-stick inside a shower or on surfaces that get constant direct water exposure.
What caulk should I use around a tub or shower?
Use 100% silicone “kitchen & bath” caulk for wet areas. It resists mildew better and stays flexible. Remove old caulk completely before applying new, and allow full cure time before using water.
How do I choose the right bathroom light bulbs?
For flattering daily use, aim for 2700–3000K and a high CRI (90+ if possible). Bathrooms benefit from even, glare-free light; damp-rated fixtures are recommended for safety and longevity.
How can I add storage in a small bathroom without a remodel?
Install shallow open shelves (6–10 inches deep) using moisture-resistant materials, add over-toilet storage if clearances allow, and use rustproof shower shelving. Focus on vertical space while keeping walkways and door swings unobstructed.